Lighting isn’t just functional; it can also be decorative.
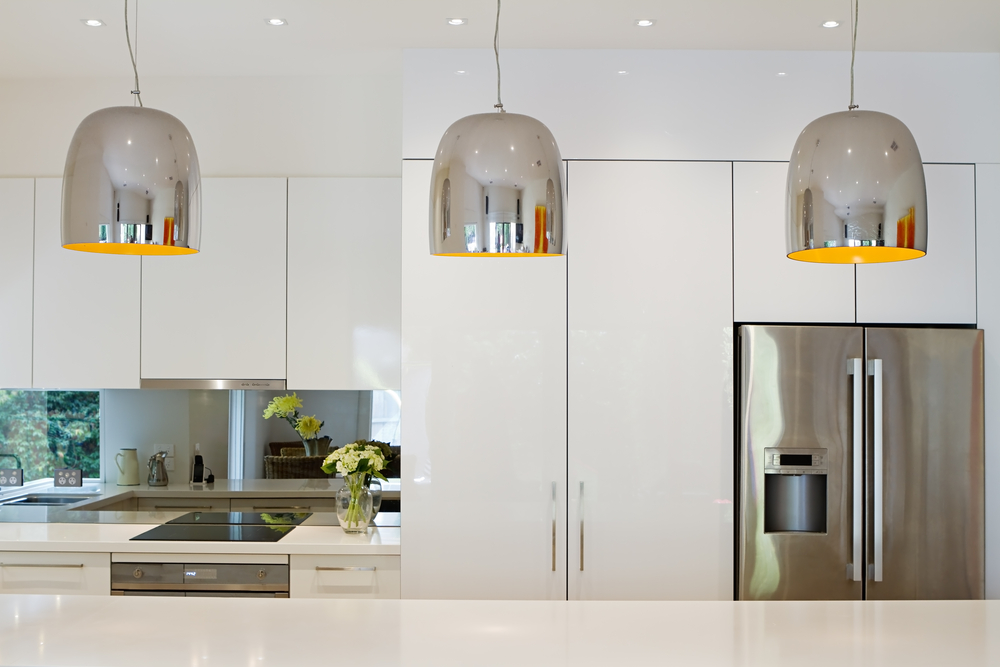
Attractive light fixtures can add a lot to a room, with various modern chandelier or pendant lights available to choose from.
But if you already have recessed lights installed, you might wonder how big a job is to change them to a pendant fixture.
Replacing a recessed light with a pendant usually involves removing the entire fixture and replacing it. Pendant fixtures have a mounting plate, so provided that it’s bigger than the light fixture, the installation isn’t too difficult. For non-integrated recessed lights, a pendant conversion kit can also be used.
There’s a few things that we need to explore in more detail here, so let’s take a look at:
- Which types of recessed lights can be converted
- How to replace a recessed light with a pendant light
- How to add a conversion kit to a recessed fixture
What Type Of Recessed Lights Can Be Converted?

Completely rewiring light fixtures to replace them with something new can be a bit of a painful job.
You may have challenges accessing the wiring, you might need to install a junction box if the old fixture had one built-in, and you need to make sure the new fixture covers the hole left by the light or spend time repairing the ceiling.
So if there’s a safe shortcut option with no real downsides, you would always take that, right?
Well, it’s actually possible to convert some recessed lights into pendant lights without replacing and rewiring the entire thing, thanks to a conversion kit.
But these conversion kits only work with recessed lights where you can remove the bulb.
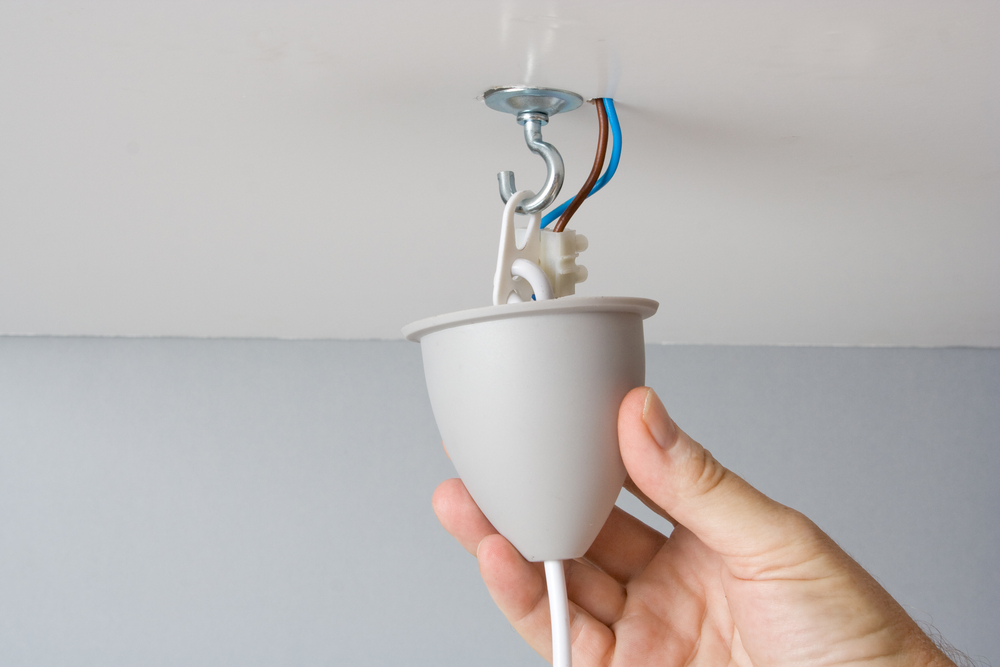
Essentially, they’re a screw-in fixture that then leaves the necessary pendant wires hanging for you to install your new lighting.
The original fixture stays in place and is covered by the decorative plate.
If your recessed lights are integrated, then unfortunately this won’t work, and you’re going to have to remove the entire fixture.
How To Replace A Recessed Light With A Pendant Light?
If you’re entirely replacing a recessed lighting fixture with a pendant light, here are the steps you’ll need to follow:
Switch off the power
Unscrew the lighting fixture from its position.
If you can’t see any screws, it may have a decorative medallion or cover, which can be pulled off first.
Once the fixture is unscrewed, gently lower it, and you should be able to see the wires. Disconnect these.
Remove any mounting brackets for the recessed lighting.
If your recessed lights had a junction box integrated into the lighting fixture, you’d need to add a new junction box instead.
You should be able to mount it on the ceiling joists. If the junction box was already separate, then leave it in place.
Now, measure the hole left by the old fixture and the new pendant fixture.
If the whole is bigger, you’ll need to repair it with drywall before continuing.
Once you’re ready to install the light, install the mounting bracket for the new light.
Lift the fixture into place and check that you’re happy with the hanging height of the wires.
If not, make any necessary adjustments by following the instructions for the light to shorten or lengthen it.
Lower the fixture again, and now attach the wires. You may need to strip back the old wires and the wires on the new fixture.
Use wire nuts to connect them, twisting the wires together and securing them in the nut.
Follow the instructions to see which wires need to be connected together.
Close the junction box, and then test the light. If it’s working, lift the fixture and screw it into the bracket.
This is quite a big job. If you’re not confident with replacing junction boxes or potentially having to repair a hole with drywall, you might want to hire a professional – it’s up to you.
How To Mount A Pendant Conversion Kit On A Recessed Fixture?
If you have recessed lights with removable bulbs, you’ll be glad to know that using a conversion kit is much easier.
You shouldn’t need to hire someone to help with this – no real electrical knowledge is necessary.
Here’s how you install a conversion kit (Amazon) into a compatible recessed fixture:
Disconnect the power. You should be fine to just switch the light off, but it’s safer to flick off the circuit breaker for now.
Remove the old light bulb, and then screw in the new conversion kit.
Add the brackets – these are what will support the new fixture.
Usually, it will come in two parts – a wider bracket that fits across the diameter of the recessed lighting hole and a smaller one, which is what the new pendant fixture hooks onto.
Follow the instructions for your specific kit.
Once the bracket is installed, add the metal plate – this may need screwing in but will often just need twisting into place.
Cover it with the decorative plate that clips over the metal one
That’s the fixture converted, and you’ll be left with just the two hanging wires you need.
Use these to connect your chosen light fixture, and it’ll be ready to use once the power is switched back on.
Final Words
Replacing recessed lighting fixtures with pendant ones can either be a really easy job or a really difficult one, depending on whether you can use a conversion kit or not.
It’s still doable by anyone, even if you are replacing the whole fixture, but you’ll need to have some confidence in wiring, and you may need to be handy with drywall repairs too.
It’s certainly more of a project that needs a little more planning.
Have you ever converted a recessed light?
Were you put off by the idea, but now that you’ve realized conversion kits exist, you’re considering trying it?
Looking for an LED bulb but not sure what type you need?
Check out my free bulb picker and select the right bulb within few clicks.


