It’s very rare for anyone to use 120V lighting outdoors.
Generally, when we talk about landscape lighting, we refer to low-voltage lights on a 12V circuit.
There aren’t many 120V lights you can even buy to use outdoors.
Generally, you’re looking at porch lights that would be wired on an internal circuit or maybe a couple of spotlights that plug directly into an outlet.
But when you’re talking about a proper landscape lighting system, they aren’t practical.
Instead, you’ll want to create a setup that involves low voltage lights that are much safer for outdoor use, wired up to make sure they’ve got just the power they need.
To install landscape lights on a 120V circuit, you’ll need a transformer to step the power down to 12V. The transformer is plugged into the main power supply and then feeds a low voltage current to your lights. You’ll need special wire rated for outdoor use too.
Installing landscape lighting is relatively simple, but there are a few things you need to consider, so let’s look more at:
- The best way to wire a circuit
- How to choose your transformer
- Wiring up the lighting system
- A step-by-step guide to installing your landscape lights
Should I Wire In Series Or Parallel?
Any landscape lighting installation – or a lighting installation of any kind – starts with planning.
You can hardly just jump straight into digging up the garden and connecting all your wires.
As part of that planning phase, you’ll be working out how many lights you’ll want to use, which will help to tell you how much power they’ll draw.
This will help you decide on the type of wiring you’ll use and your transformer.
But it will also help you decide whether you want to wire your circuit in series or parallel.
Wiring in series means that your circuit is one continuous loop.
The benefit of choosing to do it this way is that it’s usually a simpler job. You don’t have to worry about multiple circuit loops.
But that’s the only benefit, and really it’s not too much more difficult to wire in parallel, especially if you’re starting from scratch and can plan it out properly.
Wiring in parallel has a couple of key benefits:
- It scales back the load on each loop, meaning you’re less likely to have problems with voltage drop (more on that further below)
- It means that, if one light breaks, you’ll still have some working lights because only the part of the circuit with the blown light will be broken, the other loop(s) will be fully closed and work fine
If you can, then always wire in parallel. Even if you don’t think you’ll be overloading your wires at this stage, it means that it’s easier to upgrade your system in future if you decide to.
What Transformer Do I Need?
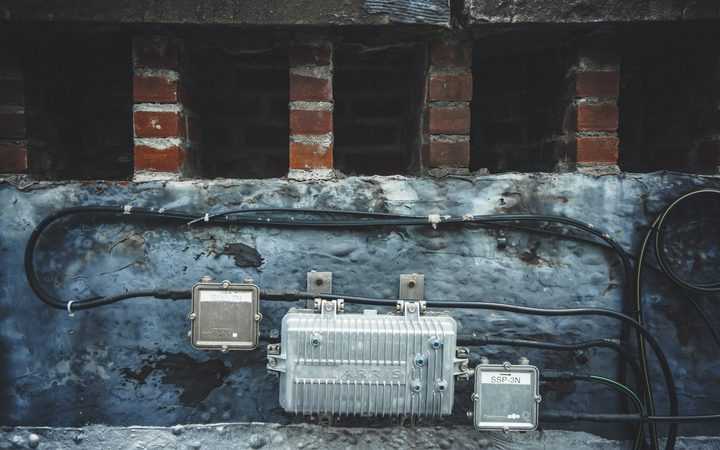
The transformer is the brain of your landscape lighting system. It does the hard work of taking your 120V power supply and stepping it down to a safe 12V level.
So, you must get the right one for your system because this is one device you don’t want to cut corners with.
Where To Install The Transformer
Landscape lighting transformers can either be rated for indoor or outdoor use.
Most are designed to be installed outside and have a sealed metal box that ensures the circuitry stays waterproof.
Wires come into the bottom of the transformer, so it just needs to be mounted with enough clearance from the ground to stop water from splashing up inside.
You’ll need to plug your transformer into a power outlet.
It’s common to plug it into an outdoor outlet, but it must be an enclosed one designed for proper outdoor use since this is a plug that will be constantly connected.
The other consideration with the location of your transformer is trying to get it as close to the lights as possible without spoiling the effect.
Voltage drop is a big issue for landscape lighting because you’re already starting with low voltage, so a small percentage drop has a bigger impact on the total voltage than it would for a 120V circuit.
Placing the transformer closer to the lights means there’s less wire to resist the current and cause the voltage to drop any more than it needs to, so bear that in mind.
Choosing Your Transformer Model

Once you’ve worked out where you’re going to mount your transformer, it’s time to choose the right one for your system.
Landscape lighting transformers are rated for different maximum voltage levels, with standard sizes being 120 watts, 200 watts, and 300 watts, though you can find smaller and much bigger ones if you need them.
It’s important to note that these are maximum peak wattage, not the consistent wattage they’re rated for.
You should only load a transformer with 80% of its advertised maximum to ensure you don’t overload the circuit.
So, work out the lights you want to use, add up their total wattage, and then choose a transformer that’s at least 25% bigger than that total.
Go bigger again if you think you might want to add more lights in the future.
Finally, the last decision on your transformer is whether you want one with a timer and what kind of timer you want.
Most are mechanical, but you can get more expensive ones with digital timers, and some either come with a PIF sensor for light detection, or have a slot where you can add one later.
How To Connect Landscape Wiring?

You’ve considered the lights; you’ve worked out your transformer. Now you just need to work out how you’ll connect them all together.
This means you need to choose the correct wire and think about connecting everything together.
Wire Type And Thickness
There are two things to be aware of with wire – the thickness and where it’s suitable to be used.
Wire thickness is measured in AWG, with larger numbers meaning thinner wire.
You need to make sure you get wire that’s thick enough to prevent voltage drop, depending on your chosen lights.
Very briefly, a voltage drop occurs when an electrical current meets resistance, which it does in any electrical component, whether that’s a wire or a light or anything.
It’s a problem with landscape lights because you’re already working at a low voltage, so any drops are more significant.
You can find out what gauge wire you need with my handy guide.
Then, you just need to decide which type of wire you buy depending on whether you intend to bury it.
There are three main types of landscape wire, but the most common is also the easiest to work with – direct burial.
This is a wire that can be buried without any extra shielding needed, and it’ll stay waterproof and resistant to the pressure of the earth.
The easiest thing to do is to stick with direct burial wire.
Wire Connectors
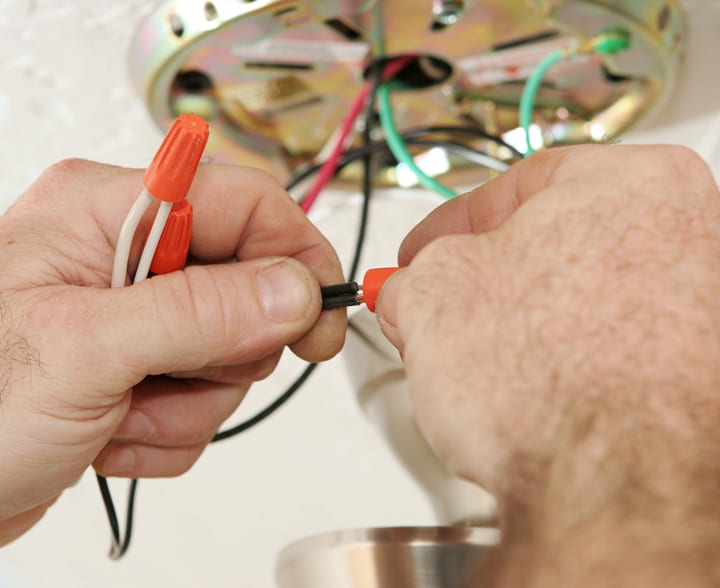
Once you’ve got the wire sorted, you just need to pick up some waterproof wire connectors (Amazon) to attach your lights to the circuit.
There are two types – piercing connectors are the simplest to add, but they could be less reliable over time.
Sealed wire nuts need you to create a stripped-back wire on the circuit, twist it around the wire for the light and then place it into the sealed wire nut.
There’s a little more work involved but the connection tends to last longer.
Step By Step Guide
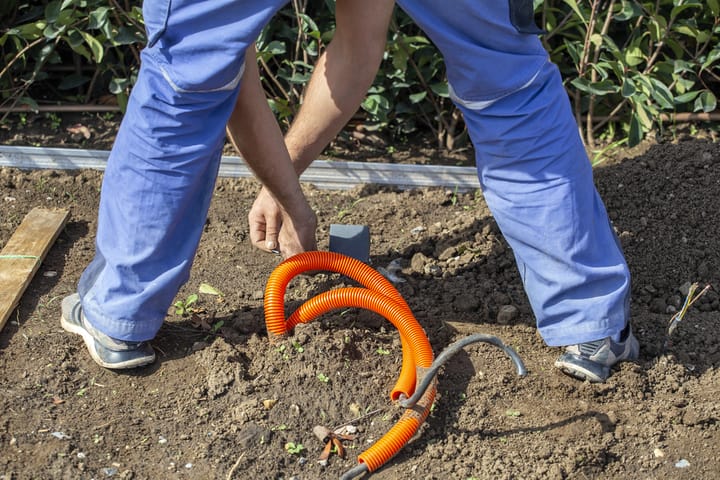
Right, you’ve chosen your lights, transformer, and wire – how do you install everything?
Mount your transformer in its home, but don’t connect any wires yet.
Lay the wiring you intend to use, keeping it above ground for now.
This will help you check that your planned circuit will work before you do any digging.
Make sure you leave enough give for the wire to be buried.
Install your lights in place.
Connect the lights to your wire using wire connectors.
Connect the wire to your transformer and connect the transformer to the power supply.
Test the lights. If they don’t work, examine your wire connectors to ensure everything is connected.
If the lights work, disconnect the power supply and bury the cable for the circuit.
Once finished, reconnect the power supply, and configure the timer if there is one.
Final Words
Installing landscape lights isn’t a job that’ll take you an hour or less.
There’s a lot of work involved in getting the lights set up and burying the cable – it’s a project.
But it doesn’t have to be intimidating, and you don’t need to be a qualified electrician to do it.
Follow the steps and advice above, and you’ll get there – it just takes a bit of time and effort, but the results will be worth it.
If you’ve installed your own landscape lights, do you have more tips to share?

