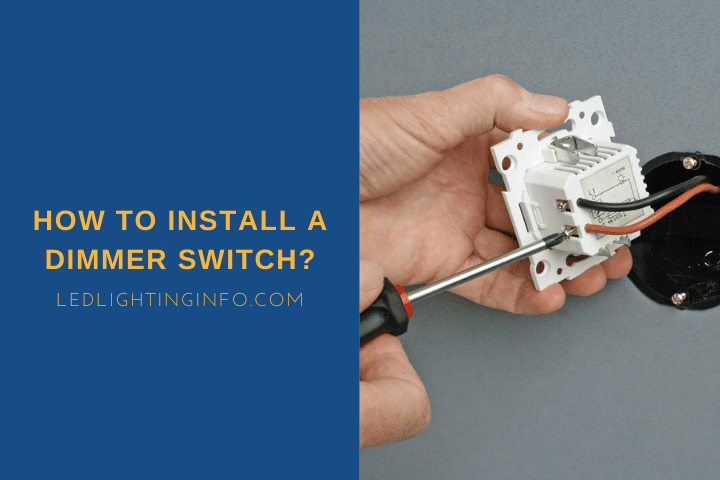
Most light switches are designed to be connected with two wires.
You install them into the circuit so that the hot wire comes into the switch, and then the wire carries on from the switch to the rest of the circuit, completing the loop.
And more importantly, how do you install dimmers? Is there anything specific you need to be aware of?
Wiring a dimmer switch is as simple as connecting the live black wire to the live wire in the wall and the red load wires to the load. In a 3-way circuit, the two load wires will ultimately connect to the second switch. Then connect any ground wires.
Let’s take a look in more detail at:
- How many wires a dimmer switch has
- How to install a dimmer switch
- How to troubleshoot dimmer switch problems
- Where you can add a dimmer switch to recessed lights
How Many Wires Do Dimmer Switches Have To Connect?
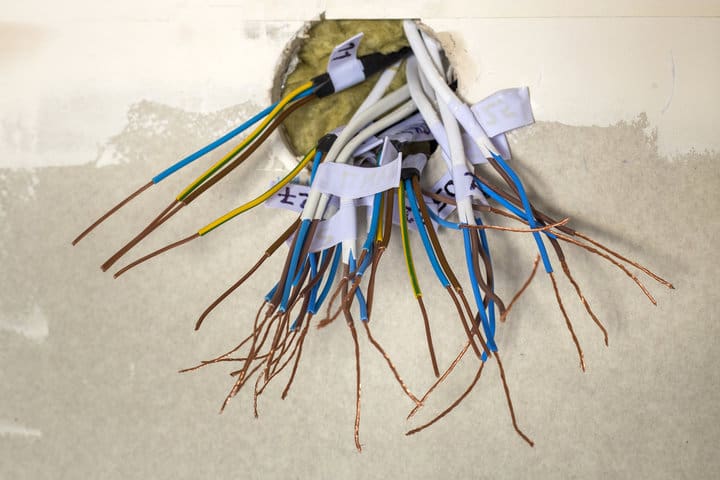
The number of wires a dimmer switch will have to connect depends on the type of dimmer.
There are two types – a single-pole dimmer that works as the only switch controlling a set of lights, or a 3-way dimmer (called a 2-way in the UK and Europe) designed to be wired into a circuit alongside another switch.
A modern single-pole dimmer will usually have three wires.
There will be two live wires – one to connect to the black incoming power source and one to connect to the wire leading to the load, aka the lights.
This will usually be red. Then there’s a ground wire.
The wires on a 3-way dimmer switch aren’t that different – what matters is how you connect them up.
There are three live wires, one from the ‘common’ terminal and two from the traveler terminals.
The common wire/terminal is what you connect to the power source, while the traveler wires are what you connect to the ongoing circuit to hook up to the light and another switch.
Note that if you’ve bought a 3-way dimmer switch but don’t intend to use it alongside another light switch, you don’t have to connect that second traveler wire.
You can cap it off for safety using a wire nut.
The issue here is ensuring you’ve connected the correct terminals – more on that when I explain some standard troubleshooting solutions below.
3-way dimmers will still have the ground wire as the fourth wire.
For both types of dimmer, this will be bare copper, or it will be green, or green with a yellow stripe.
If it does have one, and there’s a ground wire in the circuit, then connect them up.
How To Install A Dimmer Switch?
Here’s a look at installing a dimmer switch, whether a single-pole switch or a 3-way switch.
Installing A Single-Pole Dimmer
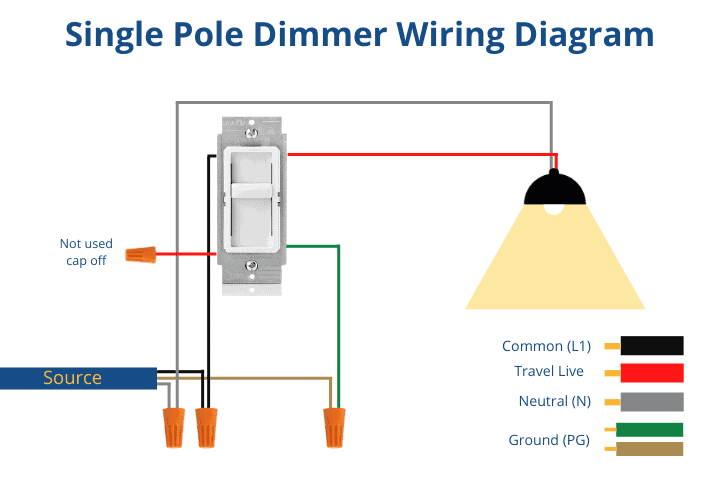
Installing a single-pole dimmer switch couldn’t be easier.
The two live wires need to connect to the live wires in the wall.
Connect the black wire to the line wire in the wall and the red wire to the load wire. If your dimmer has extra traveler live wire, then cap it off unless you plan to use another switch.
Then connect the ground, if there is one on the dimmer, to the ground in the wall.
If there’s a ground wire on the dimmer but not in the wall, cap it off.
But to be compliant, you’ll need to ensure your circuit breaker has a Ground Fault Circuit Interrupter (GFCI) since there’s no ground wire to protect you in case of a fault.
Modern circuit installations will have them as they are required by the National Electrical Code, but older homes may need the circuit breaker updating.
Installing A 3-Way Dimmer
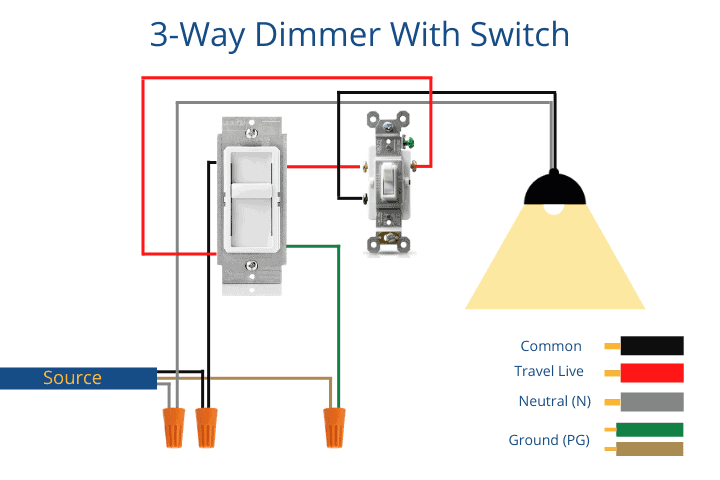
Wiring up a 3-way dimmer switch is relatively simple, as long as you make sure to use it with a 3-way light switch.
If you’re worried about getting confused, label the wires as you work.
You’ll work with two light switches with a common terminal and two travelers.
The easiest way to remember this is to ensure that the power source feeds into the common terminal on one switch and that the light bulb is connected to the common terminal on the other light switch.
Then it’s simply a case of connecting one traveler on switch number 1 to a traveler on switch number 2 and then connecting the other travelers on each switch together.
Except it’s not quite that simple if you don’t already have a 3-way circuit. If you’re creating a new one, you’ll need to feed the wire through the wall to the position for the second switch.
It would be best to cut the wall where the new switch will live and feed the two traveler wires. However, this can be a bigger job and may involve some replastering.
By doing this, you’re ensuring that as long as both switches are in the off position, the light is switched off, but as long as one is in the on position, the light will work.
You will be limited to dimming from just the main dimmer, with the secondary switch simply being an on/off switch.
Whatever dimming setting you have on the dimmer will be the brightness of the lights.
This is only different if you buy a specialist dimmer with companion dimmers.
These allow you to dim the lights from multiple locations, but you have to buy them all from the same manufacturer for them to work.
Again, ensure the ground wires are connected or capped off, as necessary.
How To Wire Dimmer Switch With Only 2 Wires From The Wall?
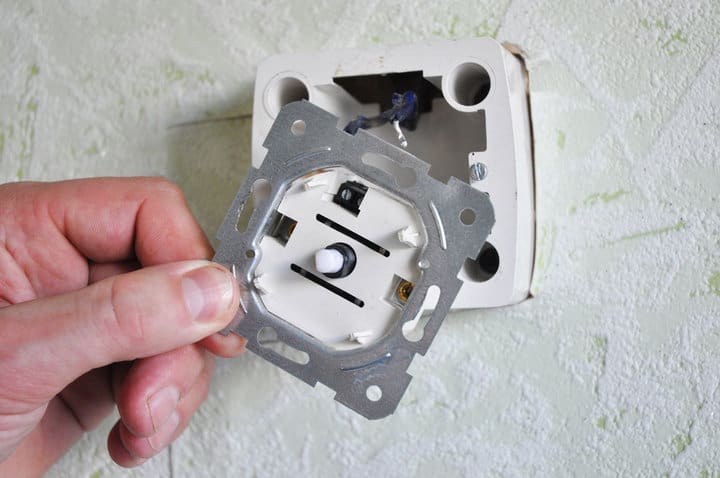
If you only have two wires in the wall, they will be the live and neutral wires.
You’re missing the ground and load wires running to the light. This is going to be a more difficult job.
You first need to check the light fixture and identify if it already has a load wire.
Where is it running to if it does, and can you feed it back towards the switch?
If it doesn’t – if it’s a brand new light or one that’s not been in use – you need to run a new wire from the light to the switch.
It should be red, as load wires normally are, and this helps anyone in the future.
Then, connect the existing black live wire in the wall to the live wire on the dimmer switch and the load wire on the switch to your new load wire running to the light.
You’ll then need to cap off the ground wire on the dimmer with a wire nut.
As described above, you must ensure your lighting circuit has a GFCI on the circuit breaker.
If you’re using a 3-way dimmer with only two wires in the wall, but you aren’t wiring a 3-way circuit, then there’s no extra work compared to the above steps – cap off the unused traveler wire.
Troubleshooting: Common Problems With Dimmer Switch Wiring
Here are some common issues that can happen with 3-way dimmer wiring and how you can fix them:
The Light Is On When Both Switches Are Off On A 3-Way Circuit
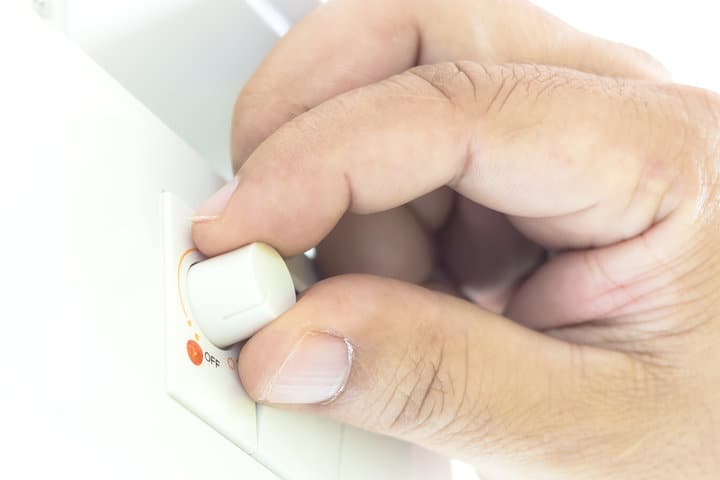
If you have a 3-way circuit with two switches controlling a set of lights, with both switches in the off position and the light switched on, check the second switch first.
If you flip that to the on position, it will likely switch the light off.
Now you can leave it like that if you don’t mind it – it’s not going to cause much of an issue, as long as you remember which way it needs to be flipped to activate the light – but to fix it, you’ll need to re-wire the second switch.
Swap the wires going into the traveler terminals – so the one that previously was wired into the second terminal is now wired into the first, and vice versa.
This should fix the problem.
The Dimmer Switch Is Upside Down
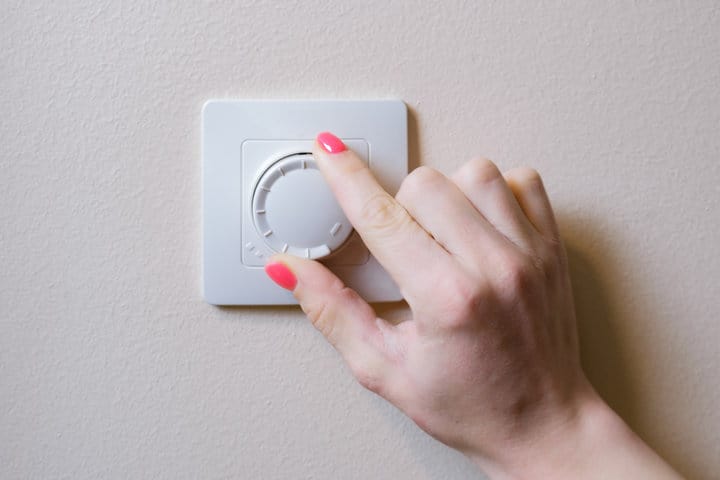
If the dimmer switch is completely upside down, you need to remove it, turn it around the right way, and re-install it.
If it’s a 3-way dimmer, and the on/off switch on the dimmer is upside down, but the dimming functionality is working correctly, then it likely means that you’ve wired the terminals incorrectly and that you’ve wired one of the traveler wires into the common terminal.
It easily happens.
Check the manual for your dimmer switch, if you still have it, to see which terminal is which.
They may be labeled on the dimmer itself too.
You need the live wire to be running into the common terminal and the traveler wires to connect to both terminals.
Reverse polarity only occurs when the common has been wired into a traveler terminal.
If you can’t identify which terminal is which, use trial and error – making sure you’re always turning the power off when you’re disconnecting and reconnecting the wires.
The Lights Won’t Dim

If you’ve wired in your dimmer switch and the lights work but won’t dim, the most common cause is that you’ve bought light bulbs that aren’t dimmable.
While older halogen and incandescent bulbs could all be dimmed, modern LED bulbs need to be specifically dimmable, and many aren’t.
So check that first – it could just be that you need to swap your old non-dimmable bulbs for dimmable ones.
If that’s not the problem, and you’re using older bulbs, you might have overloaded your dimmer switch.
They’re rated for a maximum wattage; if your lights exceed that, the dimmer itself won’t work properly.
It’ll function as a normal switch, maybe, but it won’t let you dim the lights.
If both of those issues are crossed off the list, you likely have a faulty dimmer, and you’ll need to replace it.
The Lights Only Work From One Switch (3-Way Circuit)
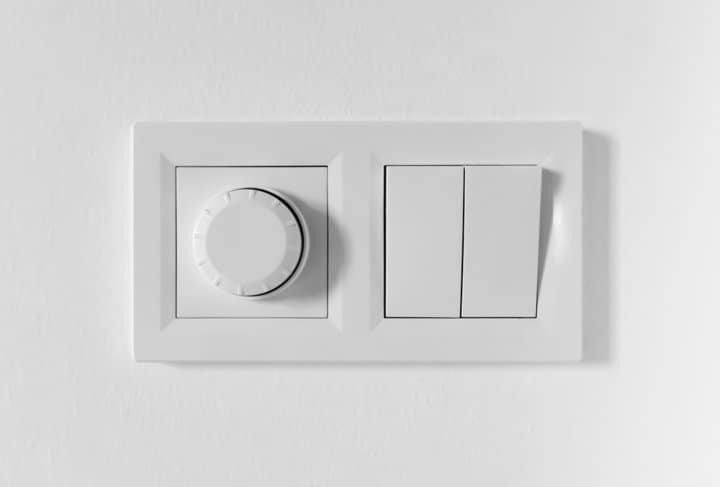
When the lights are only working from one switch, but you think you’ve wired both switches into the circuit, it means you’ve accidentally wired them up wrong.
The fact that the light is working tells you there isn’t a fault on either switch because if there were, it would prevent the current from flowing.
It tells you that you’ve accidentally wired the circuit up to bypass the other switch altogether.
Take another look at the wiring and see if you can identify where you’ve gone wrong.
Label each wire if you need to.
The Dimmer Makes A Loud Buzzing Sound
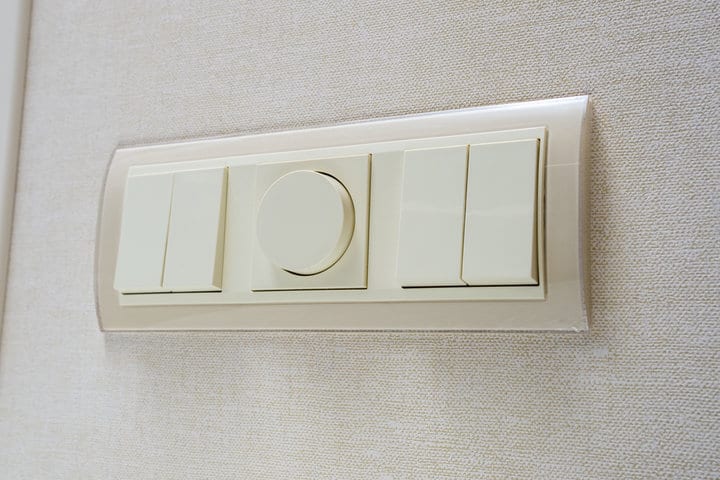
Old dimmer switches used to be quite loud and would make a significant buzzing or humming noise when they worked.
Modern dimmers – not so much. It can happen, but it’s usually a sign something is wrong.
If your dimmer is buzzing, check the wiring first.
It could be a sign of a loose wire causing an arc. But, unfortunately, this could also trip your circuit breaker.
Another potential cause again is the dimmer being overloaded. When that happens, it may hum loudly.
Finally, it could again be the sign that your dimmer is faulty and needs replacing.
Can You Put A Dimmer Switch On Recessed Lights?
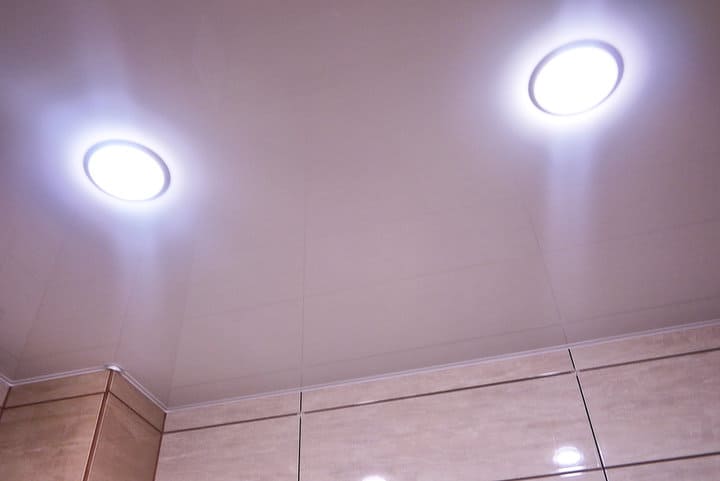
Recessed lights, apart from being recessed in the ceiling, work no differently from any other kind of light in your home.
So it should work fine with a dimmer switch if you use dimmable bulbs.
Some recessed lights are sealed so that you don’t replace the bulb but replace the entire light fixture when the bulb does burn out.
For these, you need to ensure that the fixture is dimmable.
If you’re buying sealed halogen recessed lights, you’ll be fine – it’s only if you’re buying LEDs that you’ll need to check.
Final Words
Wiring up a dimmer switch is usually pretty straightforward.
While a 3-way dimmer can sometimes get confusing, it’s normally easy enough. Just take your time, label anything you need to, and you shouldn’t have any problems.
Remember the key safety tip – always turn off the power before you attempt any wiring!
Have you thought about getting dimmers installed?
And if so, are you going with 3-way dimmers?

