
How To Install Chandelier Lights?
Flipping the wall switch before wiring your chandelier isn't enough — some switch loops leave the ceiling box partially energized. Kill the breaker, then verify with a non-contact voltage tester before touching a single wire.
 Eugen
EugenEugen Nikolajev
Creator of LED Lighting Info
Hi, I am Eugen. I was always one of those kids who had all sorts of weird lighting gadgets for every occasion.
Now, I want to share my knowledge and experience about lighting with you on LED Lighting Info.
Read my editorial standards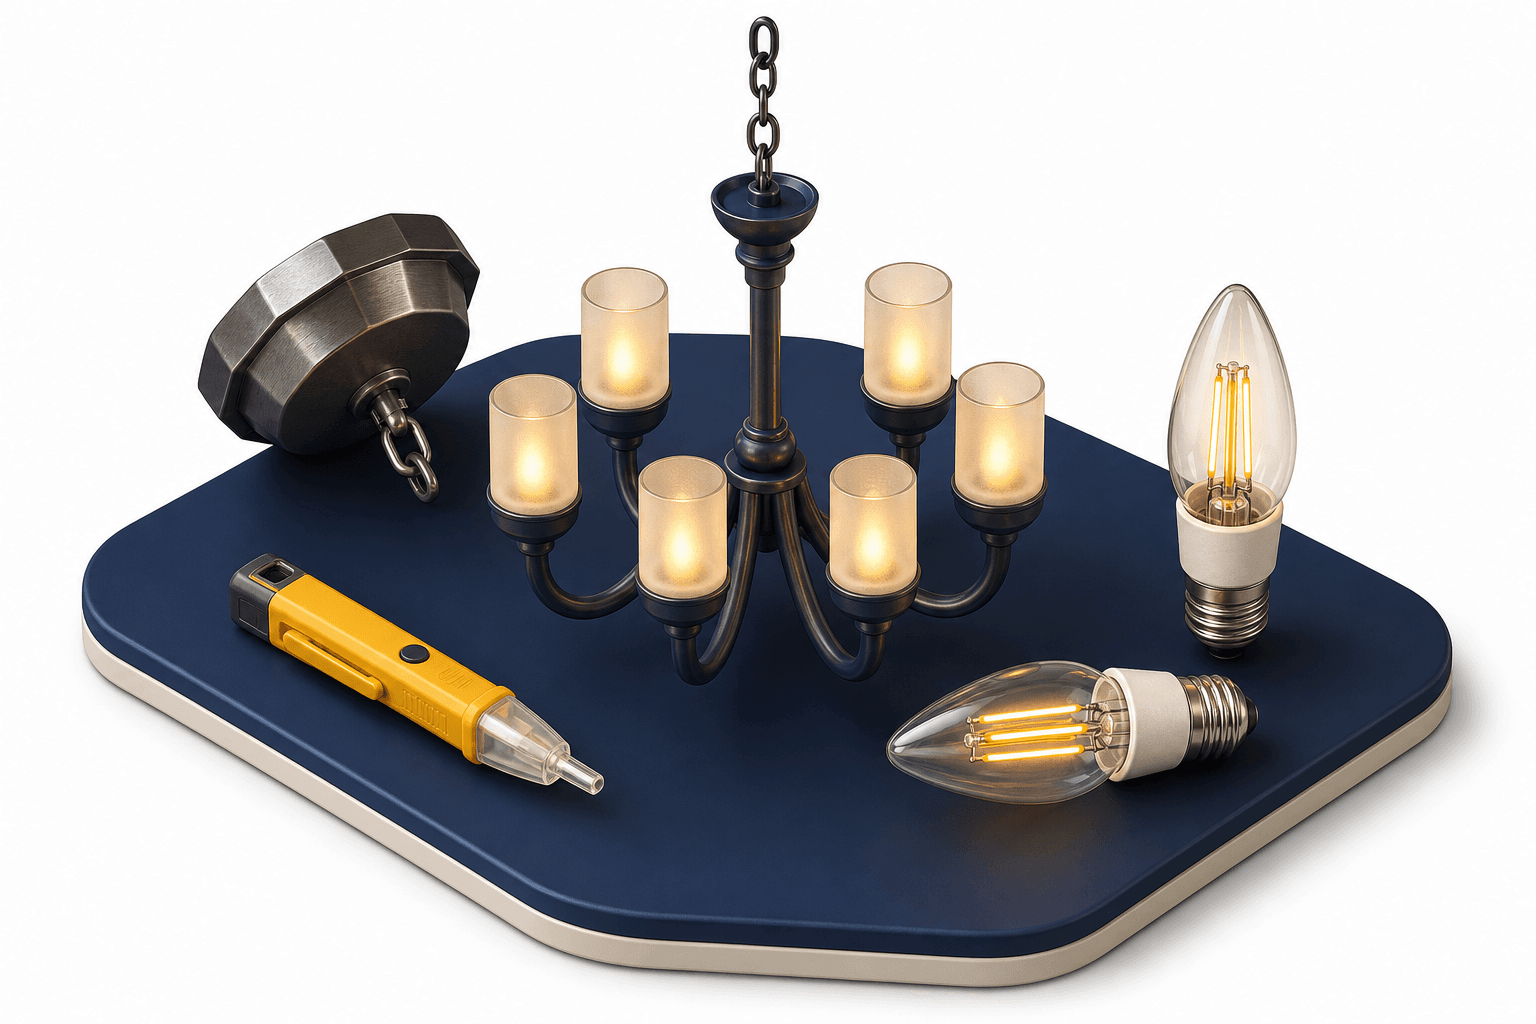
Key Takeaways
Most chandeliers are wired into a junction box in the ceiling. Plug-in versions exist for rooms without ceiling wiring. The single most important thing is matching the mounting hardware to the weight of your fixture.
Installing a chandelier involves three key tasks: securing the right ceiling mount, managing the drop (chain, rod, or cable), and making the electrical connection. None of it is especially difficult, but the wiring step is unforgiving — get it wrong and you risk a short, a damaged fixture, or a shock.
In this guide, I cover the following:
- How to mount the chandelier safely to the ceiling
- How to choose between chain, rod, and cable suspensions
- How to wire the fixture safely
- Why some chandeliers come with plugs instead
Before You Begin
Read this section before you touch anything. The wiring rules below apply to standard U.S. residential wiring — if your home uses non-standard or older color codes, or if you are unsure at any point, stop and call a licensed electrician. Some jurisdictions also restrict hardwired fixture work to licensed pros, so check local code.
- Shut off the circuit at the breaker panel. Flipping the wall switch alone is not enough — some switch loops leave the neutral or the fixture box partially energized.
- Verify the wires are dead with a non-contact voltage tester ($5–$15 at any hardware store). Touch the tester to each wire in the ceiling box before handling it.
- Identify the conductors. In standard U.S. wiring, black is hot, white is neutral, and green or bare copper is ground.
- Use a level, fully opened stepladder on a solid surface.
- Have a second person on hand. They steady the ladder and help support the chandelier while you make the connections.
How To Hang A Heavy Chandelier With A Hook

Most chandeliers hang from a hook or a loop attached to a bracket at the ceiling box. The fixture ships with its mounting hardware; your job is to make sure the ceiling side can carry the weight.
Match The Box To The Fixture Weight
Per NEC Article 314.27(A)(2), an outlet box may support a luminaire weighing up to 50 lb (23 kg) directly, provided the box is listed for fixture support. UL-listed boxes intended for this use are marked "FOR FIXTURE SUPPORT" — look for that stamp inside the box before relying on it.
For chandeliers up to 50 lb, the bracket included with the fixture can attach directly to a listed box. For anything heavier, the fixture must be supported independently of the box — typically with a fan/fixture-rated brace anchored to the ceiling joists, or with hardware fastened straight into a joist.
Use The Right Mounting Kit
For heavy fixtures you will need a separate mounting kit rated for the chandelier's weight, anchored to the ceiling joists rather than the box itself.
Flat mounting kits work when the chandelier sits directly under a joist — screw the flat mount straight into the joist.
Between joists, use an expanding brace bar (fan/fixture-rated). Insert the bar through the ceiling hole, then rotate it 90° so it runs across the joists — not parallel to them — allowing the toothed ends to grip wood on each side. Twist the bar to extend it until the teeth bite firmly into both joists.
Once the bracket or mounting kit is secured, attach the hook if it isn't already welded on — usually a screw-in fit. Now you're ready to wire.
Choosing Your Suspension: Chain, Rod, Or Cable
The drop from the chandelier to the ceiling is part of the design, so pay attention to it when you're buying. The three common options behave quite differently:
| Suspension Type | Adjustable? | Hides Wire? | Best For |
|---|---|---|---|
| Chain | Yes — add or remove links | Yes — wire can be woven through | Most chandeliers, flexible hang heights |
| Rod (downrod) | No — fixed length | Partially (inside the rod) | Low ceilings, modern styles, anti-twist needs |
| Cable | Varies by model | No | Minimalist or contemporary fixtures |
How To Install A Chandelier With Chain
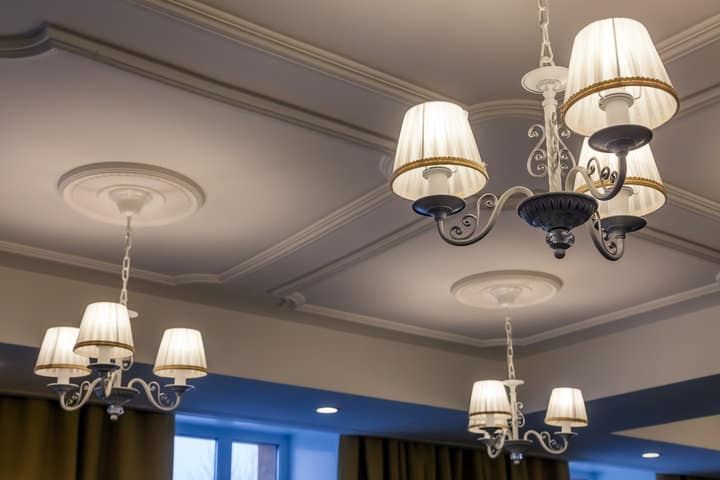
Chain is the most forgiving of the three suspensions. You can dial in the height by adding or removing links, and you can run the supply wire up through the chain so it disappears into the fixture.
Hang Height
Before you measure the chain, decide where the chandelier should sit:
- In a foyer or open room, keep the bottom of the chandelier at least 7 ft above the floor so people can walk under it.
- Over a dining table, hang the fixture 30–36 inches above the tabletop. Lower drops feel intimate; higher drops feel airier.
- For ceilings higher than 8 ft, add roughly 3 inches of chain for every extra foot of ceiling height.
Shortening The Chain
Chandelier chain is usually unwelded oval link, which is designed to be opened with hand tools. Don't pull the link straight outward — that deforms and weakens it. Instead:
- Grip the link to be opened with one pair of pliers and the neighboring link with a second pair.
- Twist the cut link sideways — one end forward, one end back — to open the gap. The link stays in plane; only the gap rotates.
- Remove the unneeded links.
- Twist the link closed again the same way until the ends meet.
If the chain shipped too short, you can buy extra links — try to match the style and finish closely.
Connecting To The Ceiling
The last link of a chandelier chain is typically a quick link — a solid oval link with a threaded sleeve that opens and closes by twisting the collar. It hooks over a swag hook (sometimes called a canopy hook) mounted to the ceiling bracket, which is the open hook that actually bears the chandelier's weight. A true spring-gate climbing carabiner is not standard chandelier hardware — don't substitute one.
Hiding The Wire
Weave the supply wire in and out of the chain links from fixture to ceiling before hanging the chandelier. Measure the wire to the length of the chain, then add about a foot of slack for the connection inside the ceiling box.
How To Wire The Chandelier
With the circuit confirmed dead at the breaker and verified with a non-contact voltage tester, the wiring itself is straightforward:
- Identify the conductors. In standard U.S. wiring: black = hot, white = neutral, green or bare copper = ground. The chandelier's wires will follow the same convention.
- Strip about ¾ inch of insulation from each conductor if it isn't pre-stripped.
- Pair the wires by color: fixture black to ceiling black, fixture white to ceiling white, fixture ground to ceiling ground (and to the green ground screw on the bracket where one exists).
- Hold each pair side by side, slide a UL-listed wire connector (wire nut) over the ends, and twist clockwise until the nut is snug and no copper is exposed below the skirt. Give each wire a tug to confirm it's locked in.
- Tuck the connected wires up into the ceiling box, leaving room for the canopy to sit flush.
- Hook the chain's quick link onto the swag hook, slide the canopy up against the ceiling, and secure it with the included hardware.
- Restore power at the breaker and test.
If you find wires that don't match the standard color code, more than two cables entering the box, aluminum conductors, or no ground at all, stop. These conditions are common in older homes and they require a licensed electrician to sort out safely.
Why Do Some Chandeliers Come With Plugs?

Most chandeliers wire into a lighting circuit, but some ship with a plug instead. They're designed for rooms where no ceiling box exists — older bedrooms, rentals, finished basements — or for hanging from a freestanding stand, like an oversized table lamp.
The trade-off is that the cord has to reach an outlet, and most ceilings don't have one nearby. A few options for managing the run:
- Run the cable along the ceiling to the nearest wall, down the wall to the outlet, and hide the run inside a paintable concealer channel or paintable cord cover matched to the wall color.
- Use a ceiling swag hook to redirect the chain (and cord) across the ceiling to a more convenient spot above the outlet. This is the classic "swag" install.
- If you're hanging from a stand, wrap the cable down the stand to the floor and run it to the wall outlet.
- Don't rely on an extension cord. Extension cords aren't rated for permanent lighting installations and most manufacturers' warranties — and many local codes — exclude their use this way.
Final Words
A chandelier is mostly an exercise in matching the mount to the weight and connecting the wires correctly. Use a box or brace that's rated for the fixture, kill the breaker (not just the switch) before touching wiring, and pair conductors by color with UL-listed wire nuts.
My rule of thumb: if the existing wiring doesn't match the standard black/white/ground pattern, if the ceiling box isn't marked for fixture support, or if the fixture is on the heavy end and you're not certain the brace is biting into solid wood — call an electrician. The cost of a one-hour visit is small compared to a chandelier on the floor or a fire inside the ceiling.