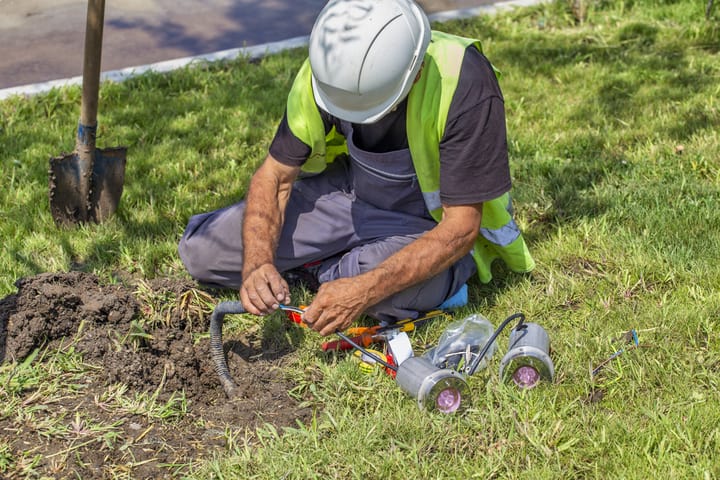
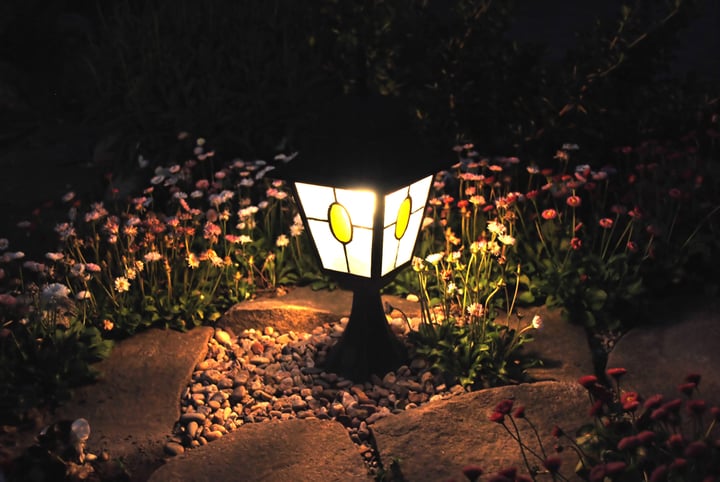
Whether swapping out a faulty light or dismantling an entire landscape lighting system, it’s important to know the best steps to avoid any mishaps.
If you’re reckless and just rush to get the job done, you could damage your home, spoil your garden, and, more seriously, create a hazard for yourself or others.
When removing landscape lights, always disconnect the power first, and then disconnect the transformer. Then remove the lights and, if you can, remove the wiring. Any wiring that’s too buried or tangled amongst plants should be rendered safe.
To help you make sure you follow the right steps, I’ll take you through:
- How to take apart your landscape lighting system
- What needs to be removed first
- How to replace landscape lights
How To Take Apart Landscape Lights?

There are several reasons you might want to dismantle your landscape lighting.
It could be that you’ve moved into a home with an old system, and you want to start fresh.
Or maybe you’ve got some problems with an installation, and it’s easier to just redo the entire thing.
Obviously, safety is the number one concern for anything electrical. However, you also want to avoid damaging anything too.
Damaged lights can be harder to dispose of. You’ll also want to keep working lights in good condition if you’re re-using them or selling them.
Of course, the least amount of damage to your outdoor space or work, the better.
On the other hand, that’s your priority order – safety first, then protecting lights, then protecting the garden, then minimizing the work involved.
With that in mind, you should always start with the obvious step of disconnecting the power before you do anything with your landscape lights.
Don’t assume that because you’re likely using 12V landscape lighting, you can safely touch the wires.
It’s indeed a low voltage, but you can still get a shock or a burn.
It should be the golden rule for anything electrical in your mind. When you’re dismantling any kind of electrical circuit, cut the power first.
When you’re busy doing multiple things at once and can’t remember if you’ve done it, check – never assume.
Then you’re ready to start removing your landscape lights.
What Should I Remove First?

Once you’ve removed the power, the next step when removing your landscape lighting is to disconnect and remove the transformer.
It doesn’t make a massive difference if you don’t do this first, but it is a best practice just to make sure that the brain of your system is entirely removed.
There won’t be a live current with the power source removed, but removing the transformer is safer since you know there’s nothing live connected.
If you’re busy working and someone else accidentally reconnected the power, having no transformer wired means zero chance of a hazard.
Next, remove the lighting fixtures.
Do this now because they’re easier to remove than the wiring. Just disconnect them from any connections on the circuit and then safely remove them.
Unscrew the fixture in place for mounted lights and then remove the mount. Even if you’re replacing the light, it will come with a new mount, and it’s best to always use new.
If you’re removing stake lights, lift them straight upwards. Don’t pull them sideways at an angle – you risk damaging your garden and any wires.
For recessed lights, remove the bulb first before you remove the fixture. It will make it easier and removes the risk of smashed glass if you accidentally drop the fixture as you unscrew it.
Finally, you need to try to remove the landscape wiring.
Sometimes this isn’t easy, especially if you’ve had plants growing nearby – roots can take hold of wires and make them impossible to remove.
If you can remove the wires, you’ll likely need to dig in sections to pull it clear. However, don’t try to just pull the wire out. You’ll damage any plant life nearby.
You may not need to dig the entire trench up for the wires, but pulling it out by a couple of feet every time keeps you in control.
If you can’t remove the wire, cap it off with electrical tape and bury it. You might think this step is unnecessary since the wire isn’t connected to a power source.
However, it just makes it safer when you or someone else locates the wire in future and thinks about reconnecting it.
How To Replace Landscape Lighting?

The steps involved in replacing landscape lighting will depend on why you need to make the switch.
If it’s just a light that’s gone wrong, it could just be a bulb issue, in which case it’s relatively easy.
However, if you’re changing it because the whole fixture has a problem or needs updating, there’s a little more to it.
Replacing A Bulb
Replacing a bulb is straightforward, providing the fixture is designed to allow you to. For example, if the light has an opening, you’ll be able to access the bulb.
Don’t try to replace the bulb on a fixture that’s sealed.
You’ll likely damage any waterproofing and risk creating a shorting hazard. In those circumstances, you’d need to replace the whole fixture.
To replace a bulb on a fixture that lets you, all you need to do is:
- Disconnect the power to the circuit
- Open up the fixture
- Unscrew the bulb
- Replace it with a matching bulb (in terms of size, connector and Wattage)
- Close the fixture securely
- Power up the circuit to check it’s working
When the bulb doesn’t have details on it to let you know the Wattage (they usually do, but it may have worn off), then check where you bought the fixture for details.
If the fixture was installed by the prior homeowner, check other bulbs in similar fixtures in your garden.
Also read: Where To Place Landscape Lighting?
Replacing A Fixture

As long as you’re replacing a fixture with something similar in terms of Wattage, you shouldn’t need to replace any wiring unless it’s damaged.
However, if you’re replacing your lights with ones that run off a higher Wattage, you might need to replace your transformer and potentially re-wire the circuit.
That’s because transformers have a maximum Wattage, and different wire gauges may suffer from voltage drop if the Wattage on the lights is too high.
Assuming you’re replacing with like-for-like or similar, here are the steps to follow:
- Disconnect the power to the circuit
- Locate the connector where the fixture is wired into the circuit and remove it. If it’s a wire nut, try pulling on it to remove it. If that fails, cut the wires leading into the connector
- Remove the fixture
- Remove the mount, if the fixture has one
- Add the replacement mount if needed, and put the new fixture in place
- Strip back the remaining wire from the circuit if necessary
- Twist the wires together on the circuit and the light fixture and connect them with a sealed wire nut
Depending on the type of fixture, you might want to wire it up before you install it in place.
You’d just need to swap those steps around.
Final Words
Removing landscape lighting can be long and tiring, but it’s always better to take it slowly and carefully rather than rushing it.
The damage you could do to your outdoor space and the dangers of doing it haphazardly isn’t worthwhile.
Replacing is easier since you’re just swapping out a light fixture (or a transformer, which is also easy to switch out).
However, when you need to fully remove your system, remember safety first and cut that power off before doing anything!
If you’ve any tips for removing landscape lights, let me know.

