Whether you’re adding new lights to your existing landscape system or re-wiring to change the circuit from series to parallel, you’re likely to need to splice your outdoor wiring.
Splicing wire is normally relatively straightforward, but you need to consider a few essential things when dealing with landscape lighting.
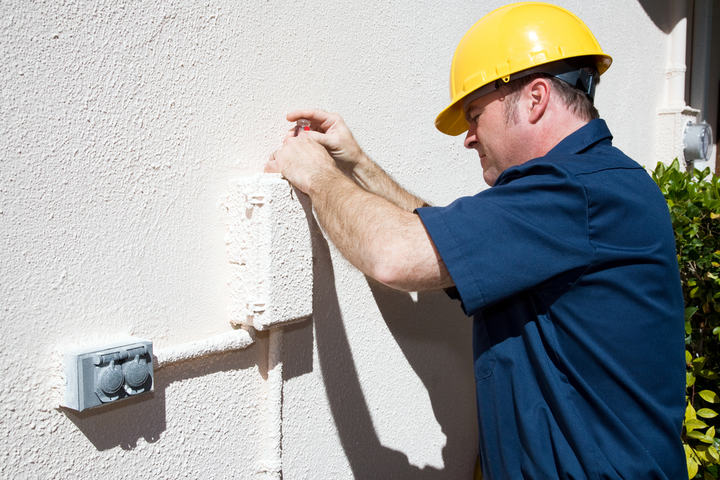
When splicing landscape lighting wire, make sure the power is off. You could use wire connectors designed for outdoor use, but for splicing, the most reliable and cheapest method is to solder the wires and use a heat shrink protector. If burying the wire, you’ll need a sleeve or conduit.
There are a few things to consider, so let’s explore:
- How to safely splice landscape lighting wire
- Whether you should wire in parallel or series
- How to waterproof the connection
How To Safely Splice Low Voltage Landscape Lighting Wire?

Before messing with any wiring, always make sure the power is disconnected.
Some people mistakenly think that it’s not essential because you’re dealing with low voltage wiring.
You don’t always disconnect a car battery when working on it, and that’s 12V, right?
However, 12V is still dangerous, primarily if you handle wires without completely dry hands.
And you know where it tends to be moist?
Outdoors. So don’t take risks; disconnect the power.
Next is your method of splicing. Again, there are two main options you could go for – either soldering the wires together or using a dedicated wire connector.
When adding a light fixture to an outdoor circuit, a wire connector (such as a sealed wire nut) tends to be the better option.
It’s easier to connect the loose wires together; it’s already waterproofed. So if you need to disconnect the wires to remove the fixture in the future, you should be able to break it apart without much trouble.
But it’s that last reason which means that wire connectors aren’t as reliable when splicing cable together.
Wire connectors are suitable for adding fixtures that won’t add physical pressure to the wiring.
When splicing wire, you will be pulling on it and manipulating it to fit in your garden. A wire connector can be weaker and may result in you pulling the connection apart.
More importantly, wire connectors don’t tend to be as reliable for carrying the current.
They’re usually sufficient at providing power for a fixture, but the twisted wires encased in sealant might not allow the current to flow as freely.
This is why soldering is the best option when splicing cable.
You want to know that your connection will reliably continue the current with the least resistance, and soldering provides that perfect bond.
You’ll need to obviously protect the wire once soldered together, and heat shrink tubing is a good option.
But then you need to think about waterproofing as well – more on that below.
Should I Splice Wire In Parallel Or In Series?

When splicing your new wire, you’ve got a decision to make on whether to do it in series or parallel.
Circuits in series are essentially one continuous loop, while parallel circuits are a series of circuit loops wired ‘in parallel.’
Where you can, you should always aim to wire a circuit in parallel. There are two reasons for that.
Firstly, if any part of a circuit is damaged on a series circuit, that will wipe out the entire circuit.
Say a light blows and breaks the circuit – every single light on that circuit won’t work since the entire loop has a broken connection.
But if a light blows on a parallel circuit, it’s only going to affect some of the lights on the same loop as the blown light.
Those on a separate parallel loop won’t be affected.
The second reason to wire in parallel is that it helps avoid voltage drop.
In any electrical circuit, every component (including the wire) has a resistance that causes the overall voltage of the circuit to drop.
On most interior electrical circuits where you’re using standard voltage (direct from the power source) because the voltage drop is such a small percentage of the total current.
But with landscape lighting, you’ll likely be using 12V low voltage lights and wiring.
So a drop of more than 1.5V suddenly has a significant impact, whereas it would barely register on a 120V circuit.
Series circuits place all the demand on one loop.
So, all of your lights and the entire length of wire will all contribute to a voltage drop, which could cause the lights towards the end of the circuit to flicker or not work correctly.
Wire in parallel, though, and you split the demand, which reduces the overall voltage drop.
This is an overly simplified example, but it helps to explain:
Say you’re running a 12V circuit, and each light you add causes a voltage drop of 0.2V.
If you add 10 lights, that’s a total voltage drop of 2V on a series circuit. So anything more than 1.5V is going to cause problems with the lights.
But if you wire half the lights on one loop of a parallel circuit and half on another, then each loop only suffers a 1V drop, which is manageable.
How To Waterproof Wire Connection?

There are a few different ways that you can waterproof a wire connection. Still, there’s an extra consideration in play with landscape lighting.
The option that’s generally most effective is adhesive-lined heat shrink tubing.
All you need to do with this is make sure you’ve got a length of tubing over one of the wires before you solder it and slide it over the connection once done.
Gently heat it, and it’ll shrink into place, creating a waterproof seal.
You can also use liquid electrical tape or self-fusing silicone tape (Amazon) if you prefer – these are even easier to use, but they don’t tend to be as effective.
The extra consideration is based on where the cable will be situated. If it’s above ground, then these options are probably sufficient.
If you want to bury the cable, though, you need to factor in the constant moisture and pressure of the soil.
Many landscape lighting wire is rated for direct burial, meaning you can bury them without any kind of sleeve or conduit.
But a splice is a weak spot and would need extra protection.
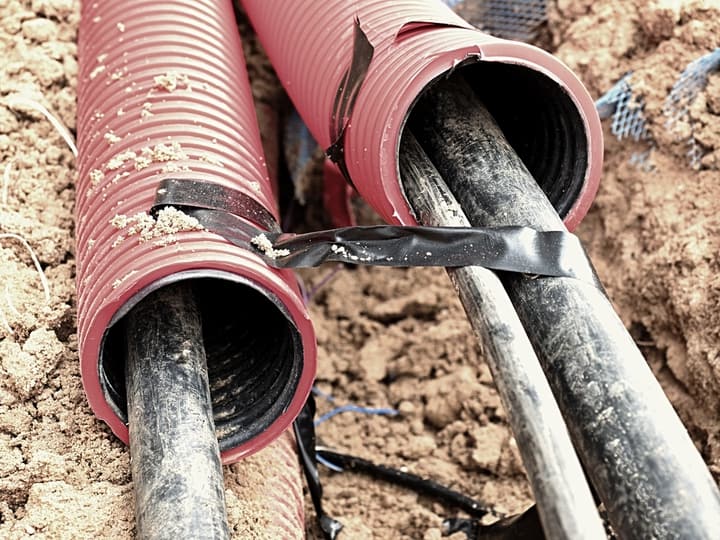
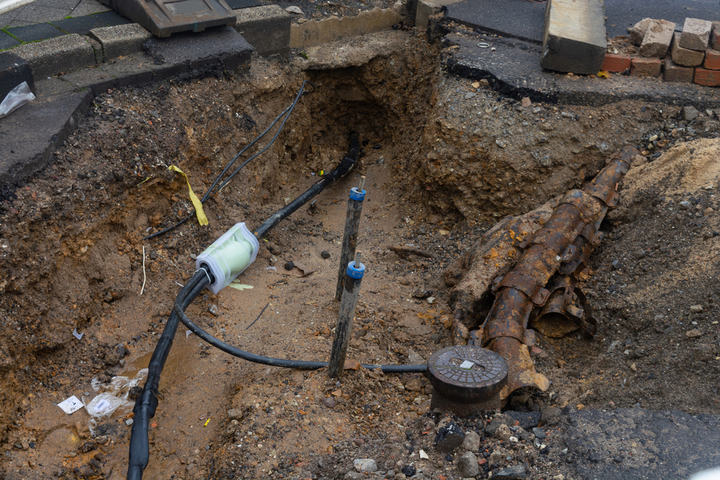
If you plan on burying spliced wire, the best thing to do is to use heat shrink tubing to seal the joint and then place the wire inside a liquid-tight conduit (Amazon) as an extra layer of protection.
Final Words
Splicing landscape lighting wire is relatively easy, and if you have ever soldered before, you won’t have any trouble.
Even if you haven’t, it’s not too difficult a skill to pick up, and it’ll serve you well for any future electrical tasks.
The key is to get that waterproof seal and protect the spliced section if you plan on burying the cable.
Otherwise, you risk moisture getting into the circuit and causing the whole thing to fail.
Let me know if you’ve got any of your own tips for splicing outdoor lighting wire.

