
How To Connect LED Strip Lights Together?
Past 5 m on a 12V strip, the far end gets less voltage than the near end — and it shows as visible dimming. Longer runs need parallel branches, not more daisy-chaining.
 Eugen
EugenEugen Nikolajev
Creator of LED Lighting Info
Hi, I am Eugen. I was always one of those kids who had all sorts of weird lighting gadgets for every occasion.
Now, I want to share my knowledge and experience about lighting with you on LED Lighting Info.
Read my editorial standards
How To Connect LED Strip Lights With A Clip Connector
Here is a simplest downloadable connection guide using LED strip light connectors.
 1
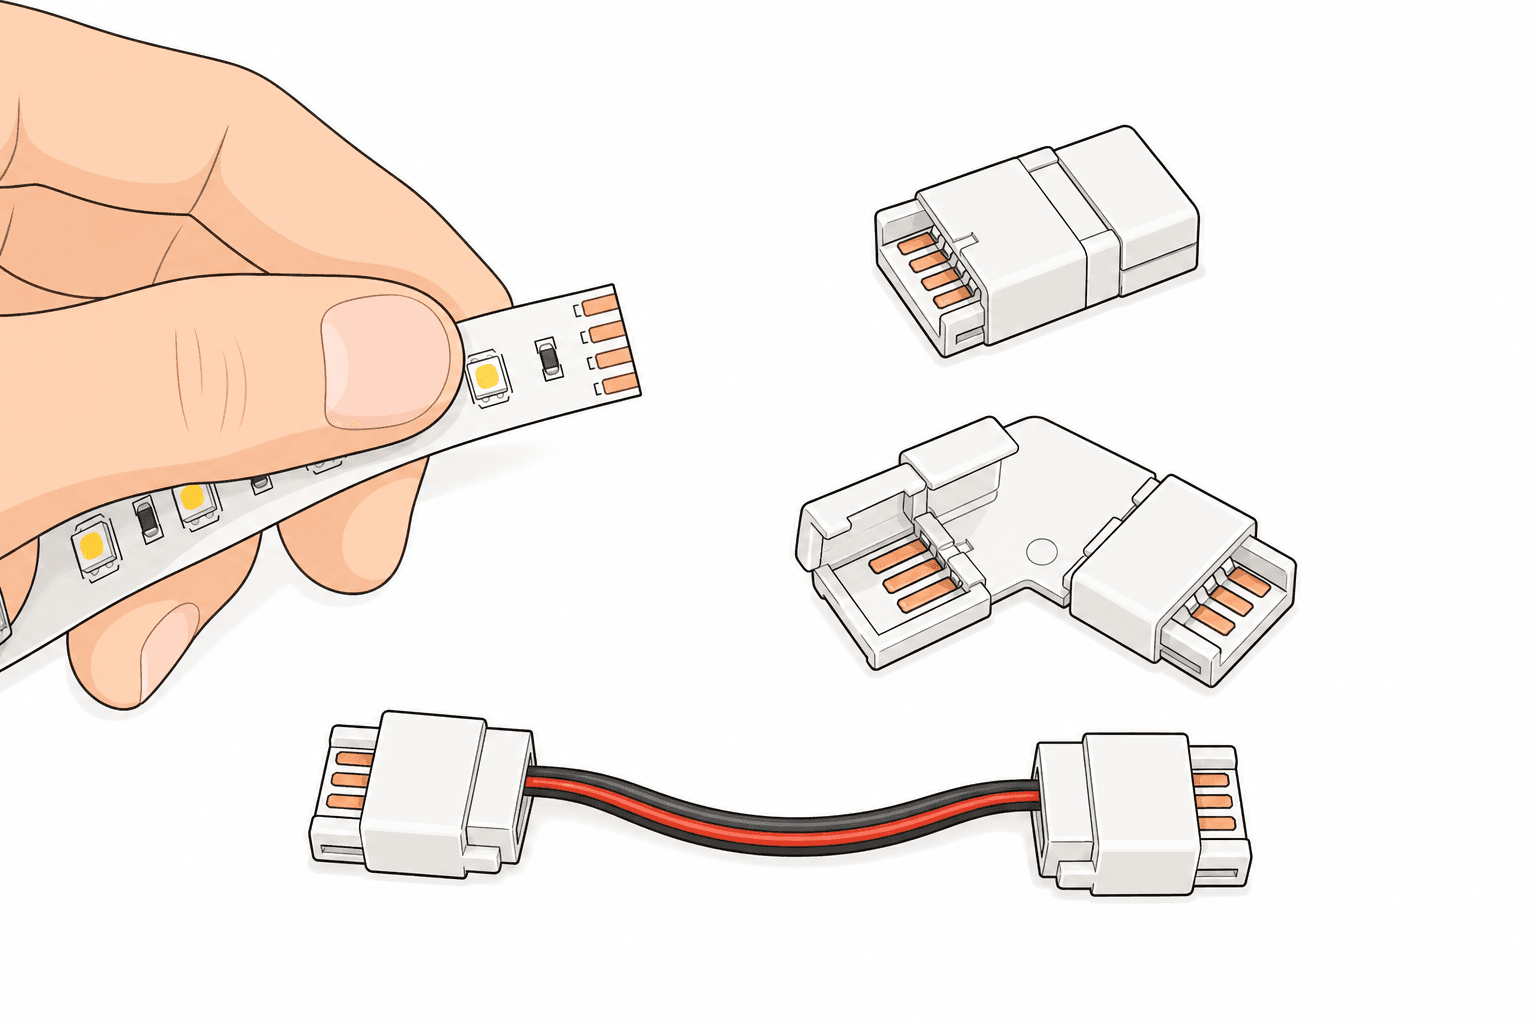
1Match the connector to your strip
Count the copper pads at the cut end — 2 for single colour, 3 for tunable white, 4 for RGB, 5 for RGBW, 6 for RGBCCT. Buy a connector with the same pin count and the right shape for the spot: straight, corner, or wire-bridge.
 2
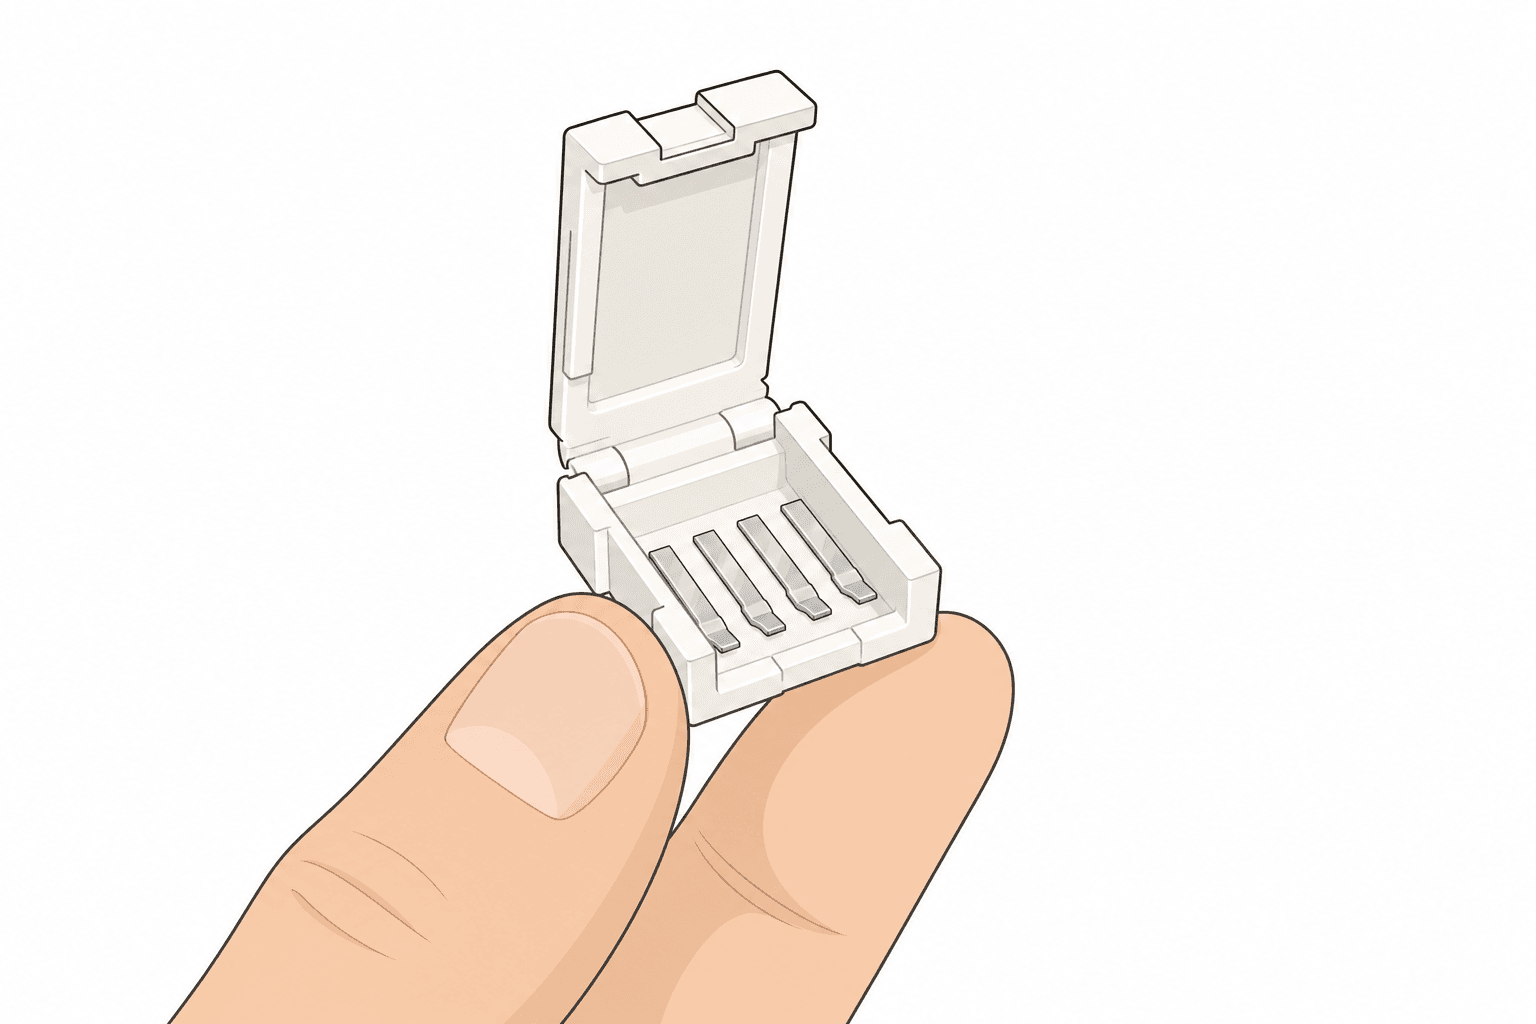
2Open the clips on the connector
Lift the hinged plastic flap at each end of the connector until it stands open. The metal pins inside should be fully exposed.
 3
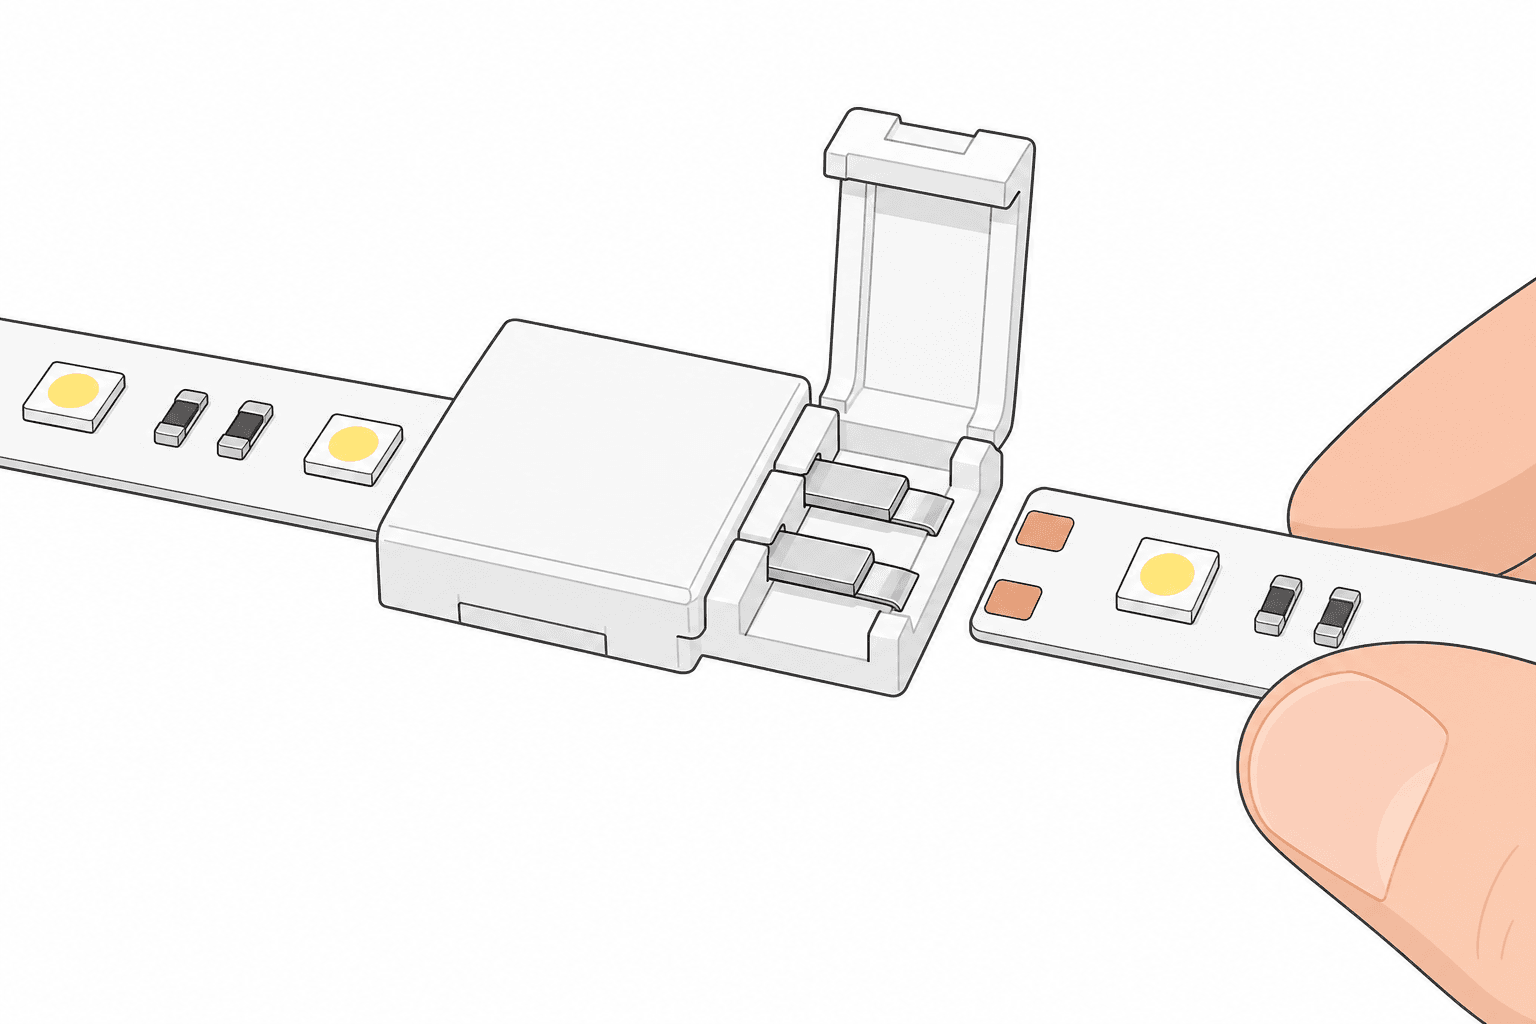
3Slide each strip in with polarity matched
Push the strip in until every copper pad sits directly under its matching pin, with the + marking on the strip lined up with the + side of the connector. Orient the second strip the same way — reversed, it won't light.
 4
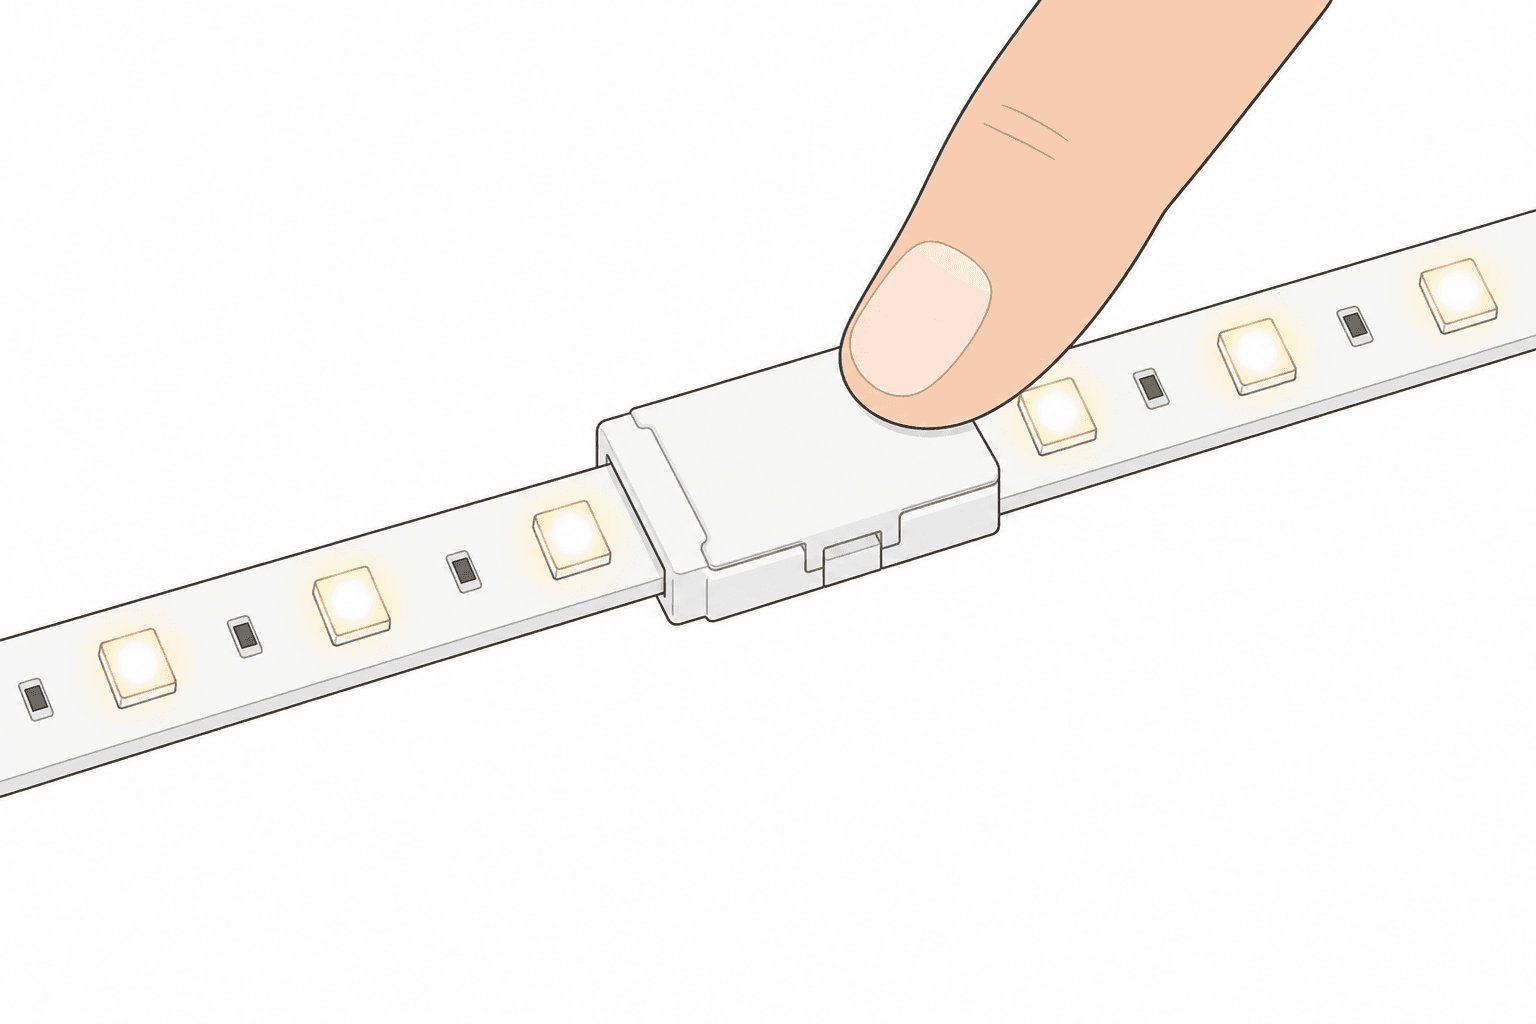
4Close the clips, then power on and check
Press each flap down until it snaps, and tug gently to confirm both strips are held. Switch on and sight down the run — it should be evenly bright with no dim patch past the joint.
A single LED strip is often too short for under-cabinet runs, staircase lighting, or full-room cove installations. Connecting two or more strips together is one of the most common tasks in any LED project — and it's straightforward once you know the pin counts, voltages, and power-supply rules involved.
This guide covers non-addressable (analog) LED strips. Addressable strips such as WS2812B and SK6812 have an extra data line and use different connectors — if your strip has a labeled DIN or DOUT pad, those instructions don't apply here.
Below, we'll cover connectors vs. soldering, mixing strips from different brands, how many strips a single power supply can handle, the voltage-drop limits on a single run, and the difference between series and parallel wiring.
How To Connect Multiple LED Strip Lights Together
There are two main methods: clip-on connectors or soldering. Connectors are faster and require no tools, while soldered joints have lower contact resistance — which means less voltage drop across the connection and more consistent brightness along the run.
Connecting Multiple LED Strips With Connectors
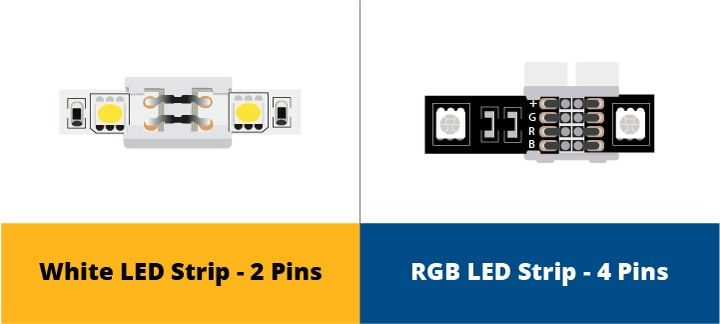
Clip connectors snap over the copper pads at the cut end of each strip. The only real work is matching the connector to your strip — the pin count depends on how many channels the strip has.
Single-color strips (white, warm white, or one fixed color) have two copper pads. Tunable-white strips — also called CCT or dual-white — have three: one positive and two negatives, one for warm white and one for cool/daylight. RGB strips have four, RGBW strips have five, and RGBCCT (sometimes called RGBWW) strips have six. Always match the connector's pin count to your strip.
Pin Counts By Strip Type
| Pin Count | Strip Type | Channels |
|---|---|---|
| 2-pin | Single color (white, warm white, or one color) | + , – |
| 3-pin | Tunable white (CCT / dual-white) | + , WW– , CW– |
| 4-pin | RGB | + , R , G , B |
| 5-pin | RGBW | + , R , G , B , W |
| 6-pin | RGBCCT / RGBWW | + , R , G , B , WW , CW |
You can't mix strips with different pin counts on one connector — a 4-pin RGB strip has no place to send the extra white channel of a 5-pin RGBW strip, and the pads won't line up.
Connector Types
| Connector Type | Best For | Notes |
|---|---|---|
| Clip-on (no wire) | Straight runs, invisible joints between two strip segments | Cleanest look — leaves no visible gap. Available in straight, L-shape, and T-shape variants. |
| Clip-to-wire-to-clip | Corners, bypassing obstacles like heating pipes or structural edges | The cable lets you route around physical barriers without kinking the strip itself. |
| Clip-to-bare-wire | Connecting the first strip to the PSU or an RGB/CCT controller | One end clips to the strip; the other ends in tinned lead wires for terminal blocks. |
If you're using a wire-bridge connector to route around a heating pipe or other hot surface, keep the cable clear of direct contact — sustained heat can damage the insulation and the strip itself.
How To Connect LED Strips Without Connectors (Soldering)
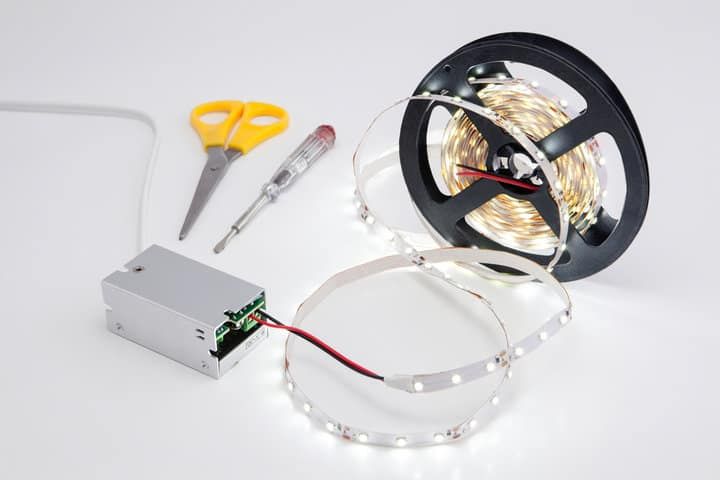
Soldering takes more time and a steadier hand, but the joint is mechanically stronger and has lower contact resistance than a clip — which means less voltage drop across the connection and more consistent brightness along the run. It's the better choice for long runs, higher-wattage strips, or permanent installations.
The process, step by step:
- Trim each strip at a marked cut line so the copper pads are fully exposed.
- Apply a small amount of flux to each pad, then tin them with a thin layer of solder.
- Hold the two strips in alignment — polarity matched, pins lined up pad to pad — and touch the soldering iron to each pair until the solder flows together.
- Check that no two adjacent joints are bridged — even a small blob across neighboring pads will short the circuit.
- Cover the joint with heat-shrink tubing or electrical tape to insulate it and protect against moisture.
- Power on and verify the full run lights up evenly before mounting anything permanently.
Can You Connect Different Brand LED Light Strips Together?
Staying with one brand is easiest because the strips, connectors, and PSUs are all designed to work together. Cross-brand connections can work, but you need to check four things before mixing:
- Voltage must match. A 12V strip connected to a 24V run will fail immediately; a 24V strip driven at 12V will be dim or won't light at all.
- Current must be budgeted correctly. Strips from different manufacturers can draw very different wattage per meter. Add up the total draw of every strip on the run and make sure your power supply can deliver that amperage with margin (see the 80% rule below).
- Polarity must be aligned. Look for + and – (or V+ and V–) next to the copper pads. Not every manufacturer orders them the same way, so double-check before clipping.
- Pin width and spacing should match. Even at the same voltage, brand-to-brand differences in pad width and pitch can mean a clip connector won't grip both strips reliably. Soldering is the safer option when the physical dimensions don't line up.
Quality can also vary by brand, so a mixed run may dim or fail unevenly over time — keep that in mind when planning a visible installation.
How Many LED Strips Can I Connect Together?
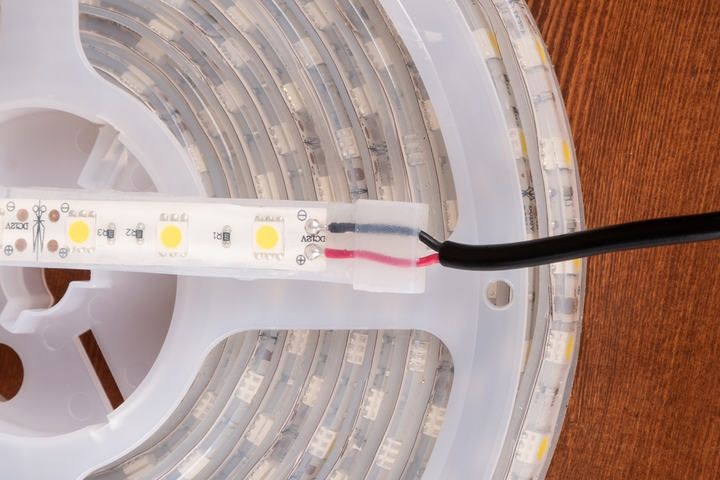
Two independent limits decide how much strip a single power supply can drive: the PSU's wattage capacity, and the maximum continuous length before voltage drop starts to dim the far end.
The 80% PSU Capacity Rule
Total strip wattage should stay at or below 80% of the power supply's rated capacity. That margin keeps the PSU running cool, extends its lifespan, and accounts for inrush current and small spikes. It's the same principle the National Electrical Code applies to any continuous load.
🛠️ Worked example: a 60 W power supply has a usable budget of 48 W (60 × 0.80). If your strip draws 4.8 W per meter, that's up to 10 m of total strip (48 ÷ 4.8) on one PSU — for example, two 5 m runs wired in parallel.
If the total load exceeds the PSU's budget, use a larger power supply or split the strips across two (or more) PSUs.
Maximum Run Length (Voltage Drop)
Even if the PSU has capacity to spare, a single continuous strip can only go so far before voltage drop kicks in. As current flows along the thin copper traces, resistance drops the voltage reaching the far end — LEDs near the end get less power and look visibly dimmer, and white strips can even shift color.
The practical limits per continuous run:
- 12V strips: about 5 m (16 ft) max
- 24V strips: about 10 m (32 ft) max
To go longer, don't just keep daisy-chaining. Instead, inject power at both ends of the strip, or run a second strip as a parallel branch straight back to the PSU. Both fixes give the far LEDs their own short path to the power supply, so they see full voltage.
Series vs. Parallel Wiring (And Why It Matters)
"Series" wiring — the term most DIY guides use for daisy-chaining several strips end-to-end from one PSU — is technically still a parallel circuit. Each LED sits in parallel across the supply rails; only the wire leading to them is chained. The distinction matters because it's why voltage drop worsens as the chain grows: every extra meter of strip adds more trace resistance before the current reaches the last segment.
True parallel wiring — each strip run back to the PSU on its own pair of leads — is more reliable. Every strip gets full voltage, voltage drop is limited to one strip's worth of trace, and if one run fails, the others keep working. It's the right choice for longer, permanent, or commercial installs.
For short domestic runs well within the PSU's 80% budget, daisy-chaining is fine. The moment you're approaching the run-length limit above, switch to parallel branches.
FAQs
How To Reconnect Cut LED Strips Without Connectors?
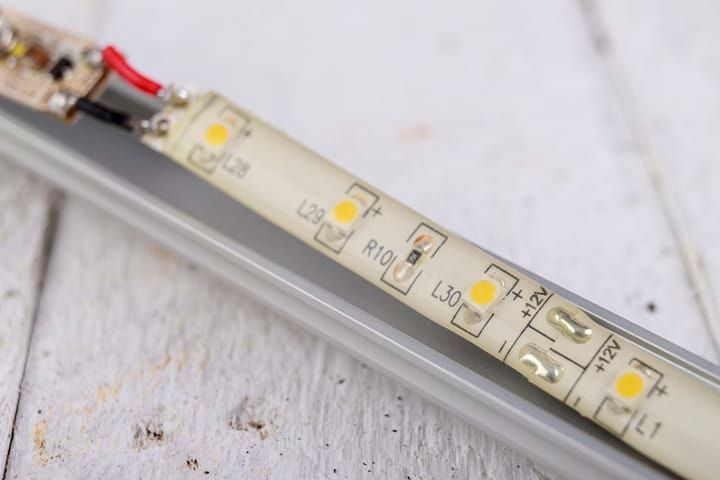
Solder the exposed copper pads directly, matching polarity pin to pin. Tin each pad first, align the strips, then flow the solder across each corresponding pair. Work carefully — any bridge between two neighboring joints will short the circuit. Finish with heat-shrink tubing or electrical tape over the joint.
Do RGB LED Strip Lights Require Special Connectors?
Yes. RGB strips have four copper pads (labeled +, R, G, B) and need a 4-pin connector or controller. RGBW strips use five pins, and RGBCCT/RGBWW strips use six. You can't clip an RGB strip directly to an RGBW one — the pin counts and channel assignments don't match.
You can, however, power strips of different types from the same PSU if each runs on its own parallel branch with its own matching controller (an RGB controller for the RGB strip, an RGBW controller for the RGBW strip). They're independent loads sharing a supply rail, not a daisy-chain.
Is It Safe To Connect Multiple Strip Lights?
Yes, as long as voltage is matched across every strip and the PSU, and total wattage stays within 80% of the PSU's capacity. LED strips are low-voltage DC — 12V and 24V are the common residential standards, with 24V preferred for longer runs because of less voltage drop. 5V strips also exist but are mainly for USB-powered projects and addressable strips like WS2812B.
Mismatched voltage or an overloaded PSU can pull more current than the strip or supply is designed for, leading to overheating and, in severe cases, a fire hazard. Cheap strips with undersized copper traces are especially vulnerable.
What About Addressable Strips Like WS2812B?
Addressable strips have a data line in addition to power, so they use 3-pin (single-color addressable) or 4-pin (RGB addressable) connectors with a DIN/DOUT pad. The connection rules in this guide — pin count, polarity, 80% PSU rule — still apply, but you also have to maintain the data direction (DOUT of one strip feeds DIN of the next) and the connectors are physically different. Check the strip's datasheet for its specific pinout before buying connectors.
Final Words
Connecting LED strips is straightforward once three things are right: the pin count matches the strip, every strip and the PSU share the same voltage, and the total wattage stays under 80% of the PSU's rated capacity. For runs longer than 5 m on 12V (or 10 m on 24V), split the run into parallel branches or inject power from both ends to avoid visible voltage drop.
Use clip connectors for fast, reversible joints, and solder for long runs or permanent installs where lower contact resistance matters. Sticking to a single brand avoids most compatibility headaches; if you do mix brands, double-check voltage, current draw, polarity, and pad dimensions before you clip anything together.
Before you mount anything, check what length of LED lights you need for your room, and when you're ready to install, here's how to stick LED light strips on the wall so they stay put.
Related articles
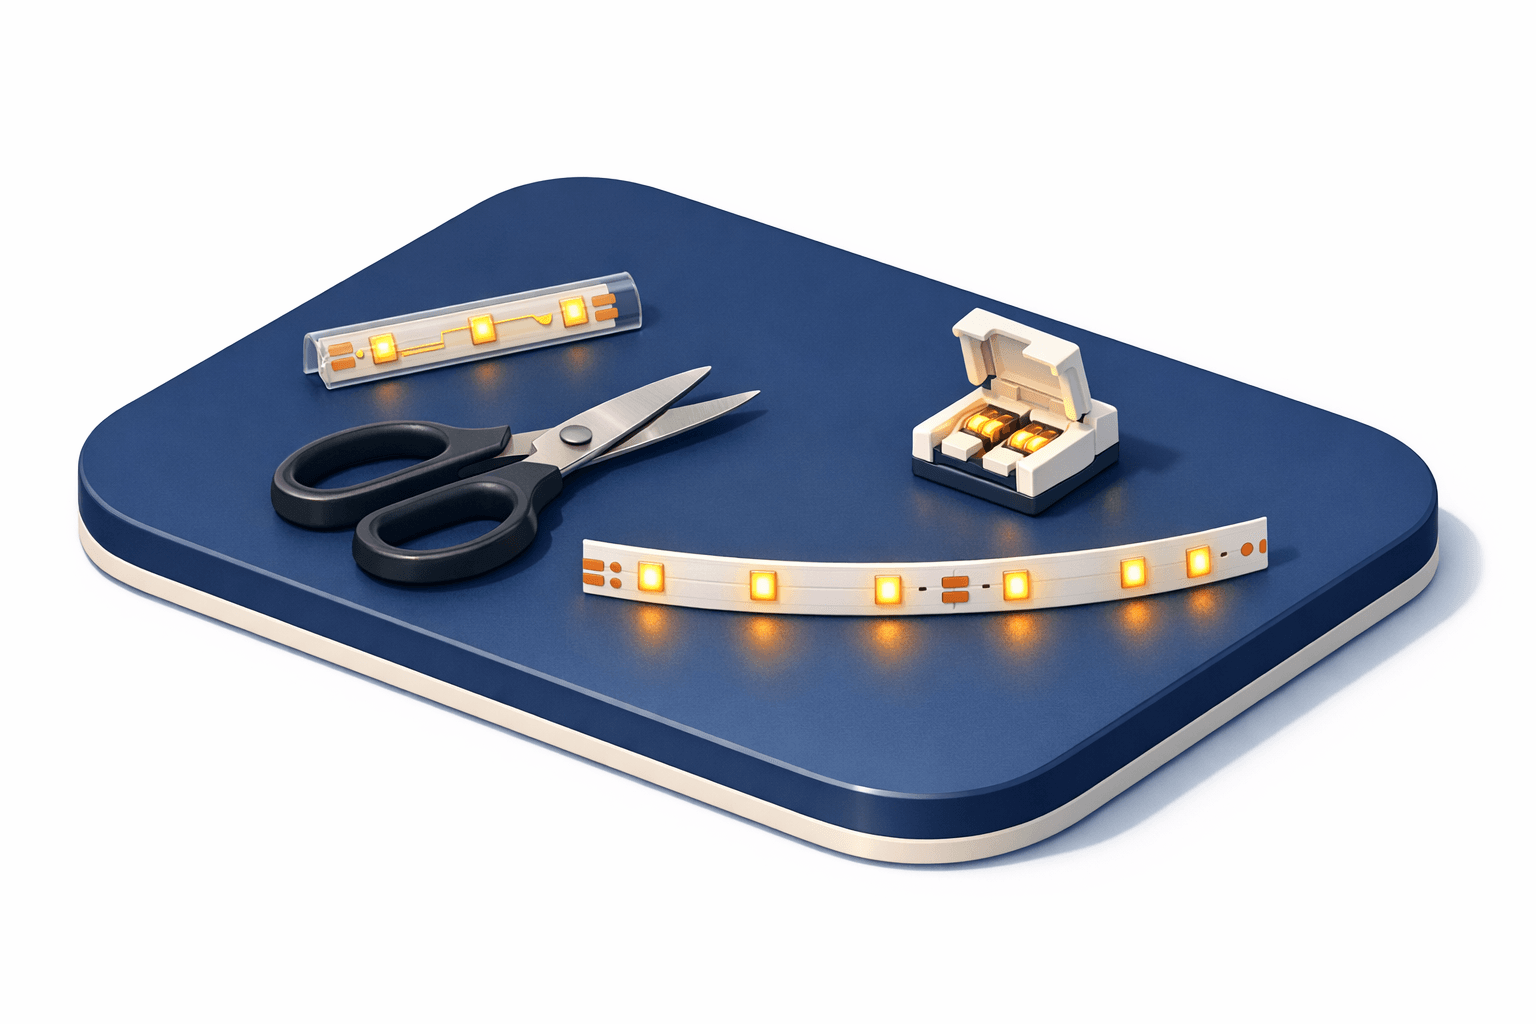
If You Cut An LED Strip Will It Still Work? Downloadable Guide
That 5-meter reel, your 73cm shelf — cutting the strip doesn't kill either piece. Every segment between cut marks is its own self-contained circuit, so both halves stay fully live.
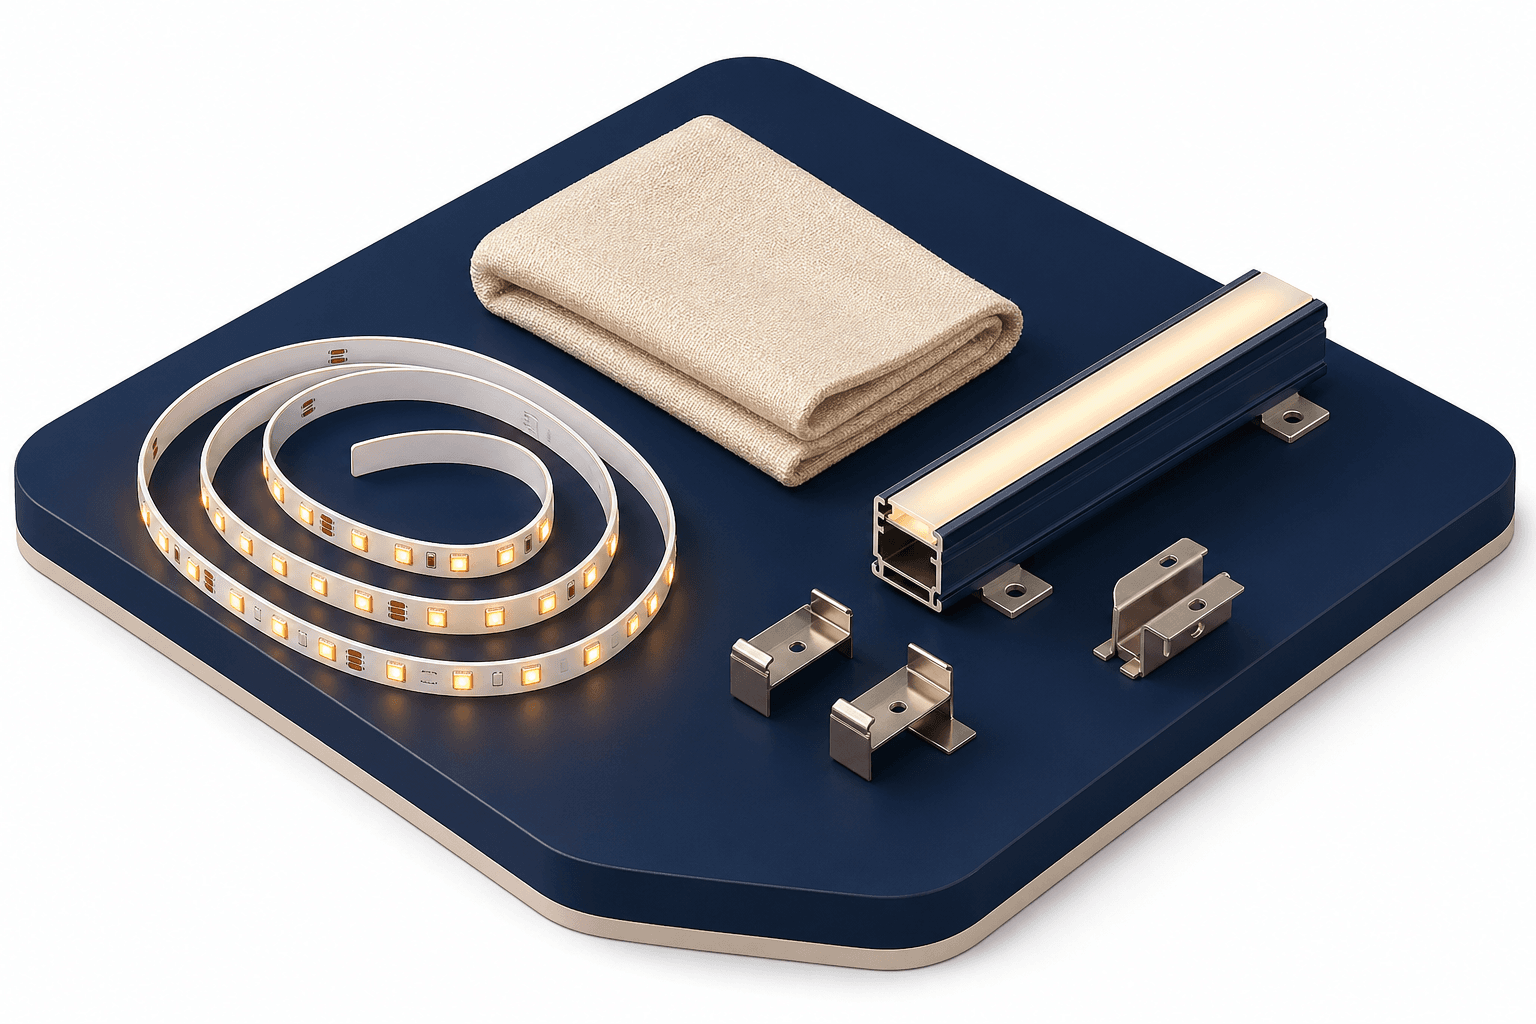
Can You Put LED Strip Lights On Fabric?
That strip peeling off your sofa with a thin layer of fabric fibers stuck to it isn't a cheap-strip problem — it's geometry. Fabric weave gives standard adhesive almost nothing to grip.
Are LED Strip Lights Allowed In Dorms?
Some schools — Seton Hall among them — explicitly ban LED strip lights in residence halls, and your housing handbook may name them alongside extension cords. Check before you buy, not after.