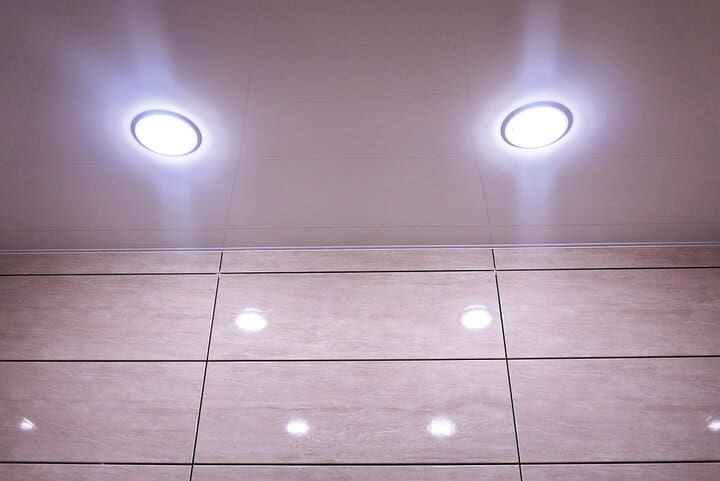
Recessed LED lighting can be a great way of modernizing a room and opening the space, especially if you currently have low-hanging pendants.
However, the prospect of installing lights into a ceiling can be pretty daunting – you don’t want to have to completely destroy it to add your lights.
Don’t worry – you don’t have to.
Installing recessed LED lights in an existing ceiling consists of drilling the holes for the lights and wires and feeding the main wire through from an existing lighting circuit. It’s easier to do from above if you have attic access, but it can be done using right-angle drills from below if you don’t.
There are a few things you need to consider when installing recessed LEDs into an existing ceiling so let’s look at:
- Whether you can add recessed lights to an existing lighting circuit
- If ceiling insulation causes any problems
- How to install lights if you don’t have attic access
- How to wire the lights
Can I Add Recessed Lighting To The Current Circuit?

The good news is that you don’t need to wire a completely new circuit from your circuit breaker to add recessed lighting to your home.
You can add it to an existing circuit.
Because this article is about adding LED lighting, you shouldn’t worry about the main concern with new lighting installations, overloading a circuit.
LED fixtures use very low wattage, so even if you’re replacing a single pendant light with multiple recessed LEDs, you shouldn’t come close to overloading it.
The only issue that you will have to deal with is how to run the wire from the existing circuit to your new recessed lights.
If replacing a pendant light, you can use the existing wire and splice your new fixtures into it.
If you’re adding completely new lights, you’ll just need to run a new wire from the existing circuit loop up the wall, into the ceiling, and then through the joists to the space where you want the lights to be situated.
Sounds tricky, but you only need to make a couple of small holes to be able to do this.
What If My Existing Ceiling Is Insulated?

If your ceiling is insulated, you can still install recessed lights. But there are a few extra things you need to consider.
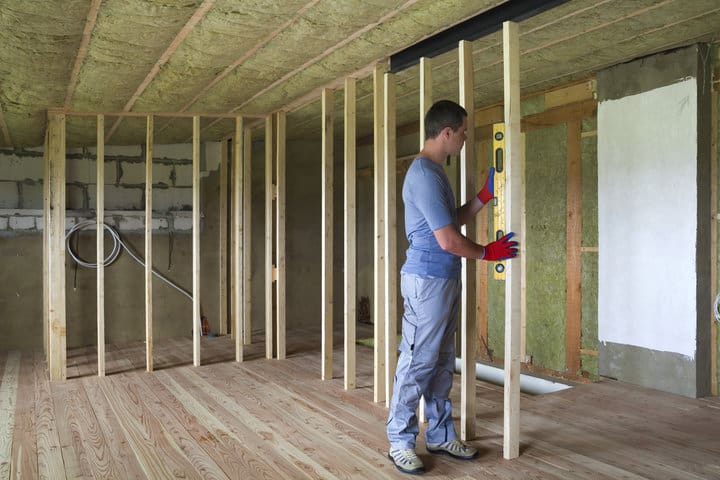
Firstly, you will be working with and cutting through the insulation.
Insulation is made from fiberglass and is an irritant.
Whenever you’re doing any work, ensure you’re wearing long gloves with long sleeves and a mask on.
Once any work is complete, make sure you clean up thoroughly after yourself too.
You don’t want to breathe in particles that have fallen to the floor and been kicked up after you’ve installed the lights, nor do you want family or pets to inhale it.
Good dusting and vacuuming are essential.
The other thing that you need to consider is your choice of lights.
You need IC-rated (insulated ceiling) lights.
These are specially sealed to prevent heat transfer. Otherwise, the heat from your lights could ignite the insulation.
IC-rated lights are common, and they’re always clearly marked when shopping in electrical stores or online, so just make sure you buy the right ones.
Other than that, the installation process is the same regardless of the insulation.
How To Install Recessed Lighting Without Attic Access?

When installing recessed lights, the most difficult task is always running the actual wire to the fixtures.
Installing the actual lights themselves is an easy job that is normally done from below since lights often have a lip designed to not fit through the ceiling hole you’ve cut.
Running the wire is easier if you have access above the ceiling – i.e. if you can access the attic.
You can simply get into the attic, remove the floor covering, and you’ll have access to the exposed ceiling joists below, so drilling through them and running the cable is relatively simple.
But if you have a sealed floor in the attic or you’re installing recessed lights below another room, then you need to install it from below.
Don’t worry; you don’t need to destroy the entire ceiling.
You can generally install recessed lighting with minimal patching required.
If you already have light fixtures that you’re replacing, half the work is done, and you shouldn’t need to patch the ceiling unless you’re relocating the lights.
But if you need to run a new cable from the wall, you will need to cut a small area in the ceiling next to the wall or at the top of the wall, where you can access the cable.
Then, cut the holes for your new recessed lights, and feed the wiring to them in turn.
You can do this using a fishline (Amazon) to feed it through.
Before you do this, plan where your lights will go – this step is crucial.
By planning where they’re going to go first, you can work out where the cable will need to run, which tells you where you have to drill if the ceiling joists block your path.
Once you’ve planned, cut the holes for the lights. Most lights come with a template to show you how big a hole to cut – just draw around it, then use a saw.
Obviously, you’ll need to drill through any joists.
You should be able to use a camera to look inside the holes you’re cutting, find the joists, and then get a right-angle drill bit to allow you to drill through the joist without climbing into the ceiling space yourself.
As long as you feed the wire in series from each hole to the other, it should be relatively straightforward, although it takes some patience and planning.
Here is an excellent video of the process for better visualization.
How Do I Wire LED Recessed Lights In The Existing Ceiling?
When wiring LED recessed lights, it’s important to remember that every light must have a junction box.
Some fixtures will come with them attached; otherwise, you’ll add your own.
Wiring lights is pretty simple once the wire is fed through the ceiling.
You’ll want to do your wiring below the ceiling, connecting the wires to the lights inside the junction box and then feeding the box and the light up through the hole once it’s wired up.
Step one, though, is, as always, to disconnect the power by flipping the circuit breaker off.
Never work with wires that have a live current.
The live wire will come from the light switch and should be black. Connect this to the black wire on the light.
If you’re installing multiple recessed lights, that live wire should also connect to the next wire being fed through to the next light in series.
The neutral wire (white/grey) also needs to connect from the light to the neutral wire in the cable.
Ground wire (green or bare copper) in your wiring should also be present to connect those too.
Use simple wire nuts (Amazon) to connect any wires together.
Once you have the live, neutral, and ground wires connected for each light inside the relevant junction boxes, you can turn on the power, flip the switch they’re connected to, and check that they work.
Also read: How To Measure Recessed Lighting Can Hole?
Final Words
Installing brand new lights on a ceiling may seem scary, but as long as you plan, it’s not too bad.
Even if you don’t have attic access, just a few extra tools are needed to help feed the wires through and make the required holes for the lights to be installed.
Have you installed your own recessed lights? Or maybe you want to, but something’s been holding you back?
Looking for an LED bulb but not sure what type you need?
Check out my free bulb picker and select the right bulb within few clicks.

