When installing recessed lights in your home, you can split the job into two main steps – installing the lights and installing the wire that will power them.
Running cable is super-easy if you have access to the ceiling before it’s finished, or you can get to it from above. Still, it’s not much more difficult if the ceiling is already finished.
And it’s the same with the wall – if you haven’t yet drywalled, then it’s really easy, but there are steps you can take so you don’t have to damage the entire wall.
You need to run the cable from the switch in the wall into the ceiling and then connect the individual wires to the wires for the light or driver box. You don’t need to tear down the walls or ceiling – you can work with the hole behind the light switch and feed the wire through using glow rods or wire.
To explain this in more detail, let’s look at:
- Whether you have to tear apart walls to run lighting wire
- The least invasive way to run wire
- The type of wire you need for recessed lights
- Whether lights should be wired in series or parallel
- How to add recessed lights to a finished ceiling
Do I Need To Tear Walls Apart To Run Lighting Wire?

Many people worry that, because the electrical wire is hidden behind a wall, you need to tear down that wall to run any new cabling.
That’s not true, though – imagine if it were?
Any electrical fault would mean you’d have to completely restart the drywall every time, which would be a tremendous job.
Instead, you can use existing gaps in the wall, possibly only needing to make one small additional hole at the top of the wall above the switch, which you can quickly patch.
That’s because you’ll feed the wires through the gaps using a combination of tools.
Thanks to the helpful items designed for the job, it isn’t as tricky as it sounds.
What Is The Least Invasive Way To Run Wire?
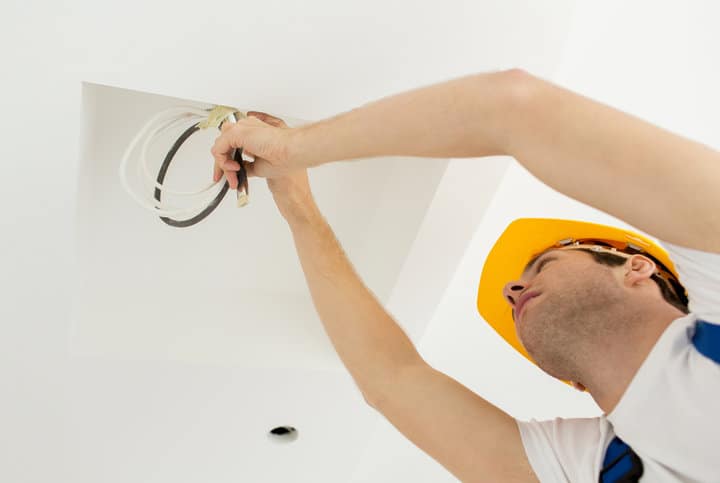
The least invasive way to run a wire is to use a second object secured to the wire to pull it through a couple of small holes that you’ll make.
That second object is best to be a dedicated set of glow rods (Amazon).
These have several advantages as they’re flexible to get through tight spaces. Still, they’re also solid enough to not go limp hidden in a wall crevice.
Plus, as per their name, they glow – so you won’t have trouble seeing them when you look behind the wall.
Here’s how to run the wire from a light switch to the ceiling:
- Remove the light switch and wall plate from the wall, leaving the open space for you to access.
- Check above the light switch for any breakers in the studs, and mark them.
- At the top of the wall, cut a small rectangular hole which you’ll use to feed the wire into the ceiling
- Drill any holes through the breakers that you need to. The easiest way is to use a flexible drill bit (Amazon)
- Push your flexible glow rods up through the holes you’ve drilled, and attach your wire to the end using the eyelet. Then from the hole at the top of the wall, pull the rods up with the wire
- You can then repeat the steps to drill through the top stud and feed the wire into the ceiling, and then from the hole you’ve cut for your lights, you can use the rods with a hook to grab the wire and pull it through into position
Some tips for drilling through studs or joists:
You don’t want to drill through a breaker any closer than 1 ¼ inch from the wall, as it runs the risk of nails hitting it.
Attach a bumper ball (Amazon) to the drill bit to act as a buffer, so that you don’t drill too close to the wall
If you’re drilling where there is insulation, don’t spin the drill until it makes contact with the wood.
Otherwise, you’ll make a cotton candy mess out of the insulation, clogging the drill and leaving gaps in the wall.
If you buy a long-enough drill bit, you may not even need to make a second hole at the top of the wall.
They also come with holes in them, which you can attach the wires to – so you may get away with not using the glow rods.
However, you can’t attach the cable while drilling, so you’d have to withdraw the drill once the holes are made, attach the wire and then push it through – and finding those holes again might be difficult.
You can use an angled mirror with a flashlight, but it’s often easier to just make a second hole in the wall and patch it once you’re done.
How To Find Studs Behind The Wall?
When you’re running wire behind the wall and ceiling, you’ll encounter a couple of things you’ll need to drill through – the studs/breakers in the wall and the joists in the ceiling.
These wooden beams are an essential part of your home’s structure, but they’re made from solid wood, so you can’t run the wire until you make a hole in them.
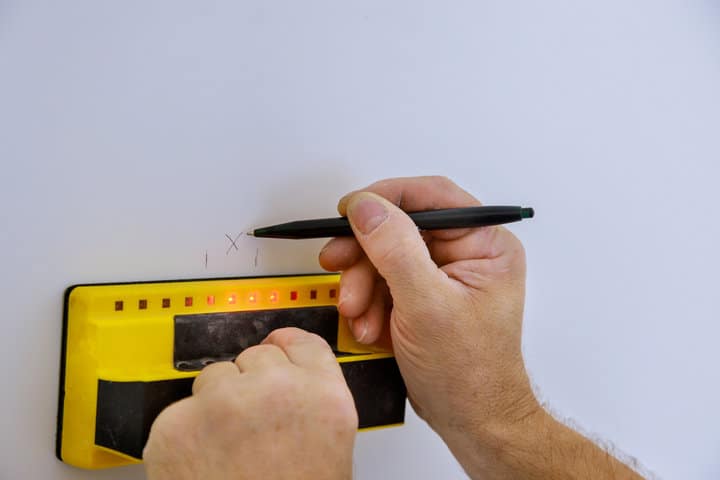
The best thing to do is to buy a stud finder (Amazon).
These inexpensive tools are easy to use, and once you’ve identified where the studs are, you can just mark them on the wall using a pencil.
This will be helpful just so you know where they are when drilling blind through the holes in the wall.
How Much Extra Wire Do I Need For Recessed Lights?
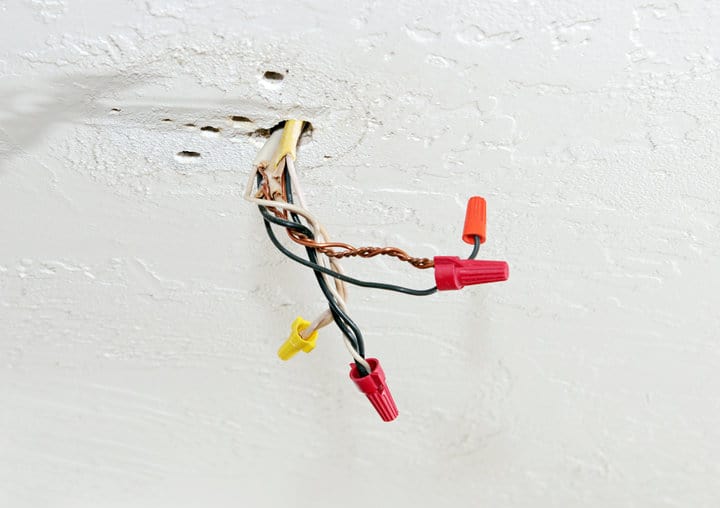
The worst thing you can do when feeding the wire through a wall or ceiling cavity is leave yourself short.
You can accidentally pull it too far, meaning you’d have to start the whole process again.
Use a cable spool rather than pre-cutting the wire.
Remember that you need enough wire to reach your first ceiling light and then extra lengths of wire to run to each successive light.
Plus, it’s always a good idea to have extra if a wire gets snagged and damaged while you’re trying to feed it up the wall.
Where Should I Place A Junction Box For Recessed Lighting?
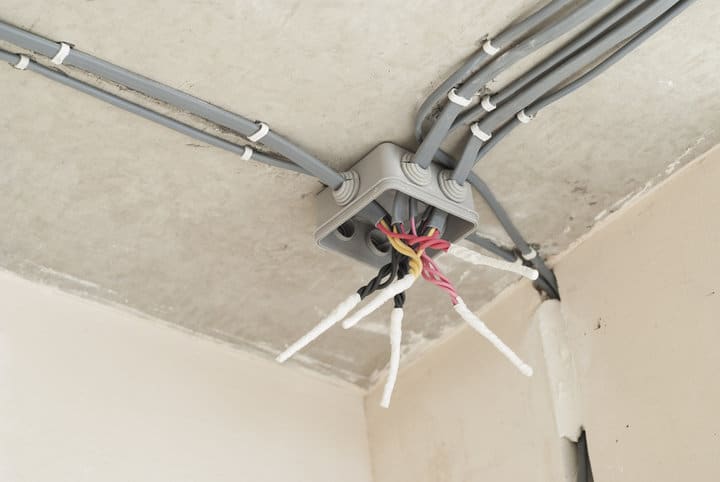
You should always install a junction box for your recessed lights.
These contain the wire connections, keeping them secure and easy to find in the future if you need to check the wiring or remove the lights.
Many canned recessed lights come with a fitted junction box attached to the can.
But for those that don’t, you’ll need to add your own.
You can screw them into a stud if you want to keep them secure, but most choose to leave them loose.
It means you can pull them down through the lighting hole so that they’re easier to work with in the future.
They should be placed on the ceiling studs close to the light – usually less than a foot away.
If you choose canless lights, they will use a driver box, doubling up as the junction box. You don’t need both.
What Wire Do I Need To Run Recessed Lights?
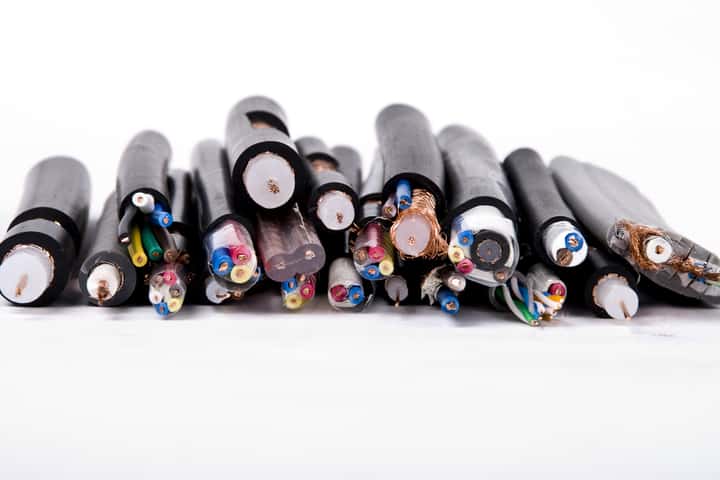
You’ll want to use a 14/2 cable for your recessed lights, the same as other lighting circuits.
American homes tend to use a mix of 12/2 and 14/2 cabling – 12/2 for socket circuits since it can carry a higher voltage and 14/2 for lighting since it’s more flexible.
That’s key for recessed lights – you’ll feed that cable through narrow gaps and tight holes running into junction or driver boxes.
You don’t want the thicker 12/2 cable when it isn’t necessary.
14/2 cable will also have the necessary wires you need inside – the 2 refers to the live and neutral wire that’s necessary. At the same time, there’ll also be a ground wire inside.
Should Recessed Lights Be Wired In Series Or Parallel?
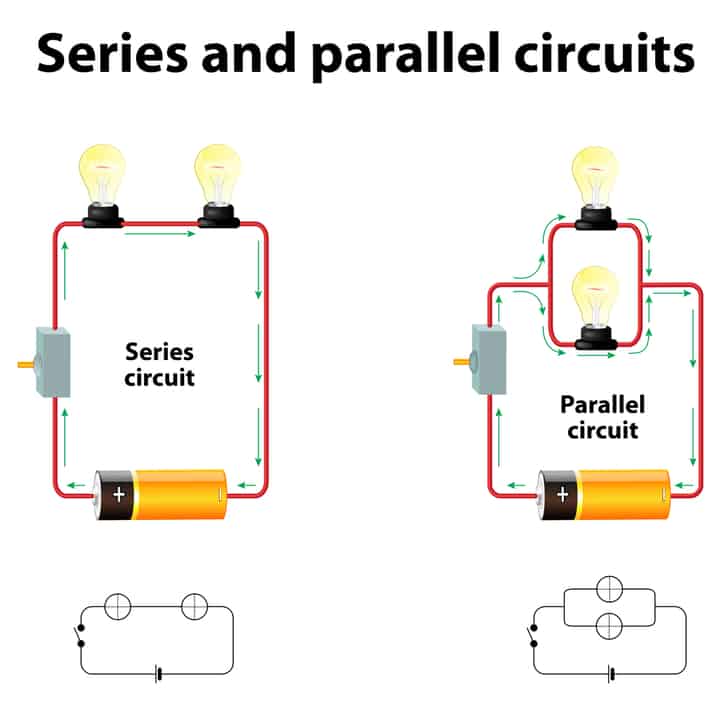
When wiring any electrical circuit, you can choose between daisy-chaining devices together in series or running the circuit in parallel.
It’s always better to run wiring for recessed lights in parallel since it means that if one burns out or there’s a problem with the wiring, it doesn’t stop the others from working.
When one bulb breaks, they all stop working if wired in series.
Wiring in parallel is really easy, though.
You don’t need to run separate cables from the light switch to each light – just run cables between the lights, but make sure you’re connecting live to live in the junction box.
So that’ll be three black wires twisted together – one from the switch, one to the light, and one running to the second light. And the same for white and ground.
How Do I Add LED Recessed Lighting To A Finished Ceiling?
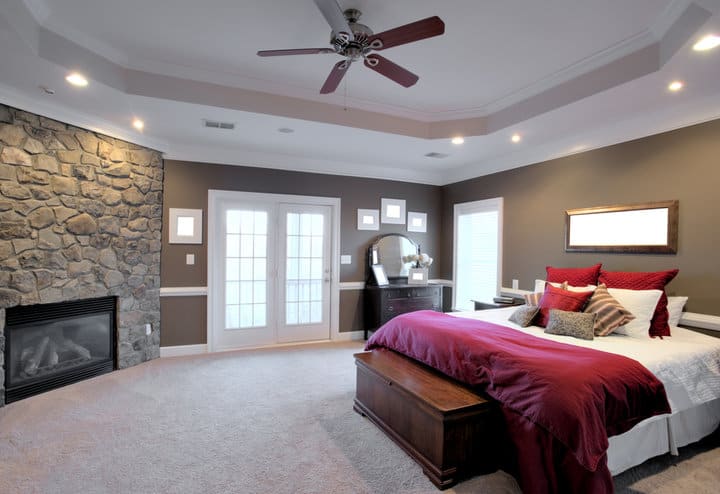
When the ceiling is finished, you don’t want to damage it.
But by following the steps above for running wire up the wall and into the ceiling cavity, you won’t need to.
All you’ll need to do is cut the holes for the lights and then use rods and hooks to pull the wire towards the hole.
Once you’ve got the cable in the ceiling cavity, your main obstacle is the joists.
You need to drill through these to feed the wire through.
If you have a right-angle drill bit, you won’t need to feed your whole arm into the holes either, and you can use your smartphone as a camera to see where you need to drill.
Once you’ve drilled through the joists, feed the rod, hook it to the cable and pull it through.
Repeat this for each light.
Final Words
Wiring for recessed lighting is a significant part of the project, but it doesn’t have to be complicated.
It’s super-easy if you have open access to the ceiling.
And if you don’t, you can still manage with just a few handy tools.
Just take your time, ensure you wire up each light correctly, and you’ll have beautiful modern lighting before you know it!
Have you any experience in running cable behind the walls? Maybe now you’re realized it’s not as hard as it seems – give it a go!
Looking for an LED bulb but not sure what type you need?
Check out my free bulb picker and select the right bulb within few clicks.

