The weakest part of any circuit is at a connection point. Hence, it’s super-important that they are effectively waterproofed when you’re planning a landscape lighting installation.
Landscape lighting circuits use special wires designed to be resistant to the elements.
If you don’t correctly waterproof the connectors when adding the lights to the circuit, you undo all the benefits of having properly waterproofed wires.
Exposed connectors can let moisture get into a circuit, which can cause it to short. You can waterproof connectors yourself using sealant, but it’s easier to buy waterproof connectors that do it for you.
Let’s take a quick look through some more specific parts of this, including:
- How to waterproof wire connections
- How to waterproof wire nuts
- The best waterproof connectors you can buy
How To Waterproof Wire Connections

Firstly, it’s essential to explain what could happen if you don’t waterproof the connections in your circuit.
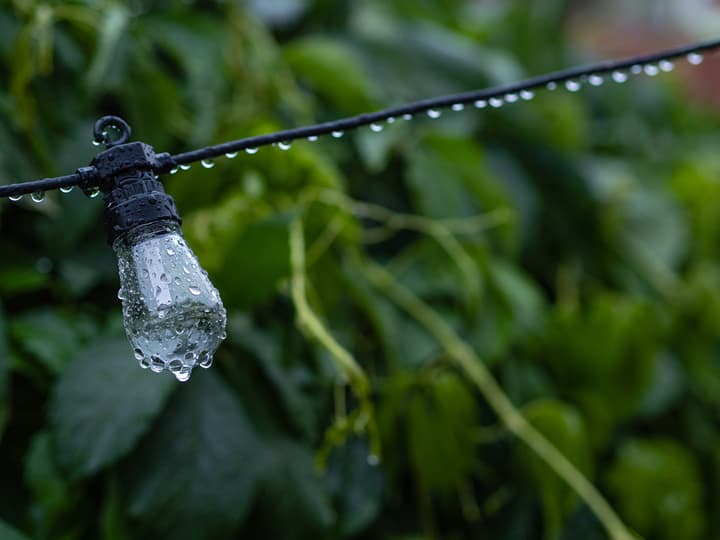
If a cable gets wet, then you’re creating the opportunity for electricity to arc between droplets.
A circuit is designed for a regular flow of current along the wire, so any ‘extra connections’ between water droplets could cause overheating with the increased current flow.
This can, in turn, damage the wire and make it less safe in general.
In case it happens at a connection point. You could see a current surge which could also impact your lights or whatever else you’ve added to the landscape lighting circuit.
Then there’s also the issue of corrosion – moisture could rust and damage the wire over time. It’s even more of a problem with landscape lighting. Once moisture gets into the cable through a connection, it has a hard time escaping again.
That’s because the wires are so well waterproofed and insulated.
Their strength becomes an issue if you have a weak point because the moisture has nowhere to drain (apart from the same weak point, which may never happen depending on how the cable is laid).
So, to protect the safety and durability of your landscape lighting setup and just make sure it keeps working as it should, you need to waterproof those connections.
There are many options available, but if you’re soldering the wire yourself, you’re going to need to make sure the entire connection is coated with something that will stop water from getting in.
Options could include heat-shrink adhesive tubing, or self-fusing silicone tape (Amazon).
However, if you don’t want to solder the connections, then you’ll want to look at easier options.
How To Waterproof Wire Nuts

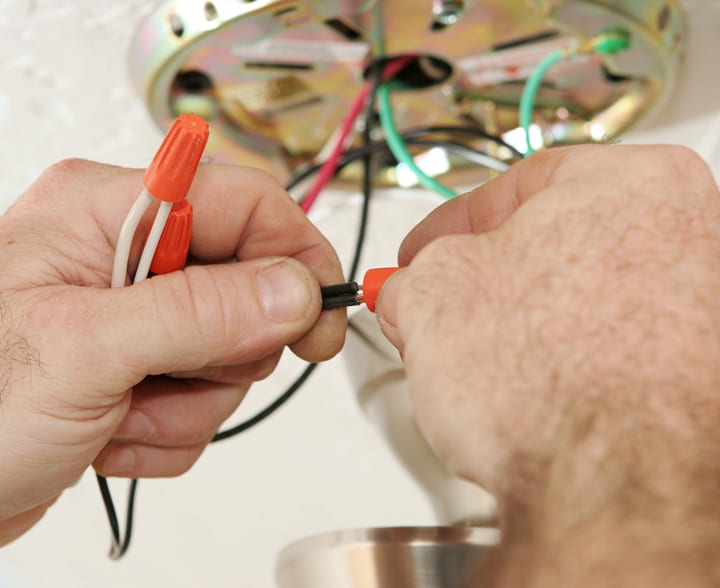
Wire nuts are some of the simplest ways of connecting wires.
You simply insert the stripped wire ends and twist the nut, and it binds them together using a cone-shaped spring to prevent them from coming loose except under severe force.
To use them outdoors, you’ll need to waterproof them first. You can do this using an RTV silicone sealant that you can find in most hardware stores.
However – and this is crucial – there are two main types of silicone sealant, and you have to make sure you get the right one.
Acetoxy sealants are most commonly used for sealing showers or kitchen areas.
They release acetic acid as they cure, which gives these sealants that vinegar-like smell when you use them.
Since they’re acidic, they are corrosive too. So yes, they will waterproof your wire nut, but they’ll also corrode the wires.
Avoid!
Alkoxy sealants instead have a by-product of either methanol or a mix of methanol and ethanol.
These sealants are neutral rather than acidic and so won’t be corrosive.
They also have excellent adhesion, so they will have no trouble curing a wire nut.
Make sure, if you’re waterproofing your own wire nuts, that you buy an alkoxy/neutral sealant.
Best Waterproof Connectors

Want the job to be even easier?
Then you can buy ready-waterproofed wire connectors that are good to go. All you need to do is install them, and they will be waterproof immediately.
There are two main types of waterproof connectors you can buy:
Push-in connectors
These work by piercing the main wire. You put the wire into the base of the connector, which will either have a screw or push mechanism.
You then place the pin part into the base to create a hole in the wire’s housing, with the pin serving as the connection.
You then add the new wire you’re connecting into the cap and screw the cap into place. With everything pushed or screwed in tightly, a seal is created to keep moisture.
The reason these connectors are popular is that they’re easy to use.
You don’t have to keep breaking the main cable, letting you run that main cable as long as you want, and just add the connectors along the line.
Check out a set of push-in connectors on Amazon.
Screw connectors
Screw connectors are essentially wire nuts that come pre-filled with sealant. They work in the same way as any wire nut.
You insert the two stripped ends of the wire you want to connect and twist the nut. This bonds the wires together, and the sealant keeps the moisture out.
These types of connectors are popular because they tend to be more reliable.
Push-in connectors can sometimes see the pin’s holes weaken and stretch.
Also, the connection between the pin and the main cable isn’t as secure as a twisted wire connection.
Check out a set of waterproof wire nuts on Amazon.
Final Words
Whenever you’re first installing a landscape lighting setup or just adding new lights to your existing one, waterproofing should be the top priority on your mind.
The easiest option will always be to use connectors that are already waterproofed.
However, if you prefer to do it yourself, then there are various options you can choose from.
If you already have a landscape lighting setup, which choice did you make for waterproofing the connections, and why?

