Does A Dimmer Switch Require Special Wiring?
Swapping in an LED-rated dimmer isn't enough on its own — the bulb itself also needs to be marked dimmable, or the dimmer has nothing to work with.
 Eugen
EugenEugen Nikolajev
Creator of LED Lighting Info
Hi, I am Eugen. I was always one of those kids who had all sorts of weird lighting gadgets for every occasion.
Now, I want to share my knowledge and experience about lighting with you on LED Lighting Info.
Read my editorial standards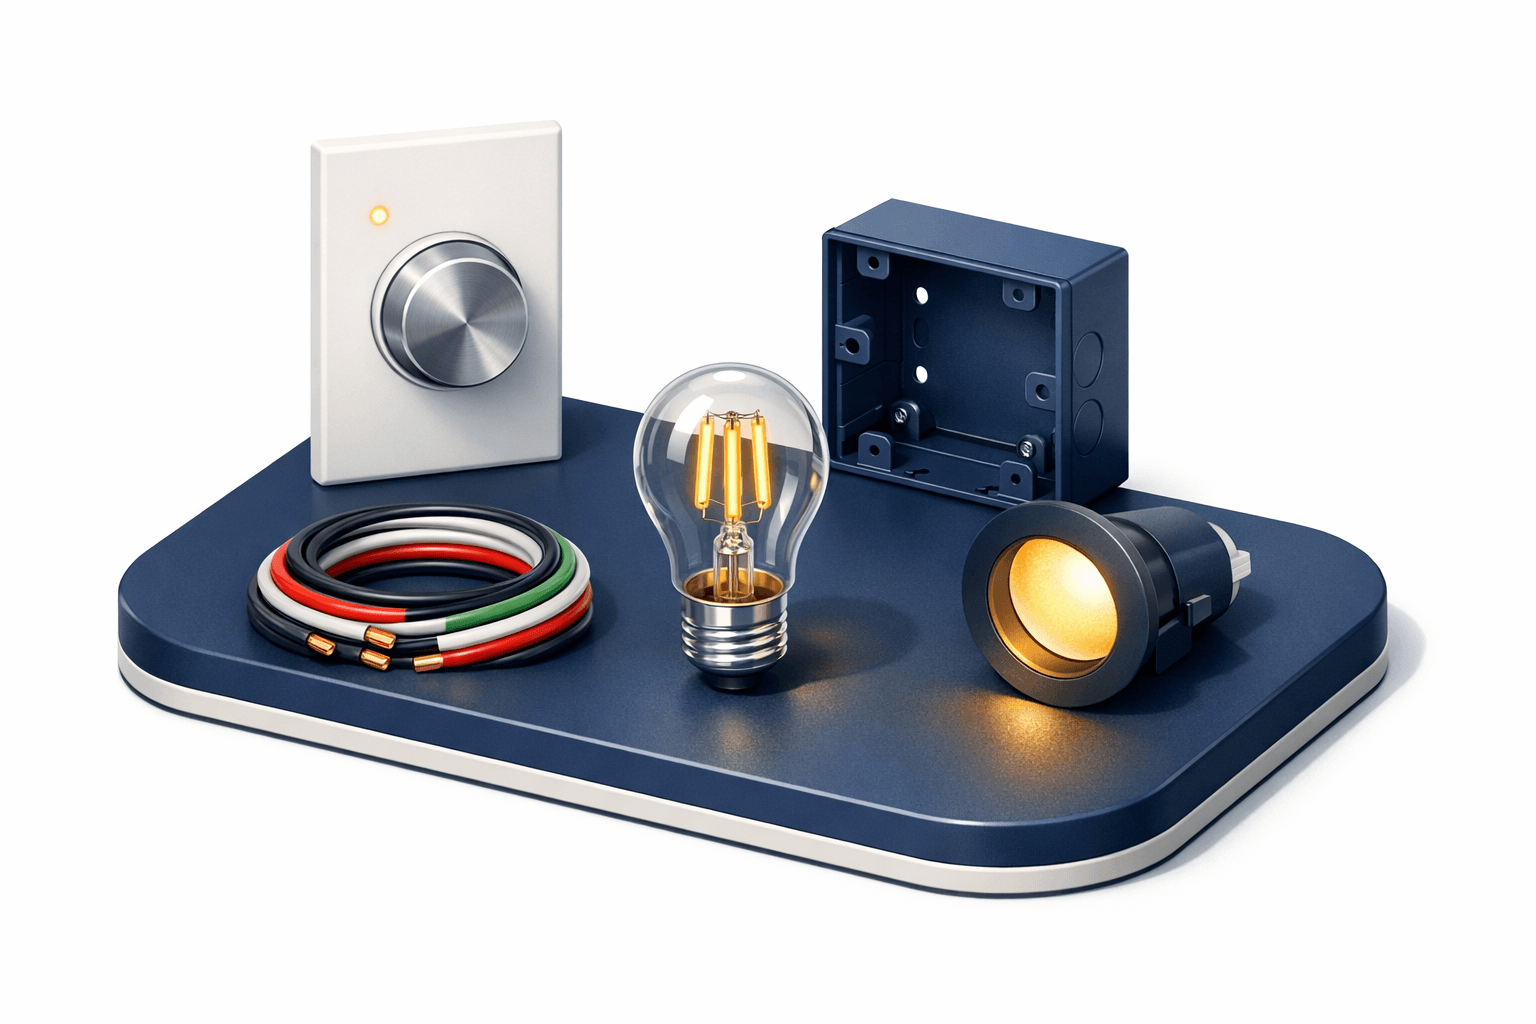
Key Takeaways
Most dimmer switches don't need any special wiring — single-pole dimmers drop into existing single-pole switch locations, and 3-way dimmers replace standard 3-way switches. The big caveat: many modern smart and LED-rated dimmers require a neutral wire at the switch box, which older homes wired with a switch loop often don't have.
A dimmer switch lets you adjust light levels for any situation — a bright workspace, a relaxed evening setting, or anything in between. But how difficult are they to install, and do they need special wiring?
In this guide we'll walk through:
- The differences between dimmers and regular switches
- The recommended wire gauge and dimmer load rating
- LED and CFL bulb compatibility
- How to wire a single-pole and a 3-way dimmer
Is There A Wiring Difference Between Dimmer and Regular Switch?
Wiring a dimmer is essentially the same as wiring an equivalent regular switch — the dimming circuitry sits inside the switch and doesn't change the wire connections. There are a couple of important caveats around neutral wires and bulb compatibility we'll cover below, but if you can install a regular light switch, you can install a dimmer.
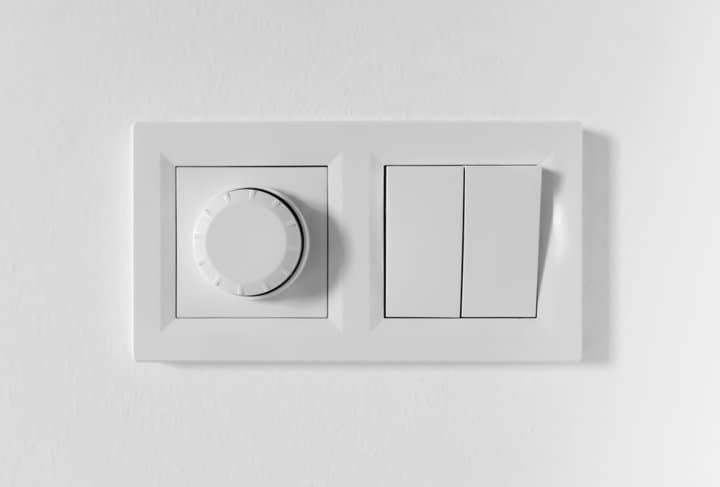
There are two main types of light switch you'll encounter, and dimmers come in matching versions:
Single-pole switches
A single-pole switch is a basic on/off switch (called a "1-way" switch in the UK and EU). A hot wire runs from the mains to the switch, and a load wire (also called the switched hot) carries current from the switch to the light fixture. When the switch is on, the two are connected and current flows; when it's off, the connection is broken.
A single-pole dimmer works the same way, except the dimmer regulates the AC power to control brightness. With the dimmer in the off position, no current reaches the load wire; in the on position, the dimmed current flows to the bulb. Some dimmers have a separate on/off switch alongside the slider; others use the slider's lowest position as off.
3-way (multi-location) switches
A 3-way switch (called a "2-way" in the UK and EU — confusing, I know) lets you control one light from two locations: the top and bottom of a staircase, opposite ends of a hallway, and so on. Each 3-way switch is single-pole double-throw, meaning it routes current along one of two "traveler" wires that run between the two switches. Wiring a 3-way dimmer is structurally the same as wiring a regular 3-way switch, so swapping one for the other is a like-for-like replacement.
🛒 Before you buy: Check how many wires are in your existing switch box. Many modern smart and LED-rated dimmers (Lutron Caseta neutral-required models, Leviton Decora Smart, most Z-Wave and Zigbee dimmers) need a neutral wire at the switch in addition to hot, load, and ground. Older homes wired with a switch loop typically don't bring a neutral to the switch box. If yours doesn't, you'll need a no-neutral-compatible dimmer, a smart relay installed at the fixture, or to run a new cable.
What Gauge Wire Is Recommended For Dimmers?
Dimmers don't need a special gauge of wire — they use the same wire as a regular light switch on the same circuit. In US residential wiring, you'll typically be on either a 15 amp or 20 amp circuit:
- 15 amp circuits use 14 AWG wire — almost all residential lighting circuits.
- 20 amp circuits use 12 AWG wire — sometimes used in commercial spaces with heavier lighting loads.
Remember that the smaller the AWG number, the thicker the wire.
Don't forget the dimmer's own load rating
Wire gauge governs the circuit's capacity, not the dimmer's. Each dimmer has its own maximum wattage — typically 600 W incandescent / 150 W LED for residential models, with 1000 W versions also available. LED loads are usually derated to roughly one-tenth of the incandescent rating because of LED driver inrush current and a lower power factor.
Add up the wattage of every bulb on the dimmer and confirm it stays comfortably below both the dimmer's rating and the circuit's. The rating is printed on the dimmer's packaging and on the device itself.
Will The Dimmer Work With Your Bulbs?
Not every dimmer works with every bulb. Older dimmers were designed for incandescent and halogen loads and often misbehave with LED or CFL bulbs — flickering, buzzing, a narrow dimming range, or bulbs that simply won't turn off at the bottom of the slider.
If you're driving LED bulbs (which is most homes today), look for a dimmer specifically rated for LED/CFL use, and check the manufacturer's compatibility list before buying. Both the bulb and the dimmer need to be marked as dimmable — even an LED-rated dimmer won't dim a non-dimmable LED bulb.
Related: Can Dimmer Switches Be Used In Bathroom?
How Do I Wire A Dimmer Switch?
How you wire a dimmer depends on whether it's a single-pole or 3-way dimmer, and whether it's going into a single-switch or multi-switch circuit.
⚠️ Safety first: Always switch off the circuit at the breaker before touching any wiring, and use a non-contact voltage tester to confirm the wires are dead before you proceed. If you're uncertain about anything in your box, call a licensed electrician — mains wiring isn't a place to guess.
Wiring A Single-Pole Dimmer
A single-pole dimmer typically has three pre-stripped leads: a black hot lead, a red load lead (the switched hot that runs to the fixture), and a green or bare copper ground. Wire colors vary by manufacturer, so always follow the instruction sheet packaged with your specific dimmer rather than relying on color alone.
- Connect the black wire (hot) to the wire coming from the circuit breaker.
- Connect the green or bare copper wire (ground) to the ground wire in the box.
- Connect the red wire (load / switched hot) to the wire running to the light fixture.
- Strip about ¾ inch of insulation off each pair, twist them together, and secure with a wire nut.
- If the dimmer requires a neutral, connect it to the neutral bundle in the box (usually white wires).
Wiring A 3-Way Dimmer In A Single-Switch Circuit
A 3-way dimmer has four leads instead of three: a common (often black), two travelers (often red and red-with-stripe — colors vary by manufacturer), and a ground (green or bare). You can still use it in a single-switch circuit by treating the common as hot, one traveler as the load to the fixture, and capping the unused traveler with a wire nut to keep it from contacting other wires and causing a short.
Wiring A 3-Way Dimmer Into A Multi-Switch Circuit
Wiring a 3-way dimmer into a multi-switch circuit is more involved but still manageable. Each 3-way switch (dimmer or regular) has three main terminals: a common on one side, and two traveler terminals on the other.
Note: For standard mechanical 3-way dimmers, either switch position works — power can come into the dimmer or the regular switch. For most smart dimmers (Lutron Caseta and similar), the dimmer must be installed on the line/hot side and is paired with a dedicated companion remote, not a second standard 3-way switch. Always check your dimmer's installation guide.
Assuming the dimmer is the switch closest to the circuit breaker (the line side):
- Connect the mains hot wire from the circuit breaker to the common terminal on the dimmer.
- Run one wire from a traveler terminal on the dimmer to a traveler terminal on the regular 3-way switch.
- Run a second wire from the other traveler terminal on the dimmer to the other traveler terminal on the regular 3-way switch.
- Run a wire from the common terminal on the regular 3-way switch to the light fixture.
- Connect the ground wires together, and the neutral wires (if your dimmer needs one) to the neutral bundle.
In this setup, either switch can turn the light on or off independently of the other's position. The two traveler wires act as alternate paths between the switches; the light is on when both switches route current through the same traveler, and off when they route through different travelers. Flipping either switch changes which traveler it uses, which toggles the light — there's no fixed "on" or "off" position on a 3-way switch.
Also read: Can Dimmer Switches Trip The Circuit Breaker?
Final Words
Dimmer switches aren't as complicated as they look. The dimmer element is built into the switch and doesn't require any special wiring — but a few things are worth confirming before you buy and install:
- Check your switch box for a neutral wire if the dimmer you've picked requires one. Older homes with switch-loop wiring often don't have one.
- Match the dimmer's load rating to the total wattage on the circuit — and remember LED loads are typically derated by about ten times.
- Use a dimmer rated for LED/CFL if those are the bulbs you're driving, and check the bulb is marked dimmable.
- Cut power at the breaker and verify with a non-contact voltage tester before touching any wires.
If your installation goes sideways — buzzing, flickering, or a dimmer that won't turn the light fully off — start with my guide on why a dimmer switch isn't dimming. Most issues come down to bulb compatibility or load rating, both of which are fixable.