
Can You Put A Dimmer Switch On Fluorescent Lights?
Your fluorescent lamp cuts out while the dimmer dial still has a quarter of its travel left — that's the dead zone, and it's not a wiring fault. It's the ballast hitting its minimum load threshold before the slider bottoms out.
 Eugen
EugenEugen Nikolajev
Creator of LED Lighting Info
Hi, I am Eugen. I was always one of those kids who had all sorts of weird lighting gadgets for every occasion.
Now, I want to share my knowledge and experience about lighting with you on LED Lighting Info.
Read my editorial standards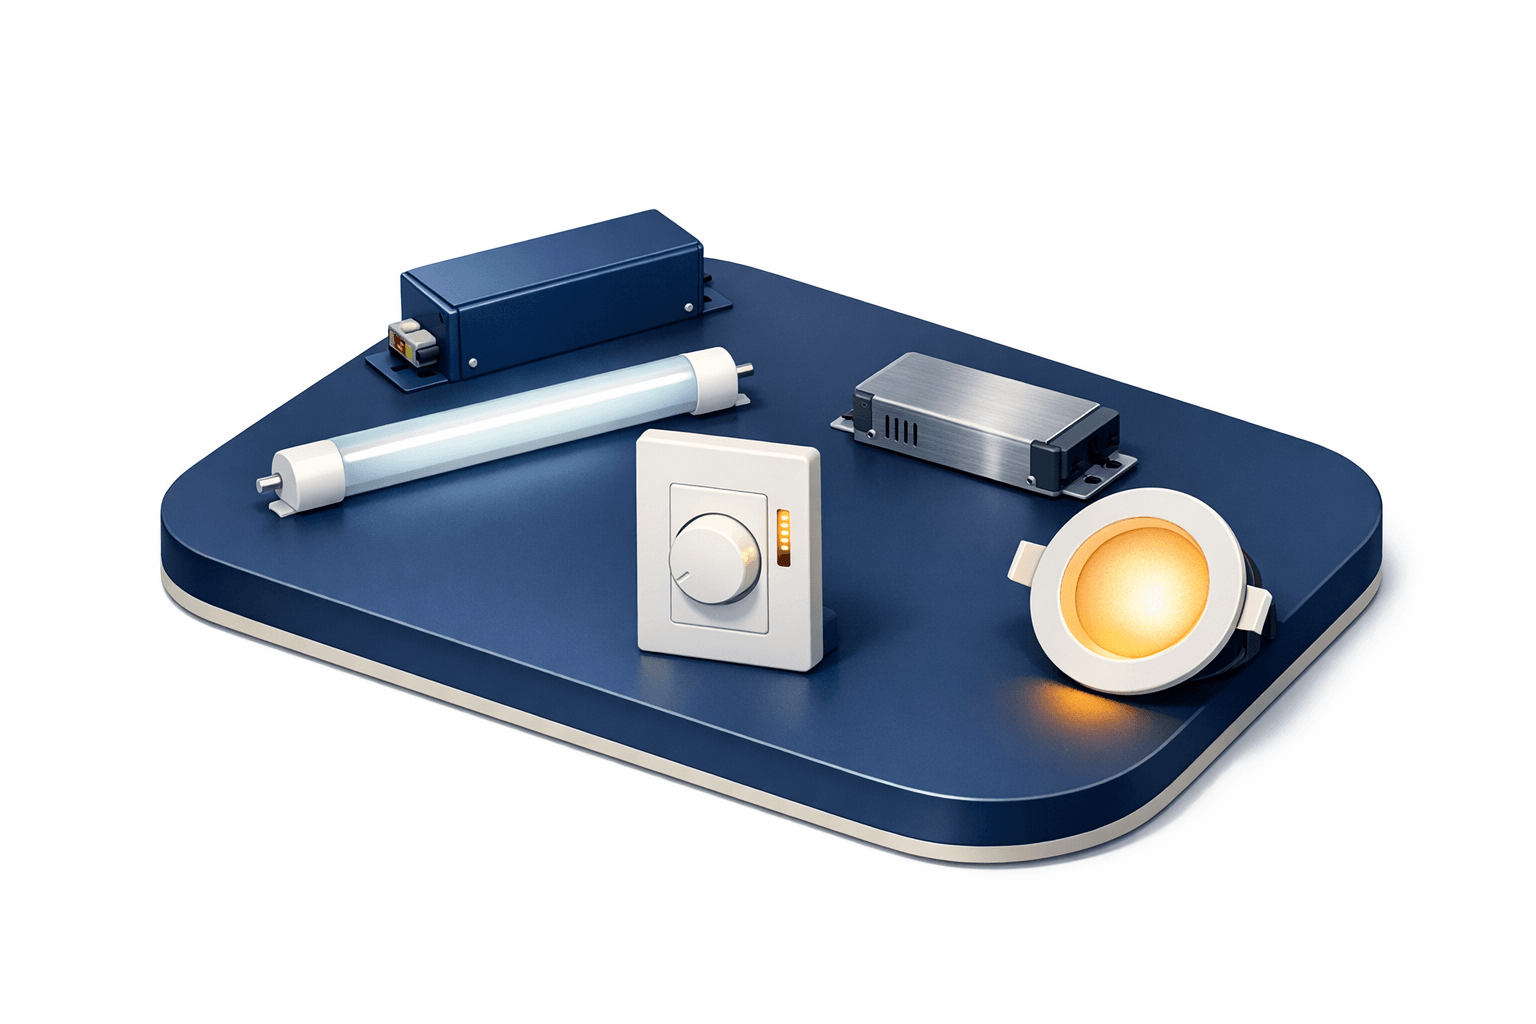
Key Takeaways
You need a fluorescent-compatible dimmer paired with a dimmable ballast (or dimmable integrated CFL bulbs). A standard dimmer on its own will cause flicker or no response at all. And before you commit, consider that fluorescent lamps are being phased out in the US and EU, so for many fixtures a dimmable LED tube retrofit is now the more practical choice.
Dimmer switches were designed for incandescent lights — so what happens when you want to dim fluorescent bulbs? The short answer is that you can, but the path involves more than swapping a switch.
Why Standard Dimmers Don’t Work With Fluorescent Lights
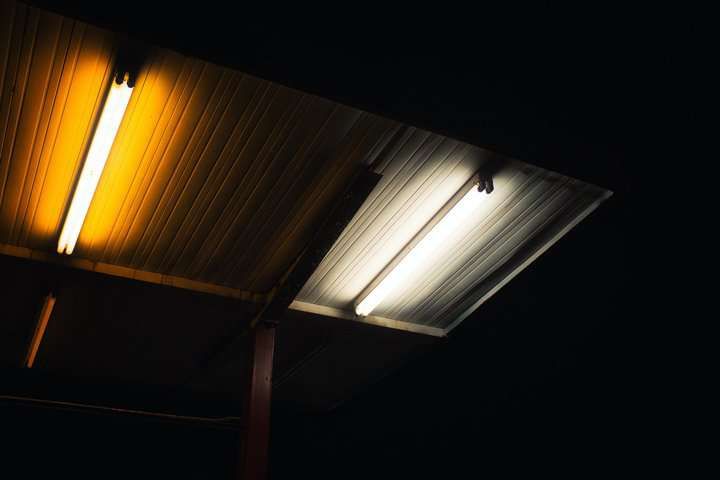
A standard dimmer switch isn’t compatible with fluorescent or CFL lights, and the reason comes down to how each technology works.
Incandescent and halogen bulbs use a hot filament. LED bulbs use a light-emitting diode that emits light directly when current flows through it. Fluorescent and CFL lights are different again — they pass current through a low-pressure gas inside the tube, which produces ultraviolet light that excites a phosphor coating on the inside of the glass.
That arc through the gas can’t simply be wired straight to the mains. It’s managed by a ballast — a device wired into the fixture that supplies the high-voltage pulse needed to ignite the gas, then regulates the current so the lamp runs steadily without burning itself out.
That ballast is also the reason a standard dimmer doesn’t work. Most household dimmers use phase-cut (TRIAC) dimming: after each AC zero-crossing, the dimmer waits a brief moment, then turns on for the remainder of that half-cycle, chopping off a slice of every cycle to reduce the average power delivered to the bulb. On 60 Hz US power that means the TRIAC fires 120 times per second.
A magnetic fluorescent ballast can’t pass that chopped waveform cleanly. The result is flicker, lamps that refuse to start, or no dimming response at all. To dim a fluorescent fixture you need both a fluorescent-compatible dimmer and a ballast that’s designed to be dimmed.
What You Need To Dim Fluorescent Fixtures
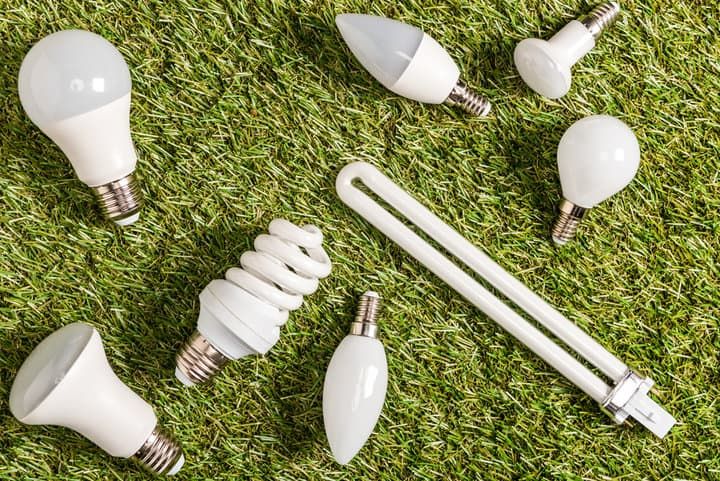
To dim a fluorescent fixture you need a dimmer designed for fluorescent or CFL loads paired with a ballast that supports dimming. There are three fixture configurations to know about:
| Type | Ballast Location | Dimmable? | What You Need |
|---|---|---|---|
| Fluorescent tube | In the fixture | Yes — with a dimmable ballast | Replace ballast + install fluorescent-compatible dimmer |
| Integrated CFL | Built into the bulb base | Only if the bulb is marked dimmable | Replace bulbs + install CFL-compatible dimmer |
| Non-integrated CFL | In the fixture | Yes — with a dimmable ballast | Replace ballast + install CFL-compatible dimmer |
Tube Diameter Matters: T12 vs T8 vs T5
Linear fluorescent tubes come in different diameters — T12, T8, and T5. T12 is the older, thicker tube usually paired with a magnetic ballast and is generally not a candidate for dimming; if you have T12 fixtures, an LED tube retrofit is almost always the better path. T8 and T5 tubes run on electronic ballasts, and dimmable T8/T5 ballasts are widely available, making these the practical candidates for fluorescent dimming.
For integrated CFLs you don’t need a separate ballast — but you do need bulbs explicitly marked as dimmable. The ballast built into the bulb base must be a dimmable type, and not every CFL is.
Some manufacturers — Lutron is the most established example — make matched dimmable ballasts and dimmer switches that have been tested together. Buying both from the same compatibility list is the most reliable way to get smooth dimming end to end. Note that with the global shift to LED, the catalog of new fluorescent dimming products is shrinking and many older fluorescent ballasts are being discontinued.
What Is the “Dead Zone” on a CFL Dimmer?
The most common complaint with CFL and fluorescent dimming is the dead zone — the lamp switches off while the dial still has 20–30% of its travel left, instead of fading to its lowest level at the bottom of the slider. It happens because the ballast has a minimum load threshold, and the dimmer drops below that threshold before reaching its mechanical bottom.
To avoid it, pair a dimmer and ballast that the manufacturer lists as compatible — Lutron, for example, publishes compatibility tables for its dimming systems — and check the dimmer’s stated low-end performance (often given as a percentage of full output) before buying. A dimmer rated to 1% will dim further before cutting out than one rated to 10%.
A Note on Starters
Older preheat fixtures use a small component called a starter, but most modern fluorescent fixtures (rapid-start and instant-start T8 and T5 systems) don’t — the electronic ballast handles starting on its own. If you’re retrofitting an old preheat fixture for dimming, the new dimmable electronic ballast removes the need for the starter entirely; it’s bypassed or removed, not left in place.
How To Wire A Fluorescent Dimmer Switch
Before You Start: Safety
- Switch off the breaker for the circuit — not just the wall switch — and verify the conductors are dead with a non-contact voltage tester before touching anything. A switch can be off and the wires still hot if the fixture is miswired upstream.
- Wiring color conventions vary by country and by the age of the installation. The instructions below assume modern US (NEC) wiring; UK and EU conventions are noted at the end.
- Many jurisdictions require a permit, or a licensed electrician, for switch and ballast replacements. Check your local code before starting.
- If your wiring looks unusual, has more conductors than expected, or you’re unsure which wire is which, stop and call an electrician.
Wiring The Dimmer
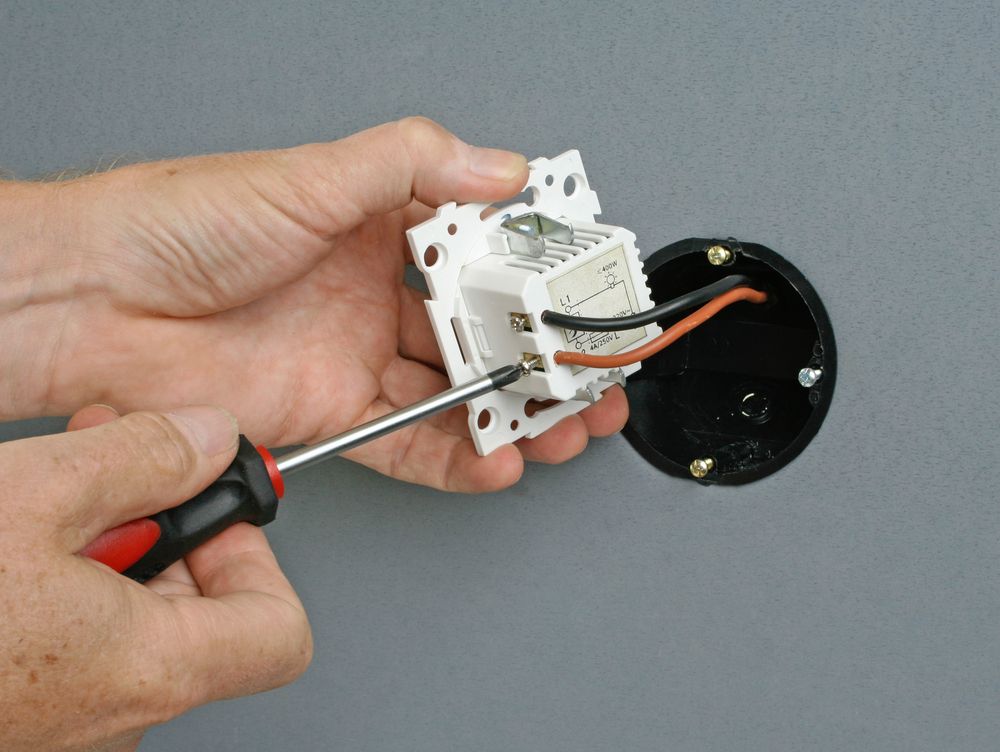
To wire a dimmer switch in a US installation: connect the dimmer’s black wire to the incoming hot wire (the one carrying current from the breaker), and connect the dimmer’s red “load” wire to the wire that feeds the ballast. The ballast then connects to the lamp pins on each side of the tube. Cap any unused conductors and tuck the connections back into the box neatly.
Outside the US, wire colors are different. Modern UK and EU installations use brown for live, blue for neutral, and green/yellow for earth; older UK installations may use red for live and black for neutral. Always identify each conductor with a tester rather than relying on color alone in older homes.
When you replace the ballast, match the new ballast’s lamp count to your fixture. Ballasts are rated for a specific number of lamps — 1-lamp, 2-lamp, 3-lamp, and 4-lamp ballasts all exist — and a 2-lamp ballast won’t drive a 4-lamp fixture. Some larger fixtures use two ballasts to handle all the tubes.
If you’re wiring a dimmer into an existing circuit, the work is usually: replace the wall switch with a fluorescent-compatible dimmer, then replace the existing ballast with a dimmable ballast rated for the same number and type of lamps. For integrated CFLs, you only need to replace the switch and the bulbs.
Should You Switch To LED Instead?
Before investing in a dimmable fluorescent ballast, it’s worth knowing that fluorescent lamps are being phased out across much of the world. The US Department of Energy raised efficiency standards in 2023 that effectively ban most general-service fluorescent lamps, and several states — including California, Vermont, Colorado, Oregon, Washington, and Maine — have passed legislation phasing out CFLs and linear fluorescents. The EU restricted most fluorescent lamps under the RoHS directive in 2023 as well.
For most homeowners, swapping fluorescent tubes for dimmable LED tubes (T8 LED retrofits) is now the simpler, cheaper, and more future-proof choice than retrofitting a fluorescent fixture with a new dimmable ballast. LED tubes come in three flavors — Type A (use the existing ballast), Type B (bypass the ballast and wire direct to mains), and Type C (use a dedicated LED driver in place of the ballast) — and dimmable versions are widely available.
If your existing fixtures are healthy and you’re committed to fluorescent, a dimmable ballast retrofit still works. But if you’re starting from scratch, replacing failed lamps anyway, or working with older T12 fixtures, switching to dimmable LED tubes is usually the better long-term call.
Final Words
Dimming fluorescent lights is possible, but it takes a matched pair: a fluorescent-compatible dimmer plus a dimmable ballast in the fixture, or — for integrated CFLs — dimmable bulbs and the right switch. Buying both components from a single manufacturer’s compatibility list is the most reliable way to avoid flicker and dead zones.
Given the ongoing phase-out of fluorescent lamps in the US and EU, my recommendation is to weigh whether a dimmable LED tube retrofit makes more sense before going down the fluorescent dimming path — especially for T12 fixtures, where dimming retrofits are rarely viable and switching to LED is the more practical, longer-lasting fix. For a related read, see how to put a dimmer switch on a circuit with multiple loads.