Suddenly noticed that all of your landscape lights have stopped working?
Or at least, if you’re got your setup on a parallel circuit, the ones on one of the loops have failed?
This likely means a break in the circuit, and if the bulbs are relatively new and reliable, it could instead be a damaged wire.
When your wire is buried, that’s not going to be an easy thing to locate.
Thankfully, fixing it once you’ve found it is.
To repair damaged landscape wire, it’s easiest to cut the damaged section out and link the clean, dry wire with a sealed connector. You can solder the wire, which would give a better connection, but then you’d need to seal it yourself.
Let’s take a look at:
- How to find broken wire when it’s buried
- How to repair it
- What you need to consider if you want to solder it
How To Find Broken Landscape Lighting Wire?

The first issue when you suspect a broken wiring section is finding the problem.
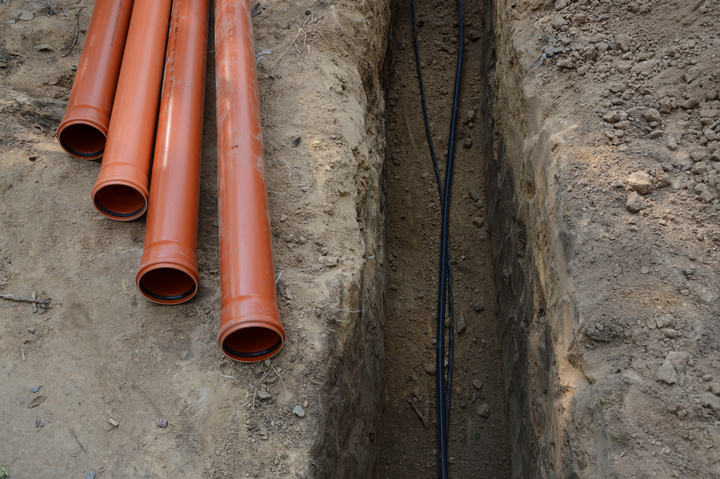
With most landscape lighting, the wiring is buried to protect it from the elements and any garden wildlife that might try to gnaw at it.
You obviously don’t want to dig up your whole garden to find the problem, so start with the lights themselves. Are any of them working?
If some are working, and some aren’t, this tells you that the circuit is wired in parallel and not in series.
If it was a single continuous series, a broken connection would render the whole circuit powerless.
When you’ve got a broken connection on a parallel circuit, you know you’ve got less testing to do because you don’t need to check the cables leading to the working lights.
Once that’s established, you can use a voltmeter to see the current reaching the lights.
By using it at each light’s connection, in turn, you should be able to narrow down the problem to a section of wiring between two lights.
Then it’s just a case of locating the wire running between those two lights.
If the lights are clearly close together then it should be simple, but if they’re far apart then you may need some help to find the location of the wire underground.
How To Repair Cut Landscape Lighting Wire?

Once you’ve found the break in the wire, repairing it is a relatively straightforward job.
Firstly, make sure you’ve turned the power off. Again, common sense, but I have to say it!
It’s rare that a wire completely severs in two, so you’ll likely need to finish the job as your next step.
Cutting the wire yourself where the break is means you can properly reconnect it, allowing you to clean it.
It’s crucial you make sure no soil has got into the cut.
The soil within the wire will hamper the connection, and it retains moisture which could cause more severe problems once it’s sealed up.
With the wire adequately cleaned, a sealed connector is the simplest way to reconnect it.
These clever little devices are really easy to use. They contain sealant, which you insert the two bare wires into, ensuring they’re fully covered.
It creates a solid connection between the wires as you twist the nut. Still, the silicone prevents moisture or dirt from getting into the connection.
As a tip, this is why it’s always important to lay landscape wire with a little bit of giving – that way, if there is a severed connection, you’ve got some room to play to reconnect them.
If you have the wires taut, then you would have to relay that entire section, and it’d be more at risk of damage anyway.
Once you’ve reconnected the wires using a connector, turn the power back on before you bury the cable again to check that it’s working.
If it’s not, use the voltmeter again to check whether this section of the circuit at least now has power.
This will tell you whether you’ve got another fault to fix, or whether you need to check the work you’ve just done.
Can I Solder Landscape Wire?

Using a silicone-sealed wire connector will work fine, but it won’t be the best connection your wires could have in terms of circuit performance.
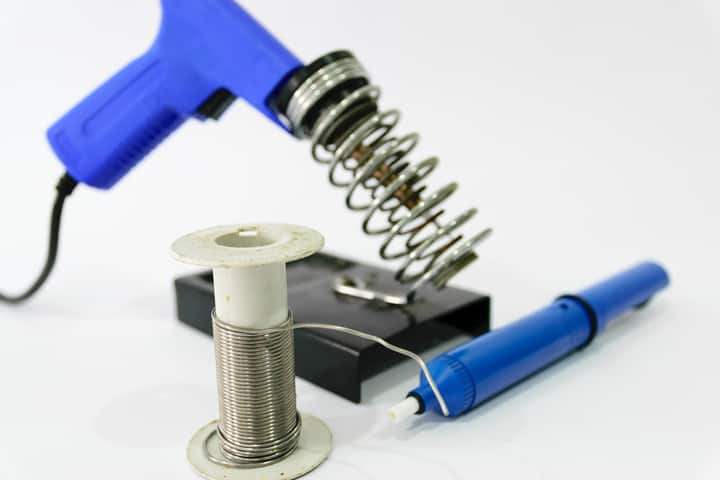
If you’re comfortable using solder, then yes, you can absolutely solder the severed wire together again.
This isn’t the recommended course of action because if you’re soldering, you then need to properly waterproof this section yourself.
It has to be absolutely watertight to protect the integrity of the circuit.
You can’t just cover it with any electrical tape and hope it’ll do the job.
Some of the ways you can waterproof above-ground wire include liquid electrical tape, self-fusing silicone tape or adhesive-lined heat shrink tubing (Amazon).
These may not be sufficient for the pressure and moisture levels of below-ground wire, though, so if you’re unsure, then consider using multiple layers of protection.
This will strengthen the seal and should help to prevent any moisture from getting in.
That being said, the easiest solution is just to use one of the dedicated underground landscape lighting connectors above and forego the soldering process.
The slight risk of a minor dip in voltage due to the weakened connection isn’t usually an issue for low-voltage landscape lighting.
Final Words
Many people who aren’t trained electricians are often scared of carrying out work themselves.
With sealed wire connectors, the job really couldn’t be easier – just clean both ends of the wire and securely insert them.
Job done, and money saved on hiring a professional!
The hardest part of fixing broken landscape wire is finding the break first.
Either borrow or buy a voltmeter if you don’t have one, and you should be able to narrow it down quite easily.
Any more tips for fixing broken landscape circuits or questions on other problems with your landscape lighting setup?

