
How To Clean Chandelier Lights?
Skip a few weeks of dusting and a chandelier becomes a half-day job with ladders and chemicals. A quick pass every week or two is all it takes to avoid that.
 Eugen
EugenEugen Nikolajev
Creator of LED Lighting Info
Hi, I am Eugen. I was always one of those kids who had all sorts of weird lighting gadgets for every occasion.
Now, I want to share my knowledge and experience about lighting with you on LED Lighting Info.
Read my editorial standards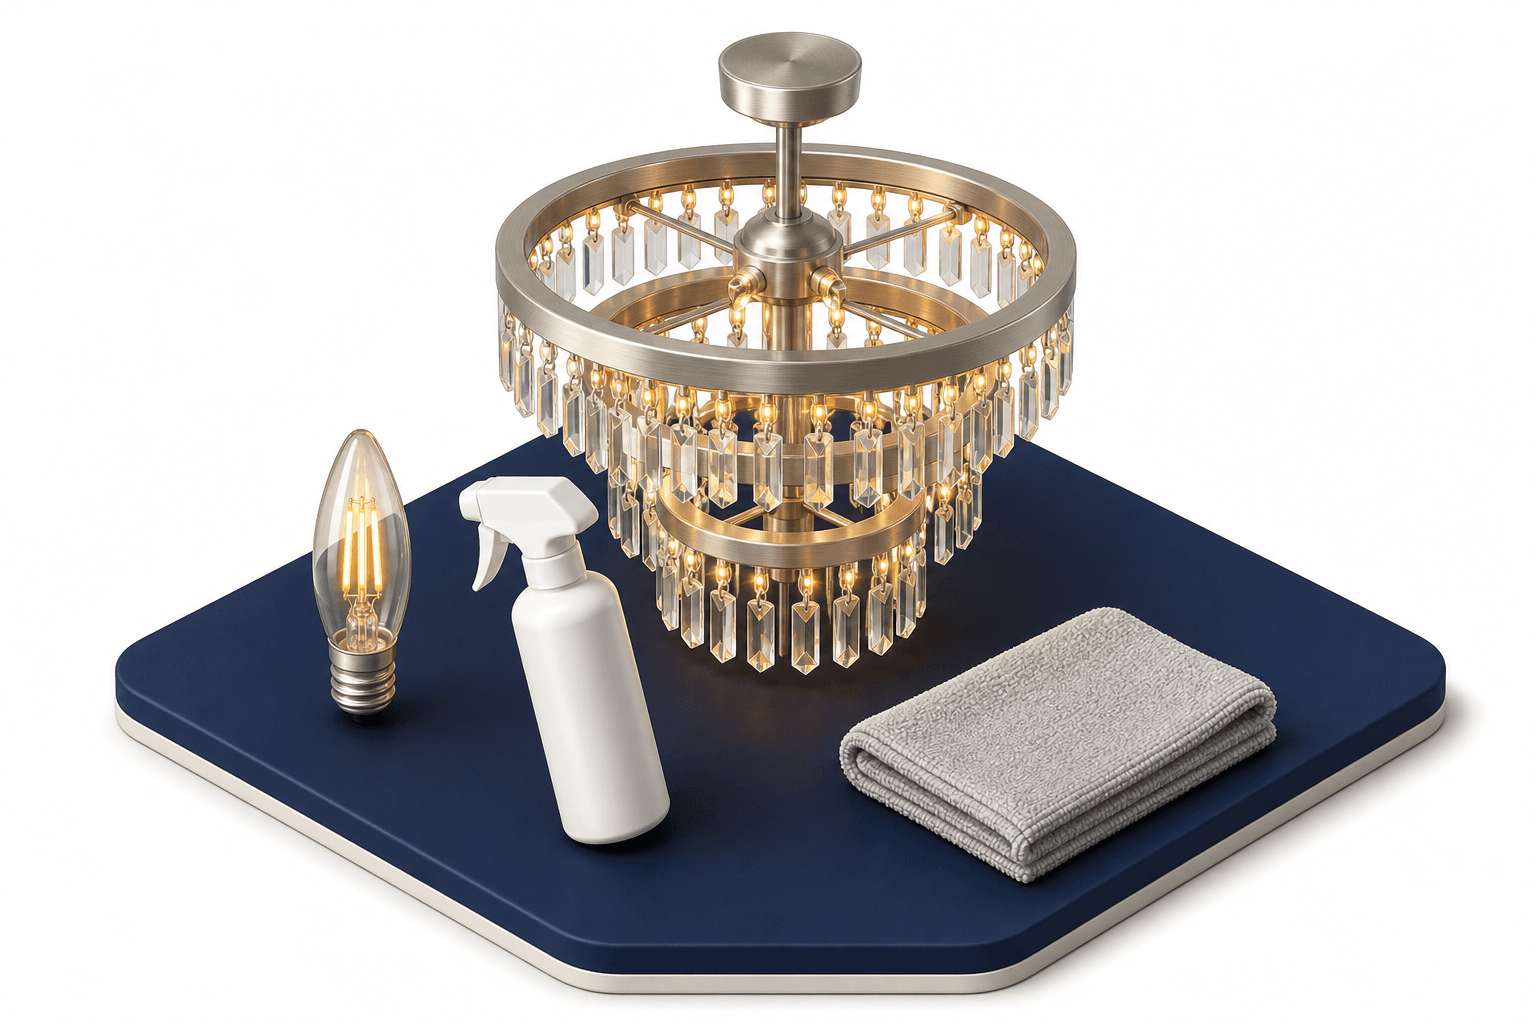
Key Takeaways
Dust your chandelier every 1–2 weeks with a soft duster and deep-clean it once a year. Use a 1:3 mix of isopropyl alcohol and distilled water for crystal, a 1:3 vinegar and distilled water mix for glass, and a salt-and-vinegar paste for brass. Always switch off the power and let the bulbs cool first.
Keeping any light fixture clean matters, but it matters more with a chandelier.
A chandelier isn't background lighting like a recessed downlight, it's a focal point, and guests are meant to notice it.
That means every speck of dust, fingerprint, and water spot is immediately visible.
Chandeliers are also more intricate than most fixtures. All those arms, crystals, and curved surfaces give dust dozens of places to settle.
In my experience, the trick is consistency. A quick dust every week or two takes minutes; letting it slide for months turns into a half-day job with ladders and chemicals.
In this guide:
- How often to dust and deep-clean a chandelier
- A step-by-step deep clean without taking it down
- Which cleaner to use for crystal, glass, brass, and other finishes
- A no-wipe method for very high or fragile fixtures
- Common mistakes to avoid
How Often Should You Clean A Chandelier?
Plan to dust your chandelier every 1–2 weeks and deep-clean it once a year. Homes near kitchens, with smokers or pets, or in dusty climates may need more frequent care — every six months for the deep clean isn't unusual.
When dust builds up, it blocks heat dissipation and shortens bulb life. The fire-safety risk is highest on incandescent and halogen bulbs, which run very hot. LEDs run much cooler and pose less of a fire risk, but dust on the heat sinks still raises junction temperature and shortens lifespan over time.
Use a feather duster or a lambswool duster — both are soft enough to avoid scratching. A long-handled version lets you skip the ladder. Move slowly and deliberately so you don't knock the chandelier into a swing.
How To Clean A Chandelier Without Taking It Down

Cleaning a chandelier on a low ceiling is straightforward. Higher up, the bigger problem is reaching it safely. Here's the step-by-step deep clean — without unwiring and lowering the fixture.
Supplies You'll Need
- Soft feather or lambswool duster
- Cleaning solution (purchased spray or DIY mix — see below)
- Microfiber cloth (never paper towels — they micro-scratch)
- Two pairs of white cotton gloves (one for applying cleaner, one for drying)
- Drop cloth or old towel to catch drips
- Step ladder, if needed
Step 1: Set Up A Safe Working Base
With low ceilings, work from the floor or a stool. For higher fixtures, the work zone matters more than anything else. Don't lean a ladder against furniture or set it on a rug — both can slip.
Move chairs, side tables, and rugs out of the way. Use the smallest ladder that gets you to the chandelier — a stepladder is more stable than an extension ladder because its center of gravity is lower.
Step 2: Switch Off The Power
Liquid near a wired fixture is a hazard. Even with intact insulation, kill the power at the wall switch and, if you can, at the breaker.
Let the bulbs cool fully before touching anything. Cold cleaner on a hot bulb can crack the lens or shatter the envelope, whether it's LED, halogen, or incandescent.
Step 3: Remove Detachable Accessories
Many chandeliers have a central frame with detachable decorations — drop crystals, bobeches, glass beads. Unhook these so you can clean them at floor level. Removing them also gives you clear access to the body of the fixture.
Work on a small batch at a time and lay the pieces on a soft towel as you go. Don't unhook everything at once — something will end up dropped.
If your crystal strands are wired or pinned in place and can't be lifted off, leave them. Clean them with the chandelier in place, supporting each strand with your free hand so you're not pulling on the wire.
Step 4: Dust First, Wait, Then Clean
Dust the entire fixture with a soft duster about ten minutes before you spray anything. Dust knocked loose into the air needs time to settle — if you start spraying immediately, it lands on the wet surface and you'll be cleaning twice.
Step 5: Clean Surface By Surface
Schonbek, one of the leading crystal manufacturers, recommends spraying cleaner onto one cotton glove and using a second dry glove to wipe each piece as you go. This method avoids spraying the fixture itself (where liquid can run into sockets) and minimizes streaks.
Work in small sections, supporting each piece with your free hand so you're not levering it against its mount. Gentle pressure is enough.
Step 6: Rinse And Dry
Wiping with a clean dry microfiber cloth removes most cleaning residue, but for crystal a quick rinse with distilled water before final drying gives the best clarity. Leftover alcohol or vinegar attracts dust and can leave streaks.
Step 7: Reattach The Accessories
Clean the removed accessories at floor level using the same technique. Once they're clean and fully dry, hang them back on the chandelier.
Cleaning By Material

Different chandelier materials need different cleaners. The table below summarizes the main options, with details on each in the sections that follow.
| Material | Primary Cleaner | DIY Alternative | Key Notes |
|---|---|---|---|
| Crystal | Dedicated crystal spray | 1:3 isopropyl alcohol to distilled water | Rinse with distilled water; never use ammonia |
| Glass | 1:3 white vinegar to distilled water | 1:3 isopropyl alcohol to distilled water | Dry quickly to avoid streaks |
| Brass | Dedicated brass polish | Salt + vinegar + flour paste | Buff dry after 10 minutes; no ammonia |
| Chrome, nickel, painted | Mild dish soap in warm water | Damp microfiber cloth alone | Avoid vinegar, alcohol, and ammonia |
Crystal Chandeliers
For crystal, a dedicated crystal spray is the easiest option. The reliable DIY alternative is isopropyl alcohol mixed with distilled water at 1 part alcohol to 3 parts water — the ratio Schonbek itself recommends. Distilled water matters because the mineral content in tap water leaves spots on crystal.
Skip ammonia-based glass cleaners. They degrade crystal coatings and metal finishes over time.
If you prefer dish soap, dissolve about 1 teaspoon of mild dish soap in a quart of distilled water. The 1-to-4 dish-soap-to-water ratio sometimes recommended online is far too concentrated — it leaves a sticky film and visible streaks.
Glass Chandeliers
For plain glass, a 1:3 mix of white vinegar and distilled water is the most reliable cleaner. It cuts smudges and dries streak-free. For tougher buildup, push the ratio toward equal parts vinegar and water.
The same 1:3 isopropyl alcohol mix used for crystal works on glass too.
Brass Chandeliers
Brass needs polishing rather than just wiping. A dedicated brass polish is the easy path. For a DIY paste, dissolve 1 teaspoon of salt in half a cup of white vinegar, then stir in flour (about 2 tablespoons) until it forms a thick paste.
Apply the paste to the brass, leave it for around 10 minutes, then rinse thoroughly and buff dry with a soft cloth. Never use ammonia on brass — it strips lacquer and pits the underlying metal.
Chrome, Nickel, And Painted Finishes
Modern chandeliers often use brushed nickel, matte black, or painted finishes that react badly to acidic cleaners. Skip the vinegar mix and the brass paste on these — vinegar can etch the protective coating, and ammonia will dull the finish permanently.
Stick to a few drops of mild dish soap in warm water on a damp microfiber cloth, wiping with the grain on brushed metals. Dry immediately so water spots don't form.
A Note On LED Bulbs
Many modern chandelier bulbs are LEDs with plastic diffuser covers or silicone lenses. Strong solvents — isopropyl alcohol in particular — can cloud or crack these plastics. Before applying any cleaner to a bulb, check what the housing is made of. When in doubt, use a slightly damp microfiber cloth and don't soak it.
LEDs run far cooler than incandescent or halogen bulbs, but the same rules apply: switch them off and let them cool before cleaning. Thermal shock on a hot lens is a real way to break an otherwise indestructible bulb.
Mistakes To Avoid
- Paper towels: they look soft but contain wood fibers that micro-scratch crystal and glass coatings. Use microfiber instead.
- Ammonia-based glass cleaners: they degrade crystal coatings, strip brass lacquer, and dull painted finishes. Diluted vinegar or alcohol is safer.
- Vinegar on plated or painted finishes: acetic acid etches the protective layer on chrome, nickel, and painted chandeliers.
- Cleaning a hot bulb: cold liquid on a hot LED, halogen, or incandescent bulb can crack the lens or shatter the envelope.
- Tap water for the rinse: mineral content leaves spots, especially on crystal. Use distilled water.
How To Clean A Chandelier Without Wiping
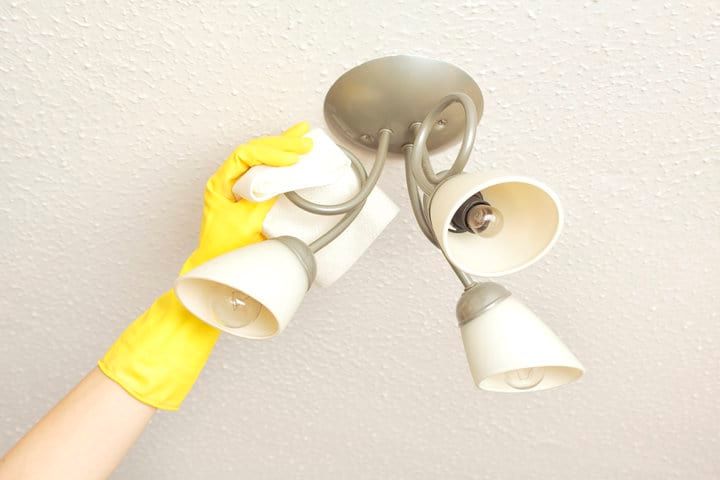
For very high ceilings or extremely delicate fixtures, the no-wipe rinse method is a useful alternative.
Lay a thick towel or drop cloth under the chandelier — this method produces significant drips. Then saturate the fixture with cleaner using a pump sprayer.
As the chandelier begins to dry, respray it. Repeat until the run-off liquid is clear. On the first pass it will look grey or brown from dissolved dirt — keep going until it runs off colorless, which means the surface is clean.
This method uses more cleaner than the wipe approach and takes longer to dry, but it's the only safe option for chandeliers that are too fragile or too high to reach with a cloth.
Final Words
Plan ahead, kill the power at the wall, and match the cleaner to the material — that covers most of the job. Take your time with the delicate parts and the annual deep-clean becomes a manageable afternoon rather than a stressful day.