
How To Remove Light Bulb From Recessed Socket
That flush fit making the bulb impossible to grip isn't a defect — it's how recessed retrofits are designed. A duct tape loop with the sticky side out is often all it takes.
 Eugen
EugenEugen Nikolajev
Creator of LED Lighting Info
Hi, I am Eugen. I was always one of those kids who had all sorts of weird lighting gadgets for every occasion.
Now, I want to share my knowledge and experience about lighting with you on LED Lighting Info.
Read my editorial standards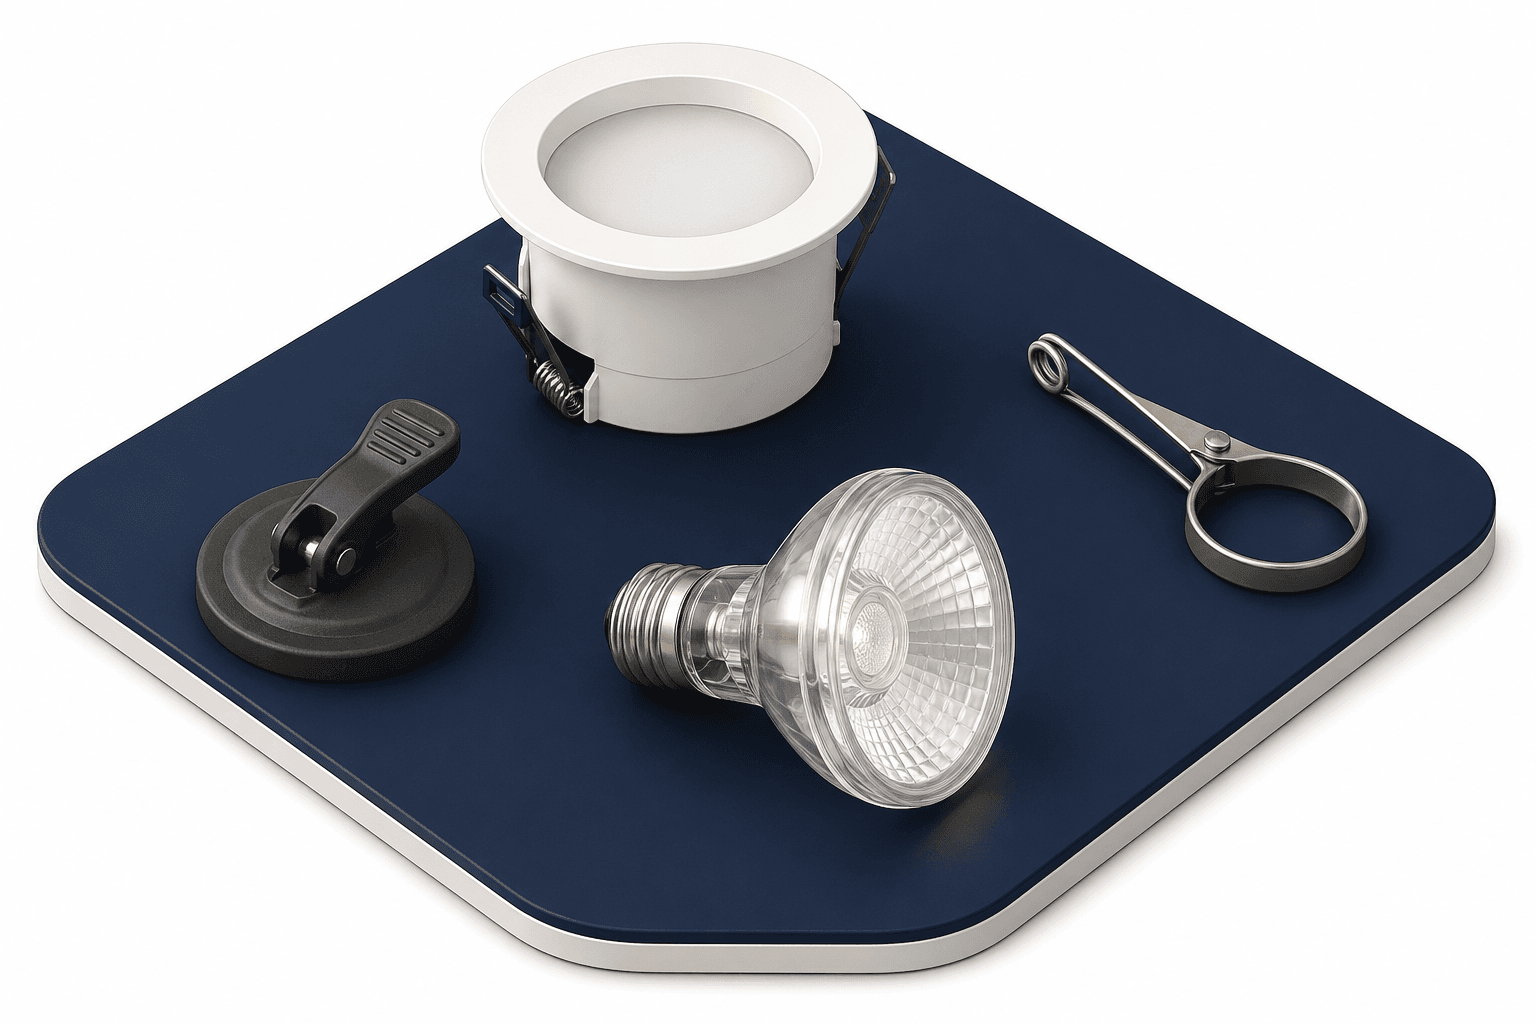
Key Takeaways
If a bulb is stuck in a recessed socket, you can usually get it out with a duct tape loop, a suction cup, or a purpose-built bulb-changing kit. Always cut power at the breaker first — not just the wall switch — and let the bulb cool before you touch it.
Changing a bulb in a recessed can fixture sounds simple — until the bulb sits flush with the housing and you can't get a grip on it. Most modern recessed bulbs are designed to sit nearly level with the trim, which is what makes the bulb face so hard to grasp once it's screwed in tight.
This guide covers the three reliable removal methods (no broken glass required), the safety steps that come first, and what to do when corrosion has welded the bulb into the socket.
Common Problems With Recessed Fixtures

Recessed lighting — also called can lighting, downlight, or pot light — sits inside the ceiling for a clean, low-profile look. That same low profile creates a few predictable headaches, most of them centered on bulb access.
Beam angle
Recessed lights actually use bulbs across a wide range of beam angles. Spot-style PAR bulbs are narrow (typically 25°–45°), while BR-type flood bulbs — the most common choice for residential cans — spread 100°–120°. For standard 8–9 ft ceilings, a beam angle of 60° or wider is generally recommended for even coverage.
Heat (mostly an older-fixture problem)
Older incandescent and halogen recessed cans run hot, and that heat can shorten bulb life and seize the threads in the socket. Modern LED retrofits run far cooler, and IC-rated (Insulation Contact) fixtures are specifically engineered to operate safely in direct contact with ceiling insulation. If you have older non-IC incandescent or halogen cans, switching to LED retrofits is the single biggest improvement you can make for both temperature and bulb longevity.
Tight fit
Most recessed-style bulbs (BR floods, downlight retrofits) are intentionally flat or flush with the trim — that's the design, not a mistake. The flush profile is what makes the bulb hard to grip when it's time to remove it: there's almost no gap between the bulb edge and the can wall to slip a finger into.
Corrosion
If a bulb has been in the socket for years — especially in a damp room like a bathroom, kitchen, or basement — the brass threads can corrode and effectively bond to the socket. The bulb won't budge no matter how well you can grip it.
Safety: Do This Before You Touch The Bulb
Before any removal attempt — even one that looks easy — work through these three steps every time:
- Cut power at the circuit breaker, not just the wall switch. Multi-way switching and miswired circuits can leave the socket live even when the switch is off.
- Let the bulb cool. Incandescent and halogen bulbs reach burn temperatures within minutes of being on; even LEDs can be uncomfortably warm. Give it 10–15 minutes.
- Wear safety glasses and gloves, especially if there's any chance the bulb could shatter.
If the bulb has already shattered, use insulated needle-nose pliers — never bare metal tools — and grip only the brass shell. Touching the shell and the center contact simultaneously can complete a circuit if power somehow remains live.
Three Ways To Remove A Stuck Recessed Bulb
Three methods cover almost every stuck-bulb scenario. Pick the one that fits your situation, ceiling height, and how often you expect to repeat the job.
| Method | Best For | Cost | Tools Needed |
|---|---|---|---|
| Bulb-changing kit with pole | High ceilings, frequent bulb changes | $15–$40 | Kit + extension pole |
| Suction cup | Flat-faced LED bulbs, one-time fix | $5–$15 | Suction cup with handle |
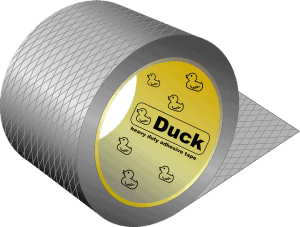
| Duct tape loop | Immediate fix with no shopping trip | Free | A strip of duct tape |
Method 1: Bulb Changer Kit with Extension Pole
Best for: high ceilings, stairwells, and homes where you change recessed bulbs often.
A purpose-built bulb-changing kit with a pole (Amazon) comes with interchangeable heads — typically a suction cup for flat-faced bulbs and a soft pincer grip for shaped bulbs. The pole reaches high ceilings without a ladder. Press the head firmly against the bulb face, twist counterclockwise, and the bulb backs out of the socket. It's the most reliable option for anyone who'd rather not climb.
Method 2: Suction Cup
Best for: flat-faced LED downlight retrofits, one-time fixes.
A general-purpose suction cup with a handle (the kind sold for moving glass or tile) grips a smooth flat bulb face well. Wipe the bulb clean and dry, press the cup squarely against it, lock the handle to engage suction, and twist counterclockwise. Suction works poorly on textured or domed bulbs — for those, use the duct tape method instead.
Method 3: Duct Tape Loop (No-Tools Method)
Best for: an immediate fix when you can't make a hardware-store trip. Works on flat and dome-shaped bulbs.

- Cut a strip of duct tape about 12 inches long.
- Form it into a loop with the sticky side facing outward — both surfaces of the loop should be adhesive.
- Press one side of the loop firmly across the face of the bulb, covering as much of the diameter as you can. Smooth it down so the contact is even.
- Grip the opposite side of the loop with your fingers — that's your handle.
- Twist counterclockwise. The tape should turn the bulb just enough to break it loose.
- Once the bulb is loose, finish unscrewing it by hand and peel the tape off.
To install the new bulb, reuse the same loop — stick it to the bulb face, screw clockwise until snug, then peel away.
Check The Base Type Before You Twist
The duct tape and suction methods assume a standard screw base. Recessed fixtures actually use several base types, and some don't unscrew at all:
- E26 / E27 (medium screw): standard for North American recessed cans. Twist counterclockwise to remove.
- GU10: bayonet-style lock. Push the bulb up gently, twist about a quarter turn counterclockwise, and let it drop out as the pins clear the slots.
- GU24: twist-lock with two pins. A quarter turn counterclockwise releases it — no push needed.
If the bulb won't move after several full rotations of effort, stop and confirm the base type before forcing it. Twisting a GU10 like an E26 won't break it, but it also won't get the bulb out.
When The Bulb Won't Budge: Corrosion Fixes
If the bulb spins inside the tape but never actually unscrews — or refuses to move at all — corrosion has likely fused the threads to the socket. With power off at the breaker:
- Use a gentle rocking motion (turn-pause-turn-pause) instead of constant force. Rocking breaks the corrosion bond without snapping the glass off the base.
- Never spray solvents like WD-40 or other aerosols into a socket. They're petroleum-based, flammable, and can damage the socket's insulation.
- If the glass breaks off the brass base, grip the inside of the brass shell with insulated needle-nose pliers and turn it out. A raw potato pressed onto the broken base can also work as an emergency grip.
Lubricating threads for next time
Before you install the new bulb, you can apply a very thin film of silicone-based bulb grease or dielectric grease to the threads of the bulb base — not the contact tip — so it turns more easily next time. Avoid petroleum jelly (Vaseline): the petroleum base can degrade socket insulation, carbonize over time, and isn't heat-rated for socket service.
FAQ
Will the duct tape method work for GU10 or GU24 bulbs?
No — those are twist-lock bayonet bases, not screw bases. GU10 needs a gentle push and a quarter turn counterclockwise; GU24 needs a quarter turn counterclockwise without pushing. The duct tape loop is a screw-base trick.
Why won't my bulb unscrew at all, even with a good grip?
The most common cause is corrosion welding the brass threads to the socket, especially in damp rooms. Cut power at the breaker, then use a rocking motion (turn-pause-turn-pause) rather than steady force. If the glass snaps off, grip the brass shell with insulated needle-nose pliers.
Is it safe to use Vaseline on bulb threads?
It's not recommended. Petroleum jelly can degrade rubber and polymer insulation in the socket, carbonize at operating temperatures, and isn't heat-rated for socket service. Use silicone-based bulb grease or dielectric grease instead.
Should I worry about my recessed lights overheating?
Modern LED retrofits run cool enough that overheating is rarely a concern. Older incandescent and halogen recessed cans without IC ratings are the real heat-management problem — if you have those, swapping to LED retrofits or IC-rated fixtures solves both the heat and the bulb-life issues.
Can I leave the wall switch off instead of flipping the breaker?
No. Multi-way switches, miswired circuits, and faulty switches can leave the socket live even when the switch is in the off position. Always shut off power at the breaker before working on a fixture.
Final Words
Three methods cover three situations: a duct tape loop is free and works for most flat LED retrofits, a suction cup gives you a cleaner grip for one-time fixes, and a bulb-changing kit with an extension pole is worth the money for high ceilings or households where bulbs come out often. Whichever you reach for, kill power at the breaker first — the wall switch alone isn't enough — and check the base type before you assume the bulb is supposed to unscrew.