
Do Pool Lights Leak Water?
A 12V pool light can drown a swimmer without electrocuting them — AC currents as low as 10 mA paralyze muscles, and a leaking fixture puts exactly that in the water.
 Eugen
EugenEugen Nikolajev
Creator of LED Lighting Info
Hi, I am Eugen. I was always one of those kids who had all sorts of weird lighting gadgets for every occasion.
Now, I want to share my knowledge and experience about lighting with you on LED Lighting Info.
Read my editorial standards
Key Takeaways
Pool lights have two completely different leak modes, and they’re easy to confuse: water can leak into the fixture (which damages the light), or out of your pool through the light’s conduit (which slowly drops your water level). Both are repairable, and neither has to be expensive — but the first one can be genuinely dangerous if you ignore it.
In this article, I’m going to walk through:
- Whether water in your pool lights is dangerous
- How to check whether your pool is leaking through the lights
- How to reseal a pool light
- How to fix a leak through the conduit
Is Water In Pool Lights Dangerous?

Pool lights are designed to live below the waterline, with seals that keep the fixture watertight. When those seals fail, water gets into the housing — sometimes a small amount, sometimes enough to slosh around audibly. How dangerous that is depends entirely on the type of light and how the circuit is protected.
Older 120V mains-voltage lights
Older pool lights running directly on mains voltage are the dangerous category. You’ve got a live current of 120 volts (in North America — 230–240V elsewhere), enough to electrocute you if it reaches the water. It should be protected by a ground-fault circuit interrupter (GFCI), which is required on all modern pool light circuits and will trip within milliseconds of detecting a leak to ground. Older pre-code installations sometimes lack GFCI — if yours is one of them, retrofitting one is the single most important pool electrical upgrade you can make.
Newer code (NEC Article 680) heavily favors low-voltage systems, and many jurisdictions now require GFCI protection on all pool light circuits, so a fresh 120V install may not even be permitted in your area. Check local code before retrofitting an old fixture.
Low-voltage lights and Electric Shock Drowning
More modern low-voltage lights typically run at 12–14V AC through a Class 2 transformer, which dramatically reduces the risk of fatal electrocution. However, this is not the same as “safe.” Even low-voltage AC in pool water can cause Electric Shock Drowning (ESD): currents as small as 10 mA AC can paralyze a swimmer’s muscles, leading to drowning even when the voltage itself wouldn’t kill. Documented incidents have killed swimmers in public pools with miswired 12V transformers — death didn’t require electrocution, just immobilization in the wrong spot.
Bonding, grounding, and the NEC
GFCI is your first line of defense, but it isn’t the only requirement. NEC 680.26 mandates equipotential bonding around permanently installed pools — a #8 AWG (or larger) solid copper conductor that ties together every metal component within a swimmer’s reach: light niche shells, ladders, handrails, pump motor housings, rebar, and perimeter surfaces three feet out from the pool. The point is to keep everything at the same electrical potential, eliminating the voltage gradients in the water that cause ESD. Bonding is a separate concept from grounding (the equipment grounding conductor that clears faults to the source), and a properly built pool needs both.
⚠️ Any tingling sensation in pool water is a 911-level emergency. Get everyone out without grabbing metal handrails or ladders, kill the breaker, and call a licensed pool electrician. ESD can paralyze a swimmer in seconds, and the only safe assumption is that the water is energized.
When to call a professional
If your pool runs on 120V lighting, if your installation predates GFCI requirements, or if you aren’t confident working around electrical wiring near water, contact a licensed electrician or pool technician before going further. The repairs in this article assume you’re comfortable cutting power at the breaker and handling sealed low-voltage hardware — anything beyond that belongs in a pro’s hands.
Either way, water inside the fixture will damage the light, so you need to fix the leak before it kills the unit. That means resealing the housing.
How To Seal Pool Lights
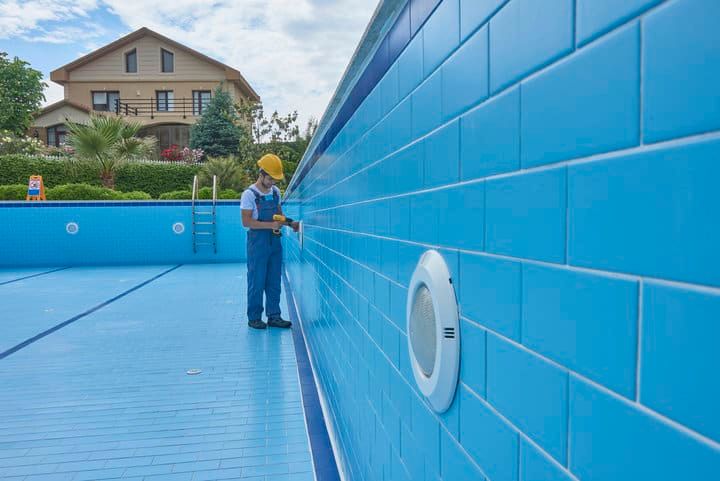
Resealing a pool light means replacing the gasket — the rubber ring that keeps water out of the housing. Most fixtures have a replaceable gasket, whether they use replaceable bulbs or sealed LED modules in a larger housing.
How long gaskets actually last
Good silicone or EPDM gaskets tend to last 5–10 years in a well-balanced chlorine pool. Saltwater pools, high-chloramine conditions, prolonged UV exposure, and cheaper nitrile (Buna-N) gaskets can cut that lifespan substantially — sometimes in half — so inspect more frequently if any of those apply. As a rule of thumb, replace the gasket whenever you change the bulb. With LED fixtures, the gasket often fails before the light does, so it may need replacing on its own schedule.
Replacement gaskets typically run $5–$20 depending on the fixture, which makes proactive replacement cheap insurance against a flooded housing or a thermal-shocked lens.
Step-by-step
- Switch off power to the lights at the breaker.
- Remove the light fixture from its housing.
- Pull the fixture out of the pool using the slack in the cable — a correctly installed light has enough cord behind it to reach the deck without disconnecting anything.
- Unscrew the retaining clip and remove the cover.
- Drain any water from inside the fixture.
- Let it dry completely.
- Remove the old gasket and fit the new one.
- Replace the cover and tighten the retaining screw.
- Submerge the fixture briefly to check for escaping bubbles before reinstalling.
When you do the bubble test, watch three places: the gasket seam where the cover meets the body, the lens edge, and the rear of the housing where the cord exits. Bubbles from any of those spots mean the seal is bad — pull the fixture back out, reseat or replace the gasket, and test again. Reinstall in the niche only after the test runs clean.
How To Test Pool Lights For Leaks
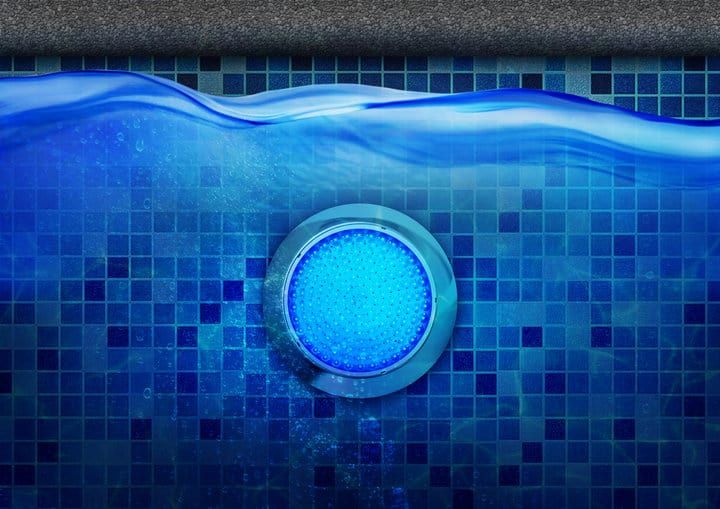
The other leak mode is the pool itself losing water through the light fixture — the seal between the conduit and the niche fails, and water drains slowly out behind the wall. This is a problem for more reasons than just water level:
- Pool lights are designed to be submerged because water transfers heat away from the fixture. If the water drops below the lens, the light may fail outright — and older incandescent or halogen pool lights run very hot, so running them dry can melt the gasket, crack the lens from thermal shock, or even start a fire. Always cut power at the breaker if the water level drops below the fixture.
- Water leaking into the conduit can later freeze, especially if you don’t winterize your pool, cracking the conduit and potentially damaging wiring or creating an electrocution hazard.
To check whether your pool is leaking through the light, watch where the water level stabilizes:
- Drop somewhere between the top of the light and the halfway point → likely a conduit leak.
- Drop below the halfway point of the light → leak elsewhere in the pool. You may also have a conduit leak, but track the bigger one down first.
How To Fix A Pool Light Conduit Leak
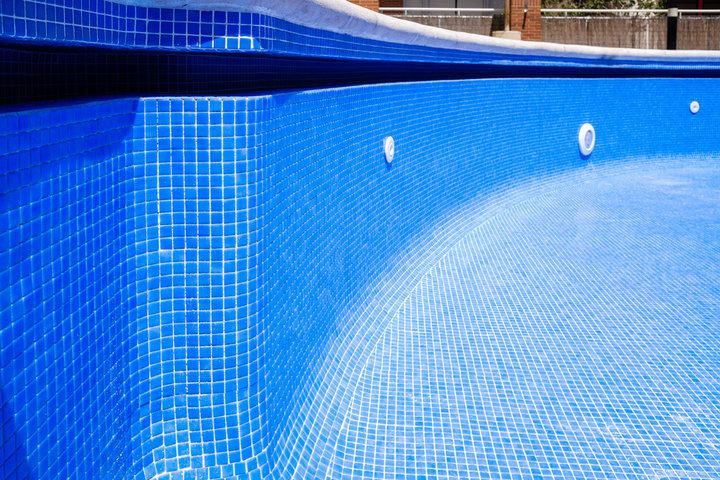
Once you’ve confirmed the leak is in the conduit, you have three options. All three cost under $20 in materials, so the right choice mostly comes down to whether you want easy cord access in the future and whether you’re willing to drain the pool.
| Method | Drain pool? | Future cord access? | Difficulty | Materials cost |
|---|---|---|---|---|
| Sealant / putty | Yes | No (must chip out) | Medium | ~$5–$15 |
| Butyl tape | No | No (must re-tape) | Medium | ~$10–$15 |
| Cord stopper | No | Yes | Easy | ~$5–$10 |
Sealant or putty
Standard silicone sealant or pool-rated putty (the kind you’d use around a bathroom fixture) works, but you have to drain the pool below the conduit before applying it. Once the sealant cures it’s difficult to remove — if you ever need to pull the cord, you’ll be chipping it out and reapplying.
Butyl tape
Butyl tape avoids the drain-the-pool problem. Wrap the cable in tape and use a screwdriver or similar tool to push the tape down into the conduit hole until it forms a tight plug. It’s extremely sticky, which makes it tricky to position but excellent at sealing. Same downside as sealant: pulling the cord later means re-taping from scratch.
Cord stopper
A pool light cord stopper is the cleanest option. These tight rubber plugs are sized to grip the cable and seal the conduit hole. The stopper has a slit so you can fit it around the cord without disconnecting anything, then push it firmly into the hole — thin end first — for the tightest seal.
Cord stoppers come in two sizes, ¾-inch and 1-inch, so check your light’s manual for the conduit diameter. They’re cheap enough that buying both is a reasonable hedge if you’re not sure — better to spend a few extra dollars now than to do the job twice.
Final Words
Whether the leak is into your light or out of your pool, don’t ignore the problem. The fixes are almost always cheap — a replacement gasket, a roll of butyl tape, or a cord stopper — and they get more expensive the longer you wait.
If anything in your pool lighting feels electrically wrong — a tingle in the water, a breaker that won’t reset, a fixture that flickers under load — stop, kill the power at the breaker, and call a licensed pool electrician. There is no DIY shortcut worth risking ESD over.