
How To Remove Landscape Lighting?
A 300W transformer shouldn't carry 300W of fixtures — stop at 240W or voltage drop and heat become your problem. That 80% headroom rule changes how you plan every fixture swap.
 Eugen
EugenEugen Nikolajev
Creator of LED Lighting Info
Hi, I am Eugen. I was always one of those kids who had all sorts of weird lighting gadgets for every occasion.
Now, I want to share my knowledge and experience about lighting with you on LED Lighting Info.
Read my editorial standards
Key Takeaways
When removing landscape lights, always disconnect the power first, then disconnect the transformer. Remove the fixtures next, and finally pull the wiring where you can. Any wiring too buried or tangled in plants needs to be capped with a direct-burial-rated connector before it goes back in the ground.
This guide covers low-voltage wired systems (12V or 24V). Solar landscape lights are removed differently — no transformer, no buried wiring — so they aren’t covered here.
I’ll walk you through:
- How to take apart your landscape lighting system
- What needs to be removed first
- How to replace landscape lights
How To Take Apart Landscape Lights?
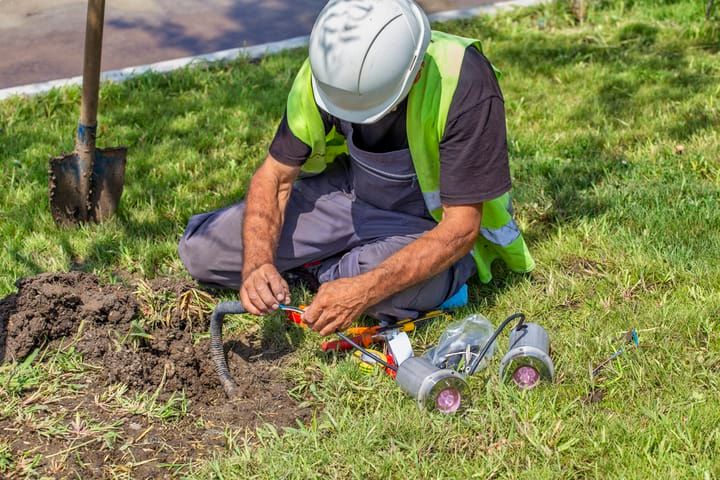
There are several reasons to dismantle a landscape lighting system. You may have moved into a home with an old setup and want to start fresh, or an existing installation has issues and it’s easier to redo it than patch it.
Safety comes first, but try to avoid unnecessary damage as you go. Working fixtures are worth keeping in good shape for re-use or resale. Damaged fixtures and transformers also need careful disposal — LED components and electronics shouldn’t go in household trash, so check your local e-waste or recycling program before throwing anything away.
Disconnect The Power First
Always start by killing power to the system. The transformer should be plugged into a GFCI-protected outdoor outlet — that 120V supply is the part that can actually shock someone, so unplug it (or trip the breaker if the transformer is hardwired) before touching anything.
On the low-voltage side, you’re likely working with 12V, which is below the threshold for human shock perception. The wires themselves won’t shock you. A short across exposed conductors can still generate heat and cause burns at the fault point, so cutting power first remains a habit worth keeping.
Treat this as the golden rule for anything electrical: cut the power first. If you’re juggling multiple tasks and can’t remember whether you did it, check — never assume.
What Should I Remove First?
Step 1: Disconnect The Transformer
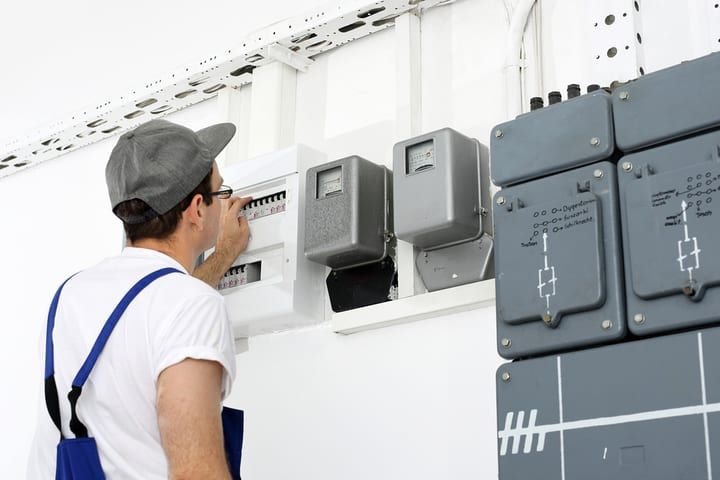
With power off, disconnect and remove the transformer. The order isn’t critical, but pulling the transformer out early ensures no live power path remains in the circuit. If someone accidentally re-energizes the outlet while you’re working, an unwired transformer means zero hazard downstream.
Step 2: Remove The Fixtures
Fixtures come out before wiring because they’re easier to handle. Disconnect each one from the circuit, then lift it out. The exact method depends on the fixture type:
| Fixture Type | Removal Method | Key Watch-Out |
|---|---|---|
| Stake lights | Lift straight up out of the ground | Don’t pull at an angle — damages wiring and surrounding plants |
| Recessed lights | Remove the bulb first, then unscrew the fixture | Bulb-out reduces the risk of broken glass if you drop the fixture |
| Mounted lights | Unscrew the fixture, then remove the mount | Always fit a fresh mount with a new fixture — don’t reuse the old one |
Step 3: Remove The Wiring
Wiring is usually the hardest step. Roots often grow around buried cable and lock it in place, and yanking on it will tear up surrounding plants.
Where the wire will pull, dig in sections and free a couple of feet at a time rather than tugging the whole run. That keeps the cable under control and limits collateral damage to the garden.
Where a section won’t come out, cap each end with a direct-burial-rated wire connector — a waterproof or gel-filled wire nut, or a heat-shrink sealant cap — before reburying it. Plain electrical tape isn’t rated for wet or buried locations and will degrade in soil, which becomes a corrosion-driven failure point if anyone re-energizes the line later.
How To Replace Landscape Lighting?
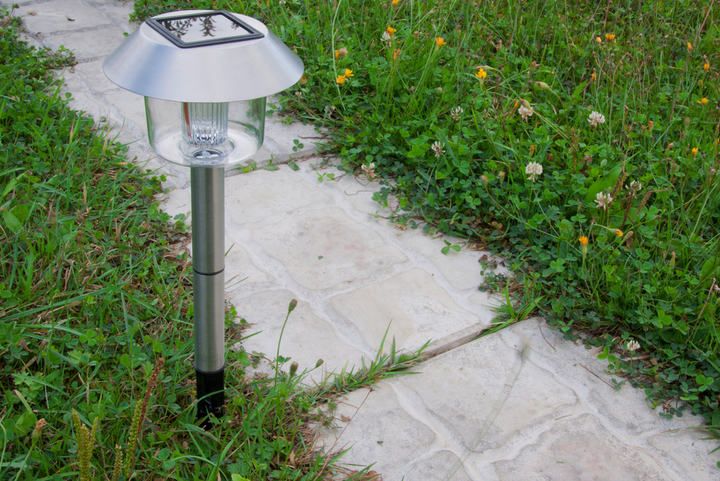
What’s involved depends on why you’re swapping. A dead bulb is straightforward; a failed fixture, or one you’re upgrading to a different wattage, takes more work.
Replacing A Bulb
You can only replace the bulb if the fixture is designed to be opened. Open-back or gasketed designs let you in. Sealed potted fixtures don’t — forcing one open damages the waterproofing and risks a short, so a sealed fixture means a full fixture replacement.
On a serviceable fixture:
- Disconnect the power to the circuit
- Open the fixture
- Unscrew the bulb
- Replace it with a matching bulb (size, connector, and wattage)
- Close the fixture securely
- Power the circuit back up to confirm it works
If the bulb’s wattage marking has worn off, check the fixture’s documentation, the supplier where it was bought, or a similar fixture elsewhere in the garden.
Also read: Where To Place Landscape Lighting?
Replacing A Fixture
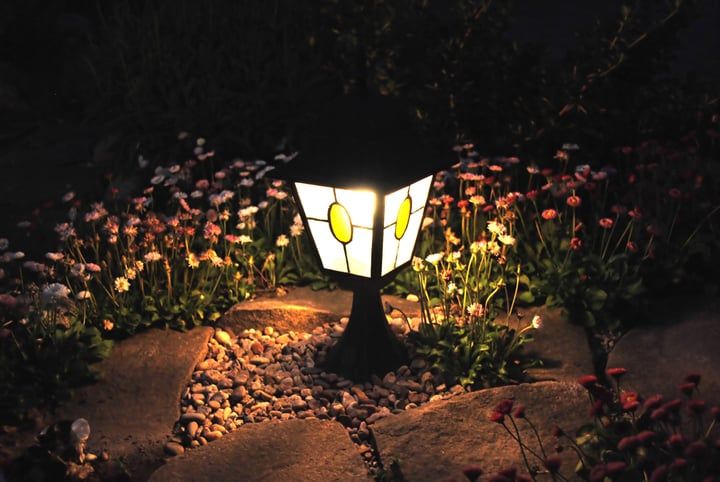
A like-for-like replacement at the same wattage usually doesn’t need wiring or transformer changes. Going to higher-wattage fixtures may mean upsizing the transformer and re-wiring, because every transformer has a maximum capacity (rated in watts or VA), and undersized wire suffers voltage drop on heavy loads — particularly past about 10 m of run.
My rule of thumb: never load a transformer above 80% of its rated capacity. A 300W transformer should carry no more than around 240W of fixtures, leaving headroom for inrush and small efficiency losses.
For a like-for-like swap:
- Disconnect the power to the circuit
- Locate the connector where the fixture ties into the circuit and remove it. If it’s a wire nut, try pulling it off first; if that fails, cut the wires leading into the connector
- Remove the fixture
- Remove the mount, if the fixture has one
- Fit the replacement mount if needed, and put the new fixture in place
- Strip back the remaining wire from the circuit if necessary
- Twist the circuit and fixture wires together and join them with a direct-burial-rated wire nut so the splice can survive moisture
Depending on the fixture, you may want to wire it up before installing it in place — just swap those steps around.
Final Words
Removing landscape lighting takes care more than skill: kill the 120V supply at the GFCI outlet, pull the transformer, then work outwards from fixtures to wire. Cap any cable you have to leave underground with a connector rated for buried use, and when replacing fixtures, keep the transformer load below 80% of its rated capacity.