
Where To Place Landscape Lighting?
A single uplight on a tree almost always looks wrong — the professional standard is three fixtures spaced 120° apart so the canopy reads as a complete, dimensional shape. One bright fixture just can't do that.
 Eugen
EugenEugen Nikolajev
Creator of LED Lighting Info
Hi, I am Eugen. I was always one of those kids who had all sorts of weird lighting gadgets for every occasion.
Now, I want to share my knowledge and experience about lighting with you on LED Lighting Info.
Read my editorial standards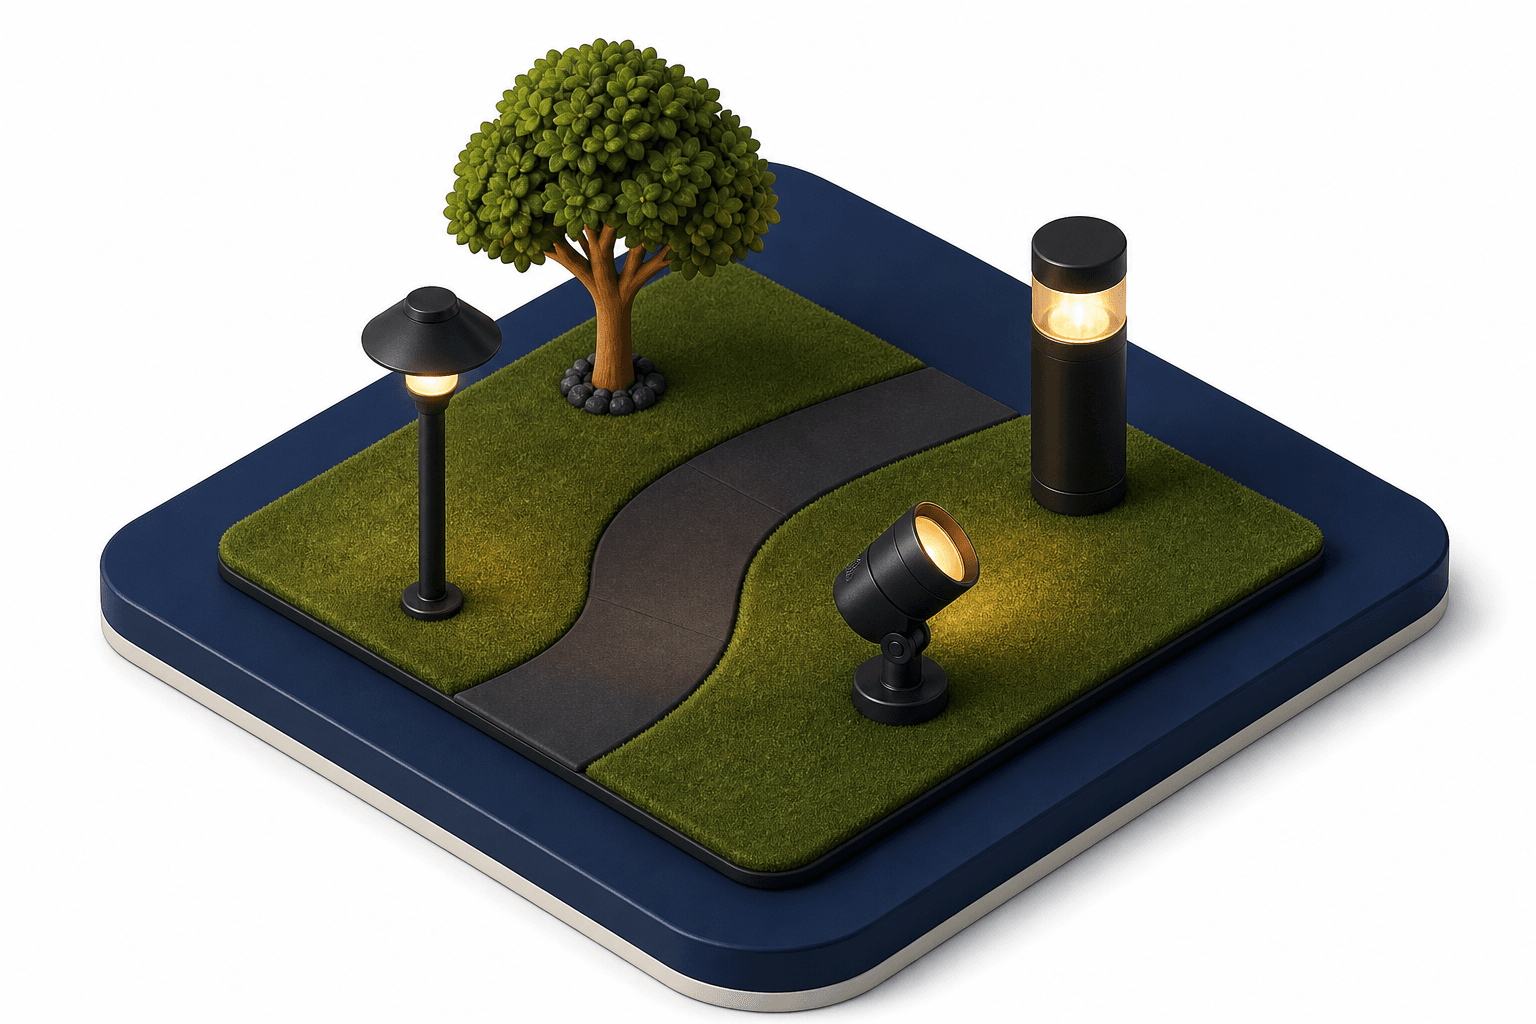
Key Takeaways
Landscape lighting should be carefully positioned to highlight features while controlling shadows and glare.
Use warm 2700K–3000K bulbs on a 12V low-voltage system for most residential gardens, light trees from two or three angles 120° apart, and space pathway lights 6–10 feet apart on alternating sides of the walk.
Landscape lighting lives or dies by where you put the fixtures. The right placement turns a garden into a layered, dimensional space at night; the wrong placement either washes everything in glare or leaves you tripping over a hose you can't see.
This guide walks through how I think about positioning fixtures around seating areas, trees, water features, and paths, and the technical choices (color temperature, voltage, beam angle) that quietly decide whether the result looks professional or amateur.
Here's what this guide covers:
- Where garden lights should be positioned
- The five core lighting techniques (highlighting, silhouetting, shadowing, moonlighting, pond lighting)
- Whether it's a good idea to install lights on a tree
- Where to place path lights
- Color temperature, voltage, and safety basics
Color Temperature And Voltage: Get These Right First
Two technical choices set the look and feel of a landscape lighting system before placement even matters: color temperature and operating voltage.
For color temperature, stick to the warm end of the scale. Most landscape designers specify 2700K–3000K for residential gardens — that's the warm, slightly amber light that flatters foliage, brick, and stone. Anything above 4000K reads cool and clinical outdoors, more like a parking lot than a garden. 5000K "daylight" bulbs are almost never the right choice for landscape work.
For voltage, most residential landscape systems run on 12V low-voltage through a transformer that steps mains power down from 120V. Low voltage is safer to install, easier to bury, and forgiving if a fixture is later moved or a wire is nicked by a shovel. Line-voltage (120V) systems exist but generally require a licensed electrician, conduit, and permits — not what most homeowners want to take on. Whichever you choose, all outdoor outlets feeding the system should be GFCI-protected as required by NEC code (see my guide on GFCI requirements for outdoor lighting).
How Should I Position Garden Lights?
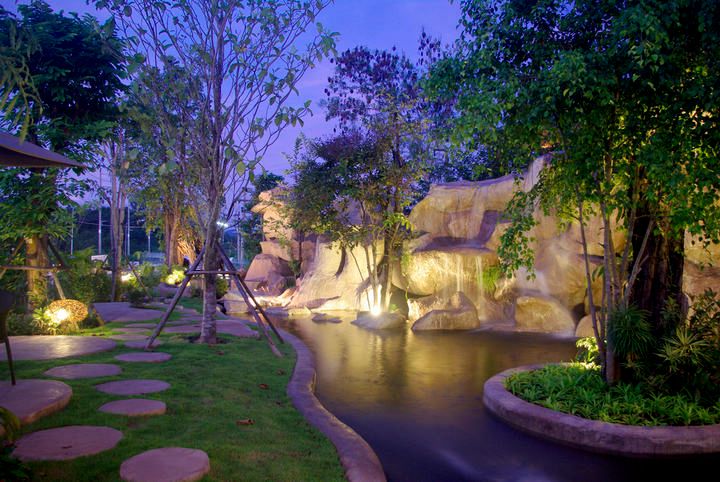
Start with seating areas, then features, then paths. That order matters: a garden you can't comfortably sit in at night isn't worth lighting, no matter how good the trees look.
If you have a patio or deck with furniture, add lamps around the space, either as downlighting on the house wall or as stake or deck-mounted fixtures. Space them every few feet — gentle, layered illumination is what you want for relaxing in the evening, not the bright glare that hurts your eyes.
Only lighting some features creates an uneven space with darker, shadowy patches — it looks like the job's half done. So once seating is handled, work outward to features (trees, statues, walls, water) and finally to circulation routes (paths, steps, driveways).
The rest of your garden gets one of five core techniques, considered for your landscape lighting below.
Highlighting

What it is: Drawing attention to a single feature — a tree, shrub, sculpture, or architectural detail — with a directional beam.
How to achieve it: Use a spotlight aimed at the feature, typically from the ground up (uplighting) at a 30–45° angle from vertical. A narrow beam (20–35°) gives a tight, dramatic spotlight; a wider beam (60–120°) gives a softer wash. Position the fixture so the beam grazes textured surfaces like bark or stone to bring out detail.
Best use case: Specimen trees, statues, fountains, signage, and architectural focal points where one element should clearly be the star.
Silhouetting
What it is: Placing a light behind a feature so its outline reads as a dark shape against a lit background.
How to achieve it: Position the fixture between the feature and a wall or fence, aimed at the wall — not the feature. The wall becomes the lit canvas; the plant or sculpture in front becomes a crisp silhouette.
Best use case: Plants with strong, distinctive shapes — Japanese maples, ornamental grasses, sculptural shrubs — against light-colored backgrounds.
Shadowing
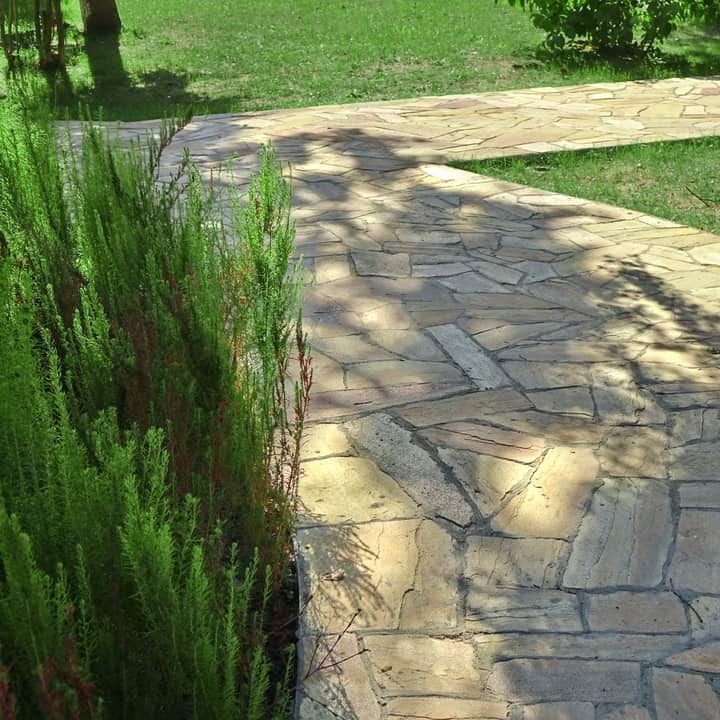
What it is: Casting a dramatic shadow of a feature onto a nearby surface — the opposite of silhouetting, since here the feature itself is lit, not the backdrop.
How to achieve it: Place a light low and in front of the feature, aimed up and toward a light-colored wall behind it. The shadow grows larger and more dramatic the closer the fixture sits to the feature.
Best use case: Pale walls — the side of a house, a stucco fence, a garage — with a tree or sculpture positioned in front. Without a light-colored backdrop, the shadow gets lost.
Moonlighting
What it is: Mounting lights high in a tree or on a tall structure and aiming them down through branches, mimicking the dappled effect of a full moon.
How to achieve it: Mount glare-shielded fixtures 20+ feet up in a mature tree's canopy and aim them downward. The bulb itself should never be directly visible from below — a glare guard or hex louver is essential. The light filters through the leaves and casts soft, branch-shaped shadows on the ground.
Best use case: Patios, seating areas, and lawns under mature trees, where you want broad, soft ambient light without an obvious lit fixture.
Pond And Water Feature Lighting
Water features get their own section because the rules are genuinely different — both for visual effect and for electrical safety.
For visual effect, place waterproof fixtures around the perimeter of the pond and angle them downward toward the water at roughly 30–45° below horizontal. Lights aimed parallel to the surface produce harsh, mirror-like reflections — angling them down lets the beam penetrate the water rather than bouncing off it. Perimeter lights are also what define the pond's edges for safety, since underwater fixtures tend to disappear in any algae or murk.
Submerged lights still have a place — they're excellent for highlighting fountains, waterfalls, and koi — but think of them as feature lighting, not safety lighting.
On the electrical side, low-voltage doesn't eliminate risk near water — it just reduces it. NEC Article 680 (and 682 for ponds) restricts low-voltage lighting around pools, spas, and fountains: voltage is generally limited to 15V AC in wet conditions, and underwater fixtures require specially listed transformers with isolated windings and grounded barrier shields. Use fixtures and transformers listed for wet or submersible use, keep all connections sealed and elevated above standing water, and follow your local code. If you're unsure, hire a licensed electrician for any pond circuit.
There's also a longer-term issue worth planning for: freeze-thaw cycles and soil settling. When the soil around a pond freezes, water expands about 9% in volume, which lifts fixtures out of position and can push buried cable to the surface — "wire heave" — where it gets chewed up by mowers and degraded by UV. Even on a professionally built pond, expect to inspect and re-stake lights once or twice a year.
Related: How To Set Landscape Lighting Timer?
Should I Install Lights On The Tree?
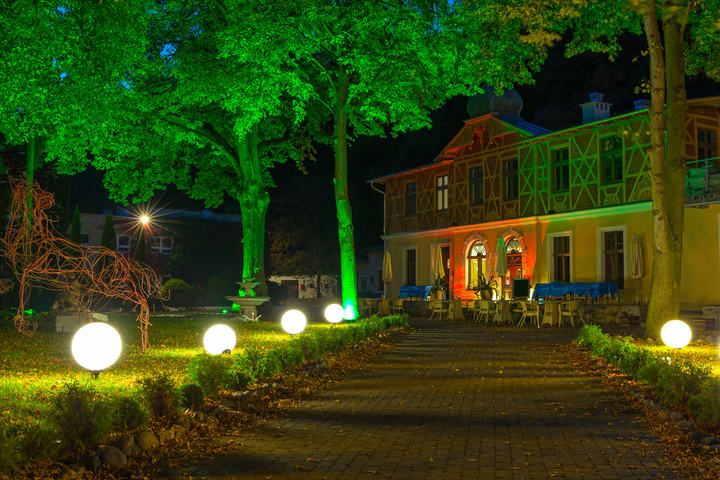
There are two questions hiding inside this one: should you light the tree itself (lights aimed at it from outside), and should you put fixtures in the tree (lights mounted in the canopy aimed elsewhere). The answers are different.
Lighting the tree itself is one of the highest-value moves in a landscape — but a single fixture almost always looks wrong. A lone uplight catches one side of the trunk and leaves the rest of the canopy floating in the dark. The professional standard is to place fixtures roughly 120° apart around the trunk in a three-fixture setup (or 180° apart for two), so the canopy is lit from multiple angles and reads as a complete, dimensional shape.
Sizing depends on the tree:
- Trees under 20 ft: typically two 20W uplights, 180° apart.
- Mature trees: two to four 35–50W uplights, 120° apart.
- Very large or dense canopies: five or more fixtures, sometimes mixing 20° narrow beams (to throw light high into the canopy) with 60–120° wide beams (to wash the lower foliage). Combining beam angles is what makes the result look natural rather than flat.
As for mounting fixtures in the tree (for moonlighting), it only makes sense if the tree is mature, tall enough to mount fixtures 20+ feet up, and positioned over something you want to light — a patio, a path, a lawn. Mounting a downlight in a tree that overhangs nothing serves no purpose. When you do install one, always use a glare guard so the bulb isn't visible from below.
Also read: Do Outdoor Lights Require GFCI?
How To Place Path Lights
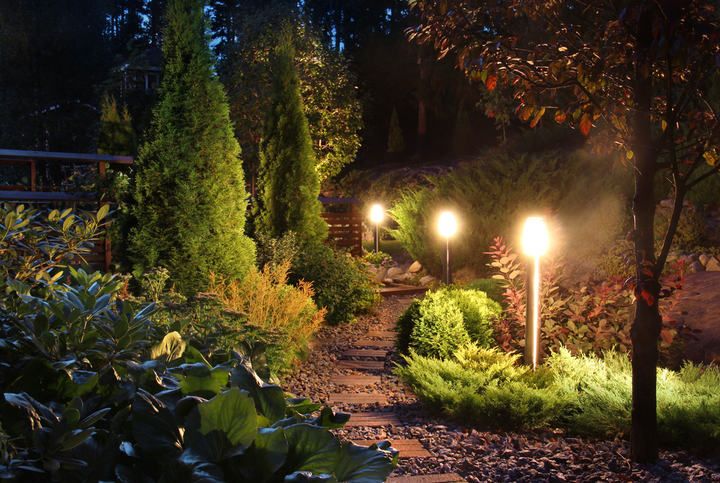
Pathway lighting is largely a safety job — keeping you and your guests from stepping off the edge of a walk in the dark or trampling a flower bed on the way home. The goal is a clear, evenly defined edge, not a runway. Four placement decisions matter:
- Distance from the path edge: Around 6 inches in from the path edge is the mainstream recommendation. If the path runs alongside a lawn that gets regularly mowed or edged, give yourself a bit more clearance to keep the mower blade from clipping fixtures. (Note: a separate spec, 12–18 inches, refers to the fixture's height above grade, not its horizontal offset.)
- Spacing between fixtures: Plan for 6–10 feet apart, staggered on alternating sides of the path where possible. Tighter spacing (5–6 ft) suits curves, steps, and lower-output fixtures around 100 lumens; 8–10 ft works for brighter 200+ lumen lights. Always check the spacing the manufacturer recommends for the specific fixtures you choose.
- Staircase treatment: Stairs need different fixtures than flat paths. The professional solution is recessed step lights built into the risers, which light the tread directly without casting harsh shadows. If recessed fixtures aren't an option, side-mounted wall lights at step height work — but standard pathway stakes generally don't, because they cast shadows from one tread onto the next.
- Proximity to windows and doors: Pathway lights placed within a few feet of a glass door or large window will shine straight into the house. Either pull those nearest fixtures back, swap them for fully shielded fixtures, or skip the section closest to the building entirely — the porch light will usually cover it.
The whole point of pathway lighting is to illuminate the path edge, not what's growing on either side. Downward-throwing fixtures positioned close to the path give a sharper edge definition than fixtures set further back and angled across — restraint, not brightness, is what makes the result look intentional.
Final Words
My decision framework, in order: seating areas first (you have to be able to enjoy the space), features second (trees, statues, water — picked one of the five techniques above), paths last (purely for safety and circulation). Then make the technical calls — 2700K–3000K bulbs on a 12V transformer, GFCI-protected, wet-rated fixtures around water — before you start digging.
Light the whole of any feature, not part of it. One uplight on a mature tree, or a single fixture trying to define the entire edge of a pond, will look unfinished no matter how good the fixture is. Two or three modest lights almost always beat one bright one.