
How To Run Wire For Recessed Lighting?
Putting 14/2 cable on a 20-amp breaker isn't just a code violation — NEC 240.4(D) flags it as a documented fire hazard. Newer homes run lighting on 20-amp circuits more often than most DIYers expect.
 Eugen
EugenEugen Nikolajev
Creator of LED Lighting Info
Hi, I am Eugen. I was always one of those kids who had all sorts of weird lighting gadgets for every occasion.
Now, I want to share my knowledge and experience about lighting with you on LED Lighting Info.
Read my editorial standards
Key Takeaways
You run the cable from the switch box up the wall and into the ceiling, then connect it to each fixture or driver. You don't need to demo the walls or ceiling — you can work through the existing switch opening and feed cable up using glow rods.
When installing recessed lights in your home, you can split the job into two main steps – installing the lights and installing the wire that will power them.
Running cable is straightforward if you have access to the ceiling before it's finished, or you can get to it from above. It's not much harder if the ceiling is already finished — you just need a few tricks to avoid tearing into the drywall.
The same goes for the wall: open framing is easy, but you can also fish cable through finished walls with minimal damage.
To explain this in more detail, let's look at:
- Whether you have to tear apart walls to run lighting wire
- The least invasive way to run wire
- How to add recessed lights to a finished ceiling
- The type of wire you need for recessed lights
- Whether lights should be wired in series or parallel
⚠️ Before you touch a single wire: turn off the circuit at the breaker panel and confirm the wires at the switch are dead with a non-contact voltage tester. Many jurisdictions also require a permit for new lighting circuits or added fixtures — check your local building department before you start. If you're not comfortable working in the panel, hire a licensed electrician.
Do I Need To Tear Walls Apart To Run Lighting Wire?

Many people assume that because the wiring is hidden behind drywall, the wall has to come down to run new cable. Fortunately, that's rarely necessary.
Instead, you can use the existing switch opening and the cavity above it, usually only cutting one small access hole near the top of the wall, which is easy to patch.
From there, the cable gets fed through the wall and ceiling cavity using a few purpose-built tools.
What Is The Least Invasive Way To Run Wire?
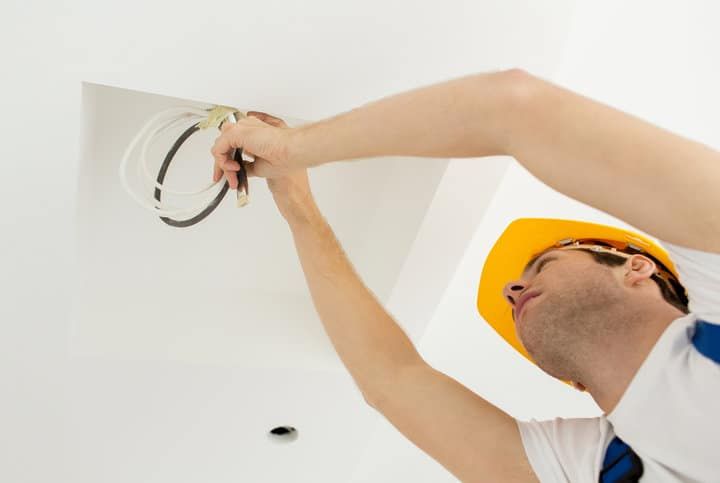
The least invasive method is to attach the cable to a flexible rod and pull it through a couple of small access holes.
A dedicated set of glow rods (Amazon) is the right tool. They're flexible enough to navigate tight cavities but stiff enough not to fold up on themselves, and they glow in the dark so you can spot them through small holes.
Here's how to run cable from a switch box up to the ceiling:
- Confirm the circuit is off at the panel and the wires at the switch test dead.
- Remove the cover plate and pull the switch out of the box, leaving the opening clear for access.
- Use a stud finder to locate any studs above the switch and mark them on the wall.
- Cut a small rectangular access hole near the top of the wall — you'll use this to fish the cable into the ceiling cavity.
- Drill any holes you need through the studs in your run with a flexible drill bit (Amazon).
- Push the glow rods up through the cavity, attach the cable to the eyelet, and pull the rods (with cable) out at the top access hole.
- Drill up through the wall's top plate (the horizontal 2× framing at the top of the wall) and feed the cable into the ceiling cavity.
- From the hole you cut for the first recessed light, use the rods with a hook to grab the cable and pull it into position.
💡Pro tips for drilling through studs and joists:
- Per NEC 300.4(A)(1), holes bored through studs or joists must be at least 1¼ inches from the nearest edge so drywall screws and nails can't reach the cable. Where that clearance isn't possible, protect the cable with a steel nail plate at least 1/16 inch thick.
- Attach a bumper ball (Amazon) to the drill bit as a depth stop so you don't push past the stud and into the back of the drywall.
- If you're drilling through a cavity with insulation, don't spin the bit until it's in contact with the wood — otherwise you'll shred the insulation into the drill, clogging it and leaving voids in the wall.
- Note: if the ceiling has insulation in contact with the fixture, the recessed housing must be IC-rated. Non-IC fixtures need a 3-inch clearance from insulation — see our separate guide on IC-rated recessed lighting.
If you buy a long-enough flexible bit, you may not need a second access hole at the top of the wall — many bits have an eyelet you can hook the cable to. The catch: you can't attach the cable while drilling, so you have to withdraw the bit, attach the cable, then push it back through, and finding those holes blind can be tricky.
An angled inspection mirror with a flashlight (or your phone's camera) can help, but most people find it easier to cut and patch a small access hole.
How Do I Add LED Recessed Lighting To A Finished Ceiling?
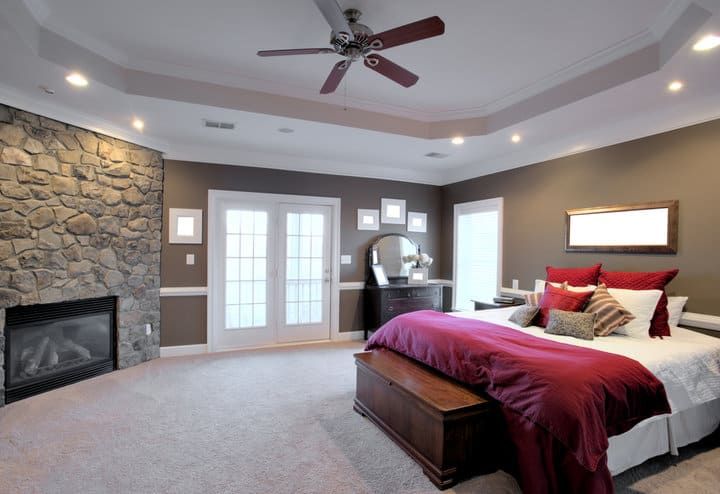
A finished ceiling is the most common scenario, and the wall-to-ceiling fishing process above is exactly what you'll use. Once the cable is up in the ceiling cavity, the only structural obstacle is the joists running across your light layout.
Cut the holes for each fixture with a hole saw sized to your light's specification. Then use a right-angle drill or a flex bit through one of the fixture openings to bore through the joists between lights — the same 1¼-inch edge clearance applies. A smartphone camera dropped through the hole gives you a usable view of where to drill.
Once the joist holes are drilled, push the glow rod through, hook the cable, and pull it across to the next light. Repeat for each fixture in the run.
How To Find Studs Behind The Wall
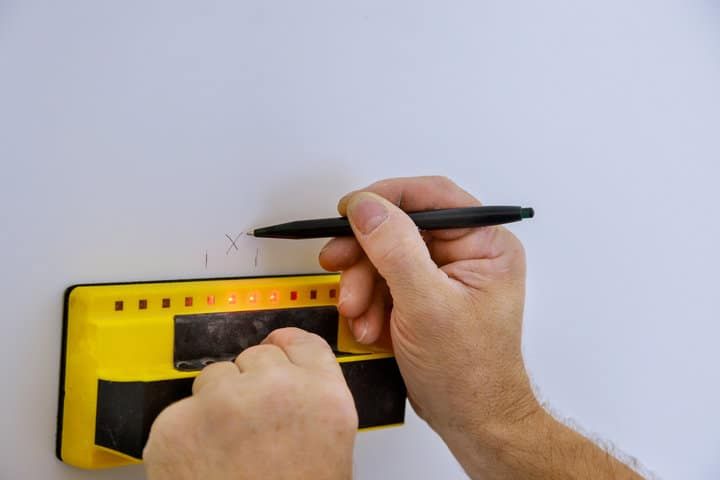
Two pieces of framing will be in your way: the studs in the wall (vertical 2× members, usually spaced 16 inches on center) and the joists in the ceiling. Both are solid wood, so the cable can only pass through holes you bore.
An inexpensive stud finder (Amazon) does the job — sweep the wall, mark each stud with a pencil, and you'll know what you're drilling into when you're working blind through the switch box.
How Much Extra Wire Do I Need For Recessed Lights?
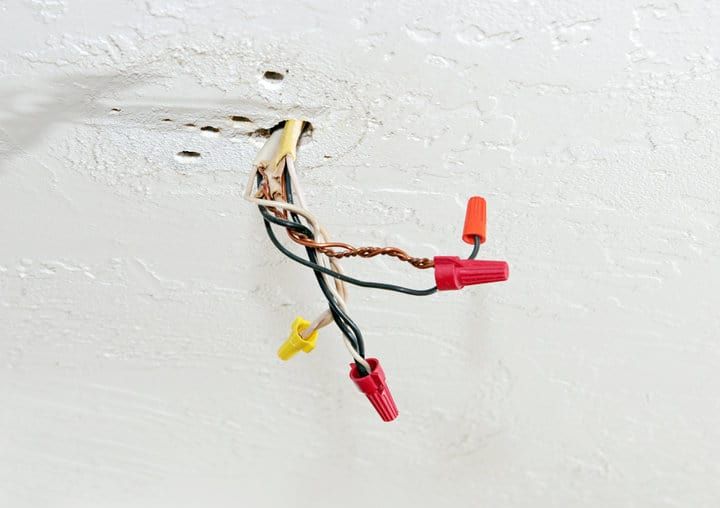
Running short forces you to start the pull over, so always work from a spool rather than pre-cutting.
A good rule of thumb: measure the total linear distance of your run, add 20% for routing around obstacles, then add about 2 feet at every fixture and the switch box for terminations and slack.
For example, a run from a switch through a wall and across four ceiling fixtures spaced 4 feet apart (about 20 linear feet end-to-end) works out to roughly 24 feet plus 10 feet of terminations — call it 35 feet of cable. Buy a 50-foot spool and you'll have spare for the inevitable snag.
Where Should I Place A Junction Box For Recessed Lighting?
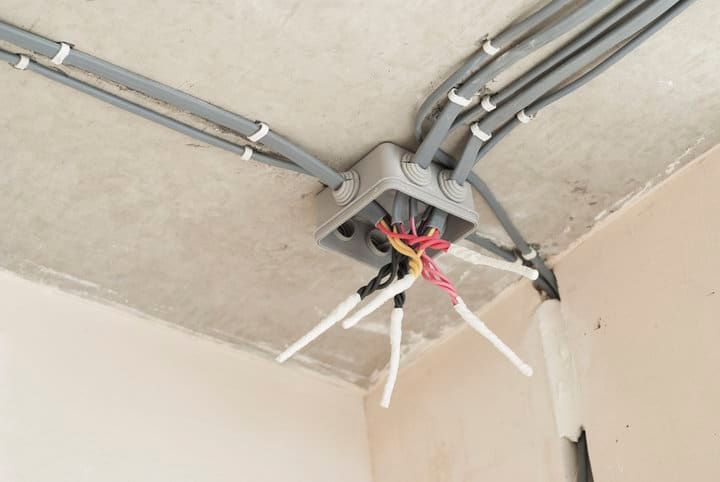
Every wire connection for a recessed light has to be made inside a listed enclosure — but that enclosure doesn't have to be a separate box you install. NEC 410.118 explicitly allows the splice enclosure to be integral to the listed luminaire.
Traditional canned housings ship with a small junction box factory-attached to the side of the can. Canless LED fixtures ship with a UL-listed driver/junction enclosure that satisfies the same code requirement. In both cases, no additional box is required.
You only need a stand-alone junction box if your fixture didn't come with one, or if you need an intermediate splice point — for example, between the switch and the first fixture. When you do add one, mount it to a joist near the fixture (typically within a foot) so it stays accessible. Most installers leave the integrated driver boxes loose so they can be pulled down through the fixture opening for service.
What Wire Do I Need To Run Recessed Lights?
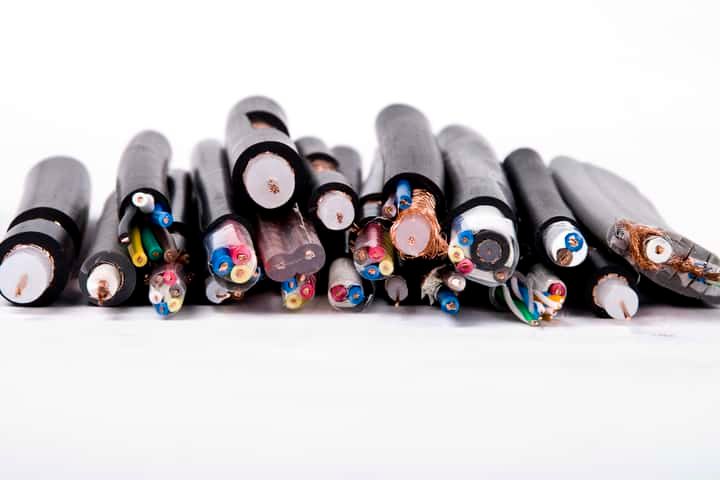
Match the cable to the breaker protecting the circuit, not to the fixture type:
- 14/2 NM cable on a 15-amp breaker
- 12/2 NM cable on a 20-amp breaker
If you're tapping into an existing lighting circuit, check the breaker first. NEC 240.4(D) — the "small conductor rule" — caps 14 AWG copper at a 15-amp overcurrent device. Putting 14/2 on a 20-amp circuit is a code violation and a documented fire hazard. Newer homes often run lighting on 20-amp breakers, so don't assume 14/2 is automatically correct.
| Cable | Ampacity | Max Breaker Size | Typical Use |
|---|---|---|---|
| 14/2 NM | 15 A | 15 A only | Lighting and general-purpose receptacle circuits in older homes |
| 12/2 NM | 20 A | 20 A (or 15 A) | Kitchen, bath, laundry, garage receptacles; lighting on 20 A circuits |
Both 12/2 and 14/2 NM-B (Romex) are rated for the same 600 V insulation and run on the same 120 V residential circuits. The real difference is ampacity — how much current the conductor can safely carry. 12 AWG also has lower resistance, which means less voltage drop on long runs.
On the practical side, 14/2 is thinner and easier to pull through tight retrofit cavities, which is why it's preferred for recessed-light work when the circuit allows it. The "2" in either size refers to the two current-carrying conductors (line and neutral); a separate ground wire is included as well.
Should Recessed Lights Be Wired In Series Or Parallel?
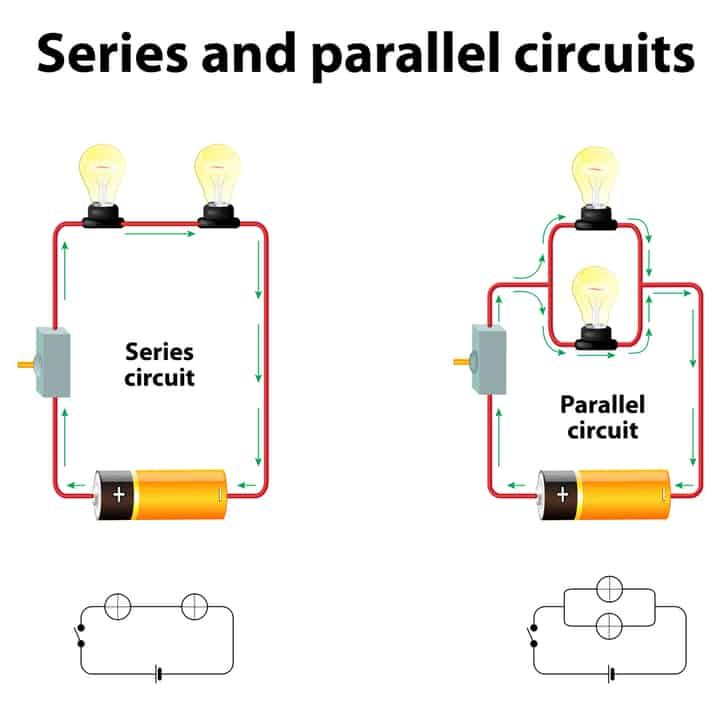
Residential line-voltage lights are always wired in parallel — every fixture sits across the full 120 V supply. True series wiring (where the supply voltage is divided across each bulb, and a single failure kills the whole string) is what old-style mini Christmas lights used; it isn't used for household lighting.
What you may hear called "daisy-chaining" recessed lights is still a parallel circuit. You simply run cable from one fixture to the next and splice the conductors through at each one — line-to-line, neutral-to-neutral, ground-to-ground — inside each fixture's junction or driver box. Each light still gets the full 120 V, and one failed fixture doesn't take the others down.
In practice, that means three black wires twisted together at each junction (one feeding in, one going to the fixture, one feeding the next light), and the same for white and ground.
Final Words
Wiring recessed lights is a meaningful chunk of the project, but it doesn't have to be complicated. The two things to get right: match the cable gauge to the breaker (14/2 on 15 A, 12/2 on 20 A), and wire the fixtures in parallel so a single failure doesn't take the whole run down.
Confirm the circuit is dead before you start, check whether your jurisdiction requires a permit, and if anything about the panel work feels uncertain, hire a licensed electrician for that piece.