
How To Install LED Recessed Lighting In Existing Ceiling?
Tapping into an existing circuit works fine for recessed LEDs — each can draws just 0.1–0.2 A — but the fixture type you buy determines whether you ever need attic access at all.
 Eugen
EugenEugen Nikolajev
Creator of LED Lighting Info
Hi, I am Eugen. I was always one of those kids who had all sorts of weird lighting gadgets for every occasion.
Now, I want to share my knowledge and experience about lighting with you on LED Lighting Info.
Read my editorial standards
Key Takeaways
Installing recessed LED lights in an existing ceiling consists of drilling the holes for the lights and wires and feeding the cable through from an existing lighting circuit. It’s easier to do from above if you have attic access, but it can be done using right-angle drills from below if you don’t.
Recessed LED lighting can be a great way of modernizing a room and opening up the space, especially if you currently have low-hanging pendants. The prospect of cutting into a finished ceiling can feel daunting, but you don’t need to tear the whole thing apart to make it happen.
There are a few things you need to consider when installing recessed LEDs into an existing ceiling, so let’s look at:
- Whether you can add recessed lights to an existing lighting circuit
- Retrofit vs. new construction fixtures, and what size to buy
- How ceiling insulation affects fixture choice
- How to install lights if you don’t have attic access
- How to wire the lights safely
Before You Start: Essential Safety Steps
Before any cutting or wiring begins, two things need to happen — every time, no exceptions.
- Kill the power. Switch off the circuit breaker that feeds the lighting circuit you’ll be working on, then verify the wires are dead with a non-contact voltage tester before touching anything. Color codes can lie; a tester doesn’t.
- Scan before you cut. Use a stud finder with wire and pipe detection to map the ceiling cavity. Existing electrical cables, plumbing lines, and HVAC ducts often run between joists, and a hole saw doesn’t care what it cuts through.
If your home was built before the late 1980s, the attic or ceiling insulation may contain asbestos. Have it tested by a professional before disturbing it — don’t cut, drill, or remove suspect insulation yourself.
Can I Add Recessed Lighting To The Current Circuit?
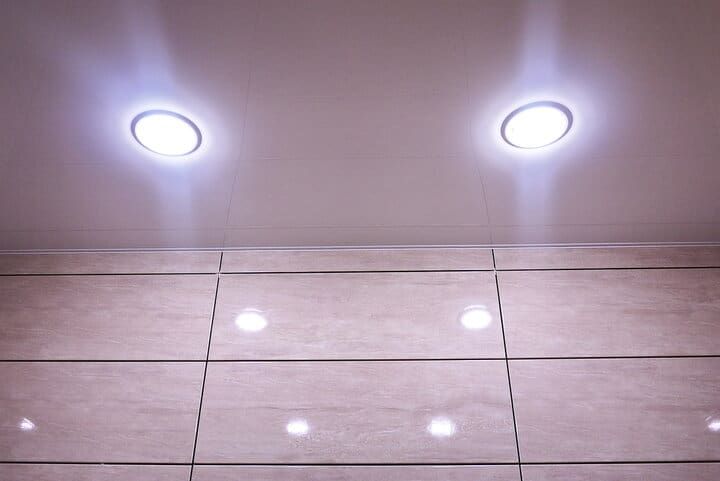
The good news is that you don’t need to wire a completely new circuit from the service panel — in most cases you can tap into an existing lighting circuit.
LED fixtures draw very little current — a typical recessed LED can pulls about 0.1–0.2 A — so adding several to a circuit rarely causes capacity problems. Still, verify before you tap in.
Per the National Electrical Code (210.20(A) and 210.19(A)(1)), continuous loads — anything running for three or more hours, which covers most lighting — should not exceed 80% of the breaker’s rating. That works out to 12 A on a 15 A breaker and 16 A on a 20 A breaker. Identify the breaker feeding the circuit, add up the amps drawn by everything else already on it, and make sure your new lights fit within the remaining headroom.
The other thing to plan is how to run the wire from the existing circuit to your new fixtures. If you’re replacing a pendant, splice into the existing cable. If you’re adding entirely new locations, run a new cable from the existing circuit loop, up the wall, into the ceiling cavity, and across the joists to where you want the lights.
Retrofit vs. New Construction Fixtures
Before you buy fixtures, know which type you need — they are not interchangeable.
- Retrofit (remodel) fixtures are designed for existing ceilings. They install from below through the hole you cut and grip the drywall with spring-loaded clips — no attic access required. This is what you want for almost any installation in a finished room.
- New construction fixtures mount to the joists from above before drywall goes up. Use these only if you have full access to the ceiling cavity from an attic.
Most modern integrated-LED “wafer” or “canless” lights are sold as retrofit-friendly. They ship with a slim driver and an integral, UL-listed junction box that fits inside the ceiling cavity once the fixture clips into the hole.
Choosing the Right Fixture Size
Standard recessed light apertures are 4-inch, 5-inch, and 6-inch. As a rough guide:
- 4-inch — accent lighting, narrow hallways, lower ceilings (under 8 feet).
- 5-inch — general room lighting in most homes.
- 6-inch — larger spaces, kitchens, ceilings 9 feet and higher.
For spacing, a useful rule of thumb is to divide your ceiling height (in feet) by two and use that as the spacing between fixtures. A standard 8-foot ceiling wants lights roughly 4 feet apart.
What If My Existing Ceiling Is Insulated?
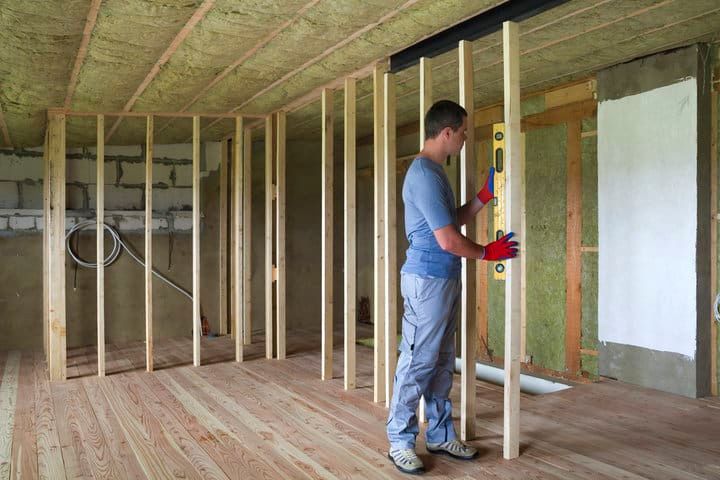
If your ceiling is insulated, you can still install recessed lights — you just need the right fixtures and the right safety gear.
Residential ceiling insulation is usually fiberglass batt, mineral wool, blown cellulose, or spray foam. Fiberglass and mineral wool irritate skin and lungs; cellulose is dusty and may contain boric acid; cured spray foam is generally inert but hard to cut cleanly. Whatever you find up there, dress for it: long sleeves, gloves, safety glasses, and an N95 (or P100) respirator. A basic dust mask is not enough for fiberglass.
Clean up thoroughly when you’re done. Vacuum the work area and any surfaces below — you don’t want family members or pets stirring up insulation particles after the job.
For fixtures, you need IC-rated lights. “IC” stands for Insulation Contact — these fixtures are tested under UL 1598 to ensure their outer surface won’t exceed temperatures that could ignite surrounding insulation, even when fiberglass batts, blown cellulose, or spray foam sit directly against them.
If your home is also tightly air-sealed, look for IC-AT (Insulation Contact, Airtight) fixtures. They prevent conditioned air from leaking into the attic through the can — a meaningful efficiency gain on cold or hot days.
| Ceiling Condition | Fixture Required |
|---|---|
| Insulation will contact the can | IC-rated (use IC-AT for airtight installs) |
| No insulation near the can | Standard non-IC fixtures are acceptable |
How To Install Recessed Lighting Without Attic Access?

The hardest part of installing recessed lights is running the cable. Mounting the fixtures themselves is straightforward — they have a lip designed to sit against the ceiling and clips that grip the drywall from above.
With attic access, the job is easy: pull back the floor or insulation, drill through the joists, and pull the cable across to each fixture location. Without attic access — or when you’re working below another finished room — you’ll do everything from below. With careful planning, that usually means only a few small drywall patches.
Plan the layout first
Mark every fixture location on the ceiling. Trace the cable path between them and back to the existing power source. Note where ceiling joists fall — you’ll need to drill through them anywhere the cable crosses. This step is genuinely the difference between a clean job and a messy one.
Cut the holes
Most fixtures include a paper template. Trace it onto the ceiling and cut with a drywall saw or hole saw. If you’re running a new cable from a wall, cut a small access hole at the top of the wall or where the cable will enter the ceiling cavity.
Drill through the joists
Use a right-angle drill or a flexible drill bit extension to bore through joists from inside the holes you’ve already cut. An inexpensive inspection camera helps you see exactly where the joists run.
Pull the cable
Use a fish tape (Amazon) — a flexible steel or fiberglass tape designed to push through wall and ceiling cavities — to feed cable from one hole to the next. The cable daisy-chains from fixture to fixture, but each fixture taps the same hot and neutral conductors (a parallel circuit, not a series one).
How Do I Wire LED Recessed Lights In The Existing Ceiling?
Most modern recessed LED fixtures — including wafer-style canless lights — ship with an integral, UL-listed junction box. You don’t need to buy or install a separate one. The driver tucks into a small box that’s already wired to the fixture leads. You’d only add a separate junction box for older-style cans or specialty fixtures that don’t include one.
With the cable run and the breaker confirmed off, the wiring itself is straightforward. Each fixture connects across the same hot and neutral — a parallel arrangement, even though the cable physically daisy-chains from light to light. (Don’t wire LEDs in actual series; they won’t work.)
- Confirm power is off. Touch a non-contact voltage tester to every conductor in the box before stripping or handling them.
- Identify the conductors. The hot (live) conductor coming from the switch is typically black or red. In older homes wired with a switch loop, it may be a white wire that has been re-identified with black tape or marker per NEC — never rely on color alone, and always test. The neutral is white in standard 120 V residential wiring (gray neutrals are reserved for higher-voltage 277/480 V commercial systems). The ground is green, green-with-yellow stripe, or bare copper.
- Connect the hot conductors. Splice the incoming hot to the fixture’s black lead with a wire nut (Amazon). If you’re feeding the next fixture in line, pigtail the outgoing cable’s hot in as well.
- Connect the neutral conductors. Splice the incoming white to the fixture’s white lead, again pigtailing any outgoing cable.
- Connect the ground conductors. Tie the bare or green ground conductors together along with the fixture’s ground lead.
- Tuck the connections into the junction box. Fold the wires neatly inside the integral box, secure the cover, and clip the fixture into the ceiling hole.
- Restore power and test. Switch the breaker back on, flip the wall switch, and confirm every fixture lights up.
A note on dimmers
If you plan to put your new LEDs on a dimmer, the dimmer must be LED-compatible (look for “LED/CFL” on the box) and the LED fixtures themselves must be marked dimmable. Pairing an incompatible dimmer with LEDs causes flicker, audible buzzing, and shortened fixture life.
Also read: How To Measure Recessed Lighting Can Hole?
Final Words
Installing recessed LEDs in a finished ceiling is a manageable DIY project as long as you plan carefully and respect the electrical work. Three things matter more than anything else:
- Plan the fixture layout before cutting anything — the cable path follows from there.
- Use IC-rated (or IC-AT) fixtures wherever insulation will touch the can.
- Kill the breaker, verify every wire with a tester, and treat every conductor as live until you’ve proven otherwise.
Get those right and the rest is patience, a few small holes in the drywall, and an evening or two of careful work.