
How To Add Remote Control To Chandelier Lights?
Each smart bulb can cost more than an entire RF receiver-and-remote kit — and a chandelier might need eight of them. That math changes which option actually makes sense for your fixture.
 Eugen
EugenEugen Nikolajev
Creator of LED Lighting Info
Hi, I am Eugen. I was always one of those kids who had all sorts of weird lighting gadgets for every occasion.
Now, I want to share my knowledge and experience about lighting with you on LED Lighting Info.
Read my editorial standards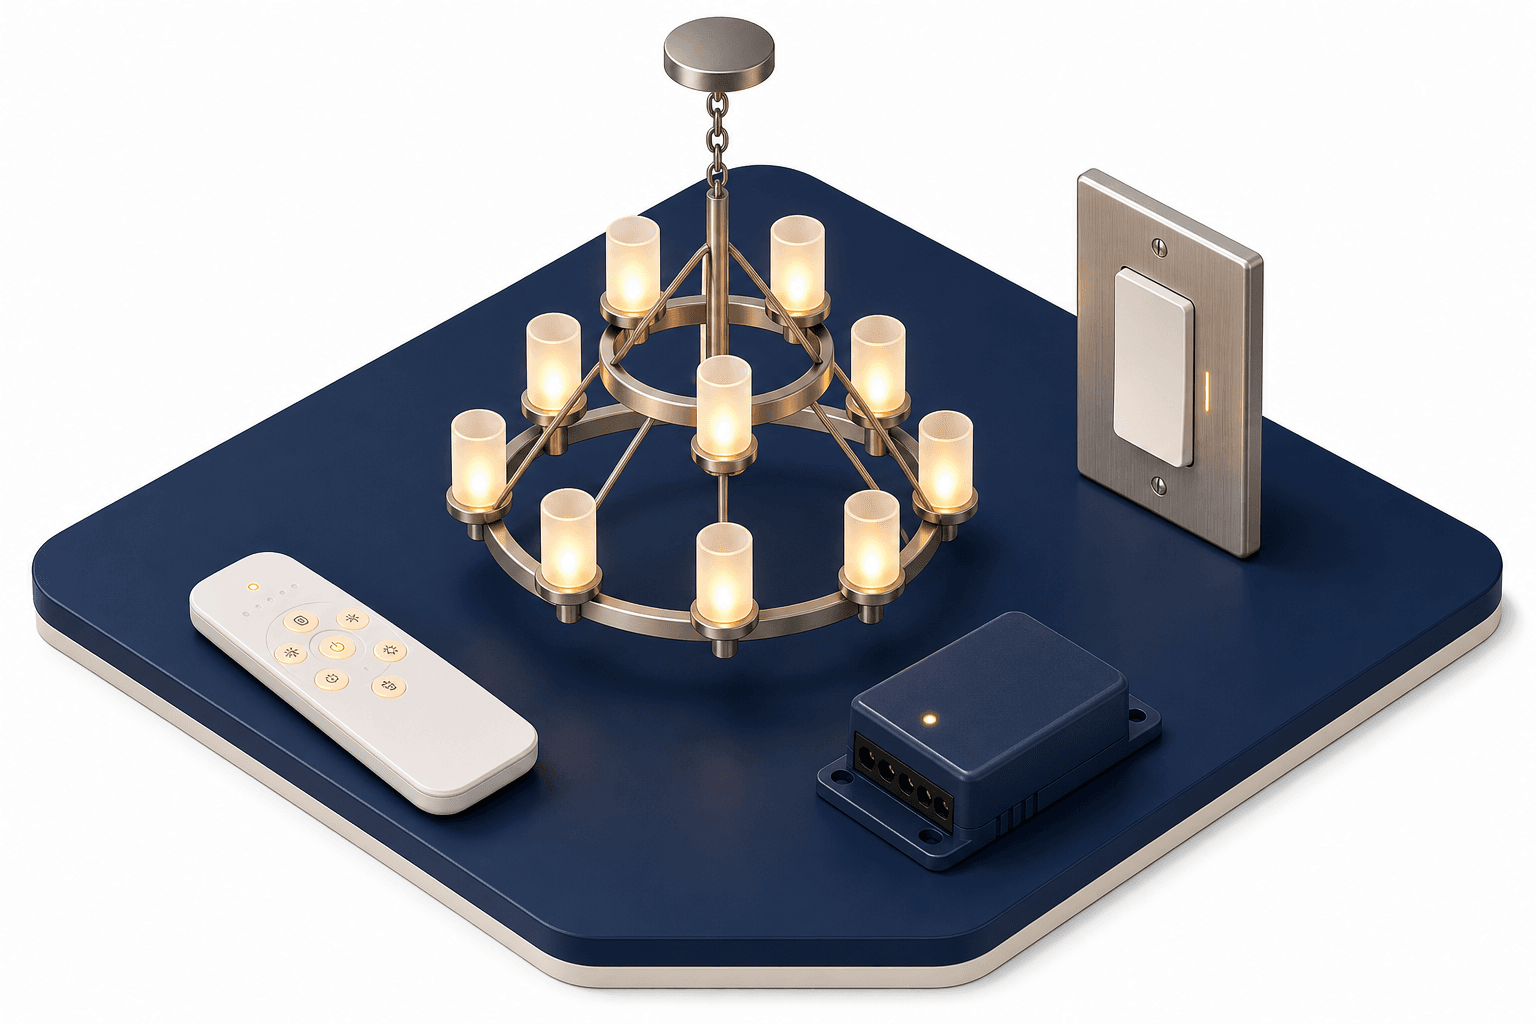
Key Takeaways
You can control a chandelier remotely with a dedicated radio (RF) remote, a wireless light switch, or smart bulbs. The first two require wiring a receiver into the fixture; smart bulbs are the easiest to install but the most expensive.
Controlling a chandelier from across the room — whether you're hosting a dinner party or settling in for a movie — is easier than most people think. Here are three ways to do it.
How To Make A Chandelier Remote Controlled?

There are three main ways to make a chandelier remote-controllable. Each has different trade-offs in cost, portability, and ease of installation — here's a quick comparison before getting into the detail.
| Method | Approx. Cost | Portability | Dimming? | DIY Difficulty |
|---|---|---|---|---|
| RF Remote Unit | Low | High (handheld) | Rarely (dimmer models exist) | Medium |
| Wireless Switch | Low | Low (wall-mounted) | Rarely | Medium |
| Smart Bulbs | High | High (phone or remote) | Yes | Low |
Remote Control Unit
For an actual handheld remote, buy an RF remote control unit (Amazon). These are largely fixture-agnostic — they work with a chandelier, pendant, or recessed light, provided you match the rated voltage and wattage.
Most are basic on/off, which keeps them small — some are designed to fit on a keychain. They work by pairing with a radio-frequency receiver wired into the fixture itself. The remote then acts as the switch, allowing power through to the bulbs or cutting it off.
Leave the main wall switch in the 'on' position permanently and use the remote instead. If the wall switch is off, the receiver has no power and the remote won't work.
Make sure the unit is rated for mains voltage rather than for low-voltage LED strips — both exist, and they're not interchangeable. For a chandelier, that means 120V in North America, or 220–240V (nominally 230V) in Europe and the UK.
⚠️ Safety: never wire a low-voltage receiver (e.g., a 12V or 12–24V DC unit intended for LED strips or garage doors) into a mains circuit. It will fail immediately and can become a fire hazard. Always match the receiver's voltage rating to the circuit it's on.
Most basic RF on/off receivers do not support dimming. If you want to dim the chandelier from the remote, specifically look for an RF dimmer receiver — and pair it with dimmable bulbs, since non-dimmable LEDs will flicker, buzz, or refuse to dim at all.
Range is generous on paper — manufacturers often quote up to 100 meters at 433 MHz. That figure assumes open, line-of-sight conditions. In a typical home, expect closer to 20–30 meters through walls, which is still more than enough to reach the kitchen from the dining room when you're about to serve dinner.
Remote Control Light Switches
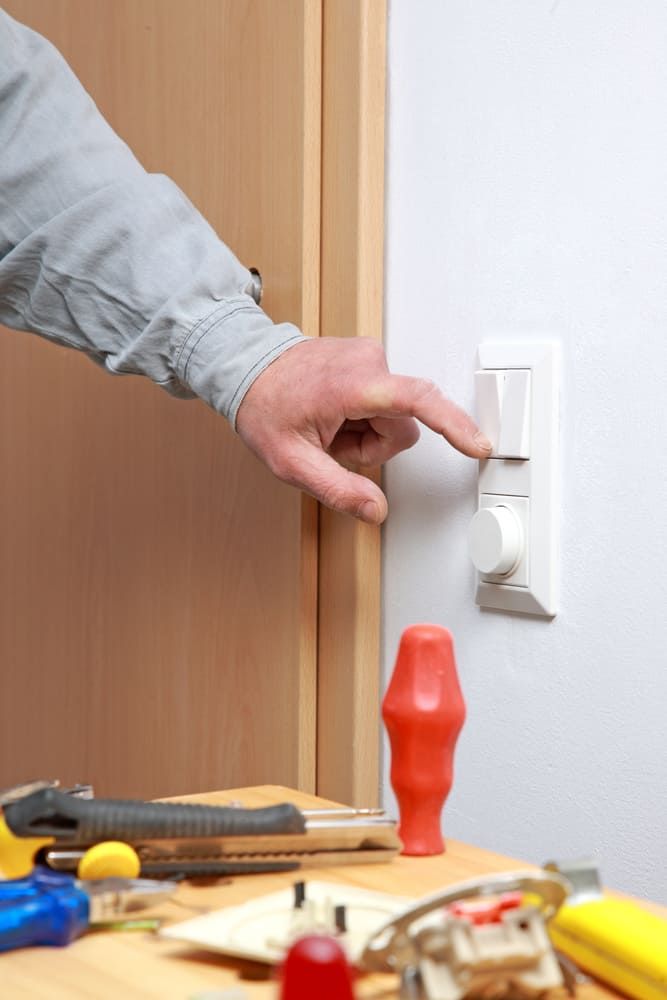
Wireless light switches (Amazon) work on the same principle as the RF remote unit — a receiver inside the fixture, paired to a transmitter — but the transmitter is a wall-mounted switch rather than a handheld remote. They aren't portable in the same way, but they're easier to source and they keep the familiar feel of flipping a switch on the wall.
Some wireless switches don't need to be wired in or use batteries at all. These self-powered designs — most often built around EnOcean technology — convert the kinetic energy of pressing the switch into the tiny amount of power needed to send a radio signal. Other popular wireless switches, such as the Lutron Pico and many Zigbee or Wi-Fi models, use a small coin-cell battery (typically a CR2032) rated for around 10 years of normal use.
Note: dedicated handheld RF remotes (covered in the previous section) are essentially always battery-powered — usually a CR2032 or A23. They draw power only for the fraction of a second a button is pressed, so a single battery lasts a long time.
Because a wireless switch doesn't need a cable run, you can mount it anywhere — beside a doorway, next to the bed, behind a sofa. That matters most in rooms with period wall coverings or panelling, where chasing in new wiring would do real damage.
Install Smart LED Bulbs
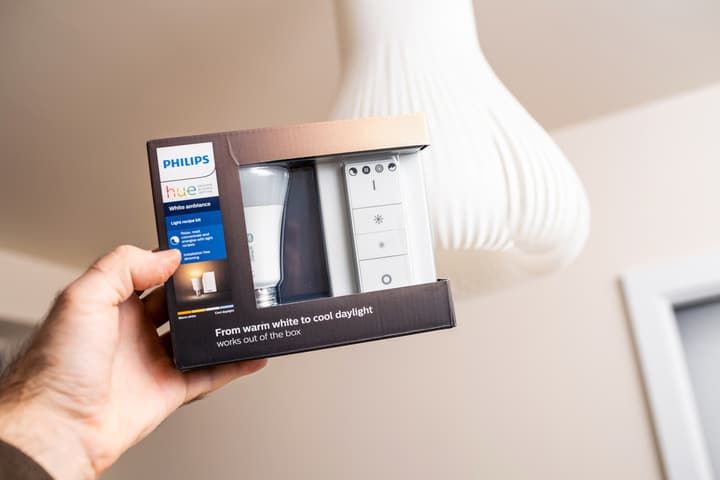
The easiest option by far is smart bulbs. There's no need to remove the chandelier or wire in a receiver — swap the bulbs, connect them in the app, and you're done.
Before buying, check the base. Chandeliers very often use candelabra bulbs — E12 in North America, SES (E14) in Europe and the UK — rather than the standard E26/E27 base used in most lamps and ceiling fixtures. Smart bulbs are available in candelabra form factors, but the selection is narrower and the per-bulb price is usually higher than a standard A19/A60 smart bulb. Confirm the base before you order six or eight of them.
Many smart bulb systems also use a bridge (sometimes called a hub or gateway). The bridge plugs into your router and talks to the bulbs over Zigbee or a similar low-power protocol, then exposes them to your phone over Wi-Fi. That's what enables grouping all the chandelier bulbs as one 'Chandelier' light, scheduling, scenes, and voice assistant integration. Newer Matter-compatible bulbs can skip the dedicated bridge — they talk directly to a Matter controller you may already own (a recent Apple TV, HomePod, Amazon Echo, or Google Nest Hub).
Beyond simple on/off, smart bulbs dim smoothly without any extra hardware, support timers and automations, and can be controlled from outside the home. If you prefer a physical control to the app, a dedicated smart remote (Amazon) works alongside the bulbs.
The downside is cost. Each smart bulb typically costs more than an entire RF receiver-and-remote kit, and a chandelier may need six, eight, or more — plus a bridge if your ecosystem requires one. Costs add up fast on larger fixtures.
How To Mount A Wireless Remote Light Switch
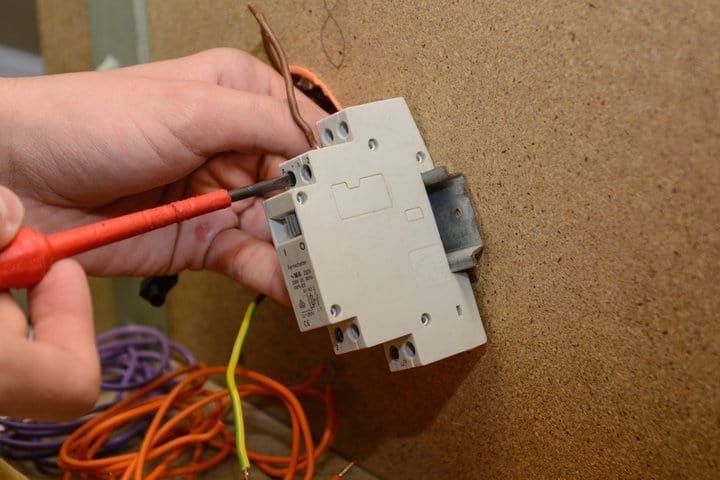
⚠️ Safety first: this job involves live mains wiring. Switch off the circuit at the breaker (not just the wall switch) and verify with a non-contact voltage tester before touching any conductor. If you are not confident working inside a junction box, hire a licensed electrician — in many jurisdictions, DIY mains work also has to comply with local electrical codes.
To install the RF receiver in the chandelier:
- Switch off the circuit at the consumer unit or breaker panel, then verify the wires are dead with a voltage tester.
- Remove the chandelier to access the junction box above it. Larger fixtures are heavy — get a second pair of hands.
- Disconnect the chandelier from the supply. Connect the mains live to the receiver's live (line) input, and the mains neutral to the receiver's neutral input.
- Connect the receiver's live load output to the chandelier's live wire, and the receiver's neutral load output to the chandelier's neutral wire.
- If the chandelier has an earth (ground) conductor — usually green, or green-and-yellow — connect it directly to the mains earth. Do not run it through the receiver unless the receiver has a dedicated earth terminal. For double-insulated (Class II) plastic fixtures with no earth, cap the mains earth safely with a connector.
- Tuck the receiver into the junction box. Chandelier boxes are often small and already crowded, so check that everything fits with the cover closed — without pinching wires. If it doesn't, fit a larger or deeper old-work box rather than forcing the cover.
- Re-install the chandelier, restore power at the breaker, and test.
Removing a chandelier is awkward and often a two-person job — see the guide on removing a chandelier before starting.
Then, to mount the wireless wall switch:
- Choose a location. The switch can go anywhere, but avoid spots where pipes or cables run in the wall. This is rarely an issue since the mounting screws are short.
- Drive in one screw, then check the base unit is level with a spirit level.
- Once level, add the remaining screws to lock it in place.
- Fit the cover — clip-on for snap-fit models, or screws for the rest.
Final Words
My rule of thumb: if your chandelier has six or fewer bulbs and you don't need dimming, an RF receiver and handheld remote is the most cost-effective choice. For larger chandeliers, or anywhere smooth dimming, app control, and scheduling actually matter, smart bulbs are worth the higher per-bulb cost, especially if you already have a Matter-compatible hub and can skip the bridge.
Whichever route you choose, the hardest part is almost always physically getting the chandelier down and back up again, not the electronics. Plan that step first, and the rest is a short evening's work.