
How To Change Recessed Lighting To Pendant?
That recessed light might need a 30-minute adapter swap — or a half-day rewiring job. Which one depends entirely on whether your fixture has a removable bulb.
 Eugen
EugenEugen Nikolajev
Creator of LED Lighting Info
Hi, I am Eugen. I was always one of those kids who had all sorts of weird lighting gadgets for every occasion.
Now, I want to share my knowledge and experience about lighting with you on LED Lighting Info.
Read my editorial standards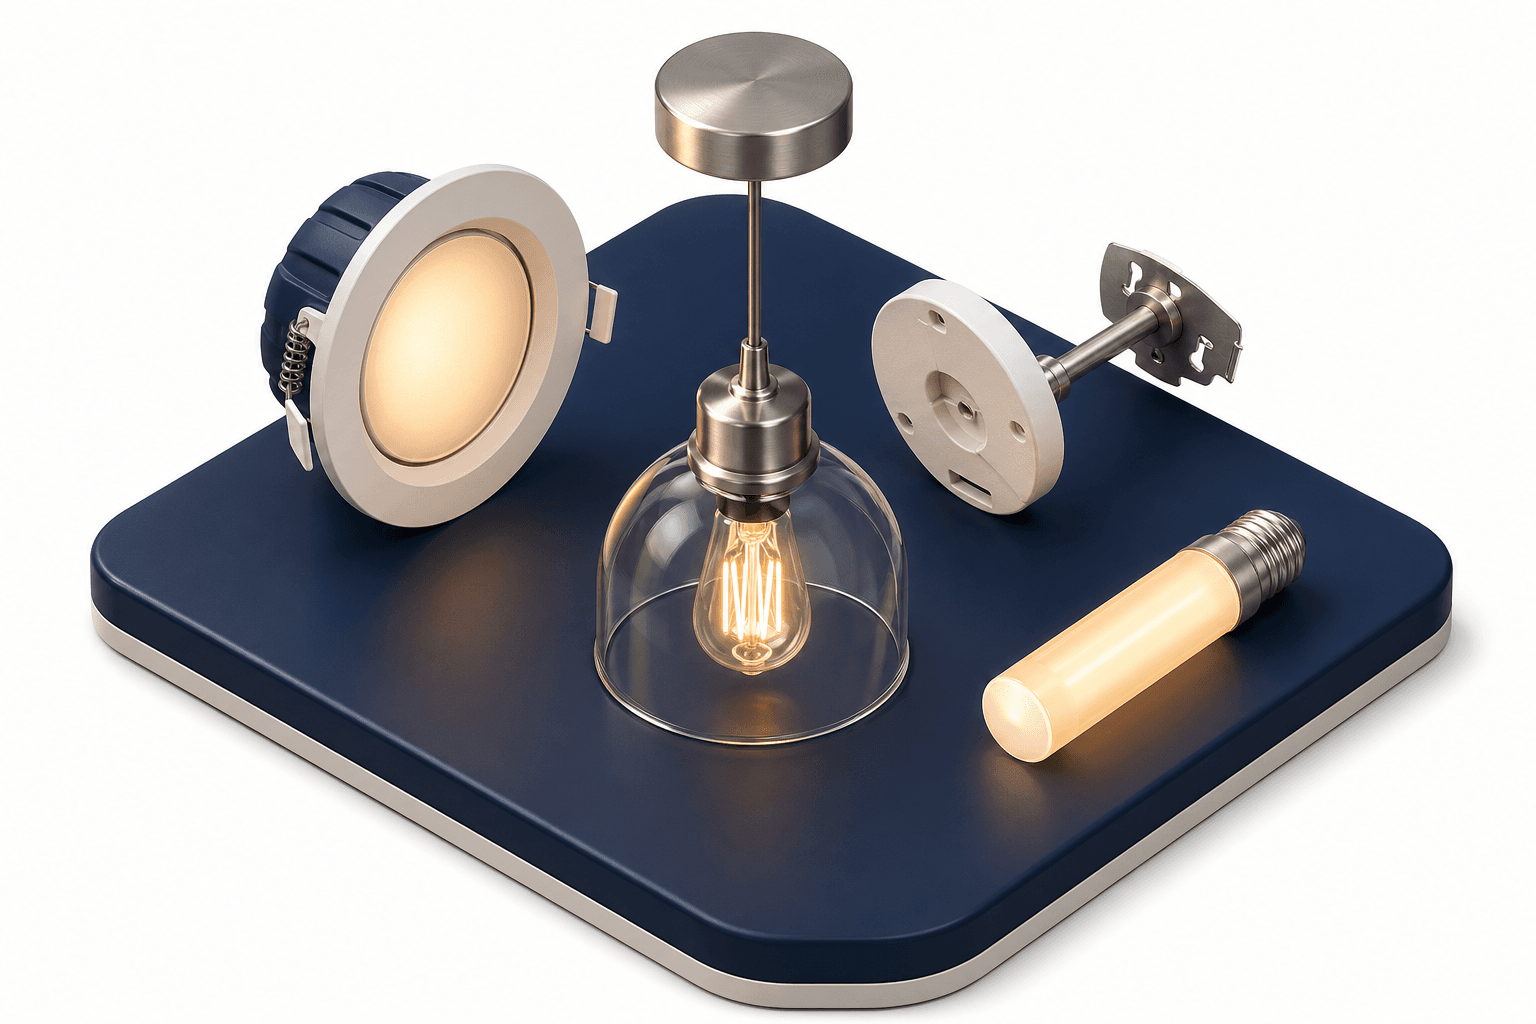
Key Takeaways
Replacing a recessed light with a pendant usually involves removing the entire fixture. For non-integrated recessed lights with an E26 socket, a pendant conversion kit can do the job without rewiring. The right method depends on your fixture's socket type and whether the LED module is integrated.
Replacing a recessed light with a pendant fixture is usually one of two jobs. If your recessed light has a removable bulb in a standard socket, a screw-in conversion kit handles the swap in under an hour with no rewiring. If it's an integrated LED — where the diodes are built into the housing — you're looking at a full fixture replacement with junction box work.
Here's what we'll cover:
- Which types of recessed lights can be converted
- How to replace a recessed light with a pendant light
- How to mount a pendant conversion kit on a recessed fixture
| Method | Works With | Difficulty | Electrical Knowledge Needed |
|---|---|---|---|
| Conversion Kit | Non-integrated fixtures with an E26 socket | Easy | Basic — wire-nut connections only |
| Full Replacement | Any recessed fixture (integrated or not) | Moderate to Hard | Yes — junction box wiring |
What Type Of Recessed Lights Can Be Converted?
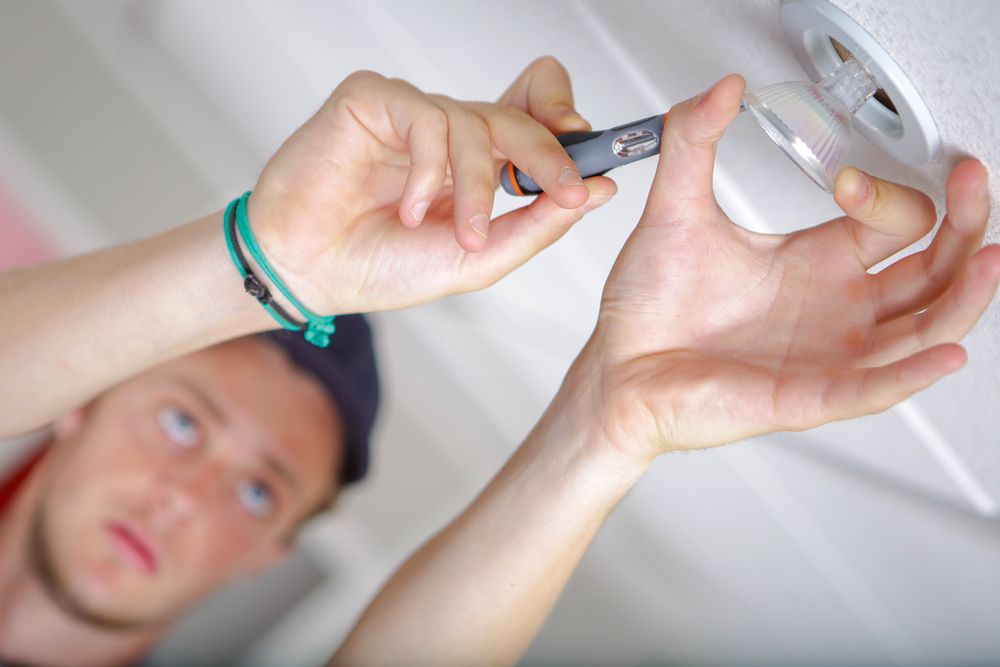
Recessed fixtures split into two types, and only one of them works with a conversion kit:
- Non-integrated — the housing holds a replaceable bulb in a standard socket. These are the only fixtures compatible with pendant conversion kits.
- Integrated LED — the LED module is wired directly into the housing with no removable bulb. Conversion kits won't fit, so the only path is removing the entire fixture and rewiring.
Even with a non-integrated fixture, the socket base matters. Most pendant conversion kits screw into a standard E26 medium base — the same socket as a typical screw-in light bulb. If your recessed trim uses a GU10 (twist-lock bipin), GU24 (Energy Star bipin), or a smaller pin base like G8 or G9, a screw-in kit won't fit directly. GU24 in particular was designed by Energy Star to block screw-in adapters as a way to enforce efficiency standards, so even a socket adapter may not give you a working fit.
Conversion kits are screw-in adapters that leave a pair of pendant leads hanging for you to wire to a new fixture. The original recessed housing stays in place and is hidden by a decorative canopy.
If your recessed lights are integrated, this approach won't work — you'll need to remove the entire fixture. Even so, full replacement is doable with basic electrical knowledge and a few extra steps.
How To Replace A Recessed Light With A Pendant Light?
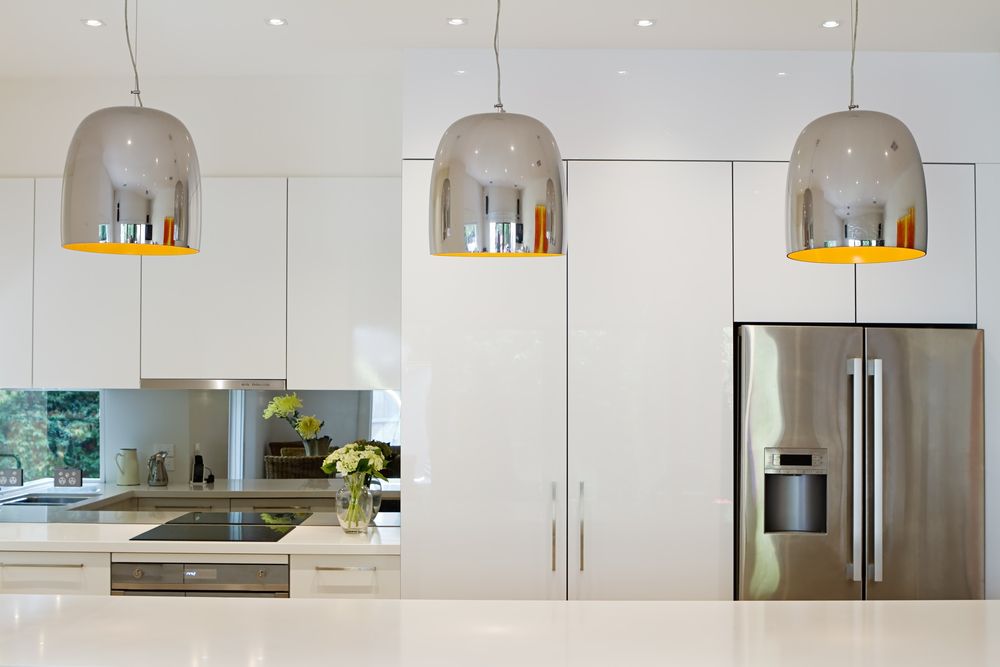
Full replacement means pulling out the recessed housing entirely and wiring a new pendant fixture into a junction box. It's a bigger job, but it works with any recessed light, integrated or not.
Before starting, run through three preflight checks:
- Permits. Some jurisdictions require a permit or licensed electrician for fixture replacement involving junction box work — check your local electrical code before starting.
- Weight rating. Standard junction boxes typically support up to 35 lb; fan-rated boxes handle up to 70 lb. Pendants over 50 lb require a fixture brace specifically rated for the load (NEC 314.27).
- Dimmer compatibility. If the recessed lights are on a dimmer, confirm the new pendant and its bulbs are rated for dimming. LED pendants often flicker or buzz on older incandescent dimmers — plan to swap in an LED-rated dimmer or a standard switch.
- Switch off the circuit breaker for the fixture — not just the wall switch. A single-pole switch only interrupts one conductor, and depending on how the circuit is wired, hot wires can still be live at the fixture even with the switch off. Killing the breaker also prevents anyone from flipping the switch back on while you're working.
- Verify the wires are dead with a non-contact voltage tester before touching anything. Touch the tester to each conductor; it should stay silent.
- Unscrew the lighting fixture from its position. If you can't see screws, pull off any decorative medallion or cover first.
- Lower the fixture gently to expose the wires, then disconnect them.
- Remove any mounting brackets for the recessed lighting.
- If the old fixture had a junction box integrated into the housing, install a new one. Mount it to a ceiling joist or a listed fan/fixture support brace rated for the pendant's weight. If the junction box was already separate, leave it in place.
- Measure the hole left by the old fixture against the new pendant's canopy. If the hole is bigger than the canopy, you have two options: patch it with drywall, or cover it with a ceiling medallion — a decorative ring sized between the canopy and the ceiling. Medallions are usually quicker and cleaner than drywall repair.
- Install the mounting bracket for the new pendant.
- Lift the fixture into place and check the hanging height of the wires. Adjust the cord or chain per the fixture's instructions if needed.
- Lower the fixture, strip back the old wires and the new fixture's leads as needed, then connect them with wire nuts (twist-on connectors). Match black-to-black (hot), white-to-white (neutral), and ground-to-ground; follow your fixture's diagram for any non-standard wiring.
- Tuck the wires into the junction box, close it, and restore power at the breaker. Test the light. If it works, lift the fixture and screw it into the bracket.
If you're not confident replacing a junction box or doing drywall repair, hire an electrician. Full replacement is the kind of job where a pro is worth it.
How To Mount A Pendant Conversion Kit On A Recessed Fixture?
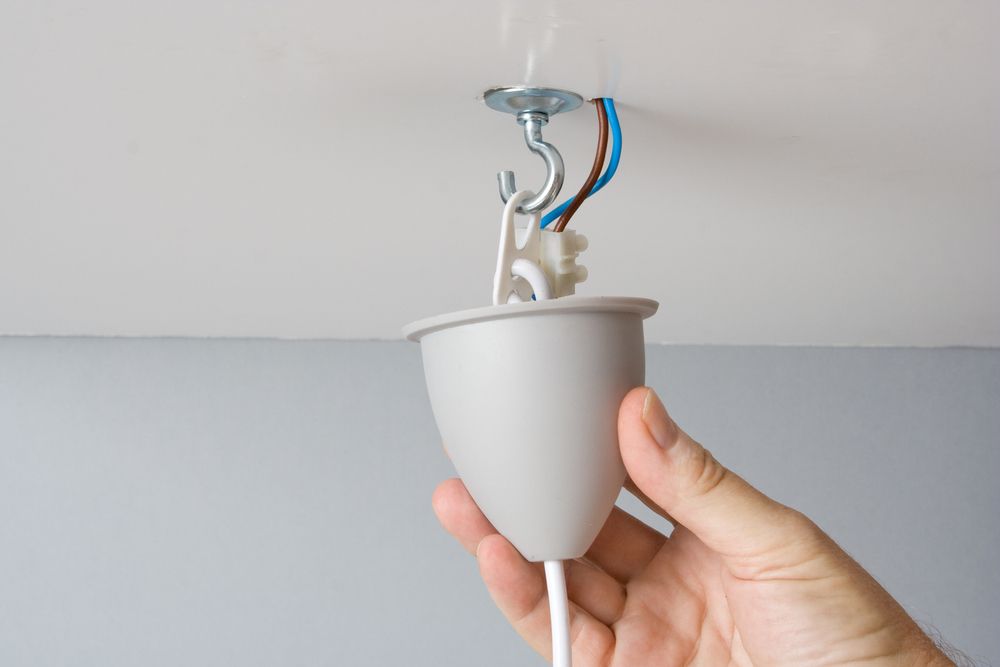
If you have recessed lights with removable bulbs and a standard E26 socket, a conversion kit (Amazon) is the easiest path. You're not opening a junction box — just screwing an adapter into the existing bulb socket and connecting the pendant's leads to the kit's leads.
Conversion kits are far simpler than full rewiring, but you'll still be making wire-nut connections between the kit and the new pendant. Treat it as electrical work: kill the breaker, verify the wires are dead, and follow the kit's wiring instructions.
- Confirm the kit is compatible. Most kits require an E26 medium screw base. If your recessed trim uses GU10, GU24, or a pin-base socket, a standard kit won't work without a separate adapter — and may not work at all.
- Turn off the circuit breaker for the fixture and confirm the power is off with a non-contact voltage tester before touching any wiring.
- Remove the old light bulb, then screw the conversion kit's adapter into the socket.
- Add the support brackets per the kit's instructions. Most kits use two — a wider crossbar that spans the recessed hole, and a smaller bracket that the pendant hooks onto.
- Attach the metal mounting plate. Some kits screw in; others twist into place.
- Connect the pendant's wires to the kit's leads using wire nuts, matching color to color. Tuck the joined wires up neatly.
- Snap the decorative canopy over the metal plate. The recessed housing should now be fully hidden.
- Restore power at the breaker and test.
Final Words
Replacing a recessed light with a pendant can be a 30-minute job or a half-day project — entirely depending on your existing fixture.
In my experience, the part that catches people out isn't the wiring. It's getting halfway through and realizing the existing dimmer doesn't play nicely with the new pendant's LED bulb, or that the canopy doesn't cover the recessed hole. Sort out the four compatibility checks — socket type, dimmer compatibility, weight rating, canopy size — before buying any hardware. The actual install almost always goes smoothly once those are settled.
If you're unsure which method applies to your fixture, start with the compatibility section above before ordering anything.