
How To Install Canless Recessed Lighting?
The canless disc really can tuck beneath a joist — but the driver box behind it still needs 2–4 inches of clearance beside one, which matters a lot on shallow ceilings.
 Eugen
EugenEugen Nikolajev
Creator of LED Lighting Info
Hi, I am Eugen. I was always one of those kids who had all sorts of weird lighting gadgets for every occasion.
Now, I want to share my knowledge and experience about lighting with you on LED Lighting Info.
Read my editorial standards
Key Takeaways
Installing canless recessed lighting is relatively simple. Once cable is run to the ceiling, cut the hole for each light, connect the supply wires inside the driver box, plug the light into the box, and push the disc into place.
Replacing old can lights, or planning fresh lighting for a new ceiling? You probably don’t need traditional housings at all. Canless LED fixtures sit nearly flush against the drywall, plug into a single supply cable, and are typically rated for 25,000–50,000 hours of life — drawing roughly 75% less energy than the incandescents they replace.
But is canless harder or easier to install than traditional canned lighting? And what other benefits does it bring to a real-world project?
Here’s what’s covered:
- The main differences between can and canless lighting
- How to fit canless lighting in the ceiling
- How to wire LED canless lights
Main Differences Between Can And Canless Recessed Lights
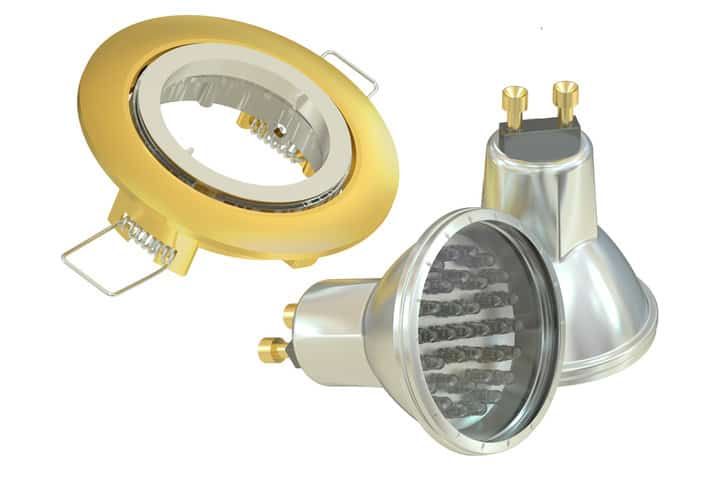
Canned recessed lights mount a separate bulb inside a metal housing — the “can” — that sits in the ceiling cavity. The can holds the bulb in place and the bulb itself produces all the light and most of the heat.
As LEDs took over from incandescent bulbs, fixtures no longer needed a deep housing to dissipate heat or to physically grip a screw-in bulb. This is what led to the development of canless recessed lighting — fixtures with no housing can at all, just a thin disc with the LEDs built in and a small driver/junction box that tucks into the cavity above.
Side-by-side, the practical differences look like this:
| Feature | Canned Lighting | Canless Lighting |
|---|---|---|
| Profile | Deep housing required in the ceiling cavity | Slim disc, roughly ½ inch visible |
| Joist clearance | Restricted — can won’t fit through a joist | Disc can sit beneath a joist; only the driver box needs cavity space |
| Bulb type | Replaceable bulb (incandescent, halogen, LED retrofit) | Integrated LEDs — no bulb to swap |
| Installation | More steps; bulkier fixture to handle on a ladder | Cut hole, connect, plug in, clip into place |
| End-of-life replacement | Swap the bulb only | Replace the whole fixture |
| Typical lifespan | Limited by the bulb (1,000–25,000 hr) | 25,000–50,000 hr (rated) |
The joist row deserves a closer look, because it’s the single most-quoted advantage of canless and it’s slightly oversold. Because the visible part of a canless light is only about half an inch thick, the disc itself really can sit directly beneath a joist. The driver/junction box, however, still needs roughly 2–4 inches of clearance in the ceiling cavity, so it has to be positioned beside the joist (or, with some products, mounted as a remote driver elsewhere in the cavity). On very shallow ceilings — for example, between two finished floors — even that may not be enough, so check the cavity depth before committing to a layout.
How Do I Fit Canless Recessed Lighting In Existing Ceiling?
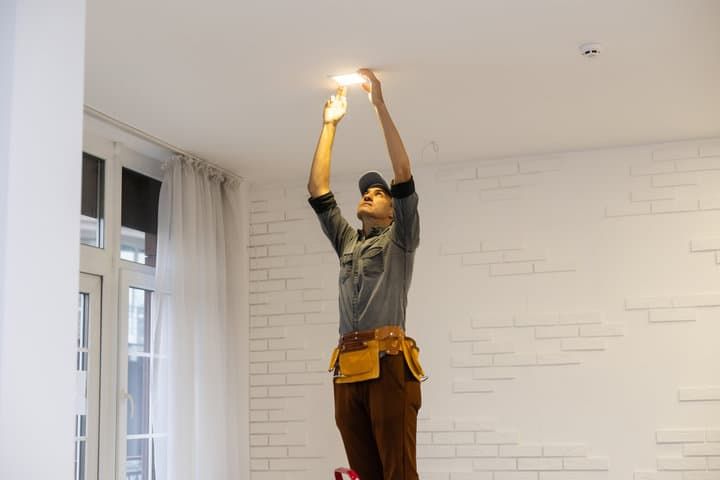
Fitting canless recessed lighting into an existing ceiling isn’t a difficult task. The hardest job is feeding the wires through, and if you’re replacing old fixtures, that part is already done.
Plan the hole locations carefully before cutting anything. Confirm joist positions with a stud finder so the driver box has somewhere to live, and pick the trim style and beam angle to match the room — narrow beams (around 25–38°) work for spotlighting, while wider beams (60° and up) suit general ambient lighting. Square versus round trims, fixed versus gimbal, and the trim ring color all change the final look more than the spec sheet suggests.
Canless recessed lights aren’t completely flat — they have a lip and a seal. Only the top of the light should be inserted into the hole, with the lip sitting against the ceiling underneath. Cut to the size of the smaller circle at the top of the light (the trim ring is wider). New fixtures usually include a guide template — trace it accurately, because if the hole is too big the light will fall through.
⚠️ Safety check: if insulation will sit on top of the fixture (typical in attics or top-floor ceilings), the unit must be IC-rated (Insulation Contact). Installing a non-IC fixture in contact with insulation is both a fire hazard and a code violation. Most modern canless wafers are IC-rated, but confirm on the spec sheet before buying.
What the driver box does
On most canless wafers, the driver box doubles as the wiring compartment — but only when the fixture is UL or ETL listed for that purpose, which the spec sheet should state explicitly. NEC 410.118 prohibits using a recessed luminaire to access a separate junction box unless that box is part of the listed fixture. If the unit isn’t listed for it, install a separate accessible junction box upstream and check with your local AHJ if you’re in any doubt.
Beyond the wiring, the driver itself steps line voltage down and conditions it for the LED chips so they run at the correct current.
Because the wiring lives in the driver box, the disc only needs a single low-voltage cable to plug in. That makes installation easier on a ladder, and it makes future replacements a one-cable swap.
How Do I Wire LED Recessed Canless Lights?
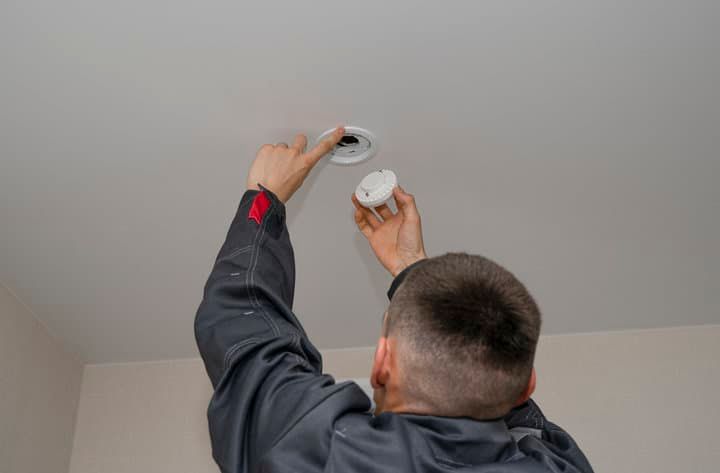
If there’s no cable in the ceiling already, you’ll need to run new wire from the switch to the fixture location first — a separate job worth completing before any holes are cut.
⚠️ Switch off the breaker that feeds the circuit at the panel — flipping the wall switch alone is not enough. Verify with a non-contact voltage tester at every conductor before handling it. White conductors re-marked with black tape (common in pre-2011 switch loops) are hot, not neutral.
The wire colors below follow US NEC conventions for standard NM (Romex) cable. Readers in the UK or EU should consult IEC color codes — brown for live, blue for neutral, green-and-yellow for earth.
- Switch off power at the breaker — not just the wall switch — and confirm the circuit is dead with a non-contact voltage tester.
- On the floor, prep the supply cable. Strip enough of the outer NM sheath to expose the individual conductors, leaving at least ¼ inch of sheath to extend inside the box, then strip about ½–¾ inch of insulation from each conductor. It’s much easier to do this before climbing the ladder.
- Climb the ladder. Feed the prepared cable through the driver box’s clamp or knockout so the strain relief grips the intact sheath, not the bare conductors.
- Join like-for-like conductors between the supply cable and the driver-box pigtails: hot to hot (black to black in standard Romex), neutral to neutral (white to white), and the ground wire — bare copper in standard Romex, or green / green-and-yellow if insulated — to ground.
- Secure each pair with the connector supplied in the kit — typically a wire nut or a push-in lever (Wago-style) connector. Tug-test each one, then fold the wires neatly back into the driver box and replace the cover.
- Plug the disc’s pigtail into the driver box’s quick-connect.
- Tuck the driver box up into the ceiling cavity, beside any joist, then push the disc into the hole. The retention springs grip the back of the drywall and pull the trim flush.
For a daisy-chained run of multiple lights, feed two cables through the driver box clamp at step 3 — one from the supply (or upstream fixture) and one continuing on to the next fixture. At step 4, you’ll be joining three of each color: three hots, three neutrals, and three grounds. Use a connector rated for that conductor count and gauge.
If the circuit uses a 3-way switch, or you plan to dim the lights, check the fixture’s published dimmer compatibility list before buying. Canless LEDs are sensitive to driver/dimmer mismatches and may flicker, buzz, or fail to dim below a certain level — usually you’ll want a TRIAC or ELV dimmer specifically marketed as LED-compatible. Recent code (NEC 404.2(C)) also requires a neutral at the switch box for most installations, which matters if you’re pairing with a smart or low-voltage dimmer that needs one.
Final Words
Cutting holes into a finished ceiling can feel like a high-stakes commitment, but most of the difficulty lives in planning rather than execution. Mark hole locations carefully, confirm joist positions, choose an IC-rated fixture if there’s any chance of insulation contact, and the rest is mostly clean wiring.
Quick recap of what matters most:
- Confirm IC-rating before buying if insulation will sit above the fixture.
- Verify dimmer compatibility on the spec sheet if a dimmer is in scope.
- Kill power at the breaker (not just the switch) and test every conductor.
- Use the connectors supplied in the kit — they may be Wago-style levers, not wire nuts.
- Check that the fixture is UL/ETL listed before relying on the driver box as a code-compliant junction box.
If you’re replacing existing cans, the supply wire is already in place and the job mostly comes down to swapping fixtures. For a fresh install starting from a pendant or a ceiling without a circuit, the wire run is the bulk of the work — once that’s done, the canless lights themselves go in quickly.
FAQ
Do canless LED lights need to be IC-rated?
If the fixture will be in contact with attic insulation, or installed in any ceiling cavity that contains insulation, yes — non-IC fixtures can overheat and cause a fire. Most canless wafers sold today are IC-rated, but confirm on the spec sheet before buying.
Are canless LED lights dimmable?
Many are, but not with every dimmer. Canless LEDs are sensitive to dimmer type (typically TRIAC or ELV) and to minimum load. Check the fixture’s published dimmer compatibility list before pairing it with a dimmer, otherwise you may see flicker, buzz, or limited dimming range.
How long do canless LED lights last?
Most are rated for 25,000–50,000 hours of operation. Because the LED is integrated, you replace the whole fixture at end of life rather than just a bulb.
Can I install canless lights where there’s a ceiling joist?
The disc itself can sit directly beneath a joist because it’s only about half an inch thick. The driver box, however, needs roughly 2–4 inches of cavity depth, so it has to offset to one side of the joist. On very shallow ceilings, look for fixtures with a remote driver.
Does the driver box count as a junction box?
Only if the fixture is UL or ETL listed for that purpose — and the spec sheet must say so. NEC 410.118 doesn’t allow a recessed luminaire to access a separate, non-integral junction box. If you’re unsure, install a dedicated accessible junction box upstream.