
How To Measure Recessed Lighting Size?
That 6″ stamped on your recessed can is the housing diameter — not the rough-cut hole size you need to mark on the ceiling. The two numbers are close, but mixing them up is exactly how you end up with a gap the trim can't cover.
 Eugen
EugenEugen Nikolajev
Creator of LED Lighting Info
Hi, I am Eugen. I was always one of those kids who had all sorts of weird lighting gadgets for every occasion.
Now, I want to share my knowledge and experience about lighting with you on LED Lighting Info.
Read my editorial standards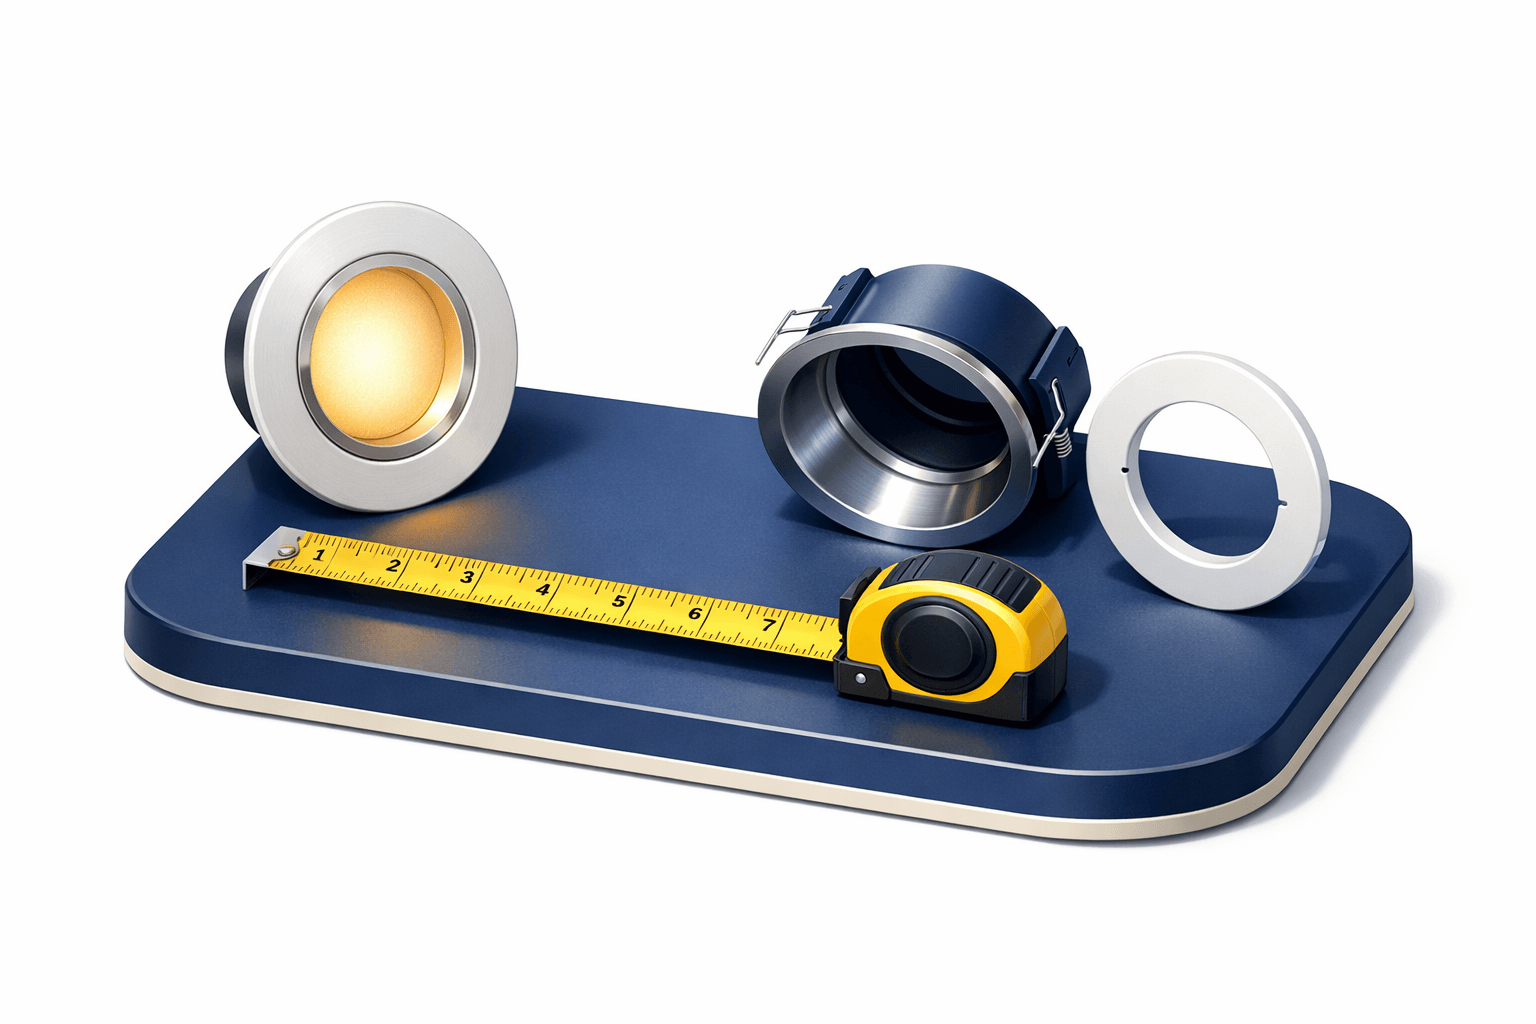
Key Takeaways
Measure recessed lighting by tracing around the can or, for canless fixtures, around the top portion that sits inside the ceiling. Most kits include a paper template you can mark around. Don't cut to the visible trim flange – the hole only needs to fit the part that goes into the ceiling.
Cut the wrong-sized hole for a recessed light and you'll end up with either a fixture that won't seat or a gap the trim can't cover. Here's how to measure correctly the first time.
In the rest of this guide, I'll cover:
- How to measure the size of the hole you need
- Common recessed light sizes (with a reference table)
- How to space lights from the wall and from each other
- Safety checks to do before you cut – joists, wiring, IC ratings
How To Measure The Size Of The Ceiling Hole

Measuring depends on whether you're sizing an existing fixture or marking out a fresh hole. For canless lights the two measurements are essentially the same – there is no separate housing, so the rough-cut hole equals the diameter of the part that clips into the ceiling.
But can lights have a separate housing that sits inside the ceiling cavity, so the rough hole has to be slightly larger than the nominal can size to make room for it.
Cans are sold by nominal size – usually a rounded figure in inches like 4″, 5″, or 6″. That number refers to the housing diameter, not the trim and not the rough hole. To check an existing fixture, pop off the trim and measure straight across the housing at its widest point.
When marking a fresh hole, follow the rough-cut diameter from the manufacturer's instructions or use the table below as a starting point. Most kits also include a paper template you can trace around the chosen spot.
Common Recessed Light Sizes
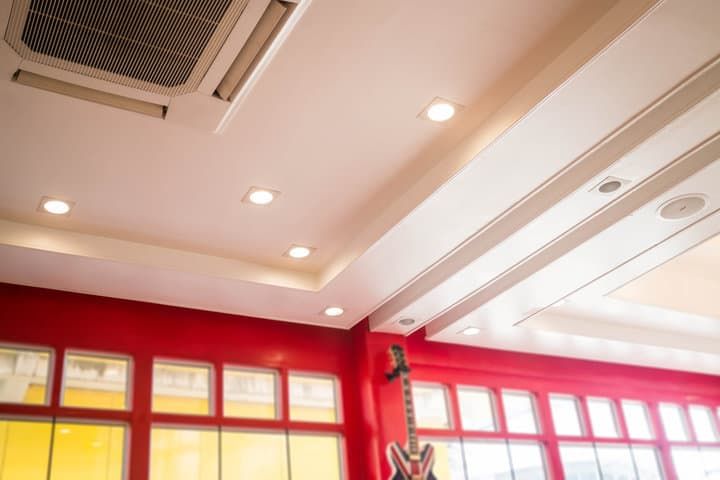
The most common residential sizes are 4″, 5″, and 6″, with 6″ historically the default. Cans also come in standard or shallow-depth versions – use shallow housings when the joist cavity above the ceiling is too tight for a full-depth can.
Here's a quick reference for the rough-cut hole diameter and typical can heights:
| Light type | Housing diameter | Hole diameter | Standard can height | Shallow can height |
|---|---|---|---|---|
| 4-inch | 4 inches | 4 ⅜ inches | 5 ½ inches tall | 3 ½ inches tall |
| 5-inch | 5 inches | 5 ⅝ inches | 7 ½ inches tall | 5 ½ inches tall |
| 6-inch | 6 inches | 6 ⅜ inches | 7 ½ inches tall | 5 ½ inches tall |
Housing depths vary noticeably between manufacturers – Halo, Juno, and Lithonia don't always agree – so always confirm against the spec sheet for the specific fixture you're buying. The table is a starting point, not a substitute for the instructions in the box.
Smaller 2″ and 3″ recessed lights also exist, but they're typically used for accent or cabinet lighting rather than primary room illumination.
Replacing A Can With A Canless Light
If you already have a 6″ can in the ceiling and want to switch to canless, you usually don't need to recut anything. Most 6″ canless fixtures are sold as retrofits – they clip directly into an existing 6″ can housing using spring clips and an E26 socket adapter. The canless trim flange (typically 7″ or wider) easily covers the existing 6-3/8″ rough hole.
If you remove the can entirely and install a canless fixture in its place, the rough hole left behind will be about 3/8″ wider than ideal for a fresh canless install. The trim flange will still cover it, but the spring clips have less material to bite into – which is why retrofitting through the existing can is the more common approach.
Related: How To Convert Incandescent Recessed Light?
Before You Cut: Joists, Wiring, And IC Rating
Most beginners get this wrong by going straight to the saw. Before you mark a single hole, run through these checks:
- Find the joists. Use a stud finder to map ceiling joists in the cut zone – a recessed light has to live entirely between two joists, not under one.
- Check for wiring and HVAC. Cutting blind into a ceiling can hit electrical runs, plumbing, or duct work. From the attic side (if accessible), confirm the cavity is clear.
- Confirm ceiling thickness. Standard drywall is 1/2″ or 5/8″. Spring-clip fixtures need the right ceiling thickness for the clips to grip properly – check the fixture's spec range.
- Match the IC rating to the install. If insulation sits above the ceiling – which is the case in any ceiling below an attic or roof – the fixture must be IC-rated (Insulation Contact). A non-IC can buried in insulation is a fire hazard. Look for an "IC" or "IC-AT" stamp on the housing.
A Note On Trim Types
Two 6″ recessed lights with the same rough-cut hole can look very different on the ceiling depending on the trim. Baffle trims have a ribbed inner ring that reduces glare. Reflector trims have a smooth, polished cone that pushes more light down. Gimbal trims pivot, so the visible aperture appears smaller and offset. Pick the trim with the final look in mind – the rough hole stays the same, but the visible opening doesn't.
How Far Should I Put Recessed Lights From The Wall?
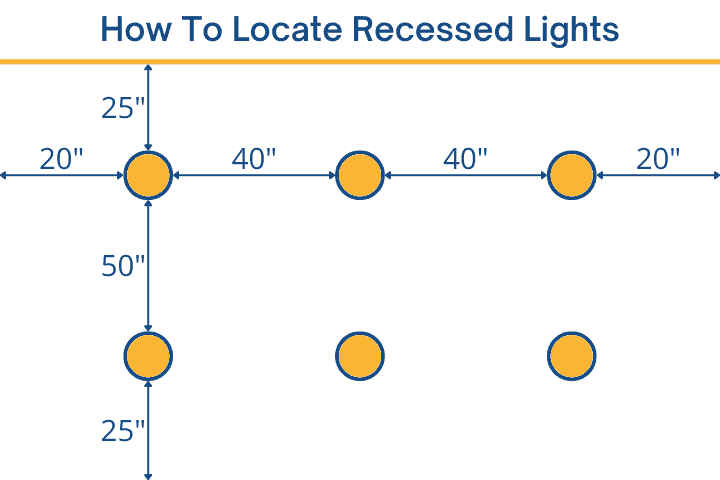
Spacing depends on the room's purpose and how brightly you need it lit – a kitchen needs more output than a bedroom. Once you've decided how many lights to use in a row, follow these two guidelines:
- The lights nearest the wall should sit between 1.5 feet (18 inches) and 3 feet (36 inches) from the wall.
- Light-to-light spacing should be roughly double the wall-to-light spacing. This is a layout convention rather than a strict standard, but it produces visually balanced placement.
The Spacing Formula, Step By Step
No time to math? Use my recessed lighting spacing calculator.
To work out where each light goes in a row:
- Decide how many lights you want in the row (e.g., 3).
- Calculate the number of spacing units: lights × 2 (so 3 lights = 6 units).
- Divide the room length by that number of units. For a 120″ wall and 3 lights: 120 ÷ 6 = 20″.
- Check that the result falls within the 18″–36″ wall-gap range. If not, change the light count and recalculate.
- Set the wall-to-light gap to that figure, and the light-to-light gap to double it (in this example: 20″ from the wall, 40″ between lights).
For 4 lights in a 120″ row, the math gives 120 ÷ 8 = 15″ – also within range, with 30″ between lights. If a layout pushes you outside the 18–36″ wall-gap range, that's the cue to add or remove a fixture rather than fudge the spacing.
One important caveat: this formula assumes a standard 8-foot ceiling. For taller ceilings, professional designers use "ceiling height ÷ 2" as the light-to-light spacing – so a 12-foot ceiling wants roughly 6 feet between lights, regardless of room width. If your ceiling is over 9 feet, scale the spacing up accordingly.
Also read: How To Convert Recessed Lights To Pendant?
Final Words
Two numbers do most of the work here: the rough-cut hole diameter for the housing you've chosen, and a wall-to-light gap between 18 and 36 inches that doubles into your light-to-light spacing. Get those right – along with the IC rating and a quick check for joists and wiring above the cut – and the rest of the install is straightforward.