
How To Convert Incandescent Recessed Light?
Swapping an LED bulb into an incandescent recessed can takes minutes — but if that can is on an older TRIAC dimmer, you may end up with flicker, buzz, or a burned-out bulb before the week is out.
 Eugen
EugenEugen Nikolajev
Creator of LED Lighting Info
Hi, I am Eugen. I was always one of those kids who had all sorts of weird lighting gadgets for every occasion.
Now, I want to share my knowledge and experience about lighting with you on LED Lighting Info.
Read my editorial standards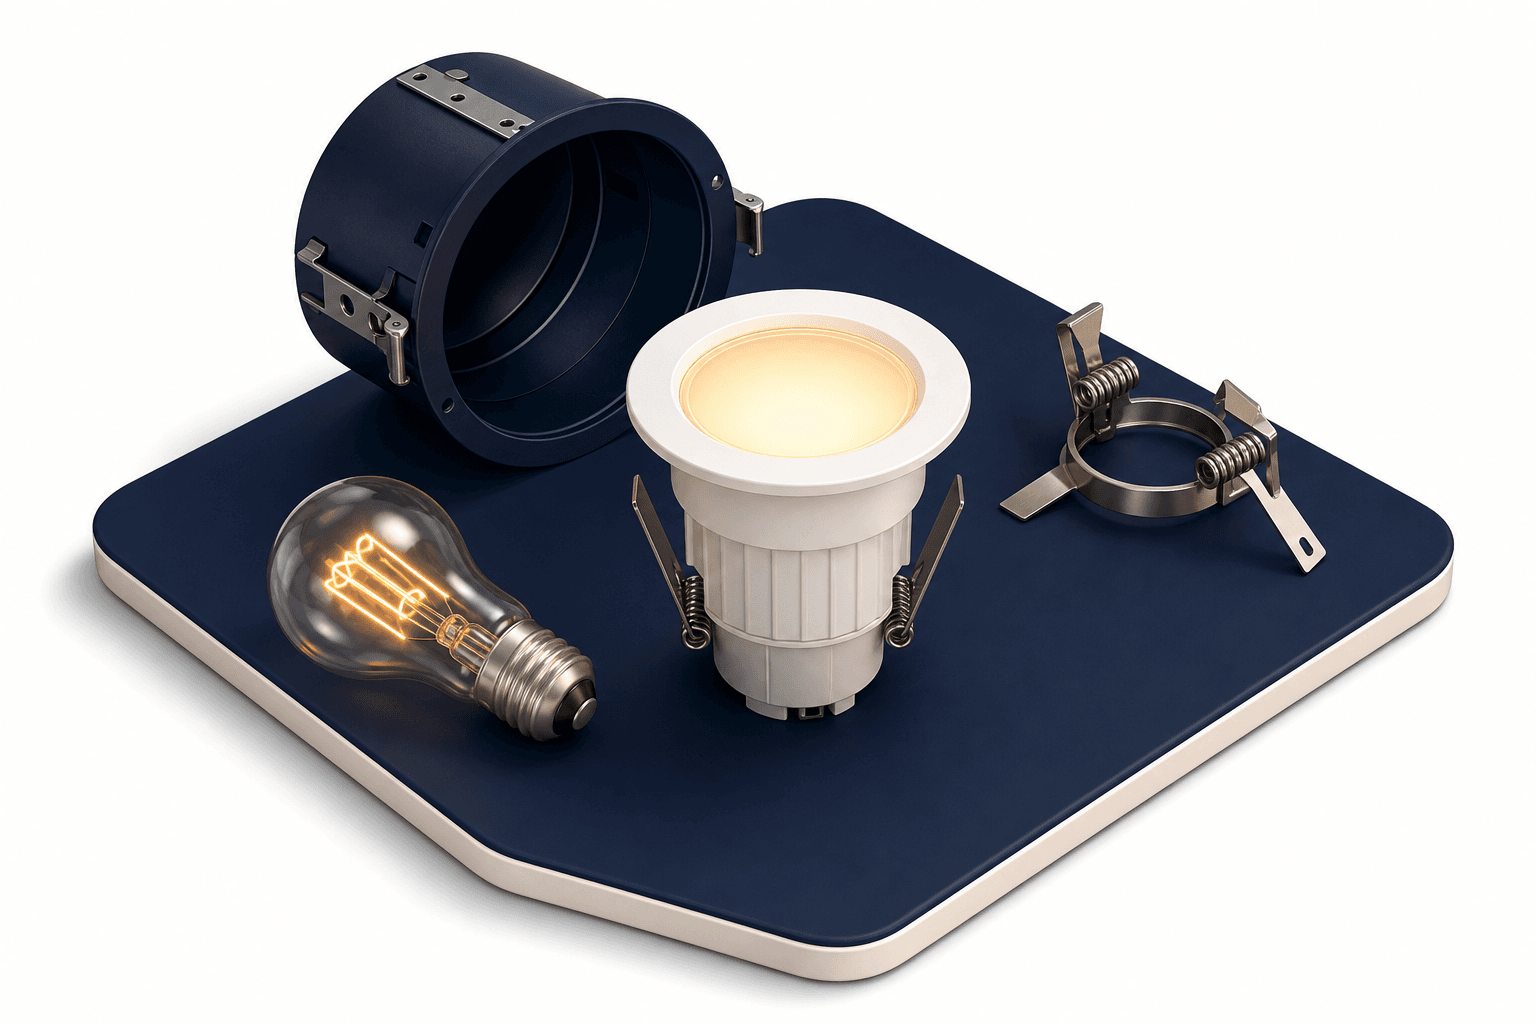
Key Takeaways
To remove a recessed light, pull off the cover, unscrew the bulb, and unclip the trim holding it in place. The can should then be free to pull down, giving you access to the junction box where you can disconnect the wiring and remove the whole fixture.
In this guide I cover everything from a simple LED bulb swap to a full recessed-to-flush-mount conversion, three jobs that look similar from the outside but vary a lot in scope, code requirements, and skill level.
Here's what this guide covers:
- Whether LED bulbs are compatible with incandescent recessed fixtures
- How to remove old incandescent recessed lighting
- How to change an LED bulb in a recessed light that has a cover
- How to convert recessed cans to flush-mount LEDs
Are Incandescent Recessed Lights Compatible With LED?
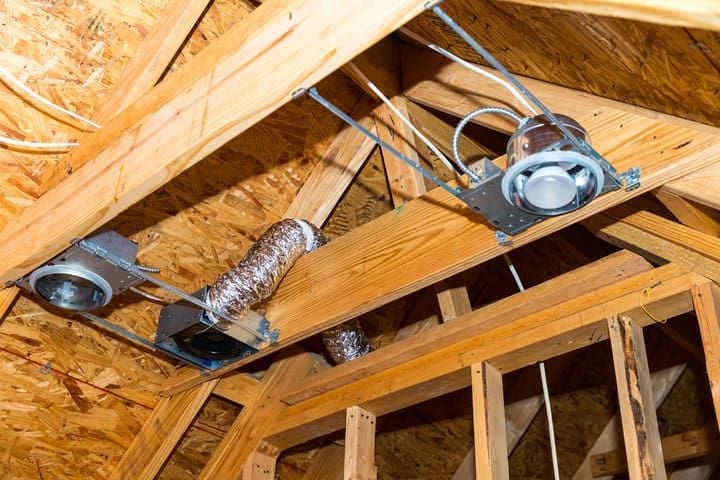
Yes — LED bulbs work in incandescent recessed fixtures as long as the base type matches. Buy a bulb with the same base as the original (typically E26 medium-base in U.S. residential cans) and it will fit and light up. There are, however, a few real compatibility caveats worth checking before you commit.
Some older recessed fixtures are mirrored on the inside. That's because incandescent bulbs shine in all directions, and the mirrored interior helps redirect that wasted light back down into the room. LED bulbs are more directional by nature, which can cause problems in car headlights where reflection matters, but it's not an issue in a downward-facing ceiling fixture — the light is heading the way you want anyway.
Dimmer compatibility
If the recessed light is on a dimmer, confirm it's a trailing-edge or LED-rated dimmer. Older incandescent-era TRIAC (leading-edge) dimmers commonly cause LEDs to flicker, buzz, drop out at low levels, or fail prematurely. Also check that the LED bulb itself is labeled dimmable — non-dimmable LEDs on a dimmer circuit will misbehave or burn out quickly. Manufacturers like Lutron and Leviton publish compatibility lists for their dimmers, which is the most reliable way to confirm a pairing.
IC-rated vs. non-IC fixtures
Check whether the existing fixture is IC-rated (safe for direct contact with insulation) or non-IC. Non-IC cans require at least three inches of clearance from insulation, and their thermal cutoffs were calibrated for incandescent heat — they can occasionally misbehave with LED drivers even though LEDs run cooler overall. If the ceiling is insulated, an IC-rated fixture isn't optional, it's a code requirement and a fire-safety one.
How to Remove Old Incandescent Recessed Lights
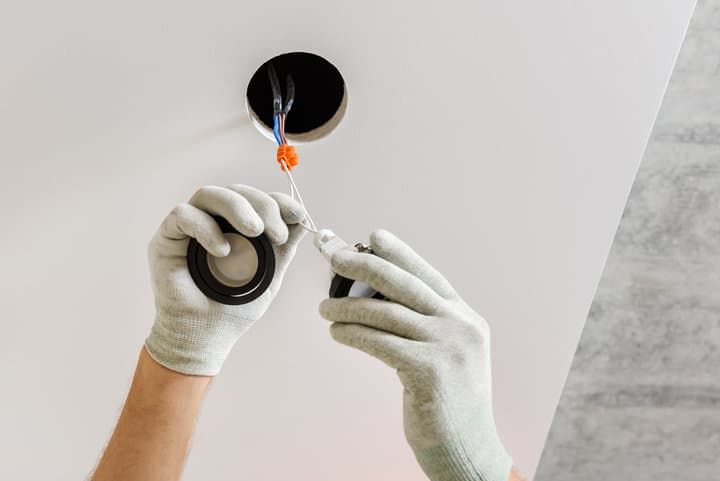
Before doing anything else, switch off the circuit breaker that feeds the fixture — not just the wall switch. A miswired or mislabeled switch can leave the fixture live even with the switch in the off position. Once the can is out you'll be exposing bare wires, so it's worth being certain the circuit is dead.
- Switch off the breaker for the circuit, then verify the fixture is dead with a non-contact voltage tester before touching any wiring.
- Remove any cover or diffuser on the light. Most just pull off, but check for clips that need to be pressed in first.
- Unscrew the bulb inside the fixture and set it aside.
- Remove the trim. Trims are usually held by two or three spring clips on the inside of the can — reach in, pinch each clip inward, and slide the trim down (see below for more detail).
- Pull the can down through the hole, bringing the integrated junction box with it.
- Open the junction box and disconnect the wires.
- The can is now free to remove from the ceiling.
If the ceiling is insulated, you'll disturb the insulation when pulling the can down. Fiberglass is a skin and respiratory irritant — cover your arms, wear gloves, and put on a dust mask before reaching up.
A closer look at trim removal
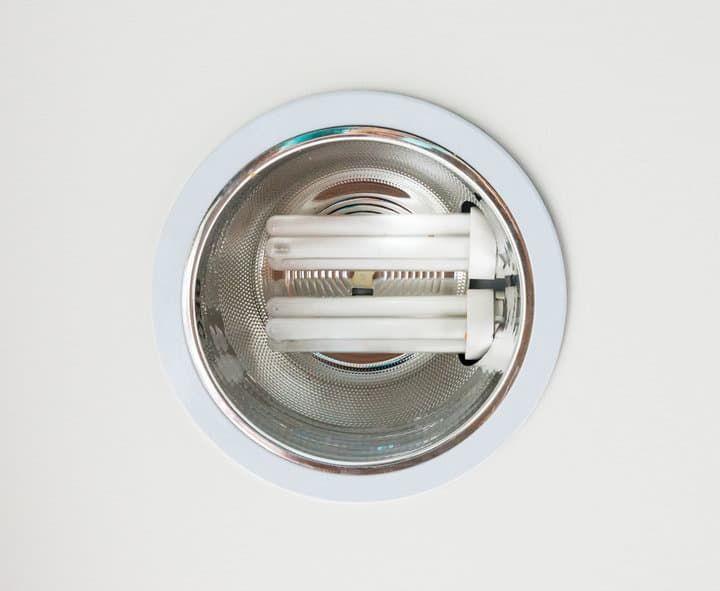
The trim is the visible ring that sits flush against the ceiling and slides up inside the can. It's almost always held in place by two or three spring clips on its inner edge. With the bulb out, reach inside the fixture, pinch each clip inward, and the trim will drop free.
How to Change an LED Bulb in a Recessed Light With a Cover

Some recessed lights have a cover over the entire bulb. When the bulb dies, remove this first to get at the bulb.
The process is usually easy — covers are often clipped in place and pull free with a tug. Pull down slightly on the cover and feel around the exposed lip for any catches or clasps. Press a release lever if you find one. Otherwise, a firm, even pull should release it.
Once the cover is off, unscrew the old bulb, install the replacement, and push the cover back into place.
Note: integrated LED fixtures work differently
Not all LED recessed lights have replaceable bulbs. Integrated fixtures — often flat disc shapes — use diodes built directly into the housing. When one fails, the entire fixture has to come out.
These integrated fixtures connect in a few different ways. Retrofit modules from brands like Halo, Juno, and Feit typically use a quick-connect plug that mates with an Edison-base adapter screwed into the existing socket. Canless wafer-style downlights are usually hardwired with wire nuts directly to the ceiling wiring. Check the specific fixture's instructions — connectors and wiring methods are not standardized across brands.
Converting Recessed Lights to Flush-Mount LEDs
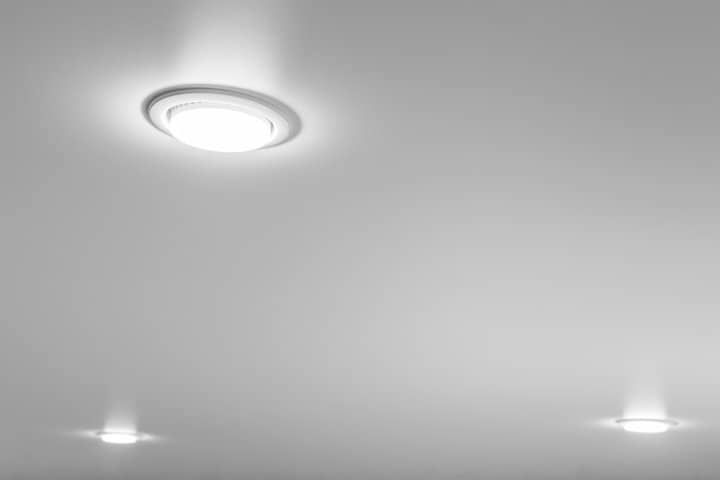
A flush mount is another replacement option. Instead of recessing into the ceiling, the fixture sits as a slim dome flat against it.
Flush-mount LEDs come in a wide range of sizes — from small 4–7 inch fixtures suitable for hallways and closets, to 24-inch-plus fixtures for large rooms. For converting a typical recessed can, sizes in the 7–14 inch range are most common.
What matters more than fixture diameter is the mounting bracket. Flush-mount brackets are usually a small crossbar or strap sized to fit a standard ceiling electrical box — typically around four inches across — and much smaller than the fixture itself, regardless of fixture diameter.
Residential recessed cans are commonly 4, 5, or 6 inches in diameter, so the size of the hole left behind will vary. You may need to patch the hole — or in some cases enlarge it slightly — depending on the bracket size of the new fixture.
Mounting and wiring
Avoid driving screws into drywall right at the edge of the existing hole — the drywall may crumble. Whenever possible, anchor the mounting bracket directly into a ceiling joist using a stud finder to locate it. If the bracket doesn't reach a joist, use rated drywall anchors appropriate for the fixture's weight. For heavier fixtures (above roughly 10 lb), add blocking between joists or use a fan-rated brace.
Before mounting the new fixture, install a code-compliant electrical box at the ceiling. The recessed can's integrated junction box leaves with the fixture, so a new approved box is required — and all wire connections must be contained inside it. In many jurisdictions, this kind of fixture work needs an electrical permit, especially if wiring is being moved or extended. Check local code, and if you're not comfortable with the wiring, hire a licensed electrician.
With the box installed, the rest is straightforward:
- Attach the bracket to the electrical box and ceiling, leaving the mounting screws slightly extended.
- Wire the fixture inside the electrical box using wire nuts, matching black-to-black, white-to-white, and ground-to-ground.
- Lift the fixture into position over the hole, align it with the bracket screws, and twist to lock.
- Tighten the screws and install the diffuser cover.
Flush mounts cover at least twice the area of typical recessed lights, so one or two per room is often enough. If you're replacing several recessed lights with fewer flush mounts, cap off the unused wires inside an approved, accessible junction box — don't just tuck bare wires into the ceiling cavity — and patch the empty holes.
If the existing recessed lights aren't centered but the new flush mount needs to be, you'll have to patch all the old holes, cut a new one in the right spot, and run new wire to the new location. That work often means opening up the ceiling and is generally best left to an electrician.
Final Words
Converting recessed incandescents to LEDs covers a wide spectrum of difficulty: a direct bulb swap takes minutes, a retrofit LED module is a half-hour job, and a full flush-mount conversion involves drywall work and code-compliant wiring. Whichever path you take, the same top safety rule applies — kill the circuit at the breaker before touching anything, and confirm the wires are dead with a voltage tester. And if the ceiling is insulated, make sure any new fixture is IC-rated.
In my experience, the biggest practical headache is almost always patching the ceiling after a fixture comes out for good. If you want to keep the work to a minimum, measure carefully and shop for replacements that match the existing hole size.
FAQ
Do I need a special dimmer for LED recessed lights?
Often, yes. Older leading-edge (TRIAC) dimmers designed for incandescent loads frequently cause LED bulbs to flicker, buzz, drop out at low brightness, or fail early. For dimmable LEDs, use a trailing-edge or LED-rated dimmer, and confirm the bulb itself is labeled dimmable. Lutron and Leviton both publish compatibility lists for their dimmers, which is the most reliable way to verify a pairing before buying.
What does IC-rated mean and why does it matter?
IC-rated (Insulation Contact) fixtures are certified safe for direct contact with thermal insulation. Non-IC fixtures require at least three inches of clearance from any insulation, because they trap heat and can become a fire hazard if buried. If the ceiling is insulated, code requires an IC-rated fixture — check the label inside the can before reusing or replacing one.
Can I leave the old wiring in place if I'm removing a recessed light for good?
Not exposed. Any wires that stay in the ceiling must be capped with wire nuts and contained inside an approved, accessible junction box. Bare wires buried inside drywall are a code violation and a fire risk.
Do I need a permit to replace recessed lights with flush mounts?
It depends on the jurisdiction. A like-for-like fixture swap is often allowed without a permit, but moving the fixture location, running new wire, or any work that opens the ceiling commonly does require one. Check with the local building department before starting.