
How To Update Recessed Fluorescent Lighting In Kitchen?
Fluorescent dimmers and standard incandescent dimmers will flicker, buzz, or barely dim your new LEDs — and it's the one thing that catches most people off guard after an otherwise smooth upgrade.
 Eugen
EugenEugen Nikolajev
Creator of LED Lighting Info
Hi, I am Eugen. I was always one of those kids who had all sorts of weird lighting gadgets for every occasion.
Now, I want to share my knowledge and experience about lighting with you on LED Lighting Info.
Read my editorial standards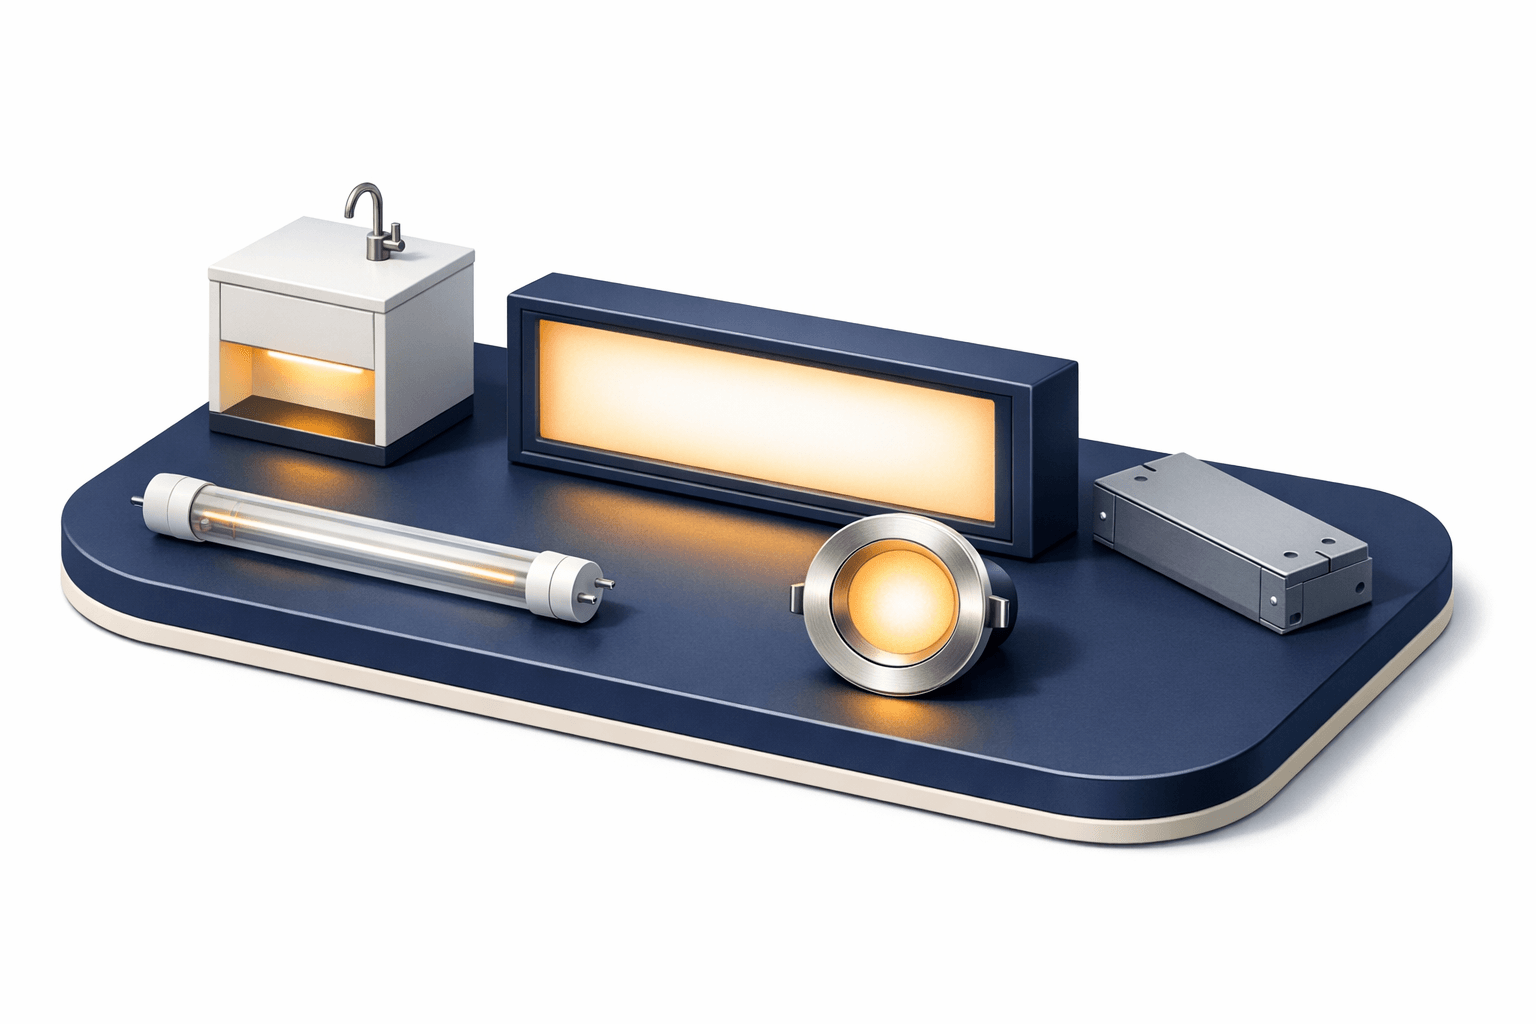
Key Takeaways
The best way to update fluorescent lights is to replace them completely – there are various LED options, including LED tubes and lighting boxes, that don't require a complete kitchen remodel. Or you can add more modern covers to fixtures to give them an updated look.
A lot of older lighting installations in kitchens used fluorescent tubes.
It provided a wide, bright amount of light over larger surfaces and didn't need a lot of individual pendants that might get in the way of cupboards, extractors, and other kitchen fixtures.
Older fluorescent fixtures are slow to reach full brightness — often taking 30–60 seconds — and can flicker and hum noticeably as they age. LED replacements eliminate all three issues immediately.
How do you update your kitchen fluorescent lights to improve them?
🗒️ A quick note on terminology: this article covers linear fluorescent tubes — the long, pin-based tubes mounted in a fixture with a separate ballast. Screw-in CFL bulbs are a different category: they have a built-in ballast and are simply replaced with an equivalent LED bulb in the same socket.
- How to remove old fluorescent light box fixtures
- What you can use instead of recessed fluorescent lights
- How to replace old fluorescent tubes with new LED ones
How To Remove Old Fluorescent Light Box Fixture?
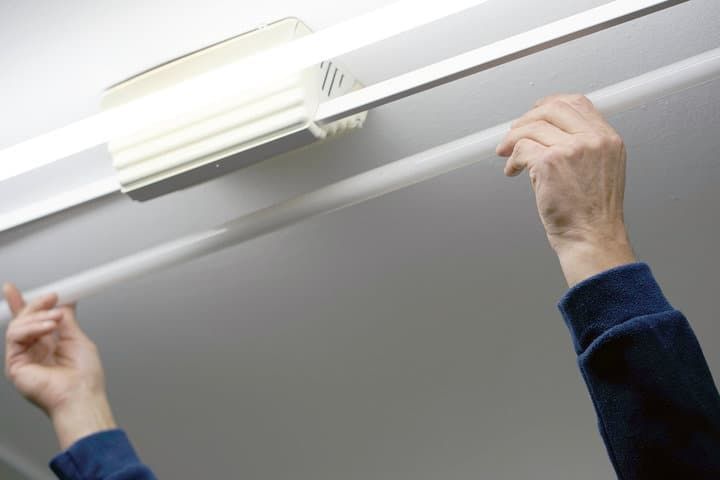
Fluorescent light boxes aren't difficult to remove. They're just like surface-mounted fluorescent light fixtures, except they're situated within a recessed hole. Follow these steps:
- Cut power at the breaker. Don't rely on the wall switch.
- Remove the cover panel. Most are clipped into place or rest on a lip — lift one side and angle it down.
- Remove the fluorescent tubes. Rotate each tube a quarter-turn until the pins line up with the slot in the socket, then pull it straight down. Don't yank — they're glass and contain mercury vapor.
- Disconnect the wires from the ballast.
- Unscrew and remove the ballast, sliding the wires out as you do.
- Remove the fixture mounting screws and pull the fixture down, leaving the ceiling wires exposed inside the recess.
⚠️ Safety: Fluorescent tubes contain mercury and cannot legally be placed in regular trash in most jurisdictions. Take them to a hazardous waste facility or a participating retailer (Home Depot, Lowe's, and IKEA all run drop-off programs) for safe disposal. If a tube breaks, ventilate the room before cleaning up.
Should I Patch The Recessed Box Hole?
Once you remove the light fixtures, you'll be left with a box hole. Even if the lights had a cover, this hole is normally already drywalled, so you can leave it if you prefer.
Some LED lights are designed to fit inside a recessed box already, or you could keep the recessed box and install LEDs within it.
But many people would prefer to patch the hole instead so the entire ceiling is flat and even. This is more work — you'll need new drywall, likely some wood to secure it, and putty and paint to cover the seal — but the results are much neater.
If you plan on replacing the fluorescent lights with LEDs, you can cut the new drywall section for the lights before you install it, which makes the work a little easier.
It's down to your preference, but if you leave the recessed lights within a box hole, bear in mind that you're restricting the light — it will only be cast on the inside of the box hole itself, so the room won't be lit as effectively.
What Can I Use In Place Of Recessed Fluorescent Lights?
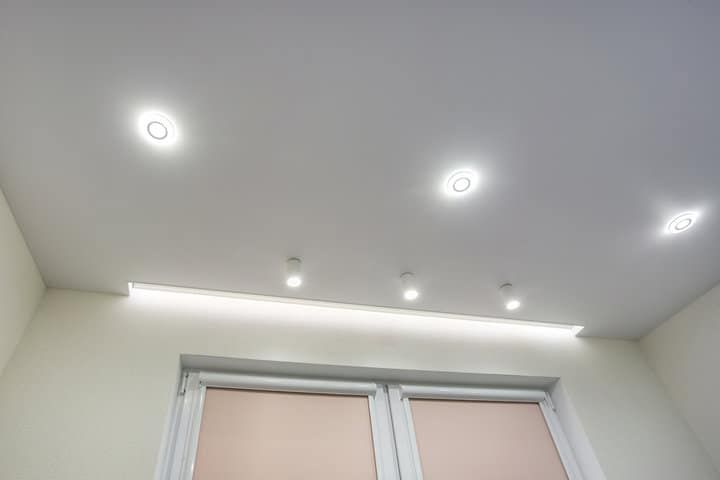
Once you've removed your recessed fluorescent lights, you have three main replacement paths. Here's how they compare:
| Option | Difficulty | Cost | Ceiling Work? | Best For |
|---|---|---|---|---|
| LED tube retrofit | Easy | Low | None | Quick upgrade, keep fixture |
| LED lighting box | Medium | Medium | Minor patching | Flush modern look |
| Individual recessed LEDs | Hard | High | Drywall + rewiring | Full renovation |
Option 1: LED tube retrofit
The simplest option is a like-for-like swap — drop LED tubes into the existing fluorescent fixture. You don't even have to remove the fixture itself. The tubes won't look dramatically different, so if you want to modernize the appearance, pair them with a new diffuser cover (covered below). Expect a more responsive light that switches on instantly and a much longer lifespan than the fluorescent tubes you're replacing.
Option 2: LED lighting box
If you want to fill the recessed space, you can drywall it and add a lighting box (Amazon). Lighting boxes come in different shapes and sizes and offer a flush, contemporary finish with even light. One or two are usually enough to replace what a fluorescent fixture was doing for the room.
Option 3: Individual recessed LEDs
Patch the hole with drywall and install individual recessed downlights. You'll need to run new wires for the lights or extend the existing one, so this is the most invasive option — but it gives the most flexibility for the final look.
How To Replace Old Fluorescent Recessed Kitchen Lights With LED Tubes?

Why fluorescent fixtures need a ballast
A fluorescent tube wired directly to mains power without a ballast will burn out almost immediately — not flicker, not run dim, but fail in seconds. Fluorescent lamps have negative differential resistance, meaning their resistance drops as current rises. Without something to limit the current, it runs away and destroys the tube.
That something is the ballast — a device that does two jobs: it supplies the high-voltage starting pulse needed to ionize the gas inside the tube, and it then limits the current to a safe operating level. It's usually a black rectangular box hidden behind the bulbs in the fixture.
Know your LED tube types: A, B, A+B, and C
When you go shopping for LED replacement tubes, you'll see them sold by UL type. The type tells you whether the tube is designed to work with the existing ballast or not — pick the wrong one and the install plan changes completely.
- Type A (plug-and-play) — designed to run on the existing fluorescent ballast. Easiest install: just swap the tube. The catch is the ballast still has to be working and compatible.
- Type B (ballast bypass) — wired directly to line voltage. The ballast must be removed and the fixture rewired. More work up front, but you never have to worry about a failing ballast again.
- Type A+B (hybrid) — runs either way. Most flexible if you're not sure of your ballast's condition or want to skip the bypass for now.
- Type C — uses an external remote driver. Mostly seen in commercial retrofits, not typical for a kitchen.
Check the UL type printed on the box before you buy so it matches your installation plan.
Check whether your tubes are T8 or T12
Older kitchens often have T12 tubes (1.5 inch diameter), while T8 tubes (1 inch diameter) are the modern standard. T8 LED replacements are everywhere; T12-compatible LED tubes are much harder to source. If you have T12 fixtures, the easier path is often a full fixture swap rather than hunting for a matching LED tube.
Plug-and-play install (Type A)
If you've bought Type A or A+B tubes, the install is trivial: cut power, remove the old fluorescent tube with a quarter-turn, and slot the LED in its place. The existing ballast handles the rest.
Ballast bypass install (Type B)
If you've bought Type B tubes, you'll need to remove the ballast and rewire the sockets to line voltage:
- Cut power at the breaker and remove the existing fluorescent tubes.
- Open the ballast cover — usually held with screws or a clip.
- Disconnect the wires running into the ballast.
- Unscrew and remove the ballast itself.
- Rewire the sockets to line voltage per the LED tube manufacturer's wiring diagram. Some Type B tubes are single-ended (line and neutral on one end), others are double-ended — check before wiring.
- Install the LED tubes, restore power, and test.
If the existing fixture's sockets aren't compatible with line-voltage wiring, you'll need a new fixture rated for LED tubes. Honestly, by that point a Type A or A+B tube is usually the easier call — they cost slightly more but skip the rewiring entirely.
Watch out for dimmer compatibility
If your kitchen lights run off a dimmer switch, check it before you install LEDs. Fluorescent dimmers and standard incandescent dimmers are not LED-compatible — they'll cause flicker, buzzing, or limited dimming range. You'll likely need an LED-rated dimmer (look for one marked CL or LED on the packaging) and an LED tube specifically labeled as dimmable. This catches a lot of people off guard after the upgrade.
Adding a new diffuser cover
Once your new LED tubes are in place, a fresh diffuser cover is the cheapest way to modernize the look of the fixture. Frosted acrylic and prismatic panels are the two most common styles. They diffuse the light so it spreads across a wider area with a softer glow, while hiding the tubes themselves from direct view.
Replacement panels are widely available on Amazon and at home-improvement retailers — search for "fluorescent light diffuser panels" in standard 2x2 or 2x4 ft sizes from brands like Fluorolite Plastics, KASTLITE, and DURALENS. Measure the existing cover before ordering.
Final Words
Upgrading kitchen fluorescent tubes to LEDs is one of the highest-return lighting projects you can do — instant-on light, no flicker, no hum, longer lifespan, and lower energy use. Most kitchens can be done in an afternoon.
The two things that derail people: buying the wrong UL type for their ballast situation, and discovering after the fact that their wall dimmer isn't LED-compatible. Sort both before you shop, dispose of the old tubes responsibly at a hazardous-waste drop-off, and the rest of the job is straightforward.