
How Much Landscape Lighting Do I Need?
Mixing 2700K and 4000K fixtures is the single most common reason a garden looks 'off' at night — and it has nothing to do with how many lights you have.
 Eugen
EugenEugen Nikolajev
Creator of LED Lighting Info
Hi, I am Eugen. I was always one of those kids who had all sorts of weird lighting gadgets for every occasion.
Now, I want to share my knowledge and experience about lighting with you on LED Lighting Info.
Read my editorial standards
Key Takeaways
The number of landscape lights you need depends on your garden’s size, the features you want to highlight, and any safety lighting you’d like to add.
Balance is essential, too much light looks harsh, flattens planting, and can even disrupt how your plants grow.
Deciding how many lights to buy for your garden isn’t as simple as measuring the space. Your sightlines, the features worth highlighting, and even your maintenance habits all shape how many fixtures you actually need.
I can’t give you an exact number for your space, but I can walk through the design principles, brightness and color choices, and a planning checklist that will get you to a defensible count — one that lights what matters and skips what doesn’t.
Landscape Lighting Design Principles
Lighting Techniques
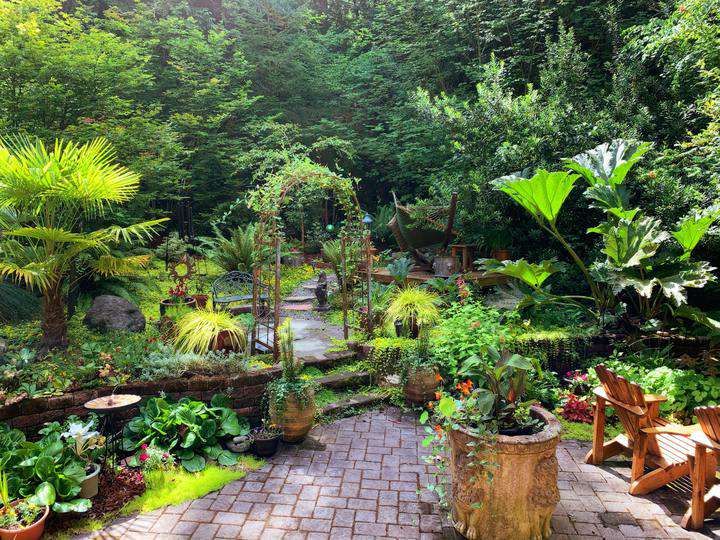
Start by thinking about which lighting techniques will work best for your garden. The five below cover almost all decorative landscape lighting — they describe where the fixture sits and what it’s aimed at. The table summarises where each one earns its keep:
| Technique | Best For | Light Placement |
|---|---|---|
| Uplighting | Trees, feature walls | Low or ground level, aimed upward |
| Accenting | Small shrubs, statues | Focused beam, close to the subject |
| Shadowing | Trees in front of plain walls | Between subject and wall, aimed up |
| Moonlighting | Open areas, ambient washes | High up in a tree, aimed downward |
| Wall Washing | Fences, large walls | Set back, parallel to the surface |
Line of Sight
Now that you know the techniques, use sightlines to decide which features actually deserve them. Where do you spend most of your time at home or outdoors?
Say you have a beautiful tree at the back of the garden and you’re considering shadowing it onto a wall. Unless you spend time at the far end of the garden regularly, you’ll never enjoy the effect — and you’ve just paid for fixtures, wiring, and bulbs you can’t see.
Focus on the parts of the garden you’ll see most: arriving home, looking out from inside, or sitting on the decking or patio. Anything outside those sightlines is a candidate to cut.
Proximity
Proximity is how close the fixture sits to its target. The closer the light, the more intense and concentrated the effect — and the more fixtures you’ll need to cover a given area.
Wall washing a fence from a metre away will need fixtures every 1.5–2 metres for an even result. Pull those same fixtures back to three or four metres and you can space them further apart, but the wash will be softer and less defined. Decide which look you want before you decide how many lights to buy.
Layering
Layering means varying brightness across the garden instead of one consistent flood. A single uniform level flattens depth and makes the space look fake.
Make key features the brightest points in the scene, then drop a tier or two for the spaces between them — a low-output path light here, a soft uplight on a shrub there. The eye reads the contrast as depth, and you end up using fewer total fixtures than if you tried to evenly light the whole plot.
Brightness & Color Temperature
Lumens (not watts) tell you how bright a fixture actually is. Rough rules of thumb for landscape work:
- Pathway lights: 100–200 lumens
- Step and entry lights: 50–150 lumens
- Accents and uplights on small features: 200–400 lumens
- Large trees and facade washes: 400–800+ lumens per fixture
Color temperature matters just as much. Warm white (2700–3000K) flatters foliage, brick, and stone and reads as inviting from the house. Cool white (4000K and up) tends to look clinical outdoors and is best reserved for security floodlights. Pick one temperature for the decorative scheme and stick to it — mixing 2700K and 4000K in the same view is the single most common reason a garden looks ‘off’ at night.
Power Source
The wiring you choose caps how many lights you can realistically run and how far apart they can sit.
- Low-voltage 12V wired systems are the standard for landscape lighting. They’re safe to DIY, but the transformer’s total wattage sets a hard ceiling on how many fixtures one circuit will support — add up your wattages before you buy.
- Solar fixtures need no wiring, but each light depends on its own panel and the sun it actually gets. Spacing is less predictable and brightness drops in winter.
- Mains (120/240V) fixtures are the brightest and most consistent option, but installation outdoors usually requires an electrician and proper IP-rated runs.
Garden Maintenance
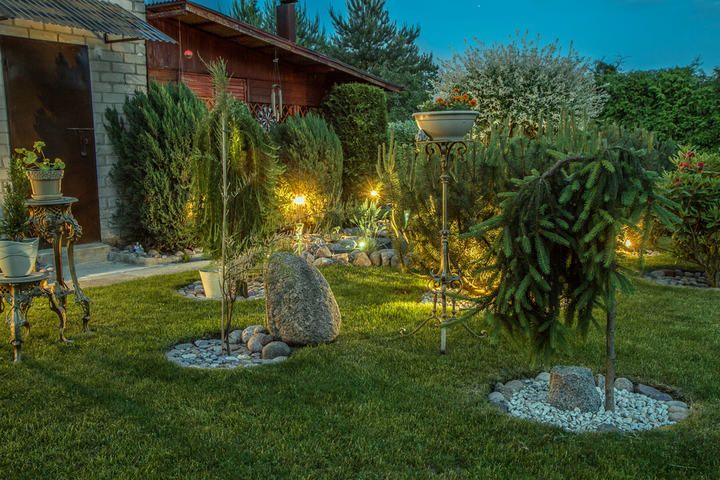
Maintenance is a minor factor, but it’s worth thinking about. Pruning a tree reduces the canopy you have to cover, so the same uplight throws further and you need fewer fixtures to highlight it properly.
The same logic runs in reverse for parts of the garden you can’t keep on top of — whether it’s beyond your skills or just beyond your time. Softer lighting, created with fewer fixtures placed further from the feature, will hide a less-cared-for patch instead of advertising it.
Safety
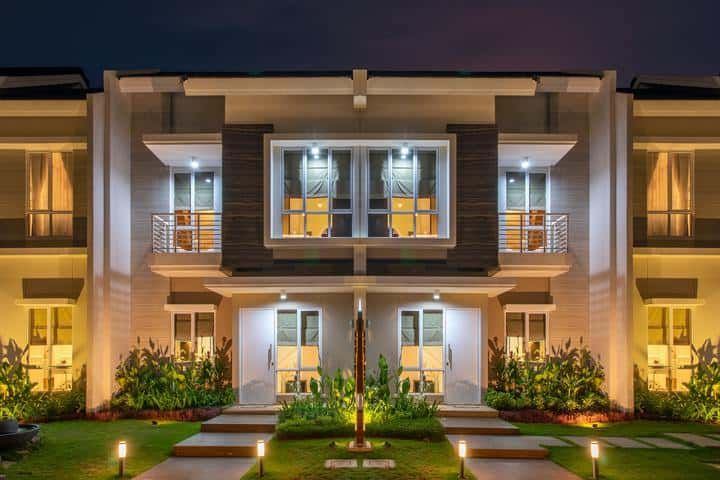
A lot of landscape lighting earns its place on safety alone. Patio and entrance lights make the front of the house more welcoming to you and less inviting to anyone who shouldn’t be there. Pathway lights stop you tripping on uneven surfaces in the dark.
Every patio, entrance, and pathway is different — consider the size, steps, and edges that need to be illuminated. On a stepped path, plan a light per step or per second step so each edge is clearly lit; spacing them too far apart casts shadows that hide the very hazards you’re trying to flag.
Your Step-by-Step Planning Process
Once you’ve worked through the principles above, you can start counting fixtures. The exact number is individual to your space, but these steps will get you there:
- List the features of the space you want to light up.
- Match each feature to a lighting technique and decide where the fixture has to sit to deliver it.
- Sense-check your line of sight — cross off any feature you won’t actually see from where you spend time.
- Decide how bright each feature should be and work out how many fixtures (at what lumen output) will deliver that brightness.
- Check whether a quick prune on a tree or shrub would reduce the fixture count.
- Add any safety lighting at steps, entrances, and uneven sections.
- Total the wattage and confirm your chosen power source (transformer, solar, or mains) can handle it.
Finding the Balance
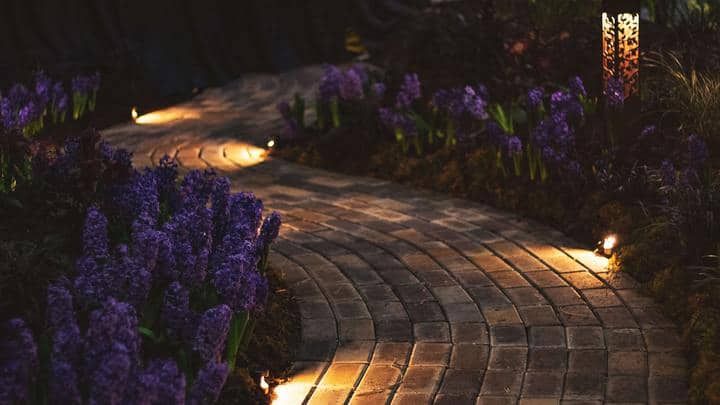
Focus on the best features of the space, but don’t leave large gaps between them. A big garden with only two or three highlighted features feels disjointed — as though the job is half-finished, or a few bulbs have blown.
Softer fill lighting between the main features knits the scene together. Layer brighter fixtures on the features themselves so the eye still has a hierarchy to follow.
Don’t go too bright in the other direction either. A garden that looks like a theme-park parade is garish and headache-inducing, and excessive light has biological costs too: it interferes with photoperiodism, the mechanism plants use to detect day length and time their growth cycles.
Photoperiod-sensitive species — chrysanthemums, poinsettias, soybeans, and many flowering shrubs — are most vulnerable, but any plant under steady, bright night light can drift into stressed growth and delayed flowering. Aim fixtures at trunks, hardscape, and built features rather than dense foliage, keep brightness moderate, and put the whole scheme on a timer so it switches off in the small hours. Your neighbours, and any moths and bats sharing the garden, will thank you for it too.
Quick Planning Checklist
Screenshot this and walk the garden with it in hand:
- List the features worth highlighting — trees, walls, statues, focal plants.
- Match each feature to a technique: uplight, accent, shadow, moonlight, or wash.
- Cross off anything outside your usual sightlines.
- Pick lumens to suit the job — 100–200 for pathways, 200–400 for accents, 400+ for large features.
- Choose one color temperature and stick to it — 2700–3000K suits most gardens.
- Confirm the power source and transformer can carry the total wattage.
- Add safety lighting at steps, entrances, and uneven sections.
- Put everything on a timer or astro switch so the lights aren’t on all night.
Then count. The number you land on is the right number for your garden — built around the way you actually use the space, not a manufacturer’s grid or a generic spec list.