
How To Repair Landscape Lighting Wire?
Before you grab a shovel, know that a broken buried wire is one of the less likely reasons your landscape lights have gone dark. The transformer, GFCI, and timer are far more common culprits — and none of them require any digging.
 Eugen
EugenEugen Nikolajev
Creator of LED Lighting Info
Hi, I am Eugen. I was always one of those kids who had all sorts of weird lighting gadgets for every occasion.
Now, I want to share my knowledge and experience about lighting with you on LED Lighting Info.
Read my editorial standards
Key Takeaways
To repair damaged low-voltage landscape wire, first rule out transformer and timer faults, then locate the break with a multimeter, cut out the damaged section, and rejoin clean wire ends with a direct-burial-rated (UL 486D) gel-filled connector. Soldering gives a better electrical connection, but you'll have to waterproof the splice yourself.
Suddenly noticed that all of your landscape lights have stopped working? Or, if your setup runs as parallel loops, one of the loops has gone dark?
A break in the buried wire is one possible cause — but in my experience, it's not the most common one. Before you start digging, rule out the transformer, timer, and GFCI first. Only after those check out is it worth hunting down a damaged wire.
‼️ Important: this guide covers low-voltage (12V) landscape lighting systems powered by a step-down transformer. If your outdoor lighting runs on 120V line voltage, the buried cable is on a code-regulated branch circuit — those repairs should be handled by a licensed electrician, not with the DIY methods below.
Here's what this guide covers:
- What to check before you assume the wire is the problem
- How to find a broken wire when it's buried
- How to repair the splice properly
- Whether to solder it, and how to seal it if you do
Check These First: It's Probably Not the Wire
Virtually every low-voltage landscape lighting system is wired in parallel from a transformer. That matters here because the only single point of failure that can take every fixture out at once is upstream of the wire run — at the transformer, timer, GFCI receptacle, or the main feeder cable from the transformer.
If only some of your lights are out, the break is downstream of where the working ones tap in — that's a wire issue. If all of them are out, work through this list before you go looking for buried damage:
- Reset the GFCI receptacle that supplies the transformer. Outdoor GFCIs trip from moisture all the time.
- Check the transformer's internal circuit breaker. Most have a small reset button on the case.
- Check the fuse if the transformer has one, and replace it if blown.
- Confirm the timer is on the right schedule. Battery-backup timers still drift after a power outage, and a dead backup battery can wipe the program entirely.
- Check the photocell if your transformer uses one — cover it with a hand or some tape during the day to see if the lights come on.
- With the transformer running, set a multimeter to AC volts and confirm 12–15V at the transformer's output terminals. No output means the transformer or its internal protection is the culprit.
Only when the transformer is putting out the right voltage and some fixtures still don't light up should you start tracing the wire run.
How To Find Broken Landscape Lighting Wire?
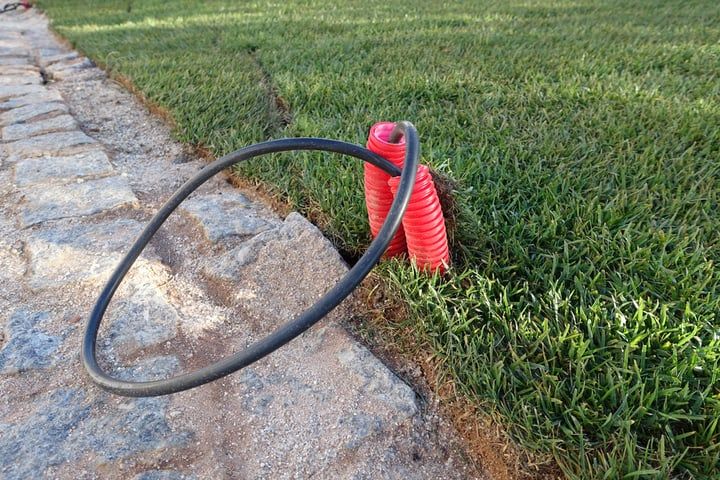
Once the transformer is ruled out, the next problem is finding the break. Most landscape lighting wire is buried, both to keep it out of sight and to protect it from mowers, edgers, and curious wildlife — so digging up the whole run is not the goal.
Start with the fixtures themselves. Note exactly which lights work and which don't. The break is somewhere between the last working fixture and the first dead one on that branch.
When you've got a broken connection on a parallel run, narrow it down with a multimeter set to DC volts (or AC if you have an AC system — check the transformer label). Probe the screw terminals at each fixture's connection point in turn. The voltage will look normal at the working lights and drop to zero somewhere along the run — that's where the break is.
If the lights on either side of the dead section are close together, locating the wire between them is straightforward. If they're far apart, you may need a wire tracer to find the location of the wire underground.
How To Repair Cut Landscape Lighting Wire?
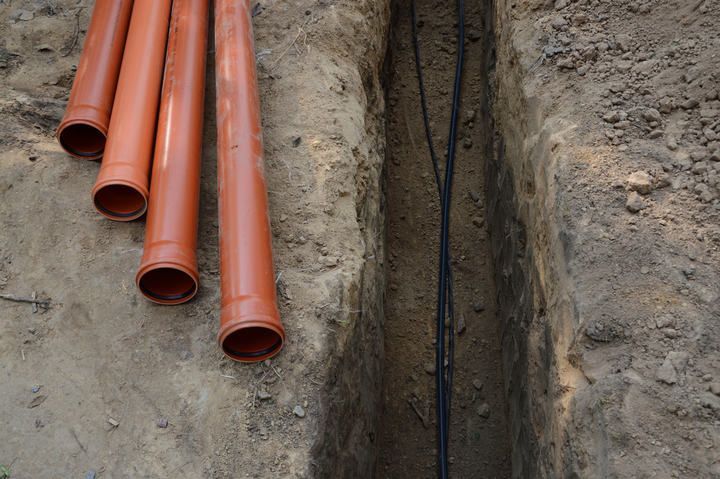
Once the break is located, the repair itself is straightforward. A typical buried-cable repair using a direct-burial-rated gel connector goes like this:
- Unplug the transformer from its outlet, or switch off the breaker feeding it. Don't rely on the timer being off — some transformers stay energized in standby.
- Cut the damaged section out completely. Wires rarely sever cleanly; cut back to wire that looks intact and undamaged on both sides.
- Strip both wire ends to expose clean copper, following the strip length on the connector packaging.
- Wipe all soil and moisture off the bare conductors. Soil trapped in a splice raises resistance and holds water against the copper, which corrodes the connection over time.
- Push the matched conductor pairs into a direct-burial gel-filled wire connector. Make sure the connector is specifically labeled "direct burial" or UL 486D wet-location rated (King Innovation DryConn is a common, NEC-compliant choice). A standard indoor wire nut wrapped in electrical tape will fail underground — sooner than you think.
- Twist the nut down until firm. The internal silicone gel should ooze out around the wire — that's how you know the joint is sealed.
- Restore power and confirm every fixture downstream of the splice is lit before you bury anything. If a fixture is still dark, probe the voltage at it — there may be a second fault to chase, or the splice itself may need redoing.
- Rebury the wire with a small loop of slack at the splice. That extra length is what gives you something to work with the next time the cable is cut by a spade or rodent.
What If The Wire Is Too Short To Splice?
Sometimes you cut back the damaged section and end up with two ends that won't reach each other — usually because the cable was originally laid taut. The fix is to drop in a short patch of new wire (same gauge as the original) and use two direct-burial connectors, one at each end. Try not to chain more than two splices in the same spot; if you keep losing length, run a fresh leg back to the nearest fixture instead.
Can I Solder Landscape Wire?
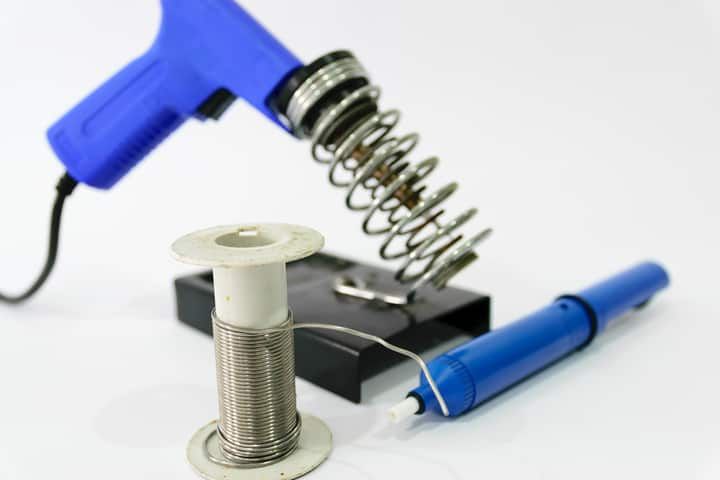
A gel-filled connector is fine for most repairs, but a soldered joint is electrically tighter — lower resistance, no chance of a loose nut backing off, no oxidation between the two conductors. If you're comfortable with a soldering iron, yes, you can solder a buried splice.
The catch is waterproofing. The joint has to be genuinely watertight, not just "wrapped well." A few layers of standard electrical tape will not survive a buried environment. Compare the realistic options:
| Method | Suitable for buried use? | Difficulty | Durability |
|---|---|---|---|
| Direct-burial gel connector (e.g., DryConn) | Yes — UL 486D, purpose-built | Easy | Excellent — many years |
| Liquid electrical tape | Above-ground only | Easy | Poor underground |
| Self-fusing silicone tape | Above-ground only | Easy | Moderate; degrades when buried |
| Adhesive-lined heat-shrink tubing | Marginal — only with multiple layers and a clean install | Moderate (needs heat gun) | Good if applied correctly |
| Solder + adhesive heat-shrink + gel connector over the top | Yes — belt and braces | Hardest | Excellent |
If you do solder, the most reliable approach is to solder the joint, slide adhesive-lined heat-shrink over it, and then drop the whole thing inside a direct-burial connector for a second seal. Tools and tapes you may want for the above-ground portion include liquid electrical tape, self-fusing silicone tape, and adhesive-lined heat shrink tubing (Amazon).
Even small added resistance from a sloppy splice contributes to voltage drop, which is a real concern in 12V systems — a 1–2V loss is a much bigger percentage of supply voltage than it would be on a 120V circuit, and it shows up as visibly dim or color-shifted fixtures at the end of the run. A clean, low-resistance connection — direct-burial connector or properly soldered and sealed — is what keeps the rest of the run looking right.
Wire Gauge Matters
Match the gauge of any new wire to what's already in the ground. Most residential low-voltage runs use 12 AWG or 14 AWG; longer runs and higher-wattage loads call for 12 AWG or even 10 AWG. Splicing a thinner wire into a thicker run creates a deliberate bottleneck — the thin section heats up and drops more voltage than the rest of the cable, leaving downstream fixtures dim. If you're not sure what's installed, strip a short section and read the gauge printed on the jacket before buying replacement wire.
Prevent Future Wire Damage
The hardest part of fixing a buried wire is finding it the first time. A few habits make the next repair (or the next round of garden work) much easier:
- Lay cable with deliberate slack and gentle loops at every fixture, never taut.
- Run cable in flexible conduit through high-risk areas — driveways, edges of beds, anywhere a spade is likely to land.
- Photograph the wire path before you backfill and keep the photos somewhere you can find them years later.
- Mark the run with paint or stakes before any digging or aerating job.
- Inspect the transformer and GFCI receptacle once a season — that's where the next failure is most likely to start.
FAQ
All my landscape lights are out — should I assume the wire is broken?
No. When every fixture is dark, the cause is almost always upstream of the wire run. Check the GFCI receptacle, the transformer's internal breaker and fuse, the timer schedule, and the photocell first. Confirm the transformer is actually putting out 12–15V at its terminals before you start digging anywhere.
Can I just use a regular wire nut and electrical tape underground?
No. Standard indoor wire nuts aren't sealed, and electrical tape isn't a long-term moisture barrier. Once buried, the splice will absorb water, corrode, and either fail open or pull voltage down across the whole run. Use a connector specifically labeled for direct burial or UL 486D wet-location use.
Can I use a voltmeter to check the lights?
Yes — a voltmeter (or a multimeter set to volts) is exactly the tool for tracing a break. Probe the terminals at each fixture; voltage will read normal at working lights and drop to zero past the break. A voltmeter measures voltage, not current, so don't expect it to show amperage.
Does this guide apply to 120V landscape lighting?
No. The methods above are for low-voltage (12V) systems only. 120V outdoor wiring is a code-regulated branch circuit, with NEC requirements for burial depth, conduit, and GFCI protection. Repairs to line-voltage cable should be done by a licensed electrician.
Will a splice cause my lights to dim?
A clean, low-resistance splice with a direct-burial connector or a soldered-and-sealed joint should be electrically invisible. A poor splice adds resistance and contributes to voltage drop, which is significant on a 12V system — even 1–2V lost across a bad joint can visibly dim fixtures further down the run.