
How To Splice Landscape Lighting Cable?
12V won't shock you — but a short across two live landscape leads can melt insulation, weld your pliers to the wire, and start a fire. Disconnect the transformer before you strip anything.
 Eugen
EugenEugen Nikolajev
Creator of LED Lighting Info
Hi, I am Eugen. I was always one of those kids who had all sorts of weird lighting gadgets for every occasion.
Now, I want to share my knowledge and experience about lighting with you on LED Lighting Info.
Read my editorial standards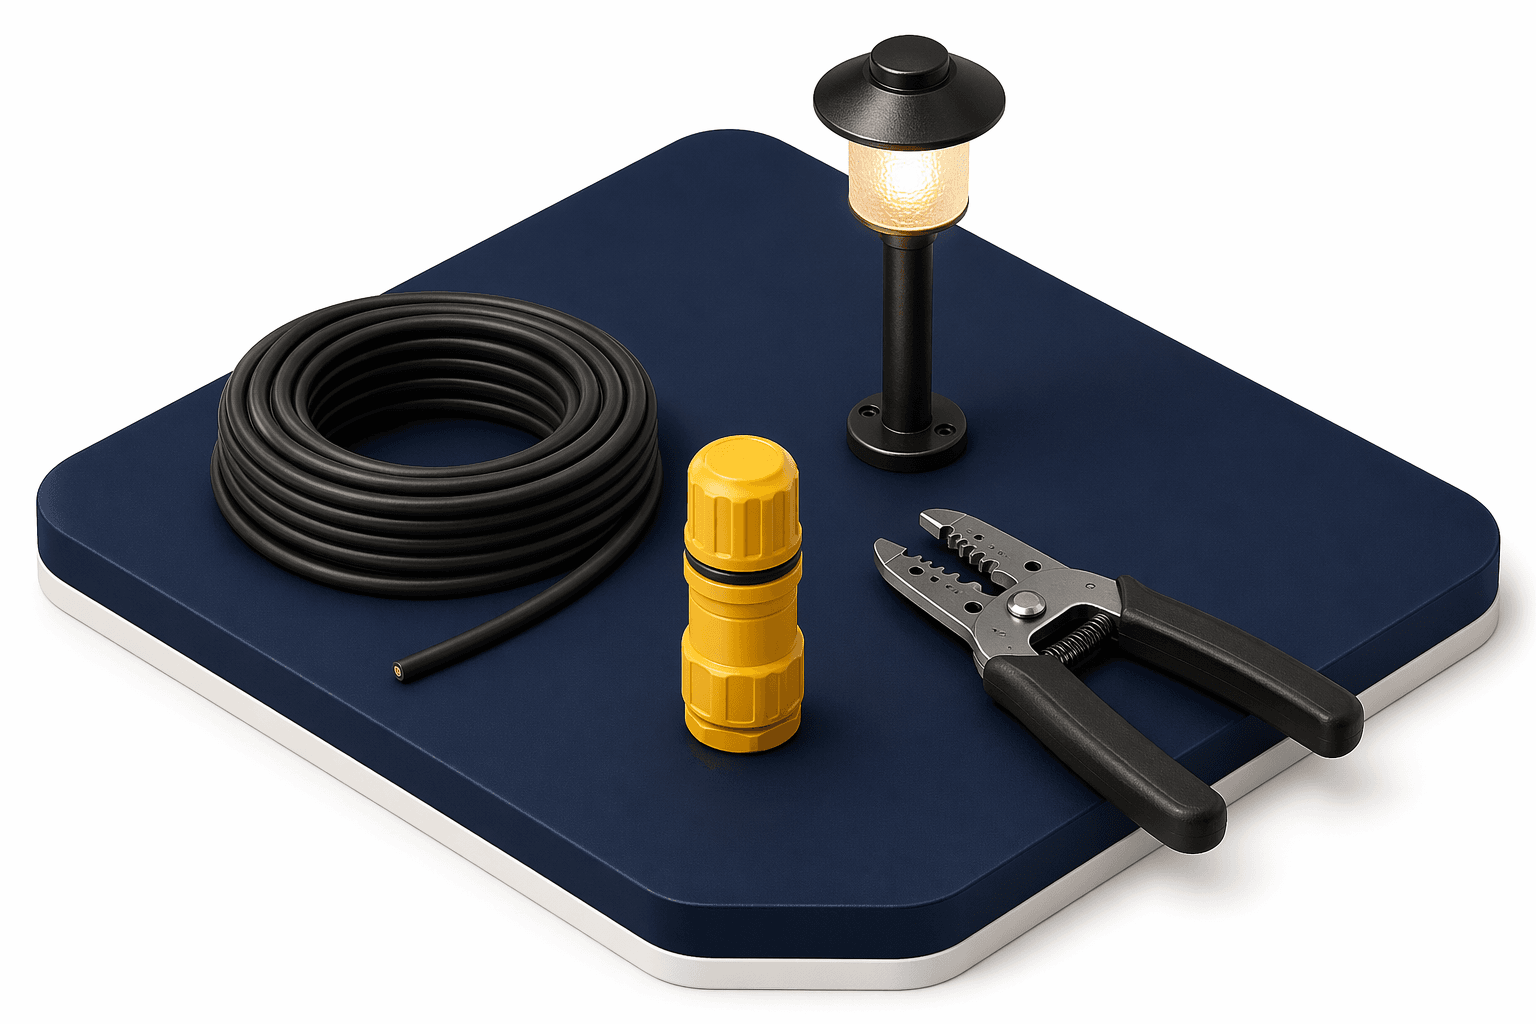
Key Takeaways
Always disconnect the transformer before splicing landscape wire — even at 12V, a short across the leads can melt insulation, damage the transformer, or start a fire. For a permanent splice, the two best options are a silicone-gel-filled direct-burial connector (DryConn, King Innovation, or equivalent) or a properly twisted joint that's then soldered and sealed inside adhesive-lined heat-shrink. If the splice itself will be buried, protect that joint with a short length of liquid-tight conduit — direct-burial-rated cable elsewhere on the run doesn't need a sleeve.
Whether you're adding new lights to your existing landscape system or re-wiring to change the circuit from series to parallel, you're likely to need to splice your outdoor wiring. The most common mistake I see is treating a low-voltage splice like a casual indoor connection — outdoor splices fail from moisture and strain in ways indoor ones never do.
Here's what's covered below:
- How to safely splice landscape lighting wire
- How to waterproof and bury the connection
- Whether to wire in parallel or series
How To Safely Splice Low Voltage Landscape Lighting Wire
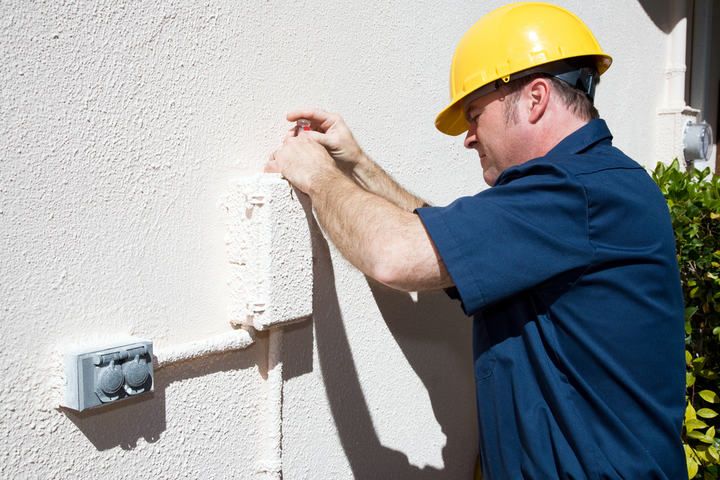
Kill Power First — Even At 12V
Before touching any wiring, disconnect the transformer at the GFCI outlet. The reason isn't shock risk — 12V is well below the threshold needed to push a hazardous current through normal skin resistance, and you can usually touch both leads of a 12V source without feeling a thing. The real hazard is what happens when those leads touch each other.
A short across two live low voltage conductors can dump enough current to melt wire insulation, weld a stripper or pliers to the wire, damage the transformer, trip the LED driver, or start a fire — and a live arc can throw molten metal at your eyes. There's no upside to leaving power connected, so disconnect at the outlet before stripping anything.
Check Your Wire Gauge And Transformer Capacity First
Most landscape lighting cable is 12 AWG, 14 AWG, or 16 AWG. Heavier gauge (lower number) carries more current with less voltage drop, which matters more on long runs. If you're extending an existing run with extra fixtures, match the existing gauge — or step up to 12 AWG if the new section is long. Splicing different gauges is fine for short additions, but mixing thin wire into a long heavy-gauge run will pinch the current at the splice.
Adding fixtures by splicing in new cable also adds load. Total the wattage of every fixture on the transformer (including the new ones) and compare it to the transformer's rated output. Stay under 80% of rated capacity to leave headroom and avoid premature failure — a 300W transformer should run no more than about 240W of fixtures.
AC vs. DC Low Voltage
Most modern systems run on 12V AC from a magnetic transformer or 12V DC from an LED driver. The splicing methods below work for both, but AC isn't polarity-sensitive while DC usually is — match the polarity markings (often a ridge, stripe, or printed text on one conductor) when joining a DC run, or fixtures further down the run won't light.
Solder vs. Sealed Wire Connector
There are two splicing methods that hold up outdoors: a soldered joint inside adhesive-lined heat-shrink, or a silicone-gel-filled wire connector rated for direct burial. Both are professional-grade — the choice depends on whether you'd rather optimize for permanence or for being able to undo the joint later.
| Solder + Heat-Shrink | Sealed Wire Connector (Gel-Filled) | |
|---|---|---|
| Best for | Permanent splices in long cable runs | Fixture connections; quick splices; future-you-friendly |
| Waterproofing | Excellent with adhesive-lined tubing | UL-listed for direct burial; gel excludes moisture |
| Removability | Difficult — must cut and re-splice | Easy — twist off and reuse |
| Current reliability | Excellent | Excellent (metal-to-metal contact under spring pressure before gel is applied) |
| Skill required | Moderate — NEC 110.14(B) requires the joint be mechanically secure before solder is applied | Low |
| Tools needed | Soldering iron, solder, heat gun, strippers | Strippers and pliers |
The old idea that wire connectors carry current less reliably than solder isn't true for a properly made connector. Inside a quality wire nut or DryConn-style connector, the conductors are squeezed into direct metal-to-metal contact by the spring or the twisted shells before any sealant is involved — the gel only fills the surrounding void to keep moisture out. The real failure mode of low-voltage outdoor connectors is moisture ingress and corrosion in cheap, unsealed nuts, not the gel itself.
How To Solder A Landscape Lighting Splice
If you're going the soldered route, the joint must be mechanically and electrically secure before any solder is applied — that's NEC 110.14(B). Solder alone isn't a code-compliant joint; it's the seal on top of a proper connection. Here's the sequence:
- With power disconnected, slide a length of adhesive-lined heat-shrink tubing onto one of the wires before stripping. You can't add it later once the splice is made.
- Strip about 3/4 inch of insulation from each conductor.
- Twist the strands of each conductor tightly so no whiskers stick out.
- Join the wires with a Western Union splice — wrap each stripped end around the other in tight coils so the joint can hold tension on its own. This is what satisfies the "mechanically secure" requirement.
- Heat the splice with a soldering iron and feed solder into the joint until it wicks all the way through the wires. Don't melt solder onto the iron — let the wire's own heat draw it in. That's how you get a solid bond instead of a cold joint.
- Let the joint cool completely, then slide the heat-shrink over it and shrink with a heat gun. The adhesive lining will melt and seal the ends as the tubing closes down.
A Note On Code-Listed Connectors For Buried Splices
Some jurisdictions require a UL-listed direct-burial splice enclosure for buried connections. DryConn, King Innovation, and 3M DBR/Y connectors are all listed for the application — a soldered-and-shrunk joint isn't always considered "listed" for direct burial on its own, even though it works well in practice. If you're not sure, check your local electrical code or use a listed connector.
How To Waterproof The Connection
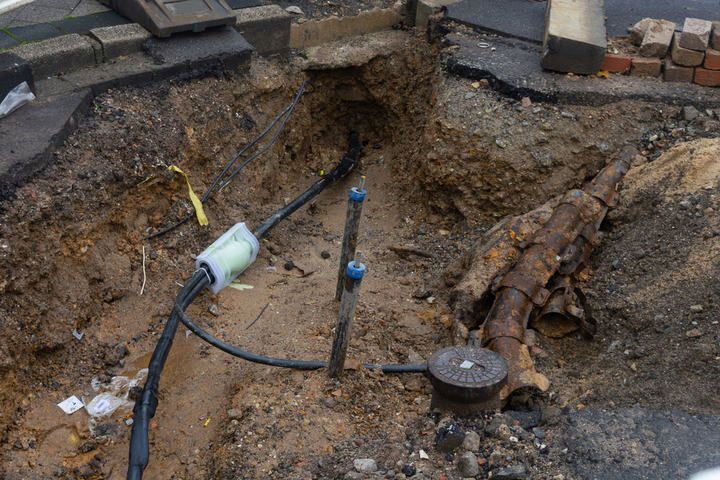
Outdoor splices fail because of moisture, soil contact, and weather exposure. Here are the waterproofing options ranked by how well they hold up:
- Adhesive-lined heat-shrink tubing — the most reliable seal for a soldered or twisted joint. The hot-melt adhesive flows into the conductor strands as the tubing shrinks, locking out moisture for years. Use this as the primary seal on any soldered splice. Adhesive-lined kits are inexpensive on Amazon.
- Silicone-gel-filled connectors — UL-listed for direct burial. The internal twist or push-in connection sits in metal-to-metal contact and the gel surrounds it to exclude water. Use these instead of soldering when you want the splice to be reusable.
- Self-fusing silicone tape — stretches and bonds to itself with no adhesive. Useful as a backup wrap over heat-shrink, or for above-ground splices that won't sit in soil. Not enough on its own for a buried splice. (example product on Amazon.)
- Liquid electrical tape — paint-on rubber coating. Quick for above-ground touch-ups but degrades faster outdoors than the options above. Use as a backup, not a primary seal. (example product on Amazon.)
Burying The Splice
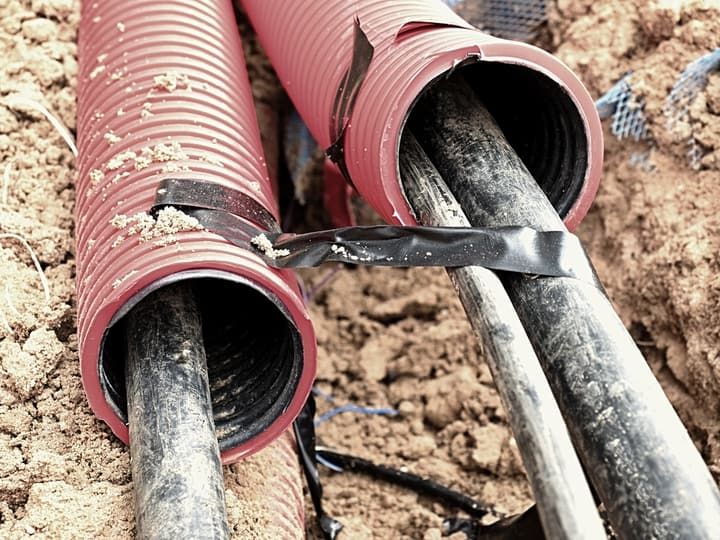
Most landscape lighting cable is rated for direct burial, so you don't need to sleeve the run itself. NEC Table 300.5 requires low-voltage (≤30V) cable to be buried at least 6 inches deep.
A splice, however, is the weakest point on the run — frost heave, root pressure, and shovel strikes all concentrate there. Protect it with adhesive-lined heat-shrink (or a gel-filled connector), then run that section through a short length of liquid-tight conduit (Amazon) for strain relief. The conduit doesn't need to cover the whole cable — just the spliced section.
Should You Splice Wire In Parallel Or In Series?
A series circuit runs all fixtures on one continuous loop, so current passes through each one before reaching the next. A parallel circuit gives every fixture its own independent path back to the transformer. For landscape lighting, parallel is almost always the right answer. Two reasons:
1. One Failed Fixture Doesn't Take Down The Run
On a series circuit, a single blown bulb breaks the loop and every light on it goes dark. On a parallel circuit, only the failed fixture stops working — every other light keeps operating at full brightness, because each one has its own independent path back to the transformer. That's the main reliability advantage of parallel wiring.
2. Parallel Wiring Splits The Voltage Drop
Every component in a circuit — including the wire itself — has resistance, and that resistance causes voltage to drop along the run. On a 120V interior circuit, a small drop barely registers. On a 12V low-voltage system, that same drop is a much larger percentage of total voltage.
Industry guidance is to keep voltage drop within 10% of rated voltage. On a 12V system that's a maximum of 1.2V — fixtures should still see at least 10.8V at the far end of the run. A drop of more than ~1.2V will visibly dim fixtures and shorten LED life. Splitting the run into parallel branches divides the load between branches, which divides the drop.
Worked example: Say each fixture on a 12V run causes 0.2V of drop. Ten fixtures on a single series-wired branch produces 2V total drop — well over the 1.2V budget, and the lights at the end will look noticeably dimmer. Split that run into two parallel branches of five fixtures each, and each branch only drops ~1V. Both branches now sit inside the 10% budget.
Quick Recap: Splicing Landscape Wire The Right Way
- Disconnect the transformer first. 12V can't shock you, but a short across two live leads can melt insulation, damage the transformer, and start fires.
- Use a code-rated joint. Either a silicone-gel-filled direct-burial connector (DryConn, King Innovation) or a Western-Union-twisted joint that's soldered and sealed inside adhesive-lined heat-shrink. Both are professional-grade. Gel-filled is faster and reusable; soldered is more permanent.
- Wire in parallel and respect the voltage budget. Keep total drop under 1.2V (10%) to the farthest fixture, match the existing wire gauge, and stay under 80% of the transformer's rated wattage. If the splice will be buried, sleeve just the splice in liquid-tight conduit — direct-burial cable doesn't need a sleeve along the rest of the run.