
How To Waterproof Landscape Lighting Connectors?
That tube of bathroom silicone in your drawer releases acetic acid as it cures — enough to corrode the copper splice it's sealing. The label you actually want says "alkoxy" or "electronics-grade."
 Eugen
EugenEugen Nikolajev
Creator of LED Lighting Info
Hi, I am Eugen. I was always one of those kids who had all sorts of weird lighting gadgets for every occasion.
Now, I want to share my knowledge and experience about lighting with you on LED Lighting Info.
Read my editorial standards
Key Takeaways
Exposed connectors let moisture into the circuit, which causes corrosion, leakage current, and eventually open circuits or blown transformer fuses. You can waterproof connections yourself using sealant or adhesive-lined heat shrink, but for most installations the easier path is to buy connectors that are pre-sealed for direct burial.
Connection points are the weakest link in any landscape lighting circuit, and in my experience troubleshooting failed runs, that's exactly where almost every reliability problem starts. A buried splice that wasn't sealed properly will fail within a couple of seasons — usually quietly, with creeping corrosion eating the copper until the run goes dark.
This guide focuses on standard 12V low-voltage landscape lighting, which is what most residential systems use. The same principles apply to 120V line-voltage path or wall lighting, but a poorly sealed line-voltage connection is a serious shock and fire hazard — anything beyond a basic splice on 120V circuits should be done by a licensed electrician inside a watertight junction box.
Why Waterproofing Connections Matters

Landscape cable is heavily insulated and weatherproof along its length, but the moment you splice into it, you create a vulnerable spot. If moisture gets into a connection, it provides a path for current to leak between the two conductors. At low-voltage landscape lighting voltages, the failure modes aren't dramatic arcing — they're slower and sneakier:
- Galvanic corrosion eats away the exposed copper conductor over months or years.
- Leakage current between the two wires can blow the transformer's fuse or trip a GFCI.
- If overheating happens at a connection point, the resulting current surge can damage downstream lights or the transformer itself.
Once moisture works its way into the cable through a bad connection, it has nowhere to escape. The same waterproof jacket that protects the wire on a sunny day also traps water inside on a rainy one, and the corrosion just keeps marching down the conductor.
So, to protect the safety and durability of your landscape lighting setup, sealing those connections properly is non-negotiable.
How To Waterproof a Soldered Splice
If you're soldering the connection yourself, the entire bare-metal joint needs to be sealed. Two approaches work well:
Adhesive-lined heat shrink
- Switch off the transformer before working on the cable.
- Slide a length of adhesive-lined heat-shrink tubing (also called dual-wall heat shrink) onto one of the wires before you twist or solder. Plain heat shrink without the inner glue layer is not waterproof.
- Strip, twist, and solder the joint.
- Center the tubing over the splice and shrink it with a heat gun — not a lighter. A heat gun applies even heat all the way around; an open flame scorches one side and undercures the rest. Keep heating until you see the inner adhesive ooze out at both ends. That bead of glue is the waterproof seal.
- Let it cool fully before tugging on the joint.
Self-fusing silicone tape
- Power off the circuit and complete your splice.
- Start wrapping self-fusing silicone tape an inch or two before the splice and stretch it as you wrap. Stretching is what activates the self-fusing layer — wrapping it loose is the most common application mistake and gives you a tape that just unravels.
- Overlap each wrap by half its width and finish an inch past the other side of the splice.
- Within a few minutes the wraps fuse into a single watertight rubber sleeve. There's no adhesive residue, so you can cut it off cleanly later if you ever need to redo the joint.
If soldering isn't your thing, skip ahead to wire nuts or pre-sealed connectors below.
How To Waterproof Wire Nuts
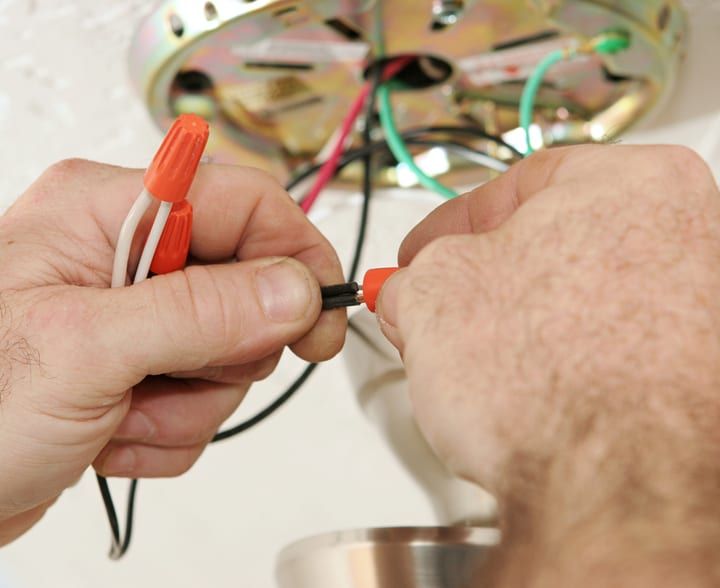
Wire nuts are one of the simplest ways to join two wires. Insert the stripped ends, twist the cap clockwise, and a tapered metal coil spring inside the plastic shell threads itself onto the conductors and pulls them tight. Done correctly, the joint won't come apart without serious force.
Standard wire nuts aren't waterproof on their own, so for outdoor use you'll need to fill the cap with RTV silicone sealant before twisting it on. This is where most DIYers get tripped up: not all silicone is wire-friendly, and the wrong tube can quietly destroy your splice.
Acetoxy-cure silicone — avoid for wire connections
Acetoxy-cure silicone is the kitchen-and-bathroom standard. It's the one with the strong vinegar smell when you open the tube, because it releases acetic acid as it cures. That acid attacks copper, brass, aluminum, and electronic components during the 24-hour cure window. Once fully cured, the silicone itself is inert and stable — but the corrosion damage to the metal underneath is already done. Don't use this product on any electrical connection.
Neutral-cure silicone — read the label
"Neutral-cure" is an umbrella term that covers two different chemistries:
- Alkoxy-cure — releases small amounts of methanol or ethanol while curing. This is the metal-friendly option and the one you want. Tubes labeled "electronics-grade" silicone are almost always alkoxy.
- Oxime-cure — releases methyl ethyl ketoxime. It's still labelled "neutral" and sits right next to alkoxy on the shelf, but it can cause localized corrosion on copper, brass, and galvanized metals. Avoid it for wire splices.
Read the back of the tube before you buy. Look for the words "alkoxy" or "electronics-grade." If it just says "neutral-cure" with no further detail, treat it as suspect.
Understanding IP Ratings
Pre-made waterproof connectors are sold with an IP (Ingress Protection) rating, and that two-digit number tells you exactly what the housing will survive. The first digit is dust resistance; the second is water resistance. For landscape lighting, the second digit is what matters:
- IP65 — withstands water jets from any direction. Fine for above-ground, surface-mounted connections under a fixture.
- IP67 — dust-tight and survives temporary immersion in up to 1 meter of water for 30 minutes. Suitable for connections that will sit in mulch or occasional puddles.
- IP68 — rated for continuous submersion. This is the minimum for buried connectors, and the only rating you should consider for splices near ponds, fountains, or other water features.
For buried connections, also check that the connector is specifically marked "direct burial" or UL-listed for wet locations. The IP rating tells you about water ingress; the direct-burial label tells you the housing won't degrade from soil chemistry over time.
Best Pre-Sealed Waterproof Connectors
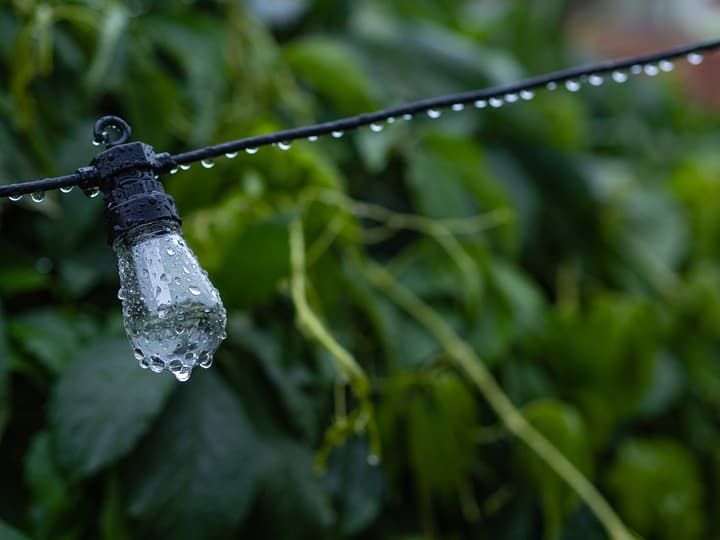
If you'd rather skip the silicone and heat gun, pre-sealed connectors are good to go straight out of the bag. Two styles dominate the landscape lighting market: piercing (vampire) connectors and gel-filled waterproof wire nuts.
| Feature | Piercing (Vampire) Connectors | Waterproof Wire Nuts |
|---|---|---|
| Wire prep | None — clamps over insulation | Strip both ends |
| Mid-run tapping | Yes — tap a fixture anywhere on the main run | No — splice ends only |
| Seal reliability | Moderate; degrades over time | High; gel-filled and stable |
| Long-term contact | Can loosen as prongs work the puncture wider | Mechanically tight twisted joint |
| Best for | Long runs with multiple fixture taps | End-to-end splices and fixture leads |
Piercing (vampire) connectors
Piercing connectors — also called vampire, IDC, tap, or fastlock connectors — work by puncturing the insulation of the main cable. Lay the unbroken main wire into the base of the connector, then snap or screw the cap closed. Small metal prongs (the "vampire teeth") puncture the jacket and bite into the copper conductor inside. The fixture lead you're tapping in goes into the other side of the connector and is gripped the same way.
These are popular because you don't have to cut and rejoin the main cable for every fixture — just clamp a connector wherever a light branches off. Look for products rated IP67 or higher and compatible with the wire gauge in your run, typically 12–16 AWG for residential 12V landscape lighting.
The trade-off: every prong creates a permanent hole in the jacket. Over years of thermal cycling and ground movement, the puncture can widen and let moisture creep in around the contact. For high-traffic or buried runs where reliability matters more than convenience, gel-filled wire nuts are the safer call.
Don't confuse piercing connectors with true push-in connectors like Wago lever-nuts. Push-in connectors require the wire ends to be stripped and inserted into a spring-clamp terminal — no piercing, and unless the housing is specifically rated for wet locations, they aren't intended for outdoor splices.
Browse a typical set of piercing landscape connectors on Amazon to see what's available.
Waterproof (gel-filled) wire nuts
These are wire nuts pre-filled with a silicone or dielectric gel. Strip both wire ends, twist them into the cap, and the gel displaces around the copper to seal out moisture. Mechanically the joint is identical to any wire nut splice — just with the waterproofing built in, so you skip the silicone-tube step entirely.
When shopping, look for direct-burial-rated products with an IP68 rating and a wire-gauge range that covers your main run and your fixture leads (often 12–18 AWG combined).
Buried vs. Above-Ground Connections
Not every connection needs the same protection. Match the method to where the splice will live:
- Above-ground, sheltered (under a fixture cap or covered eave): IP65 piercing connectors or alkoxy-sealed wire nuts are fine.
- Surface-laid in mulch or groundcover: Step up to IP67 connectors or gel-filled waterproof wire nuts.
- Buried, near sprinklers, or near water features: Use only IP68, direct-burial-rated connectors. For added safety on critical splices, double up by using a gel-filled wire nut inside an additional waterproof junction box.
Final Words
Whenever you're installing a landscape lighting setup or extending an existing one, waterproofing the connections deserves more attention than the fixtures themselves — they're what fail first.
My rule of thumb: if a splice is going to be touched by sprinklers or buried in soil, use a pre-sealed IP68 connector and don't overthink it. Reserve heat shrink and silicone tape for soldered repairs above ground, where you can inspect the work later. And if you're reaching for silicone, double-check the tube says "alkoxy" or "electronics-grade" before it touches a single strand of copper.