
How to Stick LED Strip Lights On The Wall: Step By Step Guide
That adhesive backing on your new LED strip probably isn't real 3M — it's generic double-sided tape, and that distinction explains most failed installs before they happen.
 Eugen
EugenEugen Nikolajev
Creator of LED Lighting Info
Hi, I am Eugen. I was always one of those kids who had all sorts of weird lighting gadgets for every occasion.
Now, I want to share my knowledge and experience about lighting with you on LED Lighting Info.
Read my editorial standards
Key Takeaways
When hanging LED strip lights on the wall, you need to:
- Prepare the wall so it's clean and free of debris
- Measure and cut your LED strips to size
- Peel the adhesive and hang the LED strip lighting bit-by-bit
- Or, use an alternative adhesive and stick the strip lights to that, and then to the wall
LED strip lights are one of the most flexible ways to light a room – but only if they actually stay stuck to the wall. This guide covers the full mounting process, the best adhesives for the job, what to do when strips fall off, and adhesive-free alternatives when you can't (or don't want to) use the factory tape.
In this guide, I'll explain:
- How to stick LED strip lights on wall without damaging it
- How to make sure they stick to the walls
- Resticking strip lights where they've fallen or dropped
- Alternative options to stick LED strip lights
How To Stick LED Strip Lights On A Wall Without Damaging Paint
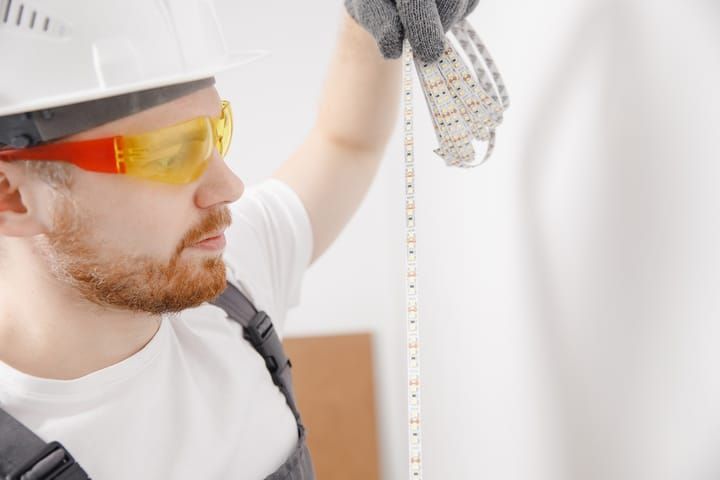
Here's how to stick LED strip lights on a painted wall:
Step #1: Measure
The first thing you need to do is measure the area you want to adhere the lights to. Use a ruler or tape measure for this. No guesstimates.
Don't forget to identify your power source first. Otherwise you might be running too short and have to restick the strip.
Step #2: Cut to Size
If necessary, cut your LED strip down to the correct size. Use a sharp knife or pair of scissors for this.
Only cut at the designated cutting lines. Severing your strip in the wrong place can damage the circuitry and prevent some of the LEDs from working.
Step #3: Prepare your Surface
The adhesive backing on LED strips performs best on smooth, clean surfaces. If grease or dust gets in the way, the connection between the adhesive and the surface is limited and they can't form a strong bond.
To minimize this, dampen a cloth with warm water and rub back and forth on the surface. Once you're satisfied, dry the area with a lint-free rag or paper towel. For tougher dust or oils, isopropyl alcohol on a clean cloth is even more effective and dries without residue.
You need to be careful, because you don't want to rub the paint away. Make sure it isn't a freshly-painted wall, and be gentle when cleaning. Don't use abrasive cleaners that could strip the paint.
Step #4: Peel off the Adhesive Backing
Starting at one end of the strip, peel off the plastic sticker to reveal the adhesive backing. To prevent dust or debris in the air from sticking to the adhesive, only peel a little at a time.
Step #5: Position and Press
Position the LED strip in the correct place and use your hand to press it onto the surface. Continue to peel, position, and press until the entire length is stuck down. Take your time with this.
Step #6: Test Your Lights
Plug the connector cable into your power supply and turn the strip on. Check for even illumination along the full length, look for any dark or flickering segments that might indicate a damaged solder joint, and run your fingers along the strip to confirm it's sitting flat against the wall with no air bubbles or lifting at the ends.
Can I Place The Strip Lights On Freshly Painted Wall?
LED strip lights are most likely to damage paint that hasn't fully cured yet, or really old paint that's losing its bond to the wall.
Although fresh paint may feel touch-dry within hours, full cure takes much longer – and how long depends on the paint type. Latex (water-based) paints typically take 3–4 weeks to fully cure, while oil-based paints feel dry more slowly but reach full cure in roughly 1–2 weeks. Wait until the paint is fully cured – not just touch-dry – before applying any adhesive.
If you apply LED strips to a newly painted wall, the paint underneath hasn't reached its full bond strength yet – so when the strip is later removed, the tape can pull the still-soft paint film cleanly off the wall, leaving a bare patch.
If you're considering repainting, I'd suggest using latex paint. It has a more resistant surface and is easy to wipe down – a useful property for landlords or anyone who wants stains and marks to come off without taking the paint with them.
Best Adhesive For LED Strip Lights
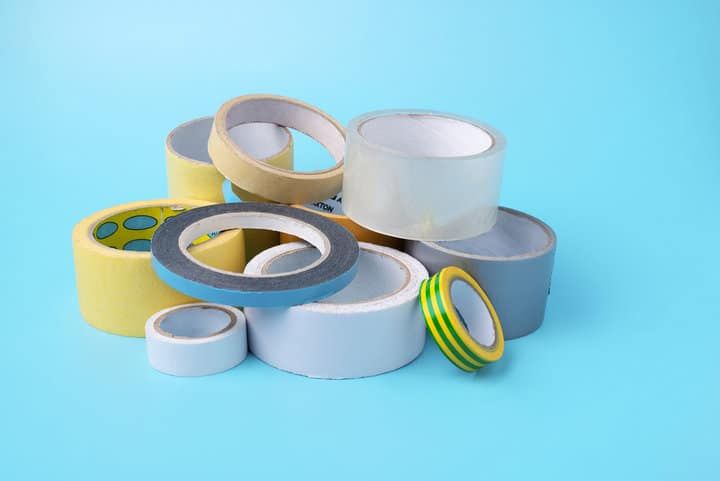
There are six main mounting options for LED strip lights, and the right choice depends on your surface, how permanent you want the install to be, and how much weight the strip carries.
| Adhesive Type | Strength | Best Surface | Removable? | Risk to Paint? |
|---|---|---|---|---|
| Pre-applied factory tape | Medium-High | Smooth, flat | No | Yes (on old paint) |
| 3M VHB tape | Very High | Smooth, demanding installs | No | Yes (very high) |
| Command Strips | Medium | Textured, rentals | Yes (clean removal) | Low |
| Mounting Putty (Blu-Tack, UHU Tac) | Low | Any (short, light runs) | Yes | Very Low |
| Hot Glue (low-temp only) | Medium-High | Any | No | Moderate |
| Mounting Brackets / Clips | Very High | Any (with drill) | Yes | Requires holes |
The factory-applied adhesive on most LED strips is a generic double-sided tape – sometimes branded 3M, often not – and quality varies a lot between manufacturers. It's convenient, but it's not the same product as 3M VHB (Very High Bond) acrylic foam tape, which is sold separately and is genuinely a gold-standard mounting adhesive: stronger, more weather-resistant, and rated for a wider temperature range. If you want a long-lasting hold – especially in warm, humid, or vertical/face-down installations – replacing the factory tape with 3M VHB is a clear upgrade.
Command strips are another semi-permanent option. They aren't as strong as VHB tape, but they're better on textured surfaces and they won't leave a mark when removed. Stick a command strip every few inches discreetly behind the strip light, then pull the tab to release them later.
For difficult surfaces – painted brick, glossy tile, raw wood – an adhesion promoter like 3M Adhesion Promoter 111 wiped on the surface before applying the tape can dramatically improve grip. It's a thin priming layer that helps adhesives bite into substrates they'd otherwise slide off.
How To Stick LED Strip Lights On Wall Without Adhesives
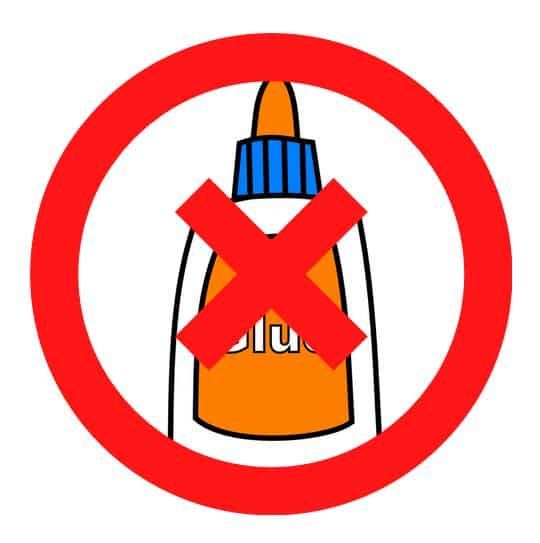
There are a number of options if you want to avoid using adhesives to mount your strip lights. While most LED strips come with adhesive already attached, you don't have to peel it. You could instead use:
- Mounting putty
- Cable ties
- Command hooks
- Staples
How To Stick LED Strip Lights With Mounting Putty
Use your hands to mold a strip of putty to the desired shape and then push it onto the back of your LEDs. The strip can then be stuck to the designated surface.
Putty is the weakest option, but it's versatile, and unlike tape it leaves no residue at all when removed. Common brands include Blu-Tack, UHU Tac, and Loctite Fun-Tak – they all serve the same purpose.
How To Stick LED Strip Lights With Cable Ties
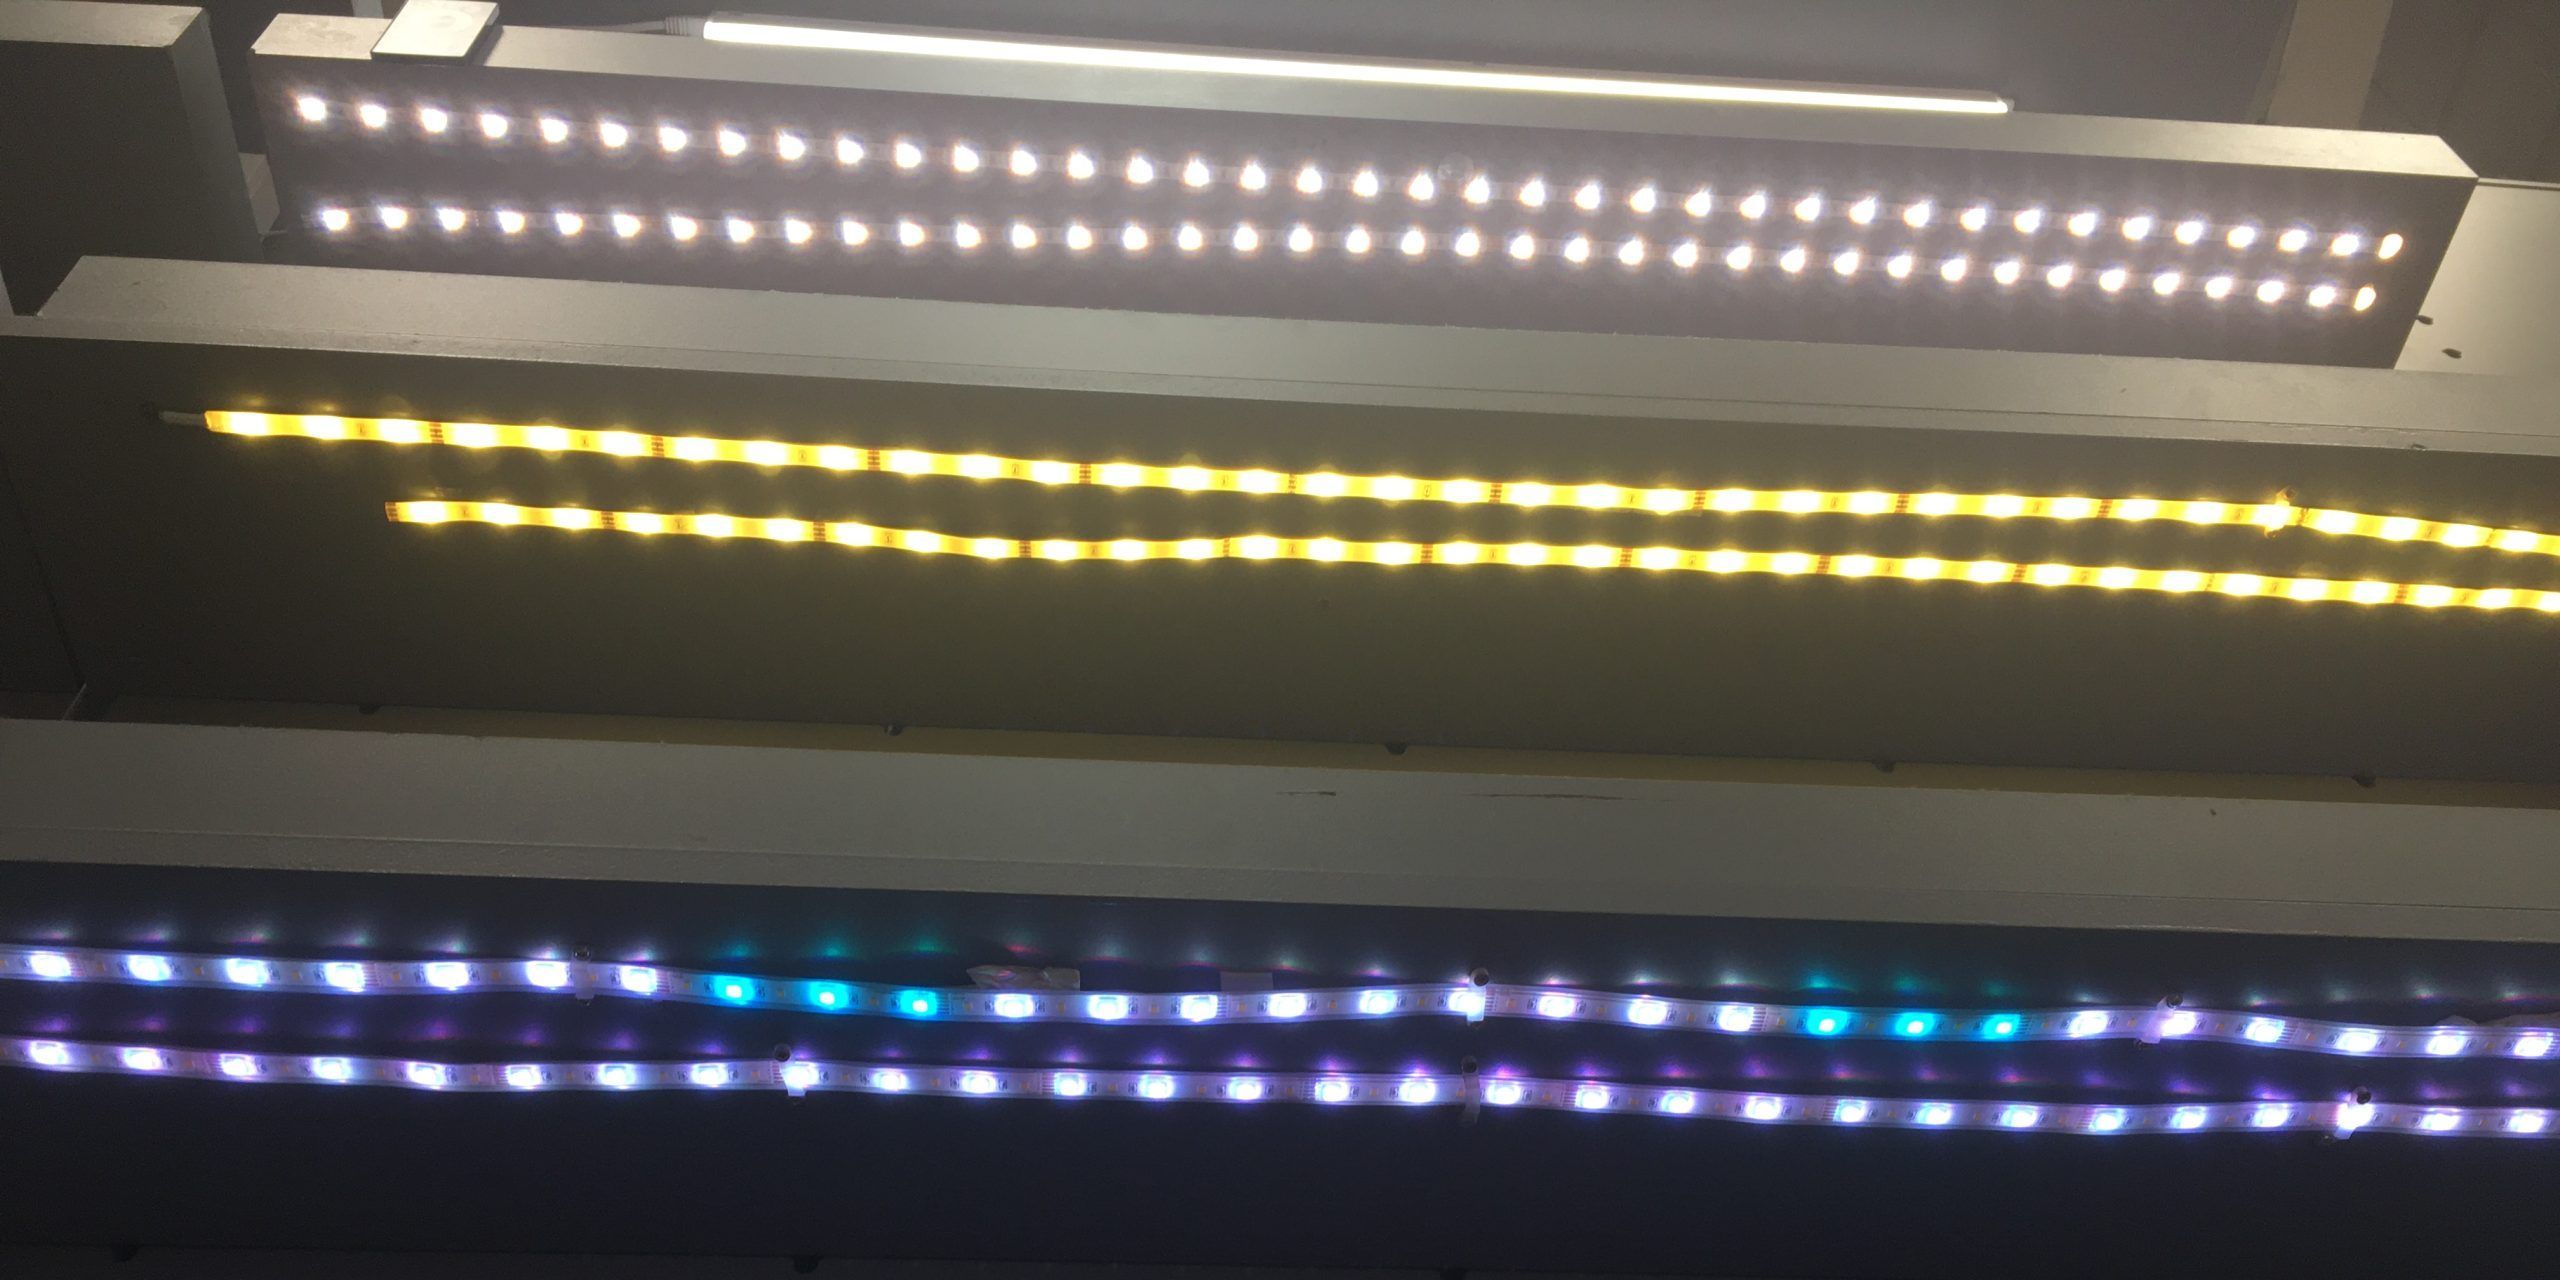
You can use cable ties to affix your LED strips to an object. Just wrap the cable tie around the light strip and the surface you're connecting it to.
Understandably, this doesn't apply to all scenarios – cable ties can't be wrapped around your kitchen cupboards. They can, however, be fixed to a stairway banister or similar railing.
Use clear ties to avoid disrupting the LED's light output; the example of how not to do it is in the image above. Lesson learned.
How To Stick LED Strip Lights With Command Hooks
Command hooks are like a less discreet version of command strips. To install them, peel the back from the hook, place it against the wall, and sit the LED strip in the hook. You could also stick the hooks to the light strip and then hook it onto a suitable surface.
Command hooks are great for hanging all kinds of materials, but they aren't the best solution for installing LED light strips. The hooks tend to be too loose to keep the strip taut against the surface.
While you can stick the command hooks to the strip itself, you then need a surface with holes that you can hook it onto. For most installs, command strips give a much neater finish.
Can You Staple LED Strip Lights?
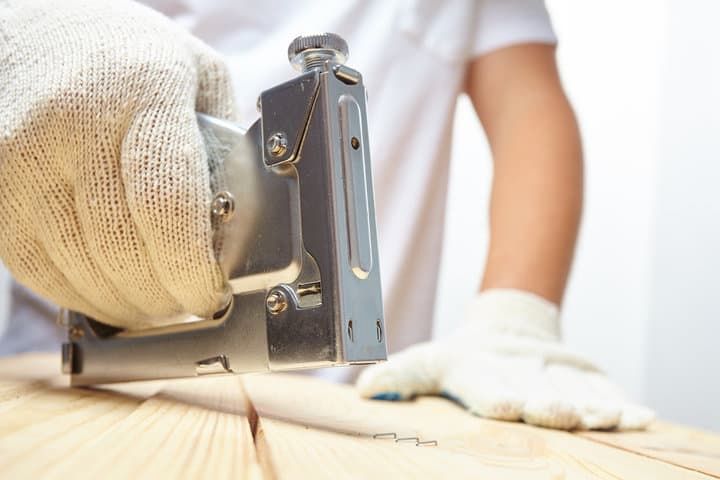
If your staples are wide enough to fit over the LEDs like an archway, there should be no problems. But if your staples are narrower and have to pierce through the LED strip, there's a chance you could damage the inside circuitry and stop some of the lights from working.
The answer depends on your staples' width compared to the width of your lights.
Instead, you can use specially designed mounting brackets for strips, just like this one from Amazon. The only downside is that you need to drill the hole, so brackets work well if you plan to have your light strips mounted permanently.
How To Restick LED Strip Lights
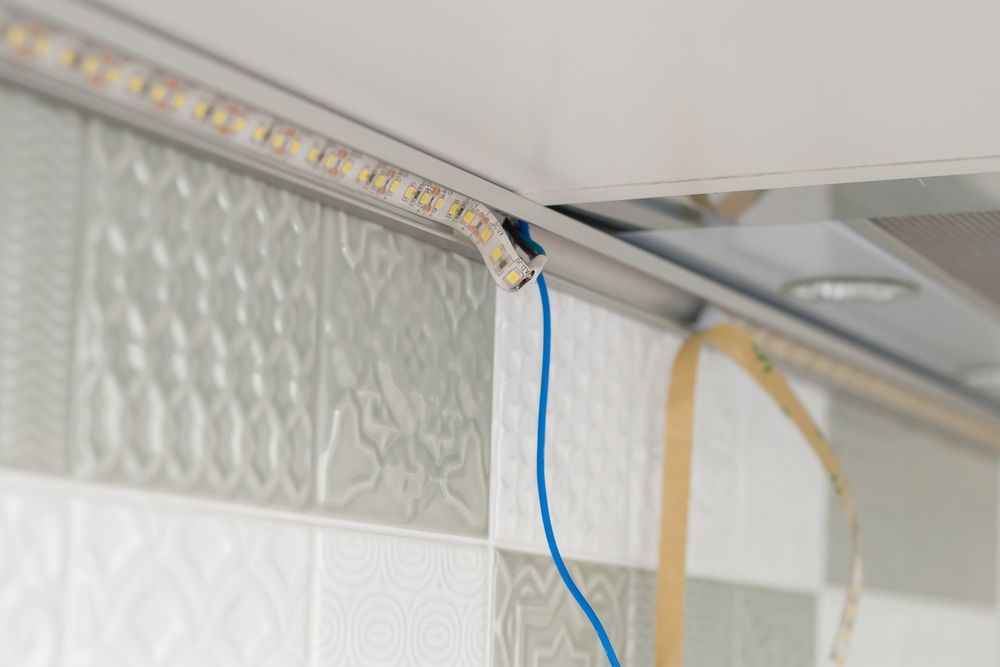
The adhesive isn't reusable – once it has formed a bond with one surface, it will be difficult to form another strong bond with a different surface. If you want to restick LED strips, you'll need to reapply new adhesive to the strip first.
If you're just trying to restick a section of strip lights that have fallen, it's up to you whether to pull down the entire strip or focus on the patch that's lost its stickiness. Either way, the first step is removing the old adhesive.
Soak a lint-free rag with isopropyl alcohol (90% or higher) and gently rub the back of the strip until the residue lifts. IPA dissolves adhesive without attacking the silicone or PU coating, the PCB solder mask, or the printed labeling on the strip – issues that more aggressive solvents can cause. Goof Off or a citrus-based cleaner work as alternatives, but avoid acetone (it can cloud or craze plastic housings) and avoid WD-40 (it leaves an oily film that prevents new adhesive from bonding).
Test on a small, hidden section of the strip first, work in a ventilated area, and don't oversaturate – solvent seeping into the LEDs can damage the circuitry.
From here, you can select a new adhesive. Good options include 3M VHB tape, extra-strong double-sided tape, command strips, glue dots, or adhesive clips.
How To Keep LED Light Strips From Falling Off The Wall
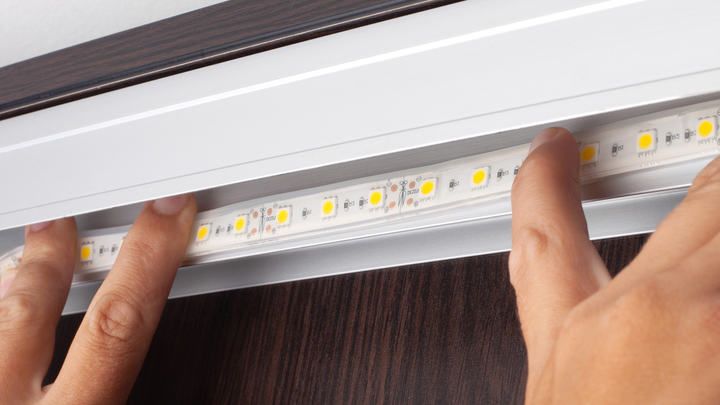
LED strip lights fall or peel off walls when the adhesive can't form a proper bond. The causes split into two groups: surface issues and environment issues.
Surface-Related Causes
The factory tape is designed for flat, smooth, clean surfaces, where the adhesive can make full contact. It struggles with surfaces that are:
- Rough or textured
- Bumpy or uneven
- Dusty or greasy
- Painted with old, chalky, or peeling paint
If your surface is uneven, you have a few options: double up on adhesive (a second layer of VHB tape so the foam compresses to fill gaps), wipe the surface with isopropyl alcohol to strip dust and oils, or apply an adhesion promoter like 3M Promoter 111 to help the tape bite into difficult substrates such as painted brick, raw wood, or glossy tile.
Long runs and heavier strips put extra strain on the adhesive – especially when oriented vertically or face-down. Strips longer than about 5 metres, or thicker IP65/IP67 silicone-coated strips, often need mechanical support clips or an aluminium channel every 30–50 cm to take load off the tape.
Corner installations are another common failure point. Most flexible strips can wrap around an inside corner with a tight bend, but the tape underneath bunches and the strip lifts within days. The cleaner fix is to cut the strip at a designated cut line and rejoin the two segments with a corner connector or a short solder bridge – that lets each side sit flat against its own surface.
Humidity and Heat-Related Causes
Adhesives also struggle in humid or moist environments. Excess heat from the strip combined with humidity softens the adhesive and weakens the bond over time.
To help:
- Dry the wall thoroughly before applying the strip
- Run a dehumidifier or improve general air circulation in the room
- Avoid placing strips directly in front of an AC vent – temperature swings and condensation can make adhesion worse, not better
Gravity is the other environmental factor. Strips fall more often when mounted on their sides or face-down. If you can't install pointing upward, mounting clips or an aluminium channel will take the load off the tape.
FAQ
Can You Use Super Glue On LED Strip Lights?
It's not a great choice. Super glue (cyanoacrylate) bonds poorly to certain low-surface-energy plastics – polyethylene, polypropylene, and PTFE – without a primer, and many LED strip housings are made from these plastics. Even where it does bond, the rigid cured joint is brittle and tends to crack as the flexible strip flexes or expands with heat. Super glue should also never be applied near cotton, wool, or similar natural fibers – cyanoacrylate reacts exothermically with them and can release enough heat to cause burns or even ignite the fabric. If your strip's factory adhesive has failed, use 3M VHB tape, command strips, or mounting clips from the Best Adhesive section above – not super glue.
Can You Use Hot Glue On LED Strip Lights?
Hot glue doesn't have the cyanoacrylate compatibility issues that super glue has, but heat is a real risk and shouldn't be brushed off. Standard high-temp glue guns dispense glue at around 380°F (190°C), while typical flexible LED strips are only rated to about 158°F (70°C) – so a high-temp gun can easily soften the silicone or PU coating and damage components or solder joints. If you want to use hot glue, use a low-temp glue gun (~250°F / 120°C), apply small beads to the strip's edges (not over the LEDs or resistors), and let each spot cool before pressing the strip into place.
Picking the Right Approach
To recap the main decisions:
- Smooth, flat indoor surface: factory tape works, but 3M VHB is a clear upgrade for any install you want to last.
- Textured or painted surface, or a rental: command strips, or VHB plus an adhesion promoter.
- Damp, hot, or face-down install: VHB plus mounting clips or an aluminium channel.
- No adhesive allowed: mounting putty for short, light runs; cable ties or brackets for longer runs.
- Long runs (5 m+) or vertical/face-down orientation: add mechanical clips regardless of which adhesive you choose.
Avoid super glue, and only use hot glue from a low-temp gun. When the strip eventually has to come down, see my partner article on how to remove LED light strips so you don't take the paint with you.