
If You Cut An LED Strip Will It Still Work? Downloadable Guide
That 5-meter reel, your 73cm shelf — cutting the strip doesn't kill either piece. Every segment between cut marks is its own self-contained circuit, so both halves stay fully live.
 Eugen
EugenEugen Nikolajev
Creator of LED Lighting Info
Hi, I am Eugen. I was always one of those kids who had all sorts of weird lighting gadgets for every occasion.
Now, I want to share my knowledge and experience about lighting with you on LED Lighting Info.
Read my editorial standards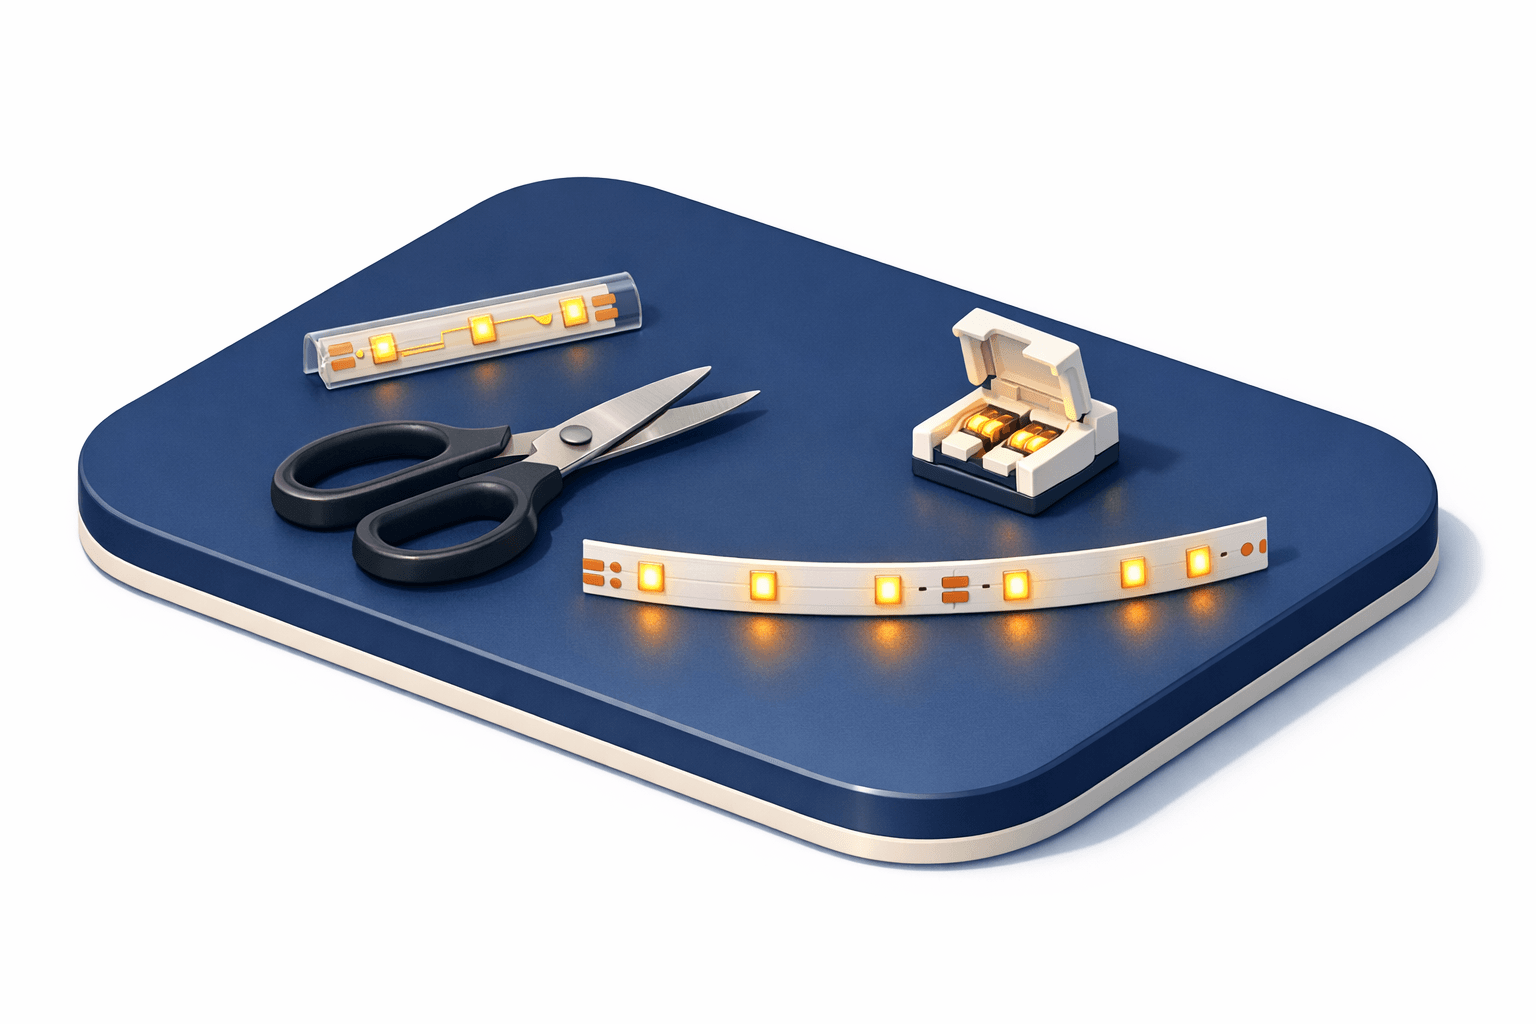
Key Takeaways
Yes — as long as you cut along one of the marked lines. LED strips are built from short, repeating circuits, and every cut mark sits exactly between two of them. Cut anywhere else and you kill that segment, and sometimes the whole strip.
How To Cut an LED Strip Safely
Customizing the length of your LED strip lights is straightforward, here is a printable guide.
 1
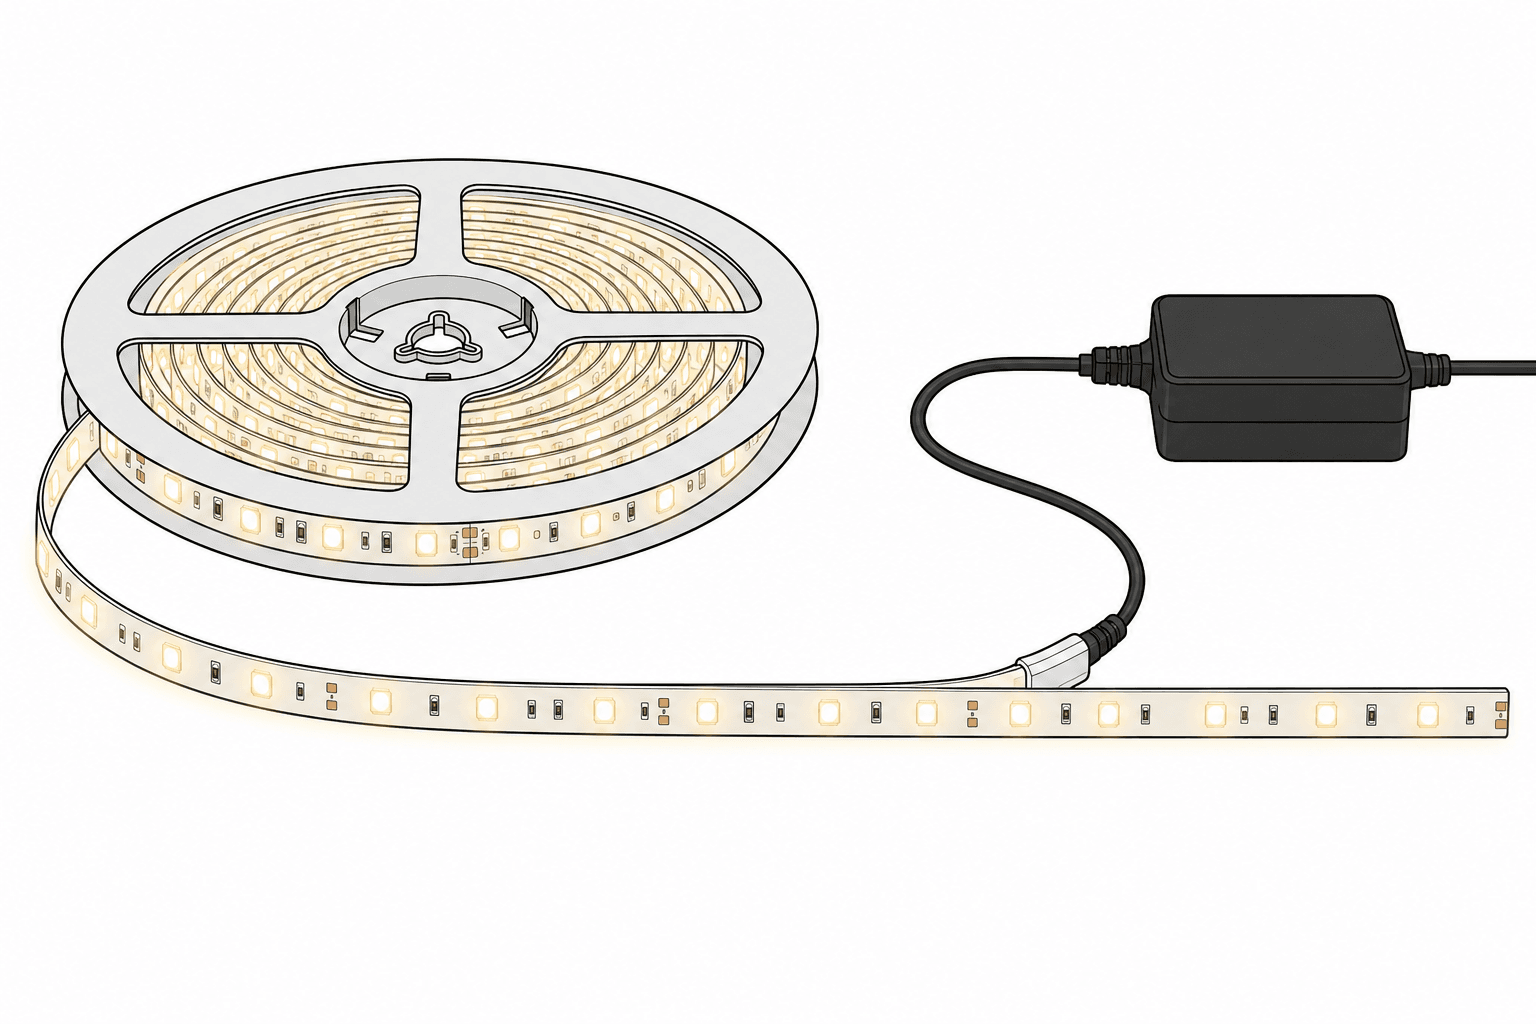
1Test the strip first
Power up the full reel and confirm every section lights up. Cutting or soldering usually voids the warranty, so you want to know it’s good before you modify it.
 2
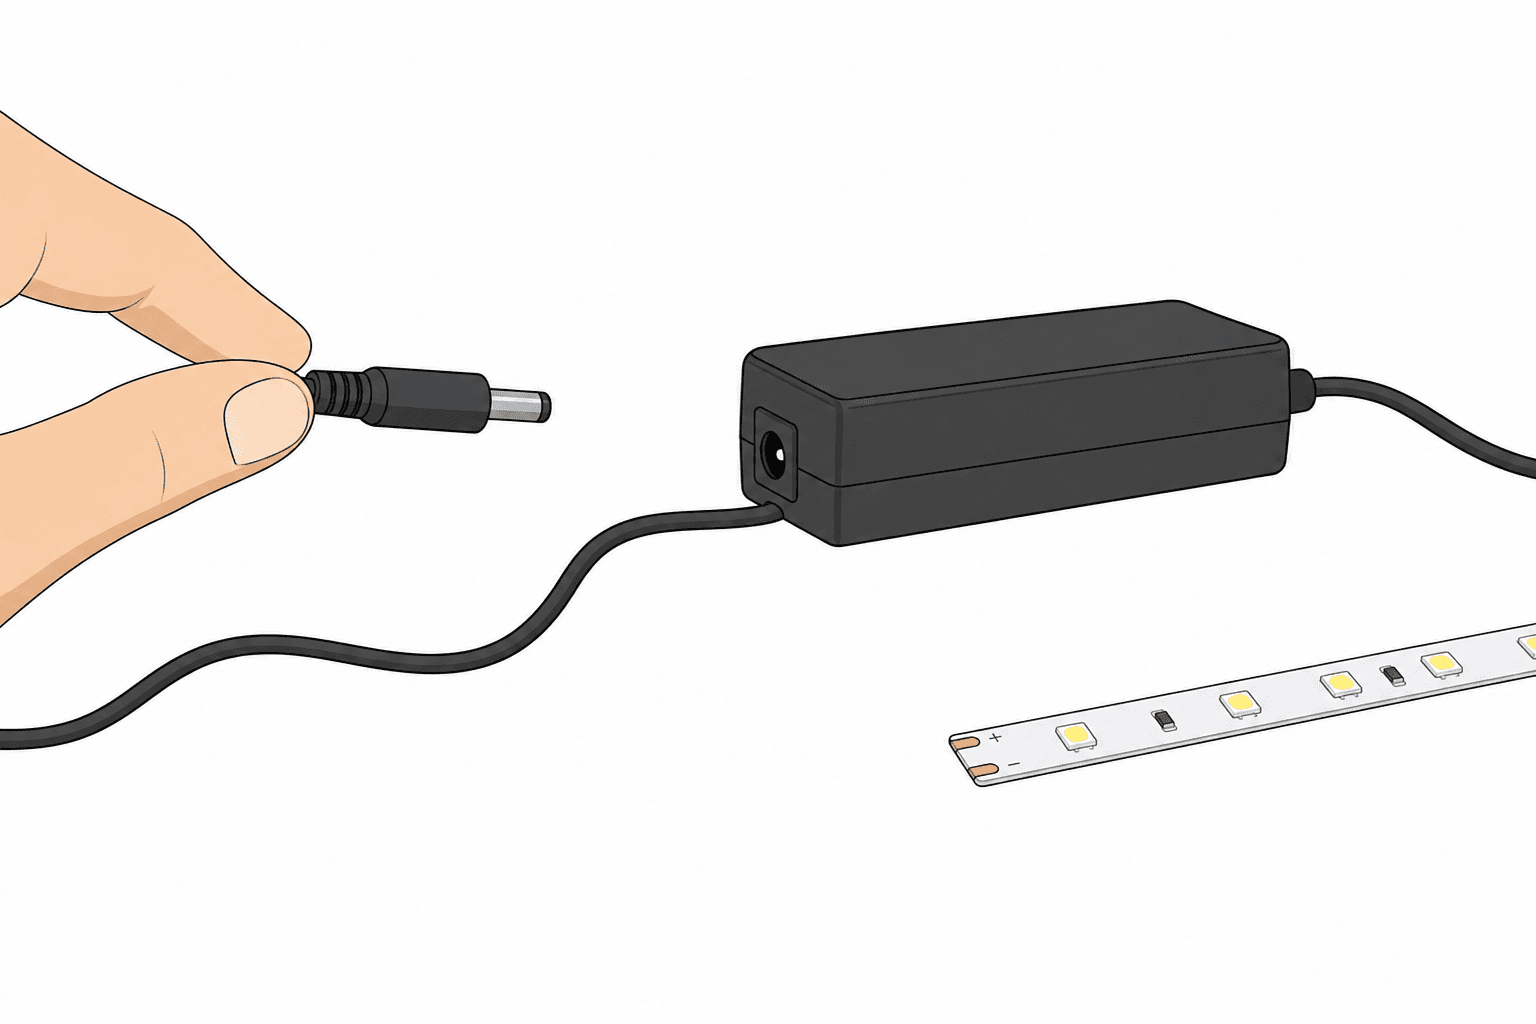
2Unplug from the power supply
Because LED strips run on low-voltage DC and are designed to be cut, there’s minimal shock risk — but always disconnect power before cutting to avoid short circuits or damaging the strip. The driver itself runs on mains AC, which is a real shock hazard.
 3
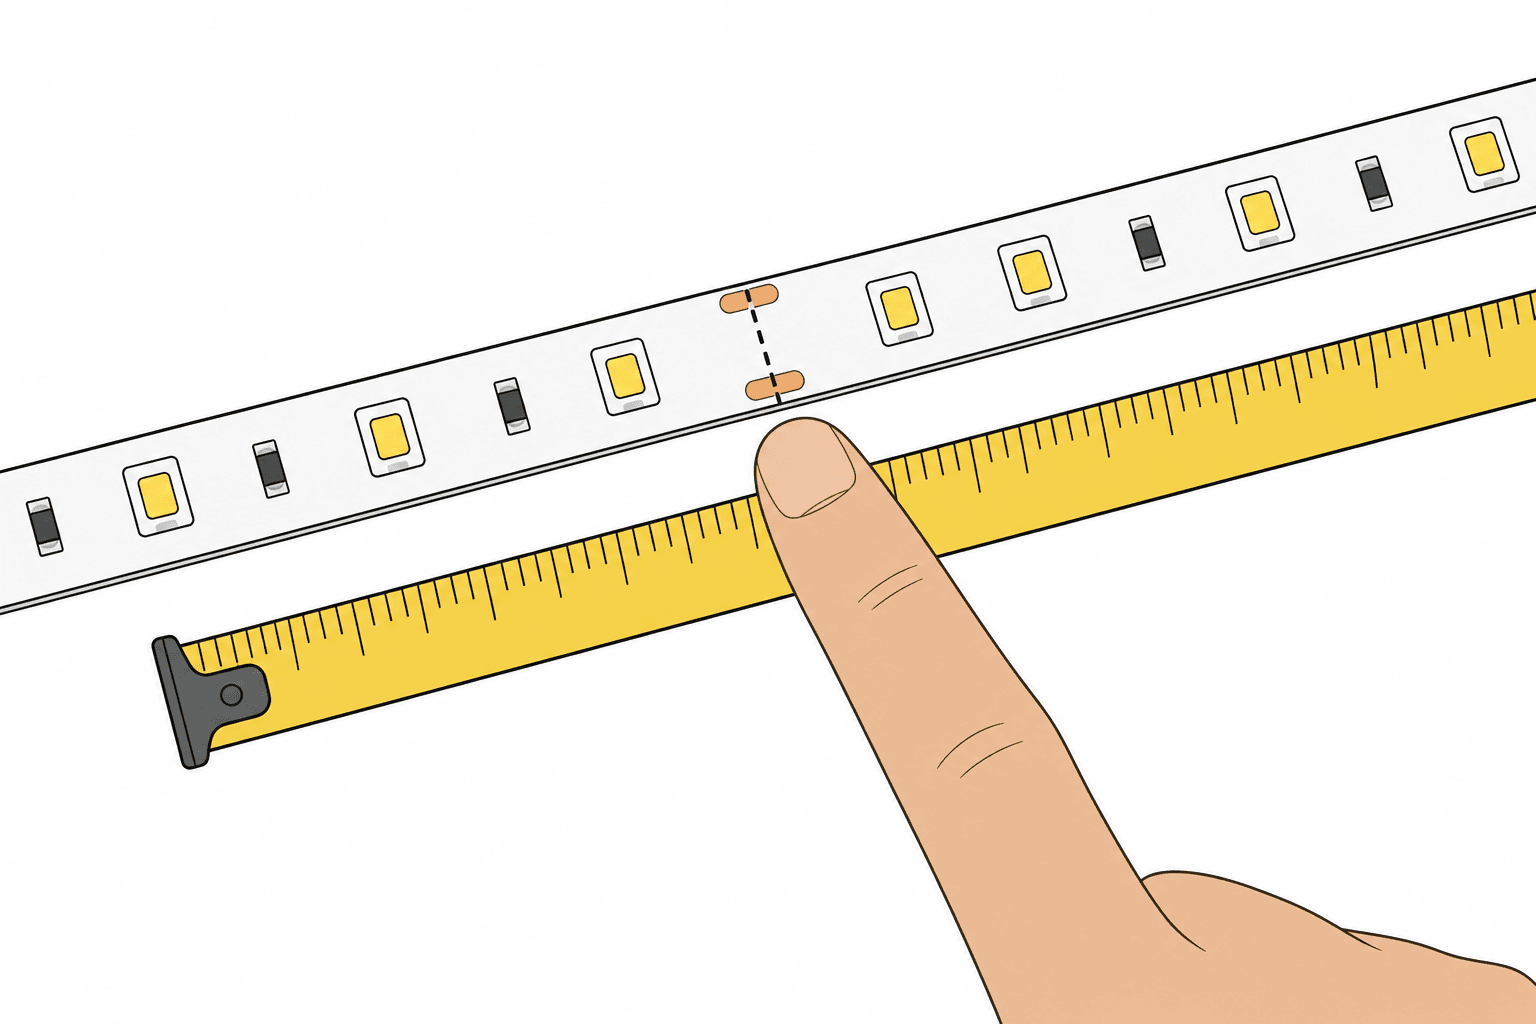
3Measure and pick a cut mark
Measure the run you need, then choose the nearest cut mark at or below that length. Going slightly short is fine; going past your target leaves dark space.
 4
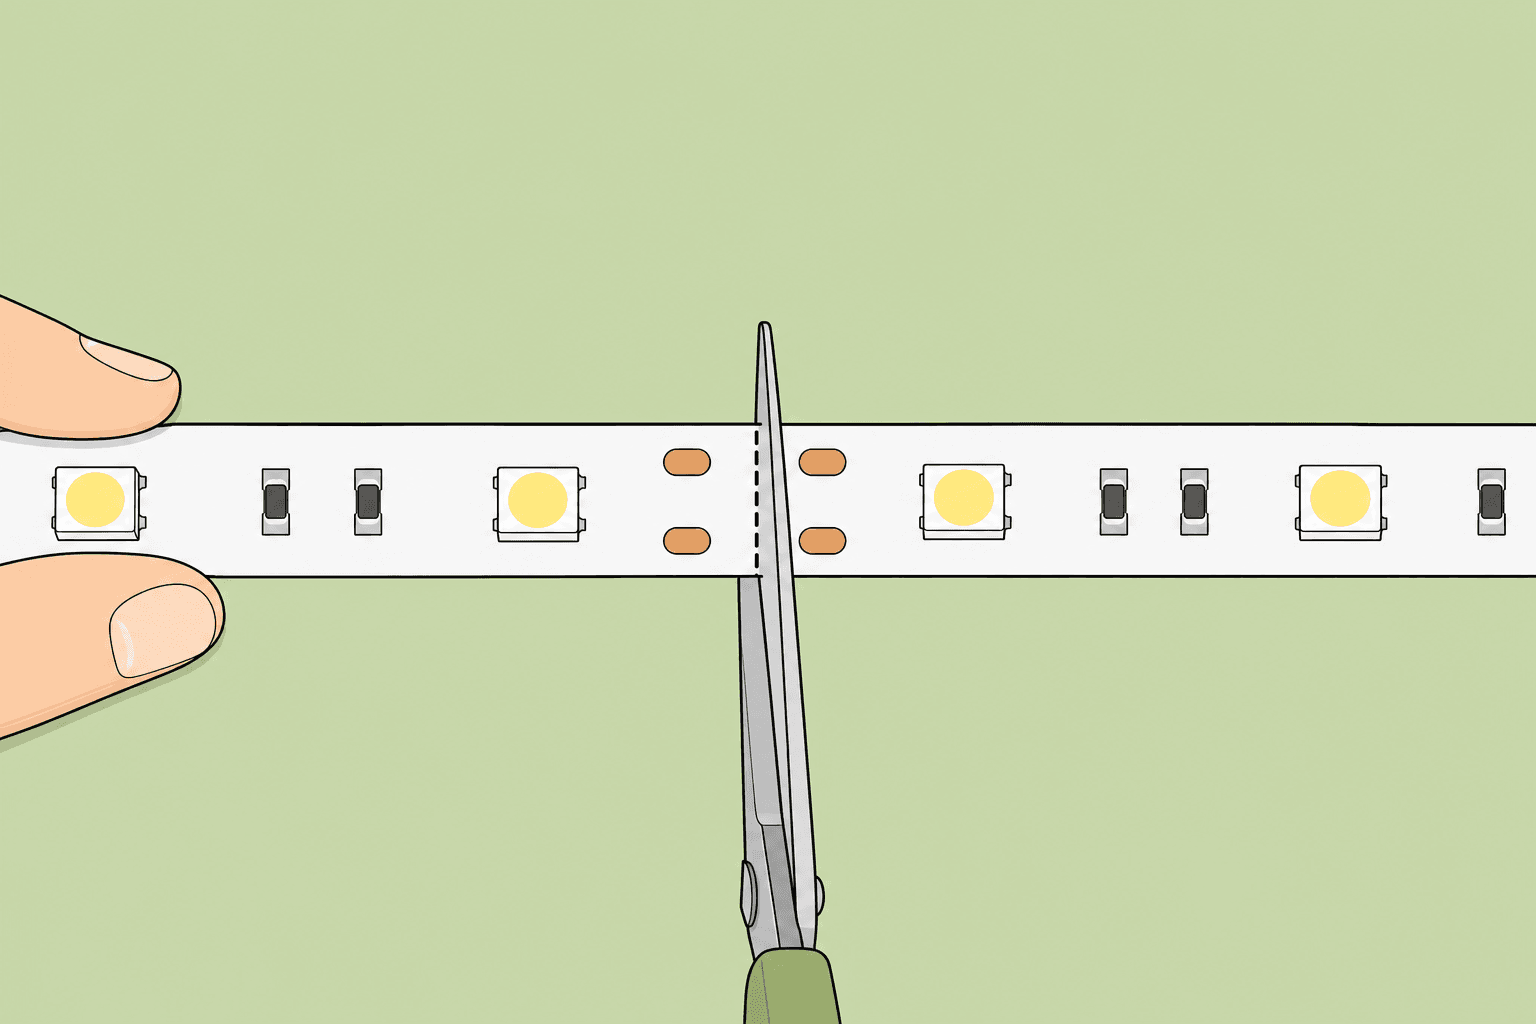
4Cut precisely along the marked line
Use a sharp pair of scissors — they give the cleanest cut and won’t drag the adhesive backing into a peel. A sharp utility knife works too if you’re careful, but scissors are easier.
Most reels ship with a pre-fitted plug, and cutting removes it. After the cut, you’ll either solder leads onto the new end or use a strip power source connector (Amazon) — both options are covered below.
You bought a 5-meter LED strip reel. Your shelf is 73cm long. Can you just cut it?
This guide walks through where to cut, how to cut safely, how to reconnect or reuse the leftover piece, and the small details (RGB pads, IP ratings, power supply sizing) that trip people up.
Can You Cut LED Strip Lights?
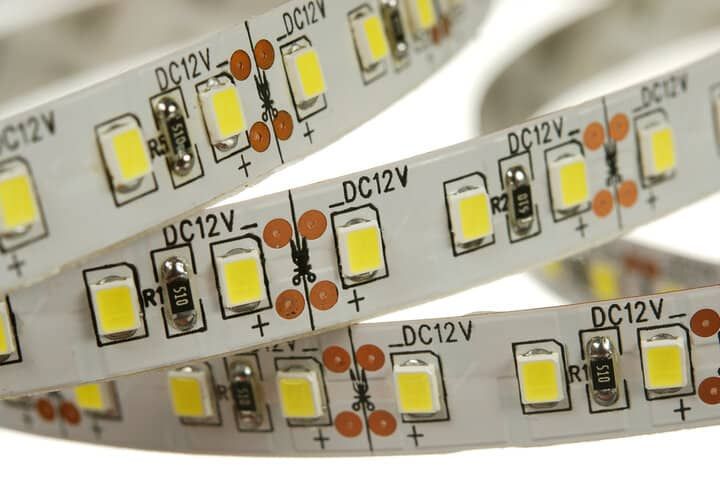
Yes — most modern LED strips are designed to be customized to length. Long reels typically come in 5m (16.4ft) or 10m (32.8ft) lengths, with longer commercial rolls also available, and the manufacturer marks every safe cut point on the strip.
Look for the cut marker — usually a small scissors icon (✂) and/or a line, with a pair of exposed copper solder pads on either side. Marker color varies by manufacturer (white on yellow PCB, black on white PCB, etc.), so don’t fixate on one look.
Cut intervals depend on LED density and voltage. 24V strips also generally have longer intervals than equivalent 12V strips because LEDs are wired in longer series groups.
| LED density | Voltage | Typical cut interval |
|---|---|---|
| 30 LEDs/m | 12V | ~10cm (every 3 LEDs) |
| 60 LEDs/m | 12V | ~5cm |
| 120 LEDs/m | 24V | ~5cm |
| 240 LEDs/m | 12V | ~12mm |
| 240 LEDs/m | 24V | ~25mm |
Always go by the marked cut line on your specific strip rather than a fixed interval — the exact spacing depends on the chip type and circuit layout.
Will Both Sides Still Work After a Cut?
Yes. Each section between two cut points is a self-contained circuit, so once the strip is split you have two working pieces.
That’s good news — you don’t create any extra waste and the leftover piece is fully usable. The cut end won’t have a plug anymore, so you’ll need to attach a new connector or solder on a lead before you can power it.
Can You Reconnect a Cut LED Strip?
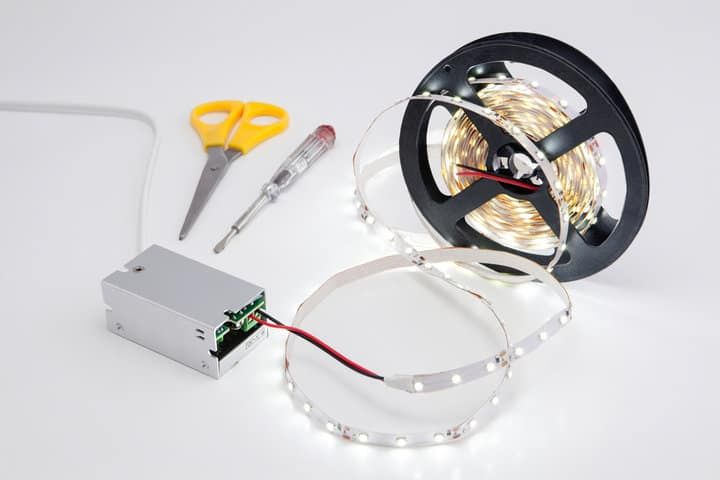
Provided the cut sits on a designated line, yes — both pieces have intact circuits and can be rejoined or extended. If you cut between the lines, the segment that contains the bad cut is dead and there’s no way to recover it.
There are two practical methods: a clip connector (no tools) or soldering (more durable, low-profile).
Option A: Clip Connector (No Tools)
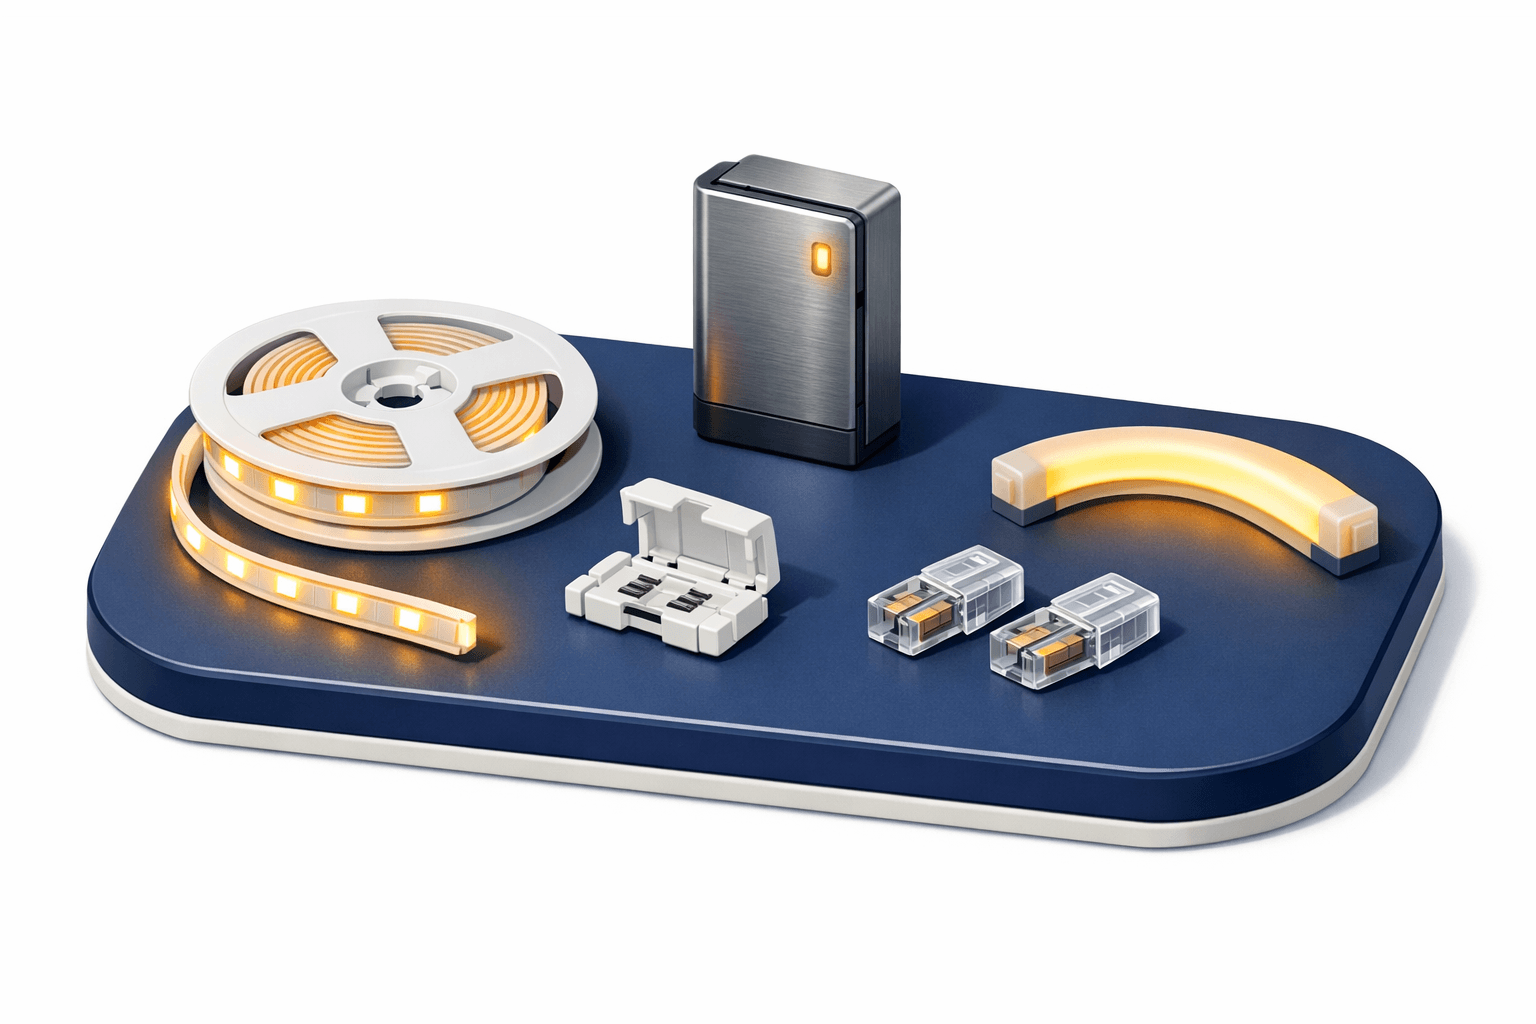
Quick connectors are the easiest path. They’re sold by every major retailer (this set on Amazon is a typical example) and come in straight, right-angle, T-tap, and wire-pigtail shapes.
- Pick a connector that matches your strip’s width (8mm, 10mm, etc.) and number of pads (2 for single-color, 4 for RGB, 5 for RGBW).
- If your strip has a translucent silicone or plastic coating over the copper pads, trim it back with a knife to expose them.
- Open the connector and slide the strip in so each copper pad sits directly under a metal contact in the connector.
- Close the latch firmly. Tug-test the joint.
- Plug in and confirm the section lights up before mounting it in place.
Option B: Soldering
Soldering takes more time but gives a thinner, more reliable joint. You’ll need a soldering iron, solder, and the leads or new pigtail you want to attach.
- Strip approximately 3–6mm (about 1/8 to 1/4 inch) of insulation off the end of each wire — just enough to expose copper. Over-stripping risks shorts between adjacent pads, especially on RGB/RGBW strips.
- Twist the stripped strands together, then tin the end by touching it with the iron and applying a small amount of solder so the strands are coated.
- Pre-solder each copper pad on the strip with a small puddle of solder.
- Match each wire to the right pad. On a single-color strip, red goes to the + pad and black to the − pad. On RGB or RGBW strips, match each labeled pad (R, G, B, +) to the matching controller output — don’t assume red equals positive.
- Place the tinned wire on top of the pre-soldered pad and reheat briefly with the iron until the two flow together. Hold steady for a second as it cools.
- Power up and confirm everything lights correctly before sealing the joint with heat-shrink tubing or silicone.
For a deeper walkthrough with wiring diagrams, see our full guide on connecting LED strip lights.
A Few Things People Miss
RGB and RGBW Strips Have More Pads
Single-color strips have two pads (+ and −). RGB strips have four (R, G, B, and a shared +V), and RGBW strips have five (R, G, B, W, +V). Most are common-anode, meaning the +V pad takes the supply voltage and each color pad pulls to ground through the controller. Match the labeled pads to the labeled outputs on your controller — the red-to-positive shorthand only works for single-color.
Cutting Breaks the Waterproof Seal
If your strip is rated IP65, IP67, or IP68, the silicone coating or sleeve is what gives it that rating. Cutting through it exposes the bare PCB at the cut end. For kitchens, bathrooms, or outdoor runs, reseal the cut end with silicone caulk or a manufacturer end cap before installing.
Cut Ends Lose Their Adhesive
The factory adhesive backing covers the original strip; cutting leaves the new end edge without it. If the cut end is tending to lift, add a mounting clip or a small piece of double-sided tape to hold it down.
Recheck Your Power Supply Sizing
Shortening a strip is fine — your existing driver will simply have headroom to spare. Joining strips together to make a longer run is where people get into trouble: the driver has to handle the combined wattage of every meter you’re powering. Multiply the strip’s watts-per-meter by the new total length and confirm it’s within the driver’s rated output before you switch on.
Troubleshooting After a Cut
If something’s wrong after the cut, the cause is almost always one of four things:
| Symptom | Likely cause | Fix |
|---|---|---|
| Completely dead after the cut | Strip wasn’t designed to be cut, or you cut outside the marked line | Trim back to the nearest cut mark; non-cuttable strips can’t be recovered |
| Dim or color-shifted at the far end of a long run | Voltage drop | Shorten the run, inject power at the far end, or step up to a thicker wire gauge |
| RGB strip showing the wrong color | Reversed polarity at the connection | Flip the strip or rewire so each labeled pad matches the controller output |
| Section after a clip connector won’t light | Bad pad contact inside the connector | Reopen, realign the strip so copper pads sit on the metal contacts, close again |
On voltage drop specifically: as a general rule, 12V strips can run about 16ft (5m) and 24V strips about 32ft (10m) on a single feed before drop becomes noticeable. The exact limit depends on the strip’s wattage per meter — high-wattage strips drop sooner, low-wattage strips can run further. For longer installs, inject power at multiple points or step up to a thicker wire gauge.
If your RGB strip is showing the wrong colors, the polarity at the connection is almost always reversed. To fix it, flip the strip or rewire the connector so each labeled pad lines up with the matching controller output.
FAQ
Can I cut an LED strip anywhere?
No. Strips have designated cut points, marked with a scissors icon and/or a line and flanked by exposed copper pads. Cutting between marks kills that circuit and the section won’t light.
What can I do with the leftover piece?
It still works — attach a new connector or solder on a lead, and use it as accent lighting somewhere else, save it as a spare for repairs, or chain it back onto another run if your power supply has the wattage headroom.
Does cutting void the warranty?
Usually yes. Most manufacturers consider any cut or soldered strip modified, which voids the original warranty. Always test the full reel before cutting so you know any defects aren’t on you.
Can I cut a waterproof (IP65/IP67) LED strip?
You can, but the cut end will no longer be sealed against moisture. Reseal it with silicone caulk or a manufacturer end cap before using the strip in a kitchen, bathroom, or outdoor location.
Do I need a new power supply after cutting?
Not if you’re shortening the strip — your existing driver will have spare capacity. If you’re joining strips to make a longer run, recalculate total wattage (watts-per-meter × length) and confirm your driver can handle it before powering on.
The Takeaway
Cut on the marked line, test before you cut, and unplug from the power supply before the scissors come out. Stick to those three rules and a 5-meter reel becomes whatever length your project actually needs — connector or solder, your call.
Related articles
How To Connect LED Strip Lights Together?
Past 5 m on a 12V strip, the far end gets less voltage than the near end — and it shows as visible dimming. Longer runs need parallel branches, not more daisy-chaining.
Do LED Strip Lights Cost a Lot of Electricity? 2026 Calculation
A standard 5-meter LED strip running 10 hours a day costs about $4 for the entire year — less than most households spend on a single incandescent bulb.
How Many Feet Of LED Strip Lights Do I Need For My Room? (Perimeter Calculator)
Around 1500 lumens per meter is where cove lighting really starts to shine — and buying brighter than you need is intentional, because a dim strip can't be fixed after install.