
How To Space Recessed Lighting In Kitchen?
Divide your ceiling height by two — that single rule gives you the correct spacing between recessed lights, and it's why the popular 'match fixture diameter to spacing' shortcut quietly fails on anything but an 8-foot ceiling.
 Eugen
EugenEugen Nikolajev
Creator of LED Lighting Info
Hi, I am Eugen. I was always one of those kids who had all sorts of weird lighting gadgets for every occasion.
Now, I want to share my knowledge and experience about lighting with you on LED Lighting Info.
Read my editorial standards
Key Takeaways
Use a layout that prioritizes work surfaces, supplementing with under-cabinet task lighting where needed. Base inter-fixture spacing on ceiling height (divide it by two) rather than fixture diameter alone, and keep recessed lights 2–3 feet from walls and the front edge of overhead cabinets.
Kitchen lighting carries higher stakes than most rooms in the house. Sharp tools, hot surfaces, and shadows over the chopping board are a recipe for nicks and burns, so a dim valley over the prep counter isn’t a cosmetic problem — it’s a hazard.
Recessed lighting handles general kitchen illumination cleanly, but only when the spacing accounts for ceiling height, fixture beam angle, and where the real work happens. Plan it properly and every counter reads bright; get it wrong and you’ll have hot spots in the middle of the floor and shadows exactly where you slice.
This guide covers the three questions that matter most:
- How far apart recessed lights should be spaced
- Where to place them in the kitchen
- How many lights you need
How Far Apart Should LED Recessed Lights Be In The Kitchen?
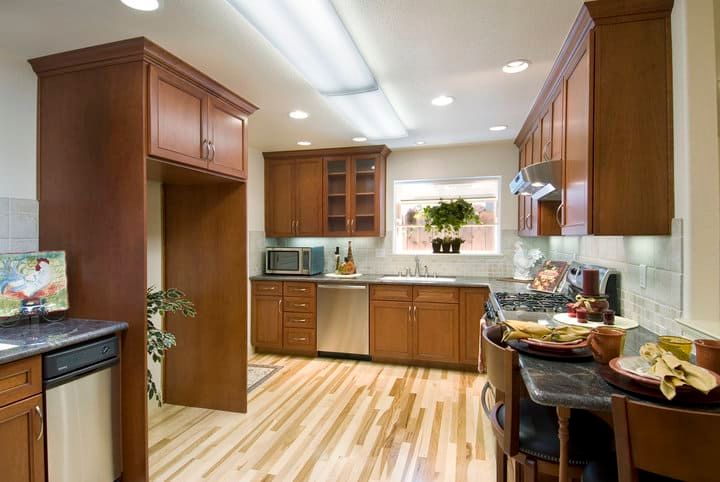
The professional rule for spacing recessed lights is to divide your ceiling height by two. For a standard 8-foot ceiling, that puts fixtures 4 feet apart; on a 10-foot ceiling, 5 feet apart. This is the starting point you’ll use when you calculate how many recessed lights you need.
A popular shortcut ties spacing to fixture diameter — 4-inch fixtures at 4 feet apart, 6-inch fixtures at 6 feet apart. It only happens to match the divide-by-two rule at roughly 8-foot ceilings, and it ignores beam angle and lumen output. Treat it as a quick sanity check, not a substitute for the math:
| Fixture Diameter | Typical Beam Angle | Shortcut Spacing | Distance From Wall/Cabinet |
|---|---|---|---|
| 4 inches | ~40° | Up to 4 feet | 2 feet |
| 6 inches | ~90° | Up to 6 feet | 2–3 feet |
For wall spacing, place fixtures 2–3 feet from the wall or from the front edge of any overhead cabinet. Halving the inter-fixture spacing is a useful shortcut that often lands in that range, but at tight spacings it can pull lights uncomfortably close to a wall.
In a kitchen, treat wall cabinets exactly like the wall. Measure from the front edge of the cabinet, not from the wall behind it. Otherwise the fixture will sit right above the cabinet face and the cabinet itself will block the beam from reaching the counter — the one surface that actually needs the light.
Does Ceiling Height Affect Light Density?
Yes — ceiling height changes both the spacing and the brightness you need. The divide-by-two rule already bakes in the spacing change, but there’s a second effect to plan for.
By the inverse-square law, illuminance falls off with the square of the distance from the source: double the distance from a fixture to your countertop and you get a quarter of the light. A taller ceiling spreads each beam over a wider footprint, but the light is dimmer where it lands. Compensate with higher-lumen fixtures, narrower beam angles, or both.
Low ceilings matter too. Many older homes, basement kitchens, and bungalows have ceilings as low as 7 feet — the minimum allowed by the 2021 International Residential Code (IRC R305.1). Below 8 feet, tighten the spacing or step down to lower-lumen fixtures, otherwise you’ll get hot spots and glare straight in the eye.
Beam Angle Changes The Result
Two fixtures in identical holes can produce wildly different lighting depending on beam angle. For general kitchen illumination, look for wider beams in the 60°–90° range — they overlap cleanly and prevent dark gaps between fixtures. Narrower beams (25°–40°) suit task spots over a sink, range, or prep zone where you want a tight, bright pool of light. The spec sheet on every recessed bulb lists the beam angle; match it to the job.
Recessed Lighting Plan: Where Should I Place Them?
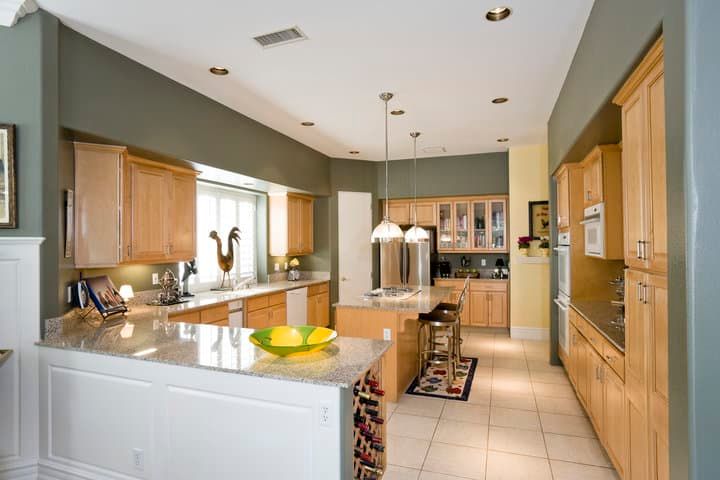
In most rooms, you can drop recessed lights into a regular grid that mirrors the shape of the room. Kitchens demand a different starting point: identify the work surfaces and lighting zones first, then design the grid around them.
Split the room into sections — prep counter, range, sink, dining area — and lay out a small cluster of fixtures over each. Even in a long rectangular kitchen, this keeps you from building a perfectly symmetric grid that happens to drop shadows directly onto the cutting board. A 2×4 over the cooking area paired with a 2×3 over the dining space often works better than one continuous rectangle.
Get creative with the layout. Three rows of three lights, a row of three followed by two followed by three, or an offset grid can all work — as long as the brightest pools fall on the surfaces that actually need light.
Lighting A Kitchen Island
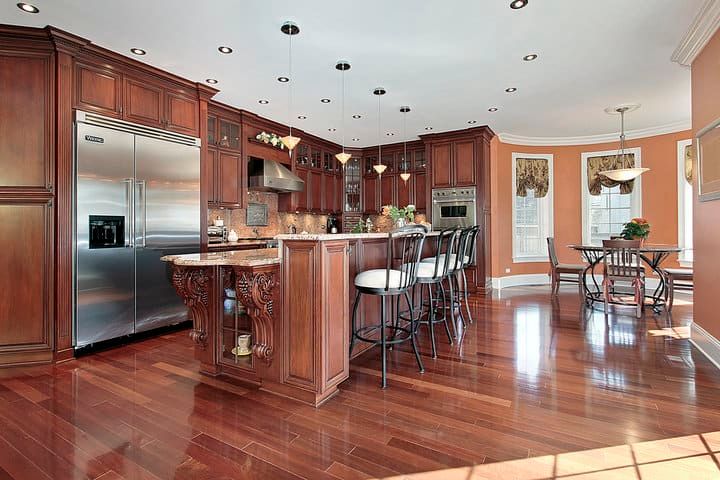
Pendants are the conventional choice over an island, but recessed lights work well alone or as a complement. For a recessed-only island, space two or three fixtures evenly along its length, centered on the work surface — not on the room’s main grid. If you’re combining recessed with pendants, push the recessed fixtures slightly outboard so they wash the island edges while the pendants light the center. Measure from the island itself; don’t rely on the room grid lining up with the countertop.
How Many Recessed Lights Do I Need In The Kitchen?
Before the formula, a quick note on units. LED brightness is measured in lumens, not watts. A standard 60-watt-equivalent LED draws roughly 8–10 watts but produces about 800 lumens — the same output as the old 60W incandescent it replaces. Older coverage formulas were built around incandescent wattages, so when they ask for “wattage,” they really mean the lumen equivalent. Always check the lumens on the Lighting Facts label rather than relying on the equivalent-wattage figure on the front of the box, since two “60W equivalents” can vary from 650 to 900+ lumens depending on manufacturer (see the FTC’s guide to shopping for light bulbs).
Here’s the room-coverage formula, step by step:
- Measure the room — length × width in feet (area only, not volume).
- Multiply the area by 1.7 for kitchens and bathrooms. Use 1.5 for living rooms and bedrooms.
- Divide by the equivalent wattage of your LED bulb — typically 60 for a standard 800-lumen fixture.
- Round up. That’s your fixture count.
- Divide the room length by the fixture count to get spacing between lights along that axis.
- Set the distance from wall (or front edge of overhead cabinets) to the first light at 2–3 feet.
- Repeat steps 5 and 6 for the room’s width.
This formula assumes one fixture roughly equals one 60W-equivalent (~800 lumen) bulb. If you’re using brighter or dimmer fixtures, adjust accordingly.
For a more accurate plan, switch to a lumen-based calculation. The Illuminating Engineering Society recommends 30–50 foot-candles on kitchen work surfaces, which works out to roughly 30–50 lumens per square foot at the counter. Multiply your floor area by 30–50 to get a target total lumen count, then divide by the rated lumens per fixture. Beam angle, ceiling height, and finish reflectance all influence the final result, so leave headroom for dimming.
Alternatively, plug your numbers into my recessed lighting calculator to skip the arithmetic.
Safety And Compatibility Checks
Two pre-installation checks are easy to miss and expensive to fix after the holes are cut.
IC-Rated Fixtures For Insulated Ceilings
If there’s any insulation above your kitchen ceiling — true for most upper-floor kitchens and any ceiling sitting below a roof — you must use IC-rated (insulation contact) fixtures. Non-IC fixtures can overheat when buried in insulation, tripping thermal cutouts at best and starting a fire at worst. Look for “IC” or “IC-rated” on the housing’s spec label. Air-tight (AT) variants are worth the small premium too, since they cut the chimney effect that pulls conditioned air into the attic.
Dimmer Compatibility
Most kitchens benefit from dimming for evening ambiance, but LED fixtures are picky about their dimmers. A standard incandescent dimmer will often work — until it flickers, hums, or refuses to dim past 30%. Use a dimmer listed as LED-compatible by your fixture’s manufacturer, and verify the load range covers your total wattage (most LED dimmers have a minimum load to function correctly). Lutron and Leviton both publish compatibility charts; check yours before buying.
Final Words
The math is straightforward once you have the inputs. Divide ceiling height by two for baseline spacing between fixtures, multiply room area by 1.7 (or use the lumens-based version) to get your fixture count, and pull lights 2–3 feet back from walls and the front of overhead cabinets. Then prioritize work surfaces — counters, range, sink — and let the grid serve the kitchen, not the other way around.
Treat the diameter shortcut as a sanity check, the equivalent-wattage label as a rough proxy for lumens, and ceiling height as a real variable rather than a constant. Get those three right, confirm your fixtures are IC-rated and your dimmer is LED-compatible, and the rest of the layout falls into place.