
How Far Apart Should Landscape Lighting Be?
Solar path lights can put out as little as 2 lumens — which is why the standard 6–8 ft spacing rule works for wired LED fixtures but leaves obvious dark gaps between budget solar ones.
 Eugen
EugenEugen Nikolajev
Creator of LED Lighting Info
Hi, I am Eugen. I was always one of those kids who had all sorts of weird lighting gadgets for every occasion.
Now, I want to share my knowledge and experience about lighting with you on LED Lighting Info.
Read my editorial standards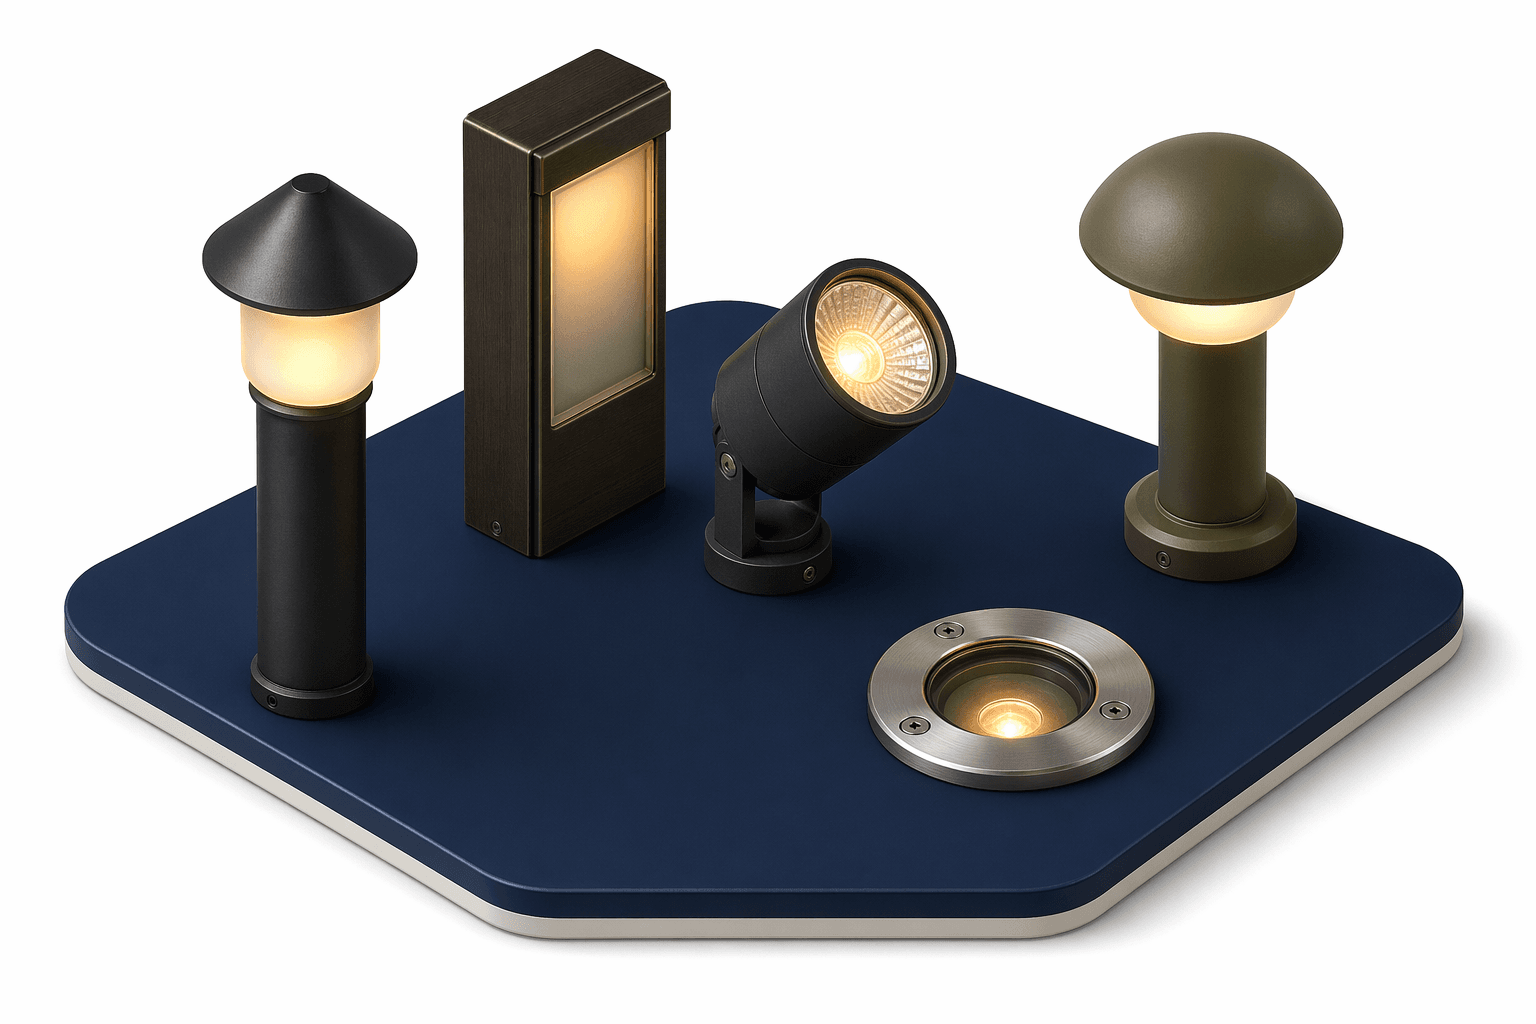
Key Takeaways
There's no hard and fast rule on the distance between landscape lights. It depends on how bright your fixtures are, their beam angle, and what you're trying to achieve. For ambient lighting, err on the side of less light — it's more relaxing. Pathway and security lighting needs to cover the space without dark gaps.
How far apart you space your landscape lights drives almost every other decision: how many fixtures you need, how you wire them, and how much wattage your transformer has to handle.
Here's what's covered below:
- What determines the space between landscape lights
- How to space out path lights
- A quick planning checklist before you buy
What Determines The Space Between Landscape Lights?
How Bright Do You Want The Area To Be?
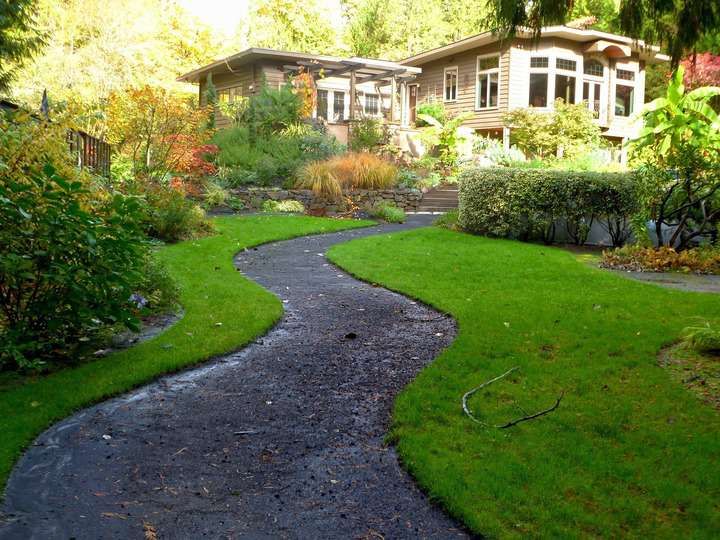
Before you can pick a spacing distance, decide what the lighting is for.
Atmosphere lighting — the kind you sit out under on a summer evening — can be soft and a little gappy. Feature lighting, used to highlight specific plants or architecture, is more concentrated and aimed. Safety lighting along path edges and steps needs to be brighter and continuous so trip hazards stay visible.
Once the goal is clear, fixture choice — and the spacing that matches it — gets a lot easier.
Lumens, Beam Angle, and Light Output Ratio
Three fixture specs drive how far apart your lights can sit. The first two are usually printed on the box; the third often isn't, but it matters anyway.
Lumens — total light output. A typical wired low-voltage LED path light produces 100–200 lumens, while solar path lights commonly put out only 2–15 lumens. That order-of-magnitude gap is why a generic 6–8 ft spacing rule fits wired LEDs but leaves obvious dark patches between budget solar fixtures.
Beam angle — how widely the light spreads. Narrow spots (roughly 15–30°) throw a tight cone over a longer distance and need closer spacing for even path coverage. Wide floods and 360° stake lights (60–120°+) cover more ground at shorter range and can sit farther apart. Check the packaging — beam angle is usually listed in degrees alongside lumens.
Light Output Ratio (LOR) — efficiency of the fixture itself. There's a difference between a bulb's rated lumens (the bare lamp) and the light that actually escapes the assembled fixture. The percentage of bulb lumens that make it out is the Light Output Ratio, sometimes called luminaire efficiency. A well-designed fixture reaches 80–90%; some light is always lost to housing, lenses, and reflectors. LOR is rarely printed on residential landscape packaging, but heavy shielding, frosted lenses, or colored filters all eat into it — when in doubt, space those fixtures closer.
Budget
Costs swing widely depending on whether you DIY or hire a pro, so it helps to think of them as two separate budgets.
A basic DIY low-voltage kit covering a patio or short path tends to land around $200–$600 for fixtures and a small transformer. That's the figure most older lighting blogs quote, and it still holds for self-install jobs with off-the-shelf kits.
Professional installation is substantially more. As of 2025, most homeowners pay roughly $2,000–$6,000 for a full landscape lighting system, with a national average around $3,500–$4,000. Per-fixture installed costs run about $100–$200 for basic LED path lights and higher for accent or spot fixtures. A small garden with feature lighting, installed by a pro, usually lands toward the upper end of that range. (Prices vary significantly by region and change year to year — get local quotes before locking in a budget.)
Whichever route you take, fewer brighter fixtures spaced farther apart almost always cost less than many small ones — less wire, less labor, fewer transformer channels.
Related: How Much Landscape Lighting Do I Need?
How To Space Out Path Lights
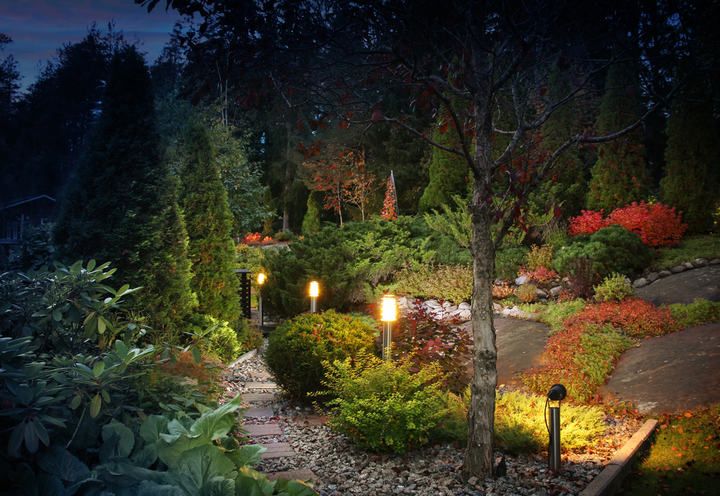
Place the lights too close together and the path looks like a runway. Too far apart and you leave dark spots where a tripping hazard can hide.
Spacing scales with brightness and beam angle, but as a starting point: a typical 100-lumen wired LED path light works well at 6–8 feet apart. Higher-output fixtures (200+ lumens) stretch to 8–10 feet or more. Solar path lights often need to sit just 2–4 feet apart to avoid obvious gaps. Aim for the beams to just overlap on the ground.
Use this as a quick reference for path geometry:
| Situation | Recommendation |
|---|---|
| Path roughly 3 ft wide or less | Single-edge spacing, every 6–8 ft (a wide-beam fixture covers the full width) |
| Path 3–5 ft wide | Single edge with a wider beam, or staggered placement on alternating sides |
| Path wider than 5 ft | Staggered (zig-zag) placement, or opposing rows on very wide paths to avoid dark patches |
| Steps in pathway | One light per step, positioned at the vertical face of the riser |
| Near the home or entrance | Leave a gap; avoid shining into windows and don't double up with wall lighting |
On wider paths, staggered placement looks more natural than rigid opposing rows — but staggering can leave dark patches when the path is very wide, in which case true opposing rows give more uniform coverage.
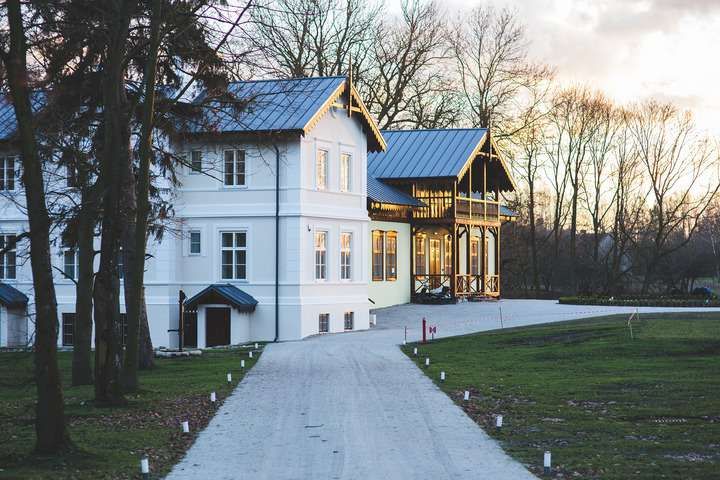
Where the path meets the house, leave a gap. Path lights aimed at a window are unflattering, and if there's already wall lighting at the door, the last few feet of the path don't need extra fixtures.
Steps are the exception to all of the above. Position one light per step, close to the vertical face of the riser, so the edge of each tread is clearly defined. Spacing them at the usual 6–8 ft interval will leave shadows that mask step edges — exactly what landscape lighting is supposed to prevent.
One last thing to plan for once you've counted fixtures: on a 12 V low-voltage system, long wire runs and large fixture counts cause voltage drop, which dims the lights farthest from the transformer. Sizing the transformer and choosing the right wire gauge are their own topic — but keep them in mind as you finalize fixture count and layout, especially for runs longer than around 100 feet.
Also read: How To Dim Low Voltage Landscape Lights?
A Quick Planning Checklist
Before you buy fixtures, run through these five points:
- Lighting goal decided — ambient, safety, or feature
- Fixture lumens and beam angle matched to that goal
- Path length and width measured
- Number of fixtures and target spacing worked out
- Total wattage estimated so the transformer can be sized correctly
Get those five right and the rest — wire runs, exact fixture placement, the small judgment calls along the path — tends to fall into place.