
Where Should A Landscape Lighting Transformer Be Placed?
The cable knockouts on your landscape transformer point downward by design, but gravity isn't what keeps rain out — the gasket seal is. A loose cable gland lets moisture in just as fast as an upward-facing hole.
 Eugen
EugenEugen Nikolajev
Creator of LED Lighting Info
Hi, I am Eugen. I was always one of those kids who had all sorts of weird lighting gadgets for every occasion.
Now, I want to share my knowledge and experience about lighting with you on LED Lighting Info.
Read my editorial standards
Key Takeaways
Most landscape lighting transformers are listed for wet locations and can be installed outside. A covered space close to the garden — a garage, tool shed, or sheltered eave — adds protection but isn't required. The transformer should be as close to the lights as possible to minimize voltage drop.
The transformer converts your home's 120V household current to the low voltage — typically 12V — that powers your landscape lighting fixtures. It also handles timing, surge protection, and (on smart models) scheduling and dimming.
Where you place it affects voltage drop, weatherproofing, and how easy the system is to service later. In my experience, getting this right at install time saves a lot of headaches down the road.
Here's what I'll cover:
- Whether transformers can be installed outside
- The exact placement rules — height, outlet, mounting, and wiring
- How to size the transformer and pick the right wire gauge
- Whether you need to keep it in WiFi range
Can Landscape Lighting Transformers Be Installed Outside?
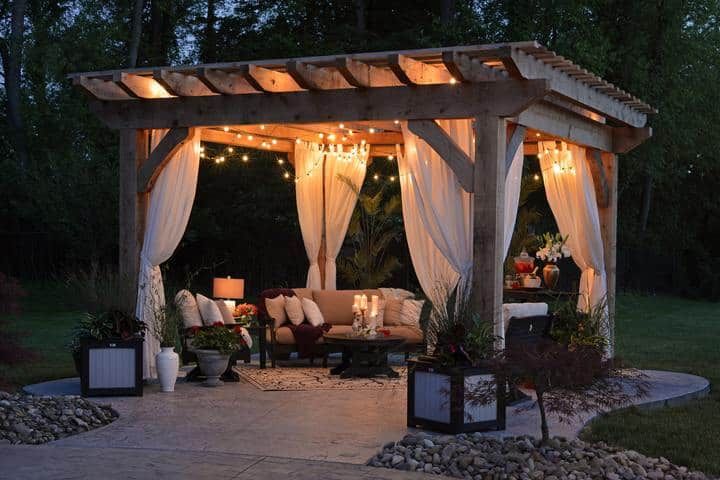
You might assume a transformer — being a complex piece of electrical equipment — should always sit indoors to protect it from the weather. Most landscape lighting transformers, though, are built for outdoor use and listed for wet locations.
Look for a UL wet-location listing on the spec sheet or housing label before buying. Quality units from manufacturers like Kichler, VOLT, FX Luminaire, and Hadco use gasketed, sealed enclosures with cable knockouts on the bottom of the housing. The seal — not gravity — is what keeps water out, so a damaged gasket or a loose cable gland can let moisture in even if the connections face down. Inspect both during install and as part of seasonal maintenance to keep rain out of the housing.
If you have a covered space close to the garden — a garage wall, an eave, or a tool shed — placing the transformer there adds protection and makes future servicing easier. It isn't required for a wet-location-rated unit, but it doesn't hurt.
Where Should I Install The Transformer?
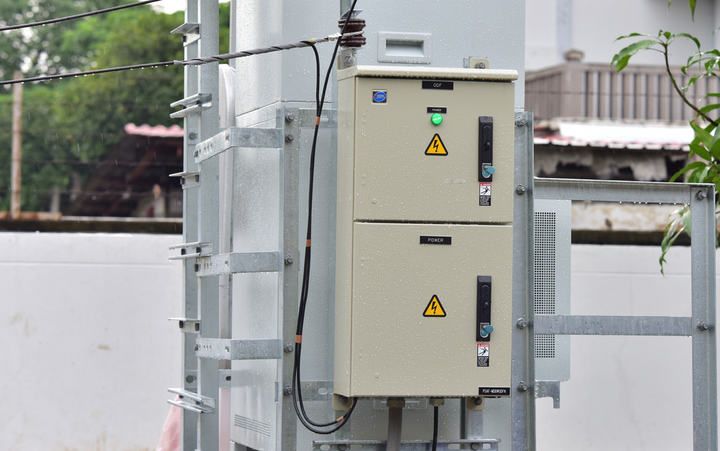
Once you know the transformer can go outside, here are the rules to follow when picking the exact spot. Treat them as a checklist — skipping any one of them creates a real safety or reliability issue.
- Keep it close to the lights to minimize voltage drop. Long cable runs lose voltage along the way, and fixtures at the far end get dimmer than the ones near the transformer. Voltage drop depends on total run length, wire gauge, and the wattage on the circuit. LEDs tolerate roughly 8–15V; halogens need a tighter 10–12V window. If voltage falls below those ranges, you'll see dim or flickering lights, especially on long runs.
- Plug it into a GFCI-protected outlet. This isn't optional. NEC 210.8 requires all outdoor receptacles at dwelling units to be GFCI-protected, and most local codes mirror this rule. If your existing outdoor outlet isn't already protected, hire a licensed electrician to install one before plugging in the transformer. See does outdoor lighting need GFCI? for the full breakdown.
- Use a weatherproof in-use cover on the outlet. Also called a "bubble cover," this kind of enclosure closes over the plug while it's in use and keeps rain out. NEC 406.9(B)(1) requires it on any 15A or 20A receptacle in a wet location where equipment will be left plugged in — which is exactly the case for a transformer. The standard flip-up flap on most outdoor outlets won't close over a plugged-in cord and doesn't qualify. Bubble covers (Amazon) are inexpensive and easy to swap in.
- Mount it at least 12 inches above grade. This is the industry-standard minimum (Wolf Creek, Kichler, and VOLT all recommend it) and keeps splashing water, sprinkler spray, and snow accumulation out of the housing. NEC Article 411 governs voltage limits and listing requirements for low-voltage lighting but doesn't prescribe a specific mounting height — the 12-inch figure is best practice, not literal code. In flood-prone areas or wherever your local AHJ requires more, mount higher. Never mount below 12 inches.
- Follow the manufacturer's clearance specs. Individual manufacturers often specify their own mounting height, side clearance, or ventilation requirements. Those override general guidance — check the install manual before drilling.
- Mount it securely so it can't fall. Most transformers come with built-in mounting hooks or brackets. On a wall, use a masonry drill with appropriate anchors for brick or stucco, or screws into studs for siding. If you're using a wooden stake in the yard, drive it deep enough that the transformer can't tip — a unit that topples into wet soil is a recipe for disaster.
Sizing the transformer to your system
Add up the wattage of every fixture on the run, then choose a transformer rated for at least that total — plus around 20% headroom for future additions. Ten 5W LED fixtures total 50W, so a 75W transformer leaves room to add a couple more lights later. Running a transformer at the edge of its capacity shortens its life and runs hotter than it should.
For a deeper sizing breakdown, see what size transformer do I need?
Wire gauge and run length
Voltage drop is largely a function of wire gauge. Heavier wire (lower AWG number) carries current with less loss. As a rough guide:
- 16 AWG — short runs only, typically under 50 feet at low wattage.
- 14 AWG — medium runs of 50 to 100 feet.
- 12 AWG — long runs over 100 feet, or any heavy circuit.
- 10 AWG — very long runs and trunk lines for hub layouts.
If voltage drop is the issue, upgrading from 16 AWG to 12 AWG often solves it without having to move the transformer.
Daisy chain, hub, or T-method
Landscape lighting is wired in parallel — each fixture taps the main run rather than passing current through the previous fixture. There are three common layouts:
- Daisy chain — one cable runs from the transformer past each fixture in turn. Simplest to install, but voltage drops progressively at each successive fixture.
- Hub (or spider) — the transformer feeds a central junction, which then sends individual short runs out to each fixture. Delivers the most even voltage across the system.
- T-method — the cable splits at a center point and feeds two halves of the run. A middle ground between the other two.
For larger properties, a hub layout — placed centrally with the transformer feeding the hub — is the standard professional choice. Shorter spoke runs to each fixture keep voltage consistent and make it much easier to add or relocate lights later.
Also read: Do Outdoor Lights Require Junction Box?
Does A Landscape Lighting Transformer Need To Be In WiFi Reach?

If you're buying a transformer with WiFi connectivity (Amazon) built in, you can control the lights from your phone without setting timers at the transformer itself. The trade-off is that the transformer has to stay in range of your WiFi router.
Test the signal in advance. Stand where the transformer will be mounted with your phone connected to your home WiFi, and check the reading a few times — what matters is stability, since the signal can vary minute to minute.
You don't need full bars. Smart transformers are low-bandwidth devices and stay reliably connected at modest signal levels. The widely-cited threshold for reliable smart-device performance is around −67 dBm — roughly 2 to 3 bars on most phones — and most controllers still work down to about −70 dBm. If the signal sits below 2 bars or bounces around, the connection will be flaky.
If the spot is marginal, relocate the transformer or add a WiFi extender. Plug it into an outlet inside the house closer to the garden so it can relay the signal out to the transformer.
Final Words
Most quality transformers are listed for wet locations and can live outdoors year-round (check the spec sheet before you buy). The placement rules above — close to the lights, at least 12 inches above grade, plugged into a GFCI outlet with an in-use cover, and securely mounted — are what keep the system safe and the lights performing as designed.
Get those right at install time and the transformer becomes a set-and-forget piece of the system.