
How To Install Under Cabinet LED Strip Lighting?
A strip that peels off within a year almost always failed because of heat, not bad adhesive — and that single variable shapes every decision in a under-cabinet LED install.
 Eugen
EugenEugen Nikolajev
Creator of LED Lighting Info
Hi, I am Eugen. I was always one of those kids who had all sorts of weird lighting gadgets for every occasion.
Now, I want to share my knowledge and experience about lighting with you on LED Lighting Info.
Read my editorial standards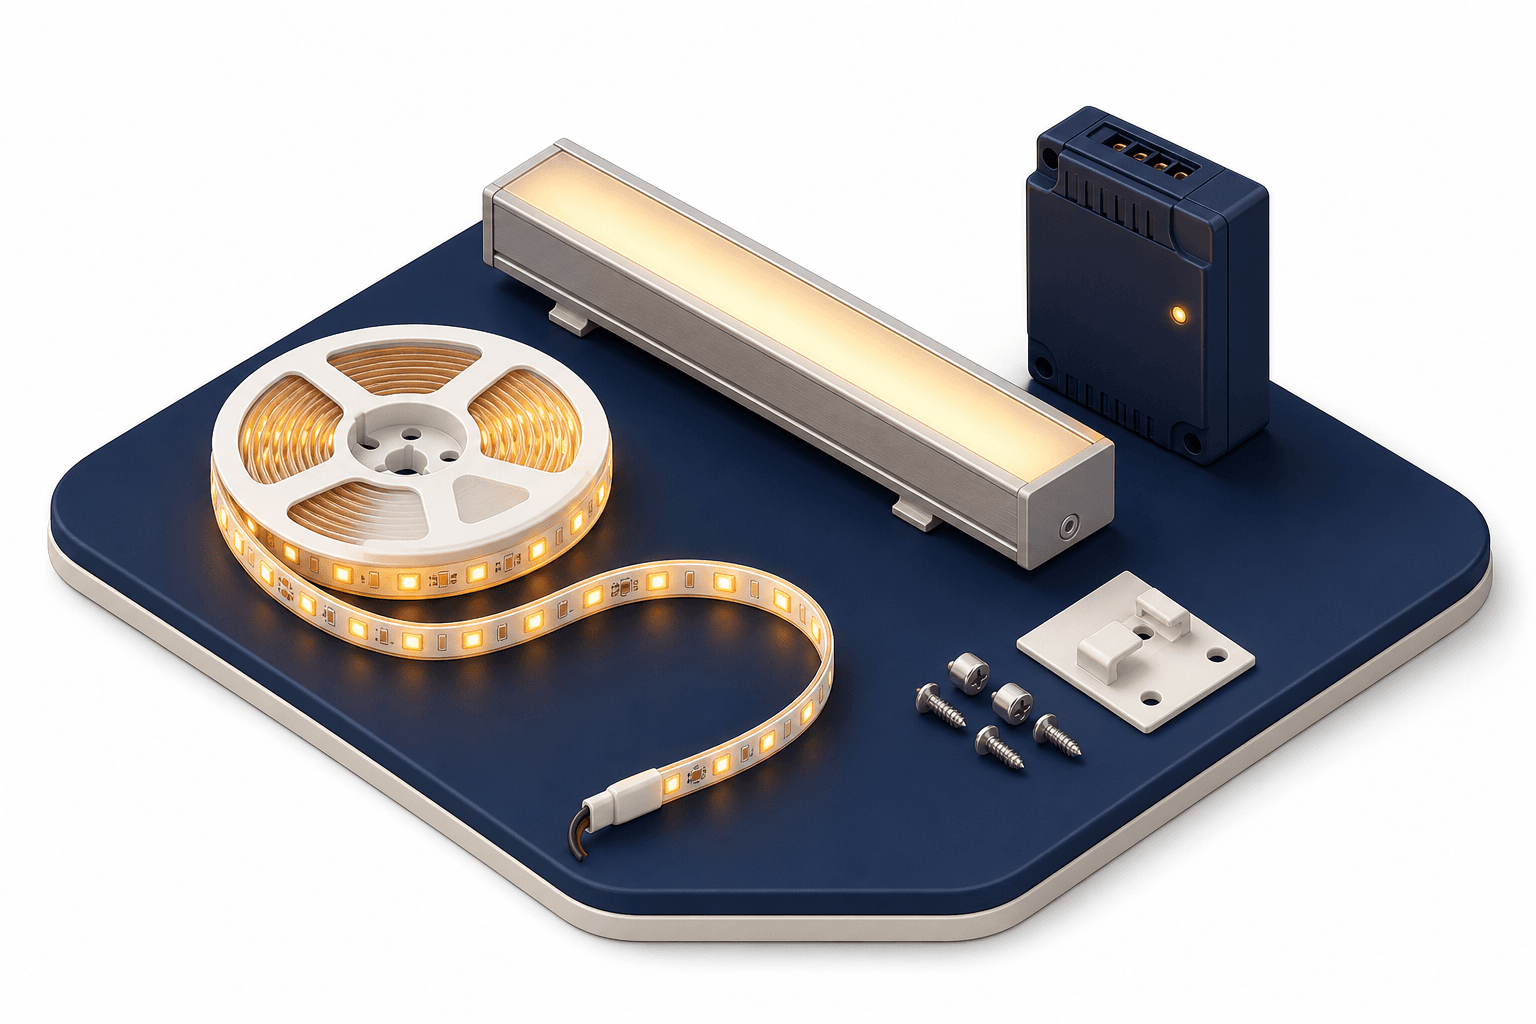
Key Takeaways
Under-cabinet LED strip lights can be installed at the rear of cabinets for ambient lighting or nearer the front for task lighting. Wires can be hidden using cable protectors, aluminum channels, or by running them into the cabinet — but the key is having a power outlet within easy reach.
Under-cabinet LED strips do two jobs at once: they wash your worktops with task light when you're chopping onions, and they give the kitchen a softer ambient glow in the evening. Done well, they're invisible by day and transformative at night. Done badly, they sag, flicker, or peel off the cabinet within a year.
LED strips are well suited to kitchens because they're bright, discreet, and long-lasting — quality strips are rated for 25,000 to 50,000 hours, which is well over a decade at typical kitchen use. The catch is that getting that lifespan out of them depends almost entirely on how they're installed.
Most installations take an afternoon with basic tools. The work that matters is the planning beforehand: where the strips sit on the cabinet, how the wires are hidden, where the power supply lives, and — if you're anywhere near the stove — how you protect against heat and steam.
This guide covers:
- What you'll need before you start
- Where to mount the strips
- How to hide the wiring
- How to wire and power the lights safely
What You'll Need
- LED strip lights — chosen for the right voltage, IP rating, and length (more on this below)
- A UL- or ETL-listed Class 2 power supply matched to your strip's voltage
- Scissors or a strip cutter (strips are marked with cut lines every few LEDs)
- Solderless connectors or a soldering iron to join sections
- Aluminum channel/profile (recommended) for diffusion, heat dissipation, and a finished look
- Cable clips, mounting staples, or cable protectors for wire management
- A drill (only if you're routing wires up through the cabinet)
- Isopropyl alcohol and a clean cloth to prep the mounting surface for adhesive
Where To Mount LED Strip Lights Under Cabinets
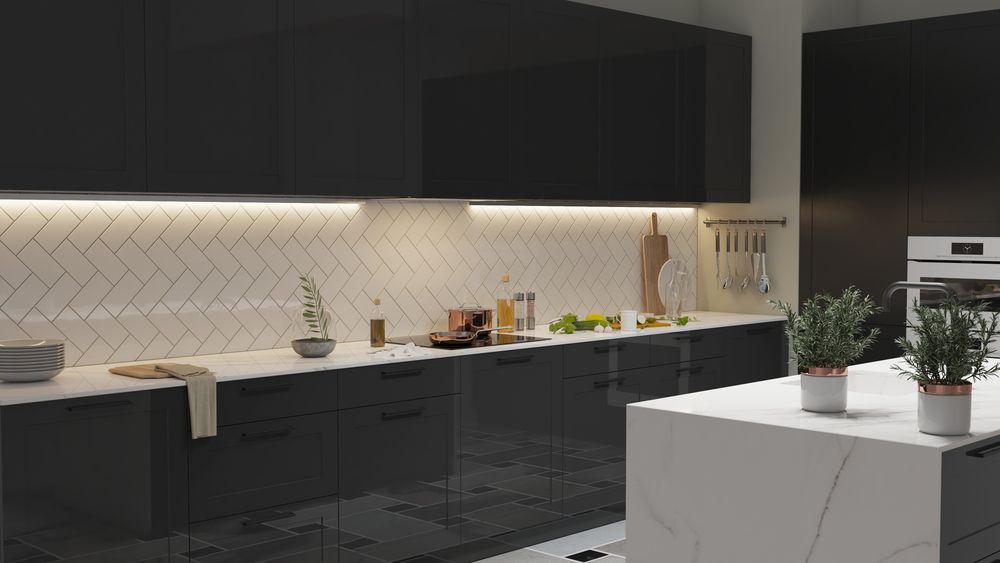
Toe-Kick Lighting (Base Cabinets)
If you're installing strips on the underside of base cabinets to wash light across the floor — commonly called toe-kick lighting — the layout is simple. The toe-kick is the recessed panel below the cabinet doors, and the small overhang above it gives you a hidden surface to mount the strip on.
Because the overhang is shallow, exact positioning isn't critical — anywhere on the underside will be tucked out of sightlines. Aim the strip slightly outward so the light spills onto the floor in front of the cabinet rather than directly down.
Wall-Mounted Cabinets: Ambient vs. Task Lighting
Wall cabinets give you more options because the underside is deeper. Where you place the strip determines what it does:
For task lighting, don't mount the strip right at the front edge — light will spill over the worktop onto the floor and you'll lose the brightness where you actually need it. A mid-front position keeps the cone of light centered on the work surface.
Use an Aluminum Channel
Bare strips work, but aluminum channels (also sold as LED profiles or extrusions) are a significant upgrade and worth the small extra cost. They:
- Diffuse the light through a frosted cover, eliminating the visible "row of dots" effect
- Act as a heatsink, which extends LED lifespan
- Protect the strip from grease, dust, and accidental knocks
- Give a clean, finished look — far better than a piece of tape stuck to wood
Channels mount with small clips screwed into the cabinet underside, and the strip drops into the channel. In my experience, this is the single biggest difference between an installation that looks DIY and one that looks built-in.
Heat And Moisture Near The Stove
Anything mounted near the cooktop has to handle two things: steam and heat. They're separate problems and need separate consideration.
Steam is a moisture problem. Don't be tempted by IP20-rated strips anywhere near a stovetop — IP20 means the strip has zero protection against moisture of any kind and is intended only for dry indoor environments. Steam exposure will damage them and can create a safety hazard.
Look for at least an IP65 rating if the strip is anywhere near steam from the stove — that gives you dust protection plus resistance to water jets from any direction. For installations directly above the cooktop or behind the range, step up to IP67. IP65 resists water jets but isn't specifically rated for sustained steam, so the extra margin matters where vapor is constant.
Heat is a separate concern. Standard LED strips are designed to operate efficiently at ambient temperatures up to about 140°F (60°C). Above a cooktop, ambient temperatures regularly exceed that, and heat does two things: it shortens LED lifespan and it weakens the 3M adhesive backing that most strips rely on. A strip that fell off in six months almost always failed because of heat, not because the adhesive was bad.
For installations directly above a cooktop, look for heat-resistant strips rated to at least 180°F (82°C), and don't rely on adhesive alone — add mechanical mounting (clips, an aluminum channel, or staples) as a backup. An aluminum channel does double duty here, both holding the strip mechanically and pulling heat away from the LEDs.
One more thing worth knowing: building codes typically require at least 30 inches of vertical clearance between a cooktop and combustible material above it (24 inches with a protective shield or a listed range hood). If you're mounting strips under a wall cabinet directly above a range, check that the cabinet itself meets local code before you add anything to it.
How To Hide Under-Cabinet Wiring
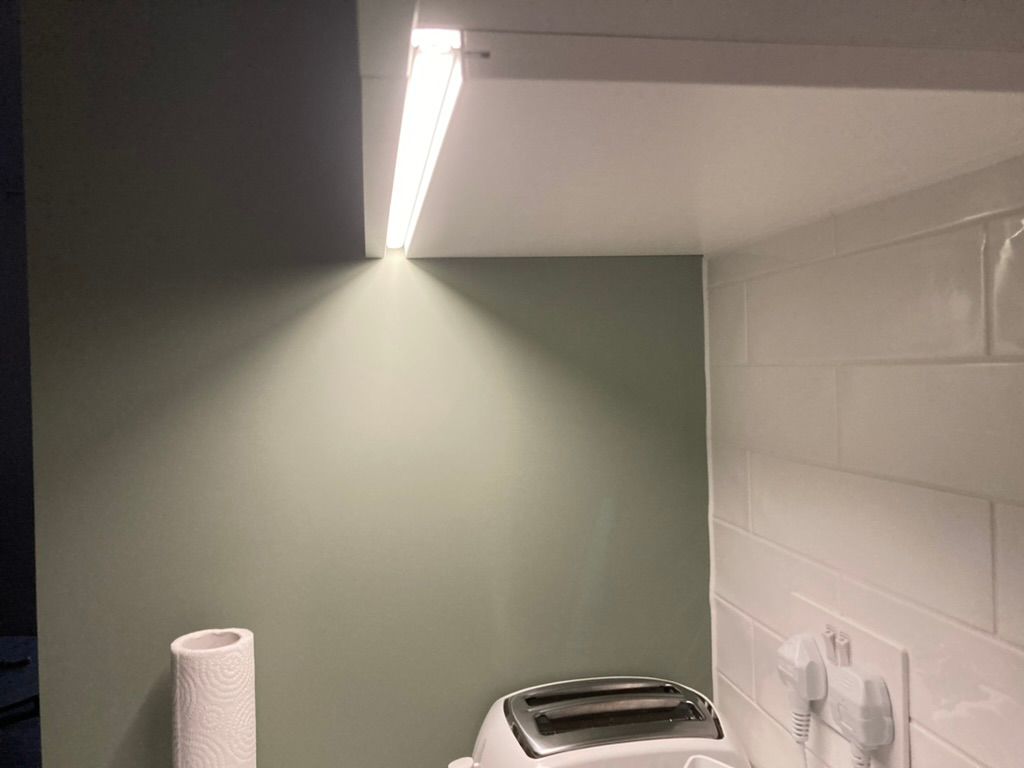
The strips themselves are barely visible — they're a few millimeters thick and tuck against the cabinet underside. The wires are the real visual problem. They can sag, drift toward the front edge, and ruin an otherwise clean install. Three options for hiding them:
Valance
There's a good chance your cabinets already have a valance. If they don't, consider adding one. A valance is a strip of wood that extends below the front edge of wall-mounted cabinets, providing a small lip.
Its primary function is decorative — it stops cabinets from having a harsh squared-off edge — but the lip also blocks any view of the strip and wires from below. If you can add a valance, it's the cleanest hiding method available.
Cable Protector
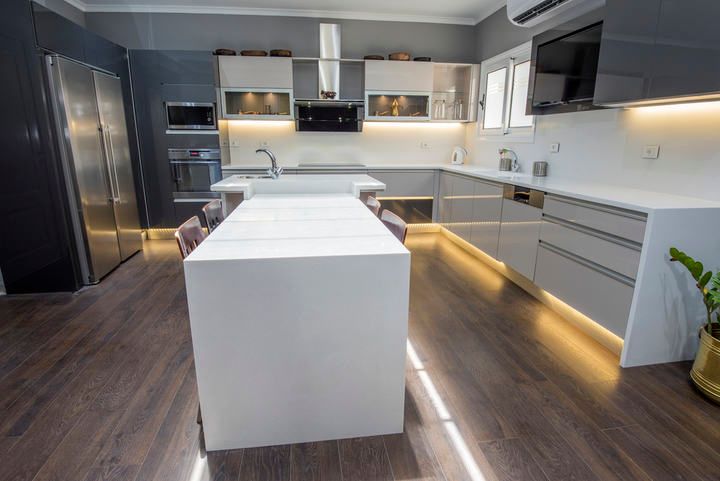
For most installs, a cable protector is the simplest fix. They're cheap, paintable to match the cabinet, and visually disappear once installed. Bundle the wires together and feed them through the protector, then mount it along the cabinet underside or against the wall.
If you don't want to buy a protector, you can cable-tie the wires together and staple them to the underside of the cabinet. It's slightly less tidy, but it's invisible from normal viewing angles. Just be careful not to nick the insulation when stapling.
Run Wires Into The Cabinet
Depending on your kitchen layout, you can drill a small hole through the cabinet base and route the wiring up into the cabinet's interior. The wire is then completely hidden from below, and you only need to manage it inside the cabinet — usually with a small clip against the back wall so it doesn't sag into your dishes.
How To Wire Under-Cabinet LED Lighting
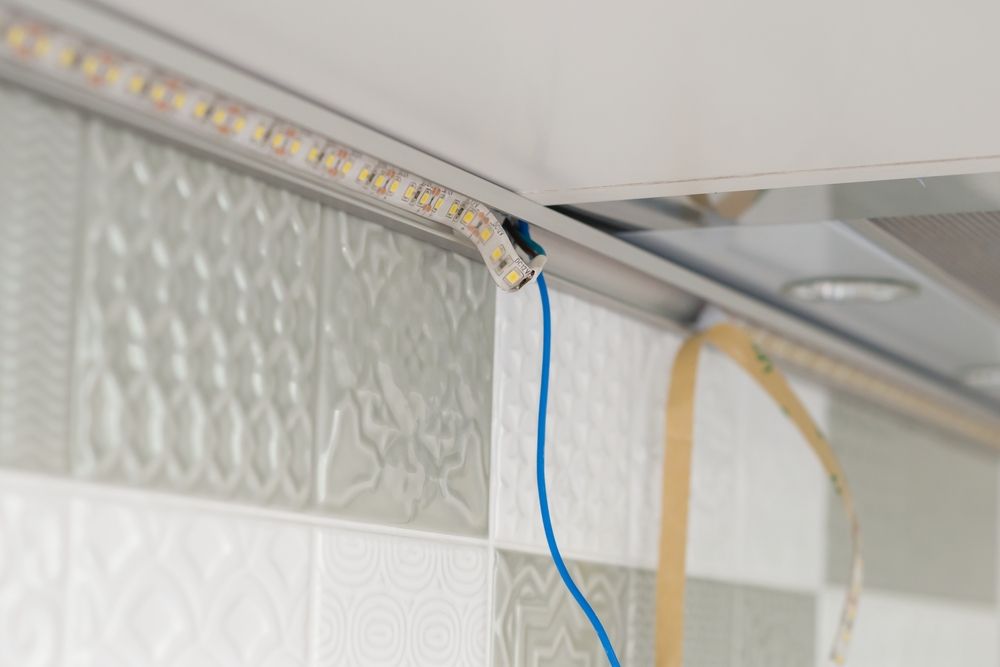
Wiring a low-voltage LED strip is straightforward, but the order of operations matters. Work through these steps:
- Match the power supply voltage to the strip. Most strips run on 12V or 24V DC — check the strip's label and buy a power supply (Amazon) that matches. A 12V or 24V mismatch will either underdrive the strip (visibly dim) or burn it out.
- Use a UL- or ETL-listed Class 2 driver. NEC Article 411 requires listed Class 2 power supplies for permanent LED installations — this matters more than the price difference suggests. An unlisted Amazon adapter may work, but it's a fire and shock risk for a hardwired install.
- Size the supply for your run length. Add up the strip's wattage per meter × total meters and pick a supply rated at least 20% above that. For runs longer than 5 meters (16 ft), use 24V rather than 12V — voltage drop on long 12V runs causes the far end of the strip to be visibly dimmer.
- Plan outlet locations before mounting. The biggest install regret is a perfectly hidden strip with a power cable dangling down to a wall outlet. Identify where each section of strip will get its power before you stick anything down.
- Account for breaks in the cabinet line. If a stove hood or microwave splits the run, you'll either need separate supplies for each side or a wire that crosses behind/over the hood. Two smaller supplies are usually cleaner than one big one with a long detour.
- Hide the supply itself. The best place is inside a cabinet — drill a small hole through the back, plug the supply into an outlet behind the cabinet, and route the low-voltage wire down to the strip. If you're planning a new kitchen, ask the electrician for an in-cabinet outlet now; it's a five-minute change at rough-in and saves hours of cable management later.
Dimming And Smart Control
Most LED strips dim by PWM (pulse-width modulation), and most off-the-shelf rotary or paddle wall dimmers are not PWM-compatible. If you want dimming, the simplest path is to add an inline LED dimmer between the power supply and the strip — these are cheap, plug-and-play, and don't require any wall-side electrical work.
For smart control, look for a strip controller that speaks your platform — Wi-Fi, Zigbee, Matter, or Bluetooth, depending on whether you want Alexa, Google Home, HomeKit, or just an app. The controller sits between the power supply and the strip in the same place an inline dimmer would. If you're choosing now, prefer Matter-compatible controllers for the best long-term ecosystem support.
Final Words
A neat under-cabinet install is mostly a planning exercise. The strips themselves are easy. The work that pays off is choosing the right voltage and IP rating, planning where the power supply lives before you mount anything, and using an aluminum channel if you want the result to look built-in rather than added on.
If you're working anywhere near the stove, treat heat and steam as the constraints that drive your hardware choices — IP67 strips, a heat-resistant rating of 180°F or higher, and mechanical mounting in addition to adhesive. A quality install will run for 25,000 to 50,000 hours, which means you should only have to do this once.
For more on choosing the strips themselves, see my guide to LED strip lights.
| Ambient / Decorative | Task Lighting | |
|---|---|---|
| Position | Rear of cabinet, close to wall | Mid-front of cabinet |
| Effect | Soft, diffused glow on the wall and backsplash | Direct illumination of the worktop |
| Best for | Mood, evening use, accenting the backsplash | Food prep, chopping, reading recipes |