
How To Convert Pool Lights To LED?
A 26W LED can match the output of a 300W halogen pool light — that's not a rounding error, it's why the swap pays for itself faster than most pool owners expect.
 Eugen
EugenEugen Nikolajev
Creator of LED Lighting Info
Hi, I am Eugen. I was always one of those kids who had all sorts of weird lighting gadgets for every occasion.
Now, I want to share my knowledge and experience about lighting with you on LED Lighting Info.
Read my editorial standards
Key Takeaways
Unless you're just swapping the bulb, the best way to upgrade to LEDs is to use the wire from the old light as a fishing line: tape the new cable to the old one and pull it through the existing conduit, up to the deck-mounted junction box where the cord splices to the building-side wiring.
Modern LED pool lights last roughly 30,000–50,000 hours — compared with 1,000–2,000 hours for a halogen — and draw five to eight times less energy for the same brightness. If you swim regularly, the upgrade pays for itself in both energy savings and bulb-replacement labor.
Converting to LED is sometimes a quick bulb swap, sometimes a full fixture replacement — depending on what's already in the pool wall. Neither job is too bad once you know how.
This guide covers:
- Safety, code, and what to check before you start
- How to swap a bulb or replace the whole fixture
- Wattage, voltage, and transformer requirements — plus color-changing options
Before You Start: Safety, Code, and Fitment
GFCI protection is mandatory
‼️ All pool lighting circuits must be GFCI-protected under NEC Article 680, regardless of fixture voltage. Verify GFCI protection is in place and working before you touch anything — it's both a code requirement and the primary safeguard against Electric Shock Drowning, which can be triggered by fault currents far below what would electrocute a person on dry land.
When to call an electrician
A like-for-like LED bulb swap inside an existing fixture is reasonable DIY work. Anything that involves new wiring, replacing a 120V fixture, modifying conduit, or installing or relocating a deck-mounted junction box should go to a licensed electrician — and may require a permit in your jurisdiction.
Confirm the new fixture fits your niche
Pool lights sit in a recessed housing called a niche, built into the wall of the pool. Niche sizes vary by brand and era — small or large, plastic or stainless, with different bolt patterns. Before you buy, measure the niche opening and check the model number stamped inside it, then match that against the manufacturer's compatibility chart for the new LED fixture.
Two people are better than one
Replacing a full fixture is best done with two people — one keeps the new fixture secure poolside while the other pulls the cable through the conduit. If you have to do it alone, anchor the fixture so it can't be jerked into the wall when you pull on the cord.
Test submerged only
Pool lights are designed to be energized only when submerged. This is critical for incandescent and halogen fixtures, which can crack within seconds if powered dry. Many modern LEDs are more forgiving, but follow the manufacturer's instructions — and don't risk the warranty over a quick dry test.
How To Convert Incandescent Pool Lights To LED
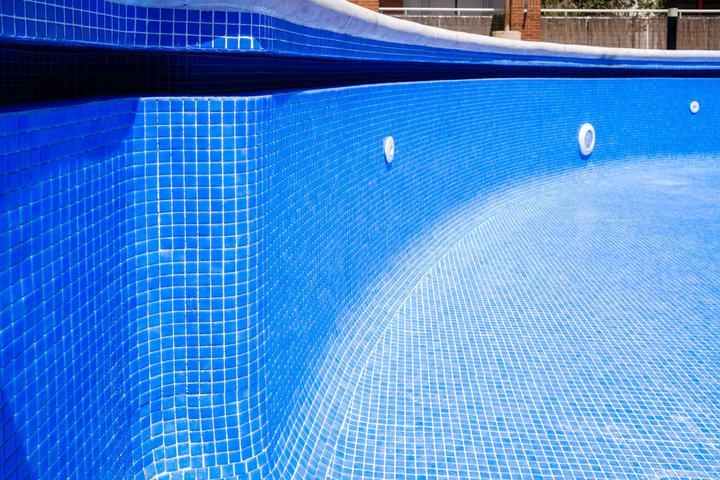
Two paths: swap the bulb inside the existing fixture, or replace the whole fixture with a self-contained LED unit. Most modern LED pool lighting is sold as full fixtures, but a bulb swap is the faster job if your existing fixture is in good shape and uses a standard medium-base socket.
You don't need to drain the pool for either option — power off at the breaker is enough.
Option 1: Bulb-only swap (E26 retrofit)
Older incandescent pool fixtures — Pentair Amerlite, Hayward Astrolite II — typically use an E26 medium-base socket, and E26 LED retrofit bulbs will screw straight in. Important caveat: the bulb must be listed for submerged pool / wet-niche use — a generic indoor LED bulb is not safe in a pool fixture. UL 676 and NEC 680.23(A)(2) require the luminaire as a whole to be listed for the use, and a bulb swap doesn't necessarily preserve that listing. Many pool techs recommend replacing the whole LED fixture instead, since that gives you a UL-listed unit with a properly engineered seal.
If you're going ahead with a bulb swap:
- Switch off the power at the breaker. Confirm with a non-contact voltage tester before reaching into the niche.
- Unscrew the lock screw at the top (12 o'clock) of the niche. Most residential fixtures from Pentair, Hayward, and Jandy use a single lock screw; some commercial or older fixtures may have additional screws, so check yours before you start. If you can't see the screw clearly, use goggles and look underwater.
- Pull the fixture out of the niche. If yours is a wet-niche fixture (the most common residential type), NEC 680.23(B)(3) requires enough cord to land it on the deck for servicing — so you should be able to pull it out and rest it on a towel at the pool edge. Dry-niche and no-niche fixtures are accessed differently and may not behave the same way.
- Remove the lens cover. It's normally held by a clamp ring or a single bolt and sealed by a lens gasket.
- Unscrew the old bulb and screw the LED replacement into place.
- Replace the lens gasket — fit a fresh one with every bulb swap. Reseat the cover and make sure the seal is fully tight.
- Hold the fixture underwater for a few seconds and watch for bubbles. Bubbles mean the seal is failing; reseal before continuing.
- Reinstall the fixture in the niche and reattach the lock screw.
- Switch power back on at the breaker and confirm the light works.
Option 2: Full fixture replacement
A full LED fixture comes with the cable already attached and sealed at the housing — you don't need to open the fixture itself. The job is mostly about getting the new cable through the existing conduit.
Start by following steps 1–3 from the bulb swap above (kill power, remove the lock screw, pull the fixture out and onto the deck). Then:
- Cut the cable of the old light close to the housing.
- Slide the new fixture's mounting bracket onto its cable before doing anything else — once the cable is fed through the conduit, you can't add the bracket. Don't skip this step.
- Tape the cut end of the old cable to the new fixture's cable. Wrap the join in waterproof electrical tape, overlapping generously, so the bare conductors aren't exposed and the splice is smooth enough to pull through the conduit.
- Locate the deck-mounted junction box. Under NEC 680, this code-compliant box sits at least 4 inches above the deck and 8 inches above the maximum water level. Pool fixture cords terminate here, where they're spliced to the building-side conductors that run on to the transformer or breaker. Disconnect the old fixture's cord at the deck box. (If you don't have a code-compliant deck box, stop here — that's an electrician's job.)
- Pull the old cable out from the deck-box end. Because the new cable is taped to it, the new cable comes up through the conduit behind it. Before you start pulling, confirm the new cord is long enough to reach the deck box.
- Once the new cable is at the deck box, remove the tape and discard the old cable.
- Strip the new cable as needed and connect it at the deck box: live to live, neutral to neutral, and ground to ground.
- Slide the mounting bracket into the niche and secure it.
- Attach the fixture to the bracket using the lock screw. Restore power and confirm the light works before final mounting.
If the splice separates mid-pull, you'll need a fish tape (a flat steel ribbon on a reel) or a fish stick to recover the run. Feed the fish tape from the deck box down through the conduit, hook the new cable's end when it emerges into the niche, then pull the fish tape back through the conduit, drawing the new cable with it.
When you remove the old fixture, take note of how the excess cable is coiled in the niche — mirror that arrangement when you install the new light, so the next person to service it has slack to work with.
After connecting power, hold the lit fixture underwater for a few seconds before final mounting and confirm there are no bubbles around the seal. Bubbles indicate a leak that will eventually flood the fixture.
Wattage, Voltage, and Color: What to Know Before You Buy

Wattage equivalents
Watts measure energy use, not brightness — and LEDs produce far more light per watt. A pool LED in the 25–45W range typically delivers the same brightness as a 300W halogen or incandescent fixture (Pentair's IntelliBrite Architectural Series, for example, hits 300W-equivalent output at just 26W). Compare lumens and beam pattern, not watts, when choosing a replacement.
| Halogen / incandescent | Equivalent pool LED |
|---|---|
| 100W | ~12–15W |
| 300W | ~25–40W |
| 500W | ~50–60W |
Voltage and transformers
LED pool lights come in both low-voltage (typically 12V) and line-voltage (120V) versions — major manufacturers like Pentair, Hayward, and Jandy sell both for the same fixture line. 12V fixtures are powered through a step-down transformer; 120V fixtures wire directly to the breaker. Both are permitted under NEC Article 680, with different protection rules — but every pool lighting circuit must be GFCI-protected regardless of voltage.
Check the rating before you buy, and match what's already wired to your pool unless you plan to add or remove a transformer:
- Transformer already in place — buy a 12V LED fixture.
- Line-voltage circuit (no transformer) — buy a 120V LED fixture, or have an electrician install a transformer and wire a 12V fixture instead.
12V systems carry significantly lower risk of serious injury than 120V mains-voltage systems, which is one reason low-voltage installation is the preferred approach for in-pool fixtures under the NEC. The NEC's "low-voltage contact limit" is 15V AC, recognizing that water lowers the body's electrical resistance — but "safer" isn't the same as "safe." Even small fault currents in a pool can cause Electric Shock Drowning by paralyzing a swimmer, which is why GFCI protection and proper bonding are mandatory regardless of voltage. Anything beyond a like-for-like bulb swap should go to a licensed electrician.
White vs. color-changing LEDs
One of the biggest reasons people upgrade to LED — beyond efficiency — is access to color-changing fixtures. Pentair IntelliBrite, Hayward ColorLogic, and Jandy WaterColors all offer RGB LED fixtures with preset color shows controlled from the pool's automation system or a remote. The installation is identical to a white-only LED, so if you're already pulling the old fixture, decide on color before you order — switching later means redoing the whole job.
Do You Need to Drain the Pool?
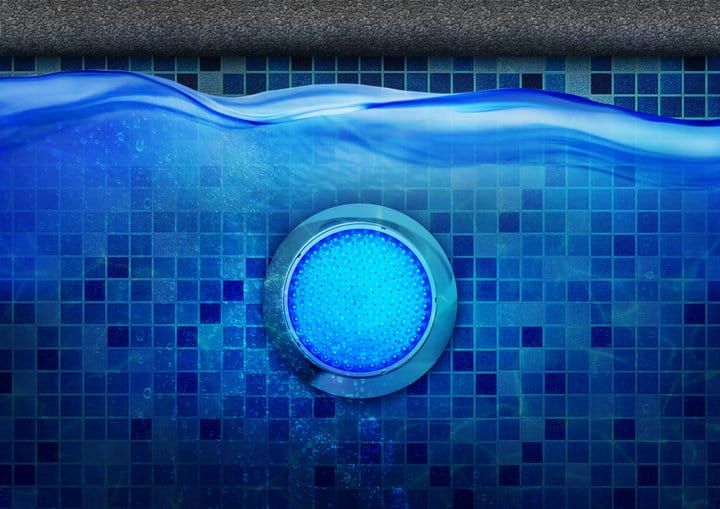
No. Every step of an LED conversion can be done with the pool full. The fixture's cable is sealed at the housing, and the cord between the niche and the deck-mounted junction box runs through a sealed conduit, so no water reaches the wiring as long as the splice you make for pulling the new cable is wrapped tightly in waterproof tape.
The only requirements are that the power is off at the breaker before you reach into the niche, and that GFCI protection is in place once you switch it back on.
Final Words
A bulb-only swap is the simpler job, but most LED pool lighting is sold as a full self-contained fixture — and replacing the whole fixture preserves the UL listing and gives you a properly engineered seal. Either way, the trick is the same: use the existing cable as a fishing line, splice at the deck box, and confirm GFCI protection before energizing.
If the new LED has issues after installation — flicker, intermittent operation, or no light at all — start with the pool light troubleshooting guide before pulling the fixture out again.