
Do LED Lights Work With Old Wiring? (How To + Diagram)
That MR16 spotlight flickering after a bulb swap isn't faulty wiring — it's the old halogen transformer rejecting a load it was never designed to handle.
 Eugen
EugenEugen Nikolajev
Creator of LED Lighting Info
Hi, I am Eugen. I was always one of those kids who had all sorts of weird lighting gadgets for every occasion.
Now, I want to share my knowledge and experience about lighting with you on LED Lighting Info.
Read my editorial standards
Key Takeaways
LED lights work fine with old wiring. They run on standard live and neutral conductors and don't need special cabling. The real compatibility questions are whether the fixture is enclosed, whether the switch box has a neutral, and whether your dimmer is rated for LED loads — all of which I cover below.
When you swap incandescent or halogen bulbs for LEDs, do you need to rewire anything — or will the existing connections in your house do the job?
In this article I'll explain:
- Whether LEDs need special wires
- If LEDs need a neutral wire
- How to wire an LED fixture
- Whether LEDs need special switches
- Voltage, aluminum wiring, and other compatibility gotchas
Do LED Lights Require Special Wiring?
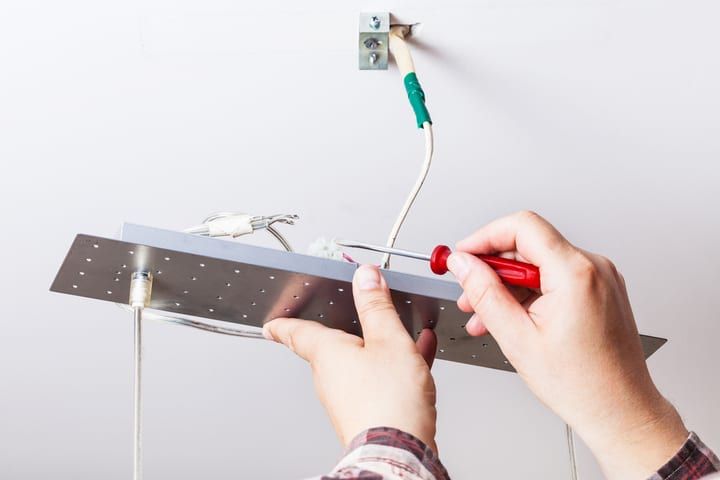
LED bulbs don't need special wiring. They're designed to work in standard light fixtures and contain all the components needed to manage the current and make it suitable for the LED chip.
While LEDs are far more advanced than older incandescents or CFLs, they don't require any overhaul of your home's wiring. They run on the same circuit with live and neutral conductors that any standard fixture uses.
As long as you buy a bulb with the correct base, you simply swap the older bulb for the new one. Just make sure the power is off when you swap the bulbs.
What About Enclosed Fixtures?
Enclosed fixtures — globes, outdoor lantern housings, and recessed cans without ventilation — trap heat around the bulb. An LED that isn't designed for that environment can run hot enough to shorten its lifespan or trigger its thermal protection.
The fix is simple: many LED bulbs are explicitly rated for enclosed fixtures and labeled as such on the packaging. Before installing a bulb in a sealed housing, check the box for an "enclosed fixture rated" mark — Energy Star and ETL listings for enclosed-fixture use are widely available.
Does Wiring Need To Be Shielded?
Cheap LED bulbs with poorly filtered drivers can radiate electromagnetic interference (EMI) that disrupts TVs, radios, or garage door openers. The interference comes from the bulb's switching driver, not the household wiring — so shielding the wiring itself is rarely a practical fix.
The standard remedy is to replace the offending bulb with one that meets FCC Part 15 (US) or EN 55015 (UK/EU) emission limits. As an alternative, you can clip a snap-on ferrite suppressor around the bulb's lead cable so the ferrite encircles both the live and neutral conductors together — that's how a ferrite choke actually suppresses common-mode noise. Wrapping it around just one conductor doesn't work.
Do LED Lights Need A Neutral?
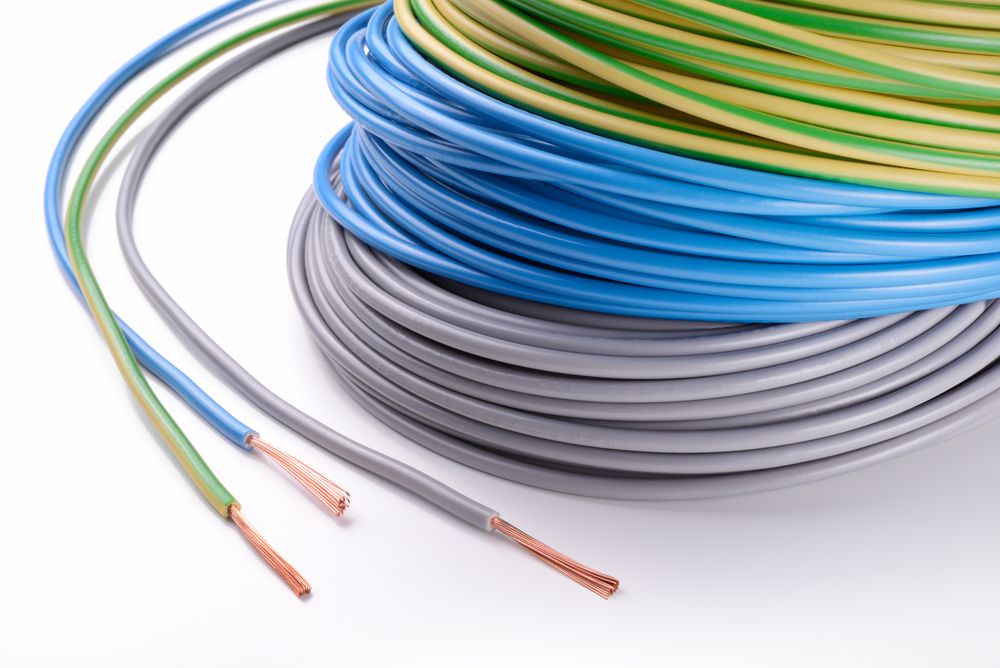
LED fixtures need both a live and a neutral connection at the fixture itself to complete the circuit. Without a neutral, the current has nowhere to return and the light won't turn on.
📝 A quick terminology note: in AC home wiring, there is no "positive" or "negative" conductor — polarity reverses with every cycle. The two current-carrying wires are called live (or hot) and neutral. "Positive" and "negative" are DC concepts and don't apply here.
The confusion usually comes from the switch box, not the fixture. Older homes were often wired with only a hot conductor reaching the switch — the neutral was spliced through at the fixture and never brought down to the switch location. That's fine for an old toggle switch, but it becomes a problem for smart switches and dimmers that need a neutral to power their electronics.
In the US, NEC 2011 §404.2(C) and later editions require a neutral conductor at most switch locations controlling lighting loads, with limited exceptions for raceway runs and accessible framing cavities. Homes wired before that rule was adopted often have only a hot wire at the switch. The fixture itself, on the other hand, has always needed both conductors.
Do LED Lights Need To Be Grounded?
Whether a fixture must be grounded depends on the fixture's construction class and your local code, not on whether you're using an LED bulb.
- Class I (metal-bodied) fixtures require an earth/ground connection. The ground gives a fault current a safe path back to the panel, tripping the breaker before the fixture's metal body becomes live.
- Class II (double-insulated) fixtures are designed to be safe without an earth connection — the marking is a square inside a square.
An LED bulb will light up either way — but that's an electrical question, not a safety one. If the fixture has a ground terminal and your wiring includes a ground conductor, always connect it.
How To Wire A LED Light Fixture
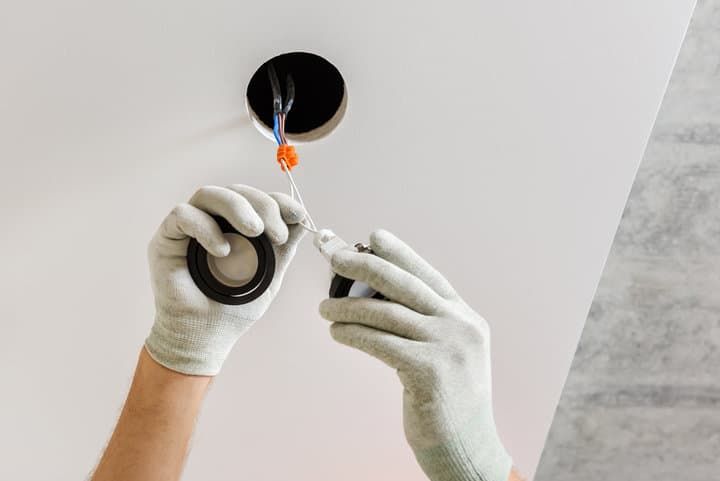
LED fixtures wire up the same way as any other AC fixture: live to line, neutral to neutral, ground to ground. Switch off the breaker before you start, and confirm the wires are dead with a non-contact voltage tester.
The wires you'll be matching depend on your jurisdiction:
| Conductor | US (NEC) | UK post-2006 | UK pre-2006 |
|---|---|---|---|
| Live / hot | Black (red is a 3-way traveler or second 240 V hot) | Brown | Red |
| Neutral | White | Blue | Black |
| Ground / earth | Green or bare copper | Green/yellow | Green/yellow |
Most ceiling fixtures connect either by joining bare wires together with wire nuts, or by landing them under a terminal-block screw. The procedure differs slightly between the two.
Scenario A: Joining To Existing Wires (Wire Nuts)
- Switch off the breaker and confirm the wires are dead.
- Strip about 1/2 inch (12 mm) of insulation from each fixture lead and the matching house wire.
- Hold the live fixture lead alongside the live house wire (black-to-black in the US), twist them together clockwise, and secure with a wire nut.
- Repeat for the neutral pair (white-to-white in the US).
- Connect the ground (green or bare copper) to the fixture's ground lead or grounding screw.
- Tug each connection gently to confirm it's secure, then tuck the wires neatly into the box and mount the fixture.
Scenario B: Connecting To A Terminal Block
- Switch off the breaker and confirm the wires are dead.
- Strip 1/2 inch (12 mm) of insulation from the live, neutral, and ground house wires.
- Loosen the line/hot terminal screw, insert the live wire, and tighten the screw firmly.
- Repeat for the neutral terminal and the ground/earth terminal.
- Tug each conductor gently to confirm it's clamped under the screw, not just resting against the head.
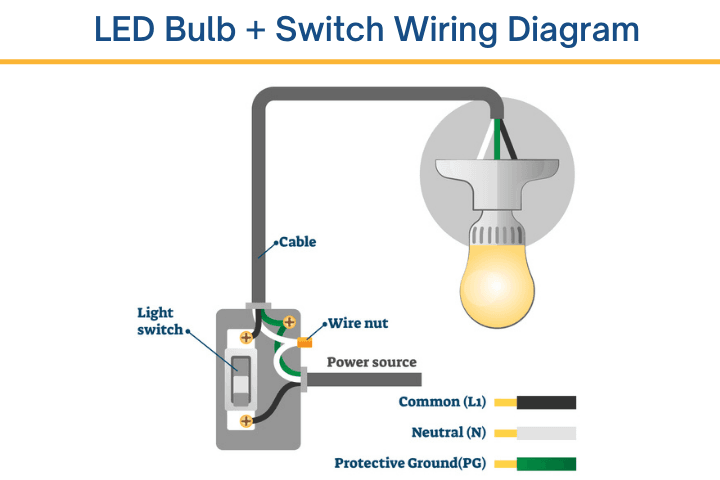
LED Light Fixture Wiring Diagram
Here's a diagram showing the wiring for an LED fixture with a basic switch:
Line Voltage vs. Low-Voltage LEDs
Before you buy a replacement bulb, check whether the fixture runs on line voltage (120 V in the US, 230–240 V in the UK/EU) or on low voltage (12 V or 24 V). Most ceiling fixtures and lamps are line voltage, but recessed spotlights and landscape lights often aren't.
MR16 and GU5.3 spotlights are the classic trap — they're 12 V lamps fed by a transformer hidden in the ceiling. Halogen MR16s ran on old magnetic or electronic transformers designed for resistive loads in the 20–60 W range. Drop a 5 W LED MR16 into that fixture and you may get flicker, buzzing, or refusal to start: the LED's load is below the transformer's minimum, and the transformer's switching frequency may not match what the LED driver expects.
If you're moving from low-voltage halogens to LEDs, either pick LED lamps explicitly listed as compatible with your existing transformer, or replace the transformer with an LED-rated driver.
A Note On Aluminum Wiring
Homes built in the US between roughly 1965 and 1975 were often wired with solid aluminum branch-circuit conductors. Aluminum expands and contracts more than copper and oxidizes when in contact with copper or brass terminals — connections work loose over time, which is a known fire hazard at fixtures, switches, and outlets.
If you have aluminum branch wiring, don't simply twist the fixture's copper leads to your aluminum house wire. The safe options are CO/ALR-rated devices, AlumiConn or COPALUM connectors made for joining aluminum to copper, or a full pigtailing repair done by a licensed electrician. If you're unsure what wiring you have, get a qualified electrician to look before you start swapping fixtures.
Do You Need A Special Switch For LED Lights?
LED bulbs work with any regular switch. A standard two-way or three-way switch just breaks the circuit when it's off, so there's nothing to be incompatible with. Smart switches that need a neutral are a separate question — covered above.
Dimmers are different. Traditional leading-edge (TRIAC) dimmers were designed for incandescent bulbs and chop the AC waveform in a way that LED drivers tolerate poorly — causing flicker, buzz, or premature failure. Trailing-edge (reverse-phase) dimmers, and dimmers explicitly marked "LED-compatible," are the right choice.
Even an LED-rated dimmer can misbehave if the load is below its minimum. Most dimmers have a minimum load somewhere between 25 W and 40 W. Because LEDs draw so little — a typical bulb is 6–10 W — a circuit with only one or two LED bulbs may fall below that threshold, causing buzzing, flicker, or refusal to dim smoothly. Check the dimmer's spec sheet for a minimum LED load (often expressed as "min. 5 W LED" on newer dimmers) before pairing it with a small fixture.
And of course — only dimmable LED bulbs work on a dimmer at all. Non-dimmable bulbs on a dimmer will flicker, hum, or fail. Read my guide on LED dimmer compatibility for more detail and a checklist of what to match.
Final Words
LEDs run on the same wiring any standard fixture has used for decades, so old wiring isn't a barrier to switching over. The compatibility checks worth running before you install:
- Both live and neutral reach the fixture (always required).
- If the fixture is enclosed, the bulb is rated for enclosed fixtures.
- If you're using a dimmer, both the dimmer and the bulb are LED-rated, and the load meets the dimmer's minimum.
- If the fixture is low-voltage (12 V MR16 etc.), the existing transformer is LED-compatible — or replace it.
- If the home has aluminum branch wiring, a licensed electrician handles the connection.
If your LEDs aren't behaving after the swap, my top troubleshooting guide walks through how to diagnose and fix the most common issues.