
What Gauge Wire Do I Need For Landscape Lighting?
Run 60W of lights across 50 ft of 16/2 wire and you'll lose 2.72V before a single fixture even turns on. That's not a wiring quirk — it's why gauge choice quietly ruins otherwise well-planned installations.
 Eugen
EugenEugen Nikolajev
Creator of LED Lighting Info
Hi, I am Eugen. I was always one of those kids who had all sorts of weird lighting gadgets for every occasion.
Now, I want to share my knowledge and experience about lighting with you on LED Lighting Info.
Read my editorial standards
Key Takeaways
The most common cable gauge used for outdoor lighting is 12/2. Although if you're running cables over longer distances or adding more lights in series, you may want a thicker cable such as 10/2 or even 8/2. This will prevent voltage drop from affecting your lights.
The wire gauge you choose for landscape lighting determines how far your system can run and how bright your lights will actually be. Undersize it, and even a perfectly-planned setup will dim or flicker at the far end.
Your outdoor lighting cable will impact how far you can run the wire and how many lights you can add without any voltage drop.
There's a lot to break down when it comes to wire gauges, so let's look at:
- Which gauge you need for low voltage lighting
- The difference between 14/2 and 12/2 wire
- When 16/2 wire actually makes sense (and when to avoid it)
- How wire gauge impacts voltage drop — and how to calculate it
- Daisy chain vs. home run wiring layouts
What Gauge Wire For Low Voltage Landscape Lighting?
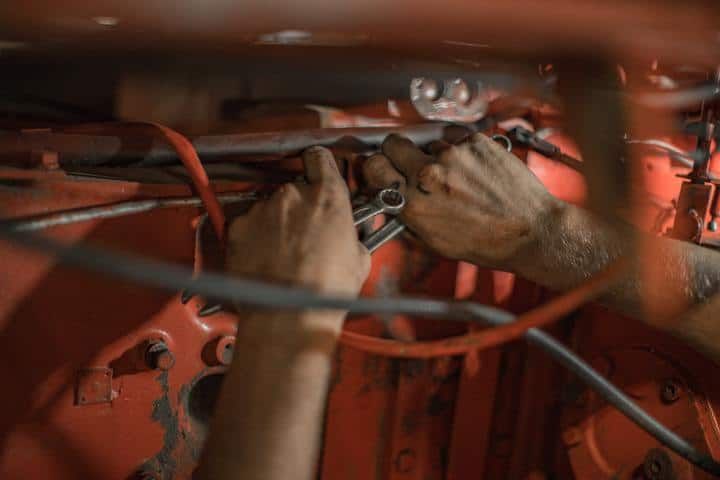
There are two main considerations when choosing your wire for your outdoor lighting setup: which type of wire to use, and what gauge to buy.
Wire Type
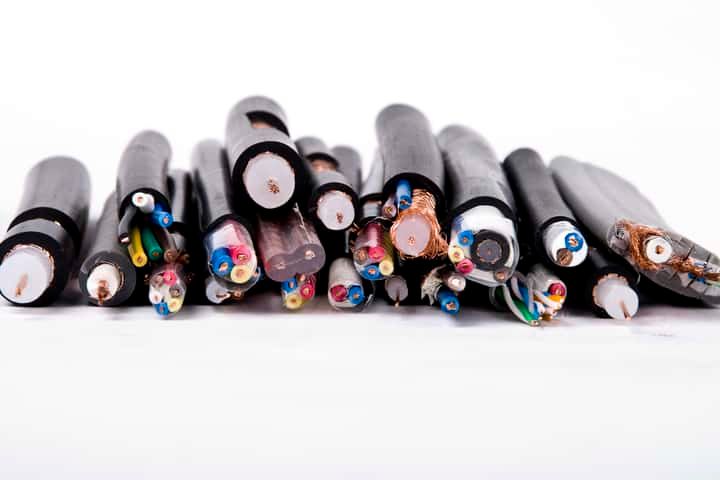
You'll struggle to find any outdoor lighting cables that aren't copper — it's the best balance between cost and performance of any conductive material.
When it comes to wire type, what matters is how suitable the cable is for underground use:
- Outdoor cable is safe to use outdoors and resistant to moisture and UV damage, but it shouldn't be buried.
- Underground burial cable is designed to be used underground but it needs a conduit — it's not tough enough to directly withstand the pressure of the earth.
- Direct burial cable is fully protected for underground use and doesn't need a conduit or sleeve.
Most cables you'll find will be rated for direct burial if you're searching for landscape lighting but it's worth checking before you purchase.
Gauge Chart
The wire gauge is a measurement of how thick the wire is, and it's important that you choose the right one for your lighting circuit. A cable that doesn't support your design won't deliver enough power to all your fixtures, so they may look inconsistently bright or flicker.
⚠️ AWG is counterintuitive: a lower gauge number means a thicker wire. 8/2 is thicker than 12/2, which is thicker than 16/2.
In North America, wire is measured in American Wire Gauge (AWG). The largest size in the AWG system is 0000 (4/0), at 0.46 inches (11.7 mm) across — conductors thicker than that exist, but they're measured in kcmil (thousands of circular mils) rather than AWG.
After 000, 00, and 0, the scale runs from 1 through 40. The thinnest widely-available cable at most hardware stores is around 26 AWG (0.0159 inches / 0.4 mm). Thinner gauges — 28, 30, all the way down to 40 — do exist, but they're only used for electronics and specialty work, not lighting circuits.
For outdoor lighting, the common choices run between 8 and 18, and they're usually sold in even steps: 8, 10, 12, 14, 16, and 18.
Wires have a number after the slash, almost always 2, so landscape lighting wires are sold as 8/2, 10/2, 12/2, and so on. The "2" refers to the number of conductors inside the cable.
Here's why the thickness of the wire matters. Thicker wire:
- Is more expensive, because it uses more copper
- Is less flexible, which can make it a little harder to pull through tight spaces
- Can handle more wattage
- Will have less voltage drop over longer distances
Here's how the common landscape lighting gauges compare:
| Wire gauge | Conductor diameter (in / mm) | Max wattage at 12V | Typical use |
|---|---|---|---|
| 18/2 | 0.0403 / 1.02 | 96W | Low-wattage accents, very short runs |
| 16/2 | 0.0508 / 1.29 | 132W | Short runs, a handful of small fixtures |
| 14/2 | 0.0641 / 1.63 | 192W | Smaller installs, moderate runs |
| 12/2 | 0.0808 / 2.05 | 240W | Most residential installations |
| 10/2 | 0.102 / 2.59 | 360W | Long runs or higher-wattage systems |
| 8/2 | 0.129 / 3.26 | 480W | Very long main feeds, large installs |
The diameters listed are for a single bare conductor. The full cable — with insulation and jacket — will be noticeably thicker than these numbers, so don't be surprised if what you buy measures larger overall.
The max wattage figures are industry-standard ratings at 12V (the voltage used by nearly all low-voltage landscape lighting). They represent an absolute ceiling for the gauge — not a usable maximum at any run length. The longer your cable, the less wattage it can handle before voltage drop becomes a problem. The voltage drop formula below is how you find the real limit for your setup.
You can also run multiple circuits from a single transformer, so these wattage figures apply to each cable run individually. If you have a large setup with 400W of lighting, you could split it across two 12/2 runs rather than upsizing to a single 10/2.
You're also limited by your transformer. Even with 10/2 wire, if your transformer has a maximum wattage rating of 200W, that's your hard ceiling.
As a best practice, load your transformer to no more than 80% of its rated capacity. This leaves thermal headroom, accommodates inrush current when lamps start up, and extends the transformer's life. It also aligns with the NEC's 80% rule for continuous loads — fixtures running 3+ hours, which is typical for landscape lighting.
Difference Between 14/2 vs 12/2 Landscape Wire
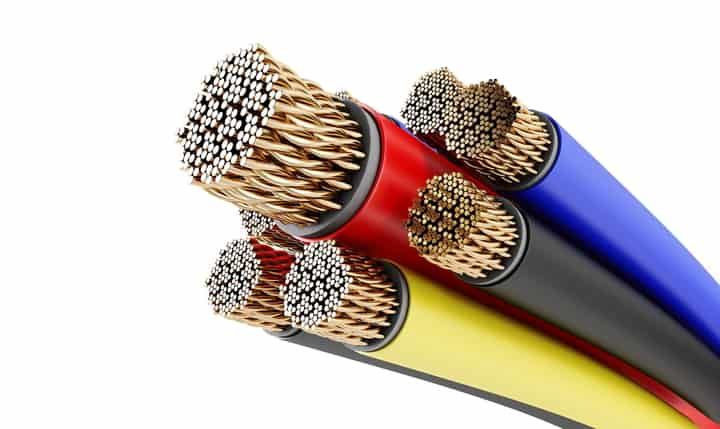
14/2 landscape wire is thinner than 12/2, which makes it cheaper but also means it can't carry as much wattage or run as far before voltage drop sets in.
12/2 is the most popular choice for landscape wiring because of its balance between cost and performance. At 12V, 12/2 is rated for up to 240W and 14/2 for 192W — but as with all of these numbers, the usable maximum always depends on how far you're running the cable. Check the voltage drop section below to work out the limit for your specific installation.
How Far Can You Run 16/2 Wire?
How far you can run 16/2 depends entirely on how much wattage is on it. The 132W "max wattage" rating is a property of the wire itself, not a guarantee that you can run 132W down 100 feet of it — at those numbers, the voltage drop would be so severe the fixtures would see essentially no power.
Realistic limits for 16/2 on a 12V system, keeping voltage drop under 5%:
- About 30 ft at 40W of connected lights
- About 50 ft at 25W
- About 100 ft at roughly 12W — you're down to a couple of small LED spots at that point
The takeaway: 16/2 is best reserved for short runs with light loads. For anything longer or heavier, step up to 14/2 or 12/2 and run the voltage drop formula to confirm.
Daisy Chain vs. Home Run Wiring
Before you pick a gauge, it helps to decide how you're going to run your wire from the transformer to your fixtures. There are two common layouts:
- Daisy chain: fixtures are connected one after another along a single cable. It's simpler and uses less wire, but the lights farthest from the transformer see the biggest voltage drop — so they can end up dimmer than the ones near the start.
- Home run (hub method): each fixture, or each small group of fixtures, is run on its own cable back to the transformer (or to a central hub). It uses more wire and takes more work to install, but every fixture sees close to the same voltage, so brightness stays consistent across the whole setup.
Daisy chains work fine for short runs with a few low-wattage fixtures. For longer layouts, larger fixture counts, or anything pushing your wire's practical limits, home runs make the voltage drop much easier to manage — and much easier to calculate.
Does Bigger Wire Gauge Reduce Voltage Drop?

Every electrical conductor has resistance, including simple copper wire. For every foot of cable the current travels, you'll lose a little bit of voltage to that resistance.
It's marginal per foot, but when you're running landscape lighting over long distances, it adds up quickly.
"Bigger" wire — the thicker wire with a lower AWG number — reduces voltage drop because its resistance is lower. Less voltage is lost across the distance, so more reaches your fixtures.
You can use a simple formula to calculate voltage drop before you install anything — no trial-and-error digging required.
Wire Constants for Copper
First, you need the wire constant. This encodes the resistance per unit length for each gauge, pre-calculated for a 12V system so the arithmetic stays simple. Since almost all landscape wiring is copper, here are the values you need:
| Wire Gauge | Constant |
|---|---|
| 18/2 | 1380 |
| 16/2 | 2200 |
| 14/2 | 3500 |
| 12/2 | 7500 |
| 10/2 | 11920 |
| 8/2 | 18960 |
Note: these constants are derived specifically for 12V systems. If you're running a different voltage, they won't apply — you'd need to recalculate using the wire's resistance in ohms per foot.
The Voltage Drop Formula
Voltage drop = (length × wattage) ÷ wire constant × 2
Step by step:
- Multiply the wire length (in feet) by the total wattage of the lights on that run.
- Divide the result by the wire constant for your chosen gauge (from the table above).
- Multiply by 2 to account for the current's round trip down the cable and back.
- Compare the result to the voltage drop threshold (see below).
Aim for a drop of less than 0.6V (5% of a 12V supply). Under 0.4V (3%) is ideal. A drop of 1V or more will start to cause noticeable dimming on halogen fixtures — LEDs are more forgiving, but they still perform best when they receive close to their rated voltage.
Worked Example
Say you're running 60W of lights on a 50 ft cable and you want to check whether 16/2 will work:
- 60W × 50 ft = 3,000
- 3,000 ÷ 2,200 (16/2 constant) = 1.36
- 1.36 × 2 = 2.72V dropped across the length of the wire — way too high.
Swap in 12/2 cable and run the numbers again:
- 3,000 ÷ 7,500 = 0.4
- 0.4 × 2 = 0.8V dropped — just inside the 5% threshold, and well within acceptable limits.
Stick with this formula and you'll have no trouble picking the right gauge for any lighting run. Just keep the constants table handy.
Use Voltage Taps to Compensate on Long Runs
Upsizing wire isn't the only way to fight voltage drop. Many landscape lighting transformers come with multiple output taps — typically 12V, 13V, 14V, and sometimes 15V — that let you send a slightly higher voltage down the cable to compensate for what's lost along the way.
If fixtures at the end of a long run measure only 10V when fed from the 12V tap, moving to the 13V or 14V tap pushes the voltage at the fixture back up into the ideal 11–12V range. It's a faster, cheaper fix than re-running heavier wire, and manufacturers frequently recommend using taps and wire sizing together on larger installations.
One caveat: LED fixtures generally tolerate 8–15V without issue, but halogens need to stay within 10–12V strictly. If you're on the higher taps, verify your fixture's rated voltage range before powering up.
Quick Decision Guide
If you want a shortcut, here's a rough starting point — always confirm with the voltage drop formula before you bury cable:
- Under 100 ft with under 150W: 12/2 is the safe default for most residential setups.
- Over 150 ft or over 200W: step up to 10/2, or split the load across multiple 12/2 home runs.
- Short decorative runs with small fixtures: 14/2 is usable; 16/2 only for very short runs (under ~30 ft).
- Very long main feeds or high-wattage commercial jobs: 8/2.
Final Words
Cost and max wattage matter, but voltage drop is almost always the deciding factor when you're choosing a wire gauge — especially once your circuit gets past 50 feet. Too much drop and you'll see dimming or flickering in your lights, spoiling the overall effect.
With the formula above, you can work it out on paper before you lay any cables — no guesswork, no digging things up to redo them.
If you've already installed your landscape lighting, which wire gauge did you go for?