
How To Install 120V Landscape Lighting?
A small voltage drop that barely registers on a 120V circuit can visibly dim your fixtures at 12V — which is why transformer placement and wire gauge matter more than most installers expect.
 Eugen
EugenEugen Nikolajev
Creator of LED Lighting Info
Hi, I am Eugen. I was always one of those kids who had all sorts of weird lighting gadgets for every occasion.
Now, I want to share my knowledge and experience about lighting with you on LED Lighting Info.
Read my editorial standards
Key Takeaways
To install landscape lights from a 120V supply, you'll need a transformer to step the power down to 12V. Most transformers output 12V AC, which modern LED landscape lamps handle via a built-in rectifier. The transformer must plug into a GFCI-protected, weather-resistant outdoor outlet, and the low-voltage cable must be buried at least 6 inches deep (18 inches under driveways) per NEC 300.5.
Most outdoor landscape lighting runs at 12V, not 120V, and for good reason. There aren't many true 120V landscape fixtures on the market: a handful of porch lights wired into an internal circuit, well lights on dedicated outdoor circuits, and the occasional spotlight that plugs straight into an outlet.
For a proper landscape lighting system, line voltage isn't practical. Instead, you'll run low-voltage 12V fixtures off a transformer that steps your home's 120V supply down to a safer, code-friendly level.
There's more to it than that, so let's look at:
- The best way to lay out the wiring
- How to choose your transformer
- How to connect fixtures and bury the cable safely
- A step-by-step installation guide
- What to check when lights don't work
Single Run Or Multi-Run Wiring?
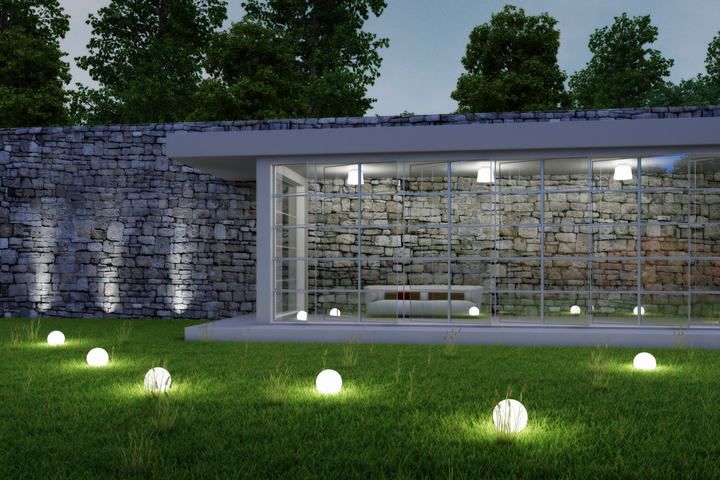
Any landscape lighting installation starts with planning. Work out which fixtures you want, where they'll go, and how much total wattage they'll draw. Those numbers drive both your wire choice and your transformer sizing.
You'll often hear installers refer to "series" versus "parallel" wiring, but in practice almost every 12V landscape system is wired in parallel — the lights tap off a shared two-conductor cable. The real layout choice is between a single run (daisy-chain) and a multi-run (hub-and-spoke or T-method) layout.
A single run is simpler to install: one cable leaves the transformer and every fixture taps into it as the run continues. The downside is voltage drop — fixtures further from the transformer get dimmer.
A multi-run layout splits your fixtures across several shorter cables, all leaving the transformer's hub. It takes more planning, but you get two big benefits:
- Each run carries less load, so voltage drop is reduced and fixtures stay closer to full brightness
- A break or bad connector on one run only kills that run — the others keep working
If you can, plan for multiple runs from the start. Even a small system is easier to expand later when each run has spare capacity.
What Transformer Do I Need?
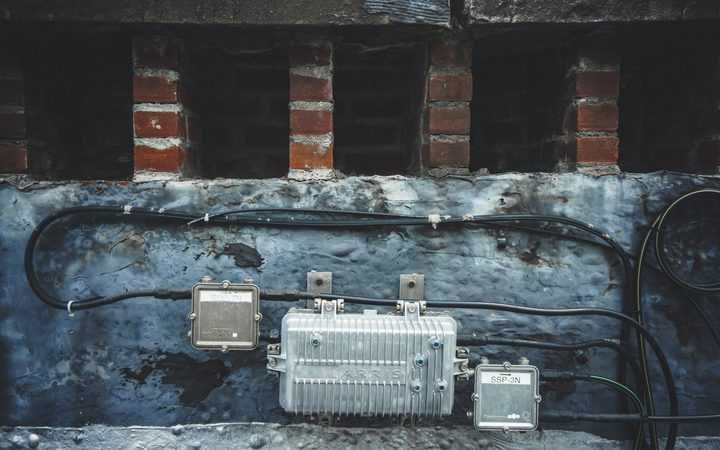
The transformer is the brain of your low-voltage system. It steps your 120V supply down to 12V and feeds every fixture in the circuit, so this is one piece you don't want to cut corners on.
Where To Install The Transformer
Landscape lighting transformers come rated for indoor or outdoor use. Most are designed to be installed outside in a sealed metal enclosure that keeps the circuitry waterproof. Wires enter from the bottom, so mount the transformer with enough clearance from the ground to keep splashing water out of the cable entries.
The transformer plugs into a 120V outlet — but not just any outlet. Per NEC 210.8(F), every outdoor receptacle must be GFCI-protected, and per NEC 406.9 it must be a Weather-Resistant (WR) receptacle with an in-use ("bubble") cover so it stays sealed even with the transformer plugged in.
Wiring the 12V side of the system is DIY-friendly. Installing or modifying the 120V outlet itself is not — most jurisdictions require a permit and a licensed electrician for any new line-voltage work. If you don't already have a code-compliant outdoor GFCI outlet, get one installed before you start the low-voltage build.
Otherwise, mount the transformer as close to your fixtures as you can without spoiling the look. A small percentage drop on a 12V supply has a far bigger effect on brightness than the same drop on 120V, so shorter cable runs are always better.
Choosing Your Transformer Model
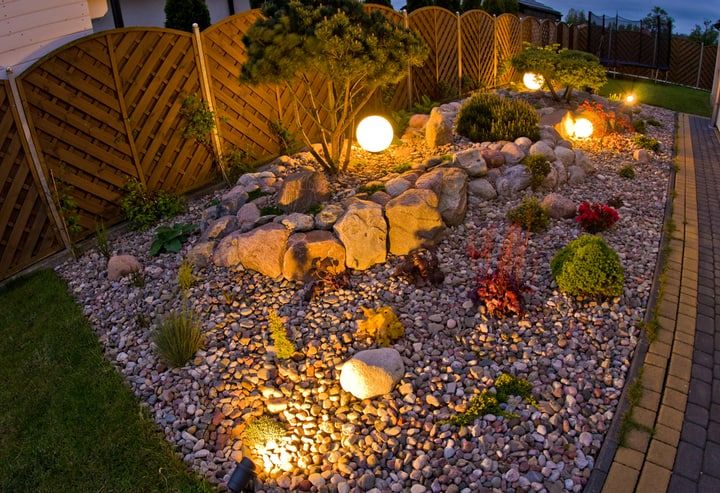
Common landscape transformer sizes range from 75W and 100W up through 150W, 200W, 300W, 600W, and larger commercial units. The wattage figure is the maximum peak rating, not the steady-state load you should run on it — keep continuous load to 80% of the rating to leave headroom and protect the transformer.
So add up your fixtures' total wattage and choose a transformer at least 25% larger. Go bigger again if you might add lights later.
| Transformer Size | Best For | Notes |
|---|---|---|
| 75W–100W | A handful of LED path or accent lights | Plenty for a small front-yard install |
| 150W–200W | Mid-size systems mixing path and spot lights | The most common range for residential use |
| 300W | Larger residential systems or upgraded halogen circuits | A common upgrade target |
| 600W and up | Whole-property installs or commercial use | Often multi-tap with separate output terminals |
Finally, decide how the transformer will switch on and off. Most have a built-in mechanical timer; pricier models offer digital timers with multiple programs. Many also include a photocell (also called a dusk-to-dawn or photoelectric sensor) that turns the lights on at sunset and off at sunrise, or a photocell port so you can add one later.
One compatibility note worth knowing: standard landscape transformers output 12V AC, and modern LED landscape lamps run on AC because they include a built-in bridge rectifier. Older magnetic transformers, however, can flicker, hum, or fail to start with low-wattage LED loads — if you're upgrading an incandescent or halogen system, plan to replace a magnetic transformer with an electronic LED-rated one. Some newer LED-specific systems use 12V DC drivers instead of AC transformers; if you have DC drivers, only pair them with DC-rated lamps.
How To Connect Landscape Wiring?

With lights and transformer chosen, all that's left is the wire that ties them together — and the connectors at every fixture.
Wire Type And Thickness
Two things matter when choosing wire: thickness and burial rating.
Thickness is measured in AWG, where higher numbers mean thinner wire. Thinner wire has more resistance, which means more voltage drop — and at 12V, even a small drop dims fixtures noticeably. As a rule of thumb, 16 AWG handles most LED runs under 100 feet; for runs over 100 feet or systems pulling more than ~150W, step up to 14 or 12 AWG. For sizing by run length and load, see my full guide to landscape lighting wire gauge.
Voltage drop becomes a real-world problem when fixture voltage falls below about 10.8V. You'll see fixtures at the far end of a run looking visibly dimmer or color-shifted compared to those near the transformer. If you spot that after install, the wire is too thin, the run is too long, or both.
Wire type matters because most landscape cable will end up underground. Direct-burial low-voltage cable (sometimes labelled "landscape" or "low-voltage outdoor") is the easiest to work with — no conduit needed. Per NEC 300.5, low-voltage landscape wire must be buried at least 6 inches deep, and at least 18 inches under driveways or parking areas. Listed low-voltage systems may permit shallower burial if their installation instructions specifically allow it, but 6 inches is the safe default.
Wire Connectors
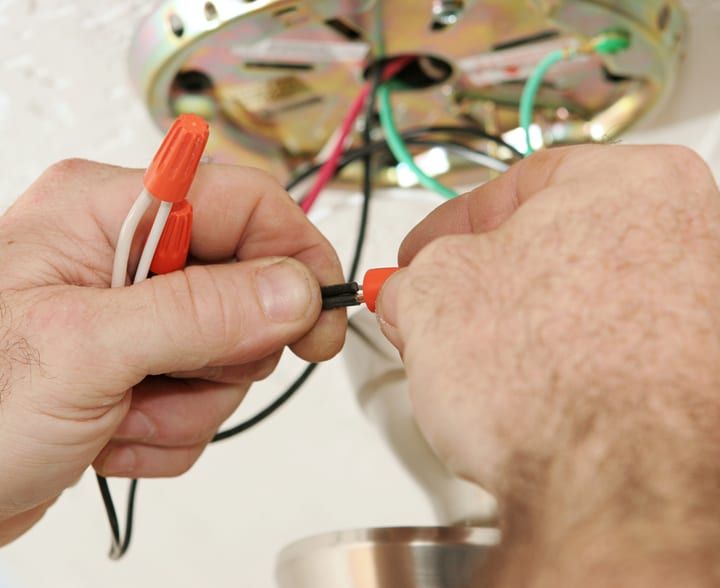
You'll also need waterproof wire connectors (Amazon) to splice fixtures onto the main run. There are two main types, and the choice is a real trade-off between speed and longevity.
| Connector Type | Installation | Long-Term Reliability |
|---|---|---|
| Piercing connectors | Clamp directly onto unstripped wire — fastest to install | Can corrode or loosen over time |
| Sealed (gel-filled) wire nuts | Strip the cable, twist the leads, screw on the nut | Best long-term seal against moisture |
For installations meant to last a decade or more, gel-filled wire nuts are worth the extra time.
Step-By-Step Installation Guide

- Mount the transformer. Fix the transformer to a wall, post, or stake near your GFCI outlet, with the cable entries pointing down. Do not connect any wires yet.
- Lay out the wire above ground. Run the cable along your planned path with all fixtures in their final positions. This dry-fit lets you confirm distances and layout before any digging.
- Leave slack. Add a few extra feet of cable at every fixture and at the transformer to allow for adjustments and future repairs.
- Install the fixtures. Stake or anchor each light in place, then splice each fixture's leads onto the main run with waterproof connectors.
- Wire to the transformer. Connect the cable's two leads to the transformer's 12V output terminals. If you have a multi-tap transformer (with 13V, 14V, and 15V taps for voltage-drop compensation), start at the 12V tap and adjust later if needed.
- Plug in and test. Plug the transformer into the GFCI outlet and confirm every fixture lights up at full brightness. Walk the run and check for any dim or flickering fixtures.
- Bury the cable. Unplug the transformer, then bury the cable at least 6 inches deep — 18 inches under driveways or parking areas — per NEC 300.5.
- Reconnect and program. Plug the transformer back in, set the timer or photocell, and confirm the lights cycle correctly at dusk.
When The Lights Don't Work
If a fixture or whole run won't light up after install, work through these likely causes in order before you bury anything:
- Loose or bad connector — by far the most common failure. Open each connector on the dead run and re-make the splice.
- Transformer overload — total connected wattage exceeds 80% of the transformer's rating, tripping its internal breaker. Recalculate your load.
- Voltage drop — far-end fixtures dim or off entirely. Measure voltage at the last fixture; if it's below ~10.8V, shorten the run, upgrade the wire gauge, or split the layout into multiple runs.
- Tripped GFCI — the upstream outlet may have tripped. Reset it and confirm power reaches the transformer.
- Failed lamp — swap the lamp into a known-good fixture to confirm whether the bulb itself is dead.
Final Words
Installing landscape lights isn't a one-hour job. Between layout, wiring, and burial, plan a full weekend for a typical residential install — longer if you're trenching across hardscape or having an electrician add a new outdoor outlet.
It isn't electrically complicated either. As long as the 120V outlet is GFCI-protected and code-compliant, the 12V side of the system is well within DIY range. Test every fixture above ground before you bury a single inch of cable, and if voltage drop or flicker shows up after install, fix it before the cable goes back underground.