
Why Do My LED Light Bulbs Keep Burning Out? 6 Reasons + Diagnostic Quiz
Quality LED bulbs are rated for 15,000 to 25,000 hours — so one that dies inside a year isn't just bad luck, it's a symptom of something fixable.
 Eugen
EugenEugen Nikolajev
Creator of LED Lighting Info
Hi, I am Eugen. I was always one of those kids who had all sorts of weird lighting gadgets for every occasion.
Now, I want to share my knowledge and experience about lighting with you on LED Lighting Info.
Read my editorial standards
Key Takeaways
The most common reasons LED bulbs blow out early are:
- high mains voltage
- an incompatible dimmer switch
- overheating
Other causes include loose contacts, a damaged or underrated fixture, or simply a bad batch.
LED Burnout Cause Finder
Answer a few questions about your burning-out LED bulbs and I'll pinpoint the most likely cause and the fix.
8 questions — takes about a minute
Answers are anonymous and may be used to improve content.
LED bulbs are rated to last more than a decade in normal use, so if yours keep burning out early, one of six fixable problems is almost certainly to blame.
Quality LED bulbs are rated for 15,000 to 25,000 hours. At three hours a day, that’s 13 to 22 years. A bulb that dies inside a year is genuinely abnormal — and the cause is usually one of the six below.
⚠️ Safety first: always switch off the circuit breaker — not just the wall switch — before touching any wiring, socket, or bulb internals. Confirm the circuit is dead with a non-contact voltage tester before you touch anything.
6 Reasons Why Your LED Bulbs Keep Burning Out
High Voltage
One of the most common causes is high voltage. If the voltage on your mains runs above spec, it stresses the LED driver and burns bulbs out well before their rated life.
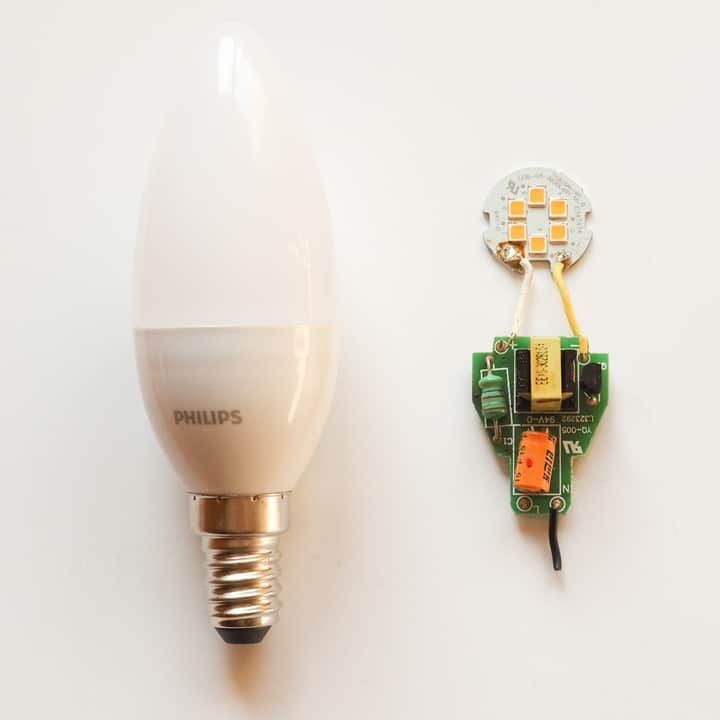
Standard household LED bulbs (E26/E27 screw base) run directly on mains voltage — 120V in North America, 220–240V in most of Europe. A small driver circuit built into the bulb’s base rectifies AC to DC and steps the voltage down to the 2–3V the diodes actually need.
Low-voltage LEDs — MR16 spotlights, 12V and 24V LED strip lights, and landscape lighting — are a separate category that runs through an external driver or transformer.
Either way, a chronically high supply voltage cooks the driver’s electrolytic capacitors and the bulb dies early. You can check your outlet voltage with a multimeter:
- Switch off the breaker for that circuit, then unscrew the outlet cover and pull the outlet out so you can reach the terminal screws.
- Set your multimeter to AC voltage (V~), on a range above 200V.
- Insert the black lead into the “COM” jack and the red lead into the jack labeled “V”, “VΩ”, or “VΩmA” — not the high-current “A” or “10A” jack.
- Turn the breaker back on. Touch the black probe to the neutral (white) terminal and the red probe to the hot (black) terminal.
- You should read roughly 114–126V in a US home (or 216–254V on a 230V supply). Anything consistently above that range is out of spec.
- Switch the breaker back off before disconnecting — red probe first, black probe second.
If the reading is consistently high, that’s a utility or service-panel problem, not something to fix yourself — call an electrician.
Dimmer Switches
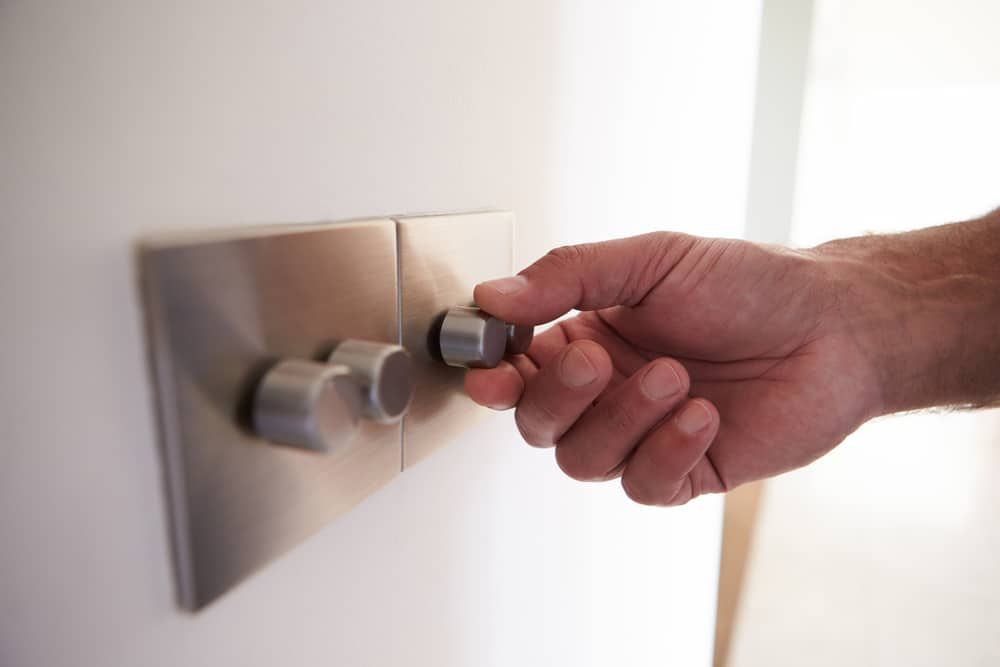
Pairing an LED bulb with the wrong dimmer is one of the fastest ways to kill it.
Non-dimmable LED bulbs should never be used on a dimmer circuit. A dimmer chops the AC waveform into pulses, and a non-dimmable driver isn’t built to handle that — you’ll get flicker, buzzing, and eventual burnout.
Dimmable LED bulbs work with most standard TRIAC (leading-edge) dimmers — the type in most homes — but there are two catches:
- Older incandescent-only dimmers often don’t trigger reliably at an LED’s low current draw, so the bulb flickers or drops out at the low end of the dimmer’s range. A dimmer rated for LED/CFL loads fixes this.
- TRIAC-dimmable LEDs aren’t automatically compatible with trailing-edge (ELV) dimmers or smart dimmers — check the bulb manufacturer’s compatibility chart before you buy.
When you’re shopping, look for “LED/CFL compatible” on the dimmer’s packaging. Or skip the problem entirely: a smart bulb dims over Wi-Fi or Bluetooth and pairs with a plain on/off switch.
Overheating
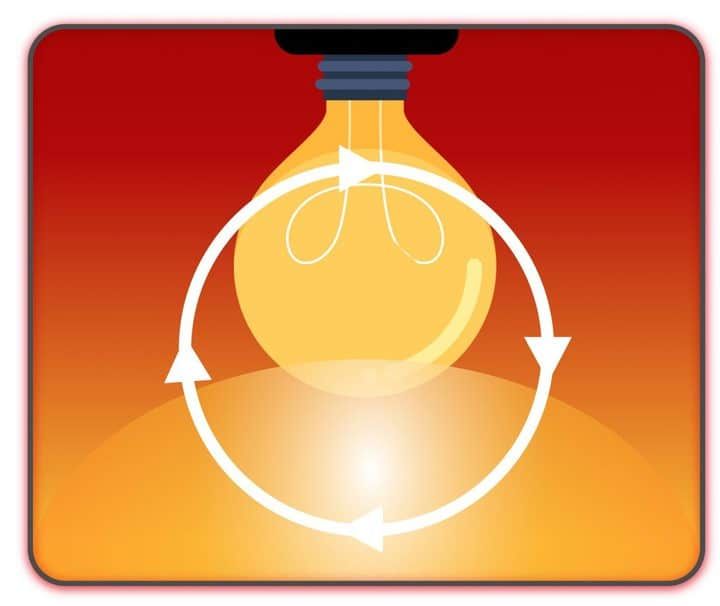
LEDs are sensitive to heat. Light output and lifespan drop sharply once the diode’s junction temperature or the driver’s operating temperature climbs past the design range. Inside the driver, the electrolytic capacitors are the weakest link — their lifespan roughly halves for every 10 °C rise.
LED bulbs generate heat both at the diodes themselves (roughly 60–70% of the input power leaves as heat, not light) and in the AC-to-DC driver circuitry. That heat has to be moved away by the bulb’s heat sink. When that fails, the bulb cooks itself. The three main causes:
Inefficient heat sink. The heat sink — usually the ribbed metal or plastic-coated section below the globe — has to pull heat away from the LED board fast enough to keep the diodes and driver in range. Cheap bulbs use undersized or poorly bonded heat sinks that just can’t keep up.
Faulty or underspecified driver. A good driver limits current to the diodes even when the supply voltage fluctuates. A cheap driver without proper current limiting lets the diodes run hot, and the driver’s own heat-sensitive components degrade alongside them.
Poor airflow around the bulb. Recessed cans, fully enclosed fixtures, and tight housings trap heat around the bulb. In those locations, only use bulbs marked “enclosed fixture rated” — they’re built with better heat sinks and higher-temperature components.
LED Light Bulbs Keep Burning Out In The Same Fixture
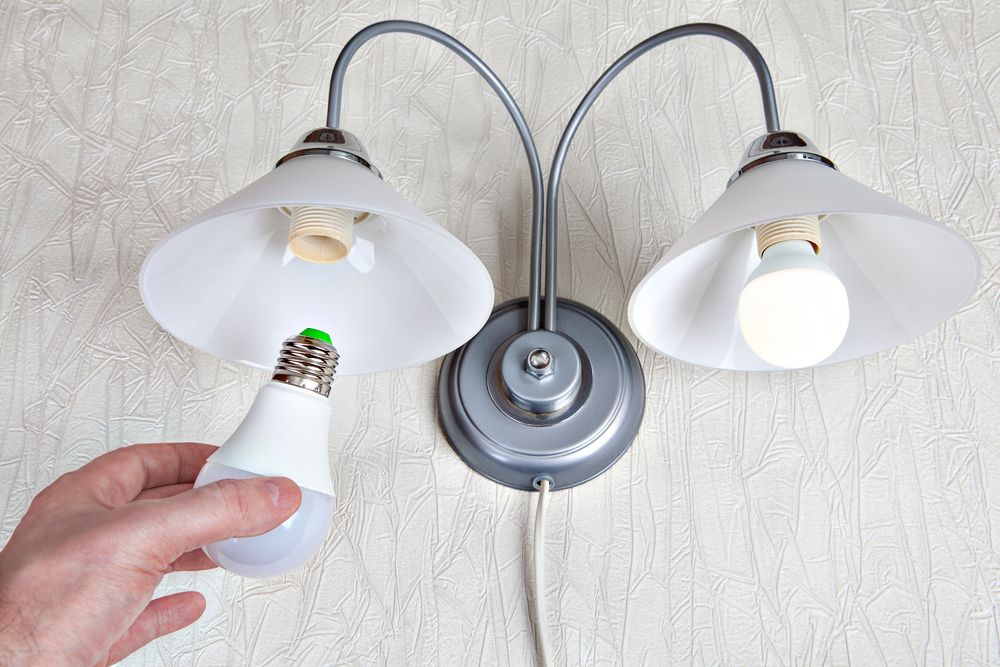
If bulbs keep dying in one particular fixture, the fixture — not the bulbs — is usually at fault.
Flattened socket tab. Screwing bulbs in too hard can press the brass tab at the bottom of the socket flat, leaving it unable to make solid contact with the bulb’s base. Kill the breaker, confirm the circuit is dead, then gently bend the tab back up with needle-nose pliers — about a 20-degree angle is plenty.
Over-wattage bulb. Check the fixture’s wattage rating. LEDs draw far less power than the incandescents they replace, but the rating on the fixture refers to actual watts — not “equivalent” watts. If the fixture says “Max 60W,” pick an LED whose actual wattage (the smaller number on the package, usually 9–15W for a 60W equivalent) stays under that limit. Some very bright “150W equivalent” LEDs can still exceed a low fixture cap.
Enclosed or recessed fixture. Older enclosed fixtures and recessed cans trap heat around the bulb. They aren’t reflecting heat back — they’re restricting the airflow an LED needs to shed its operating heat. Incandescents handled this without complaint; LEDs don’t. Use an “enclosed fixture rated” bulb in those spots.
Loose or mismatched contacts. Sometimes the connection between the bulb and the fixture is just poor — the solder blob on the bulb’s base is too small or the wrong shape to meet the socket tab properly. Try a different brand of bulb; bases aren’t perfectly standardized and one brand can seat better in your fixture than another.
Why Do New LED Light Bulbs Burn Out Quickly?
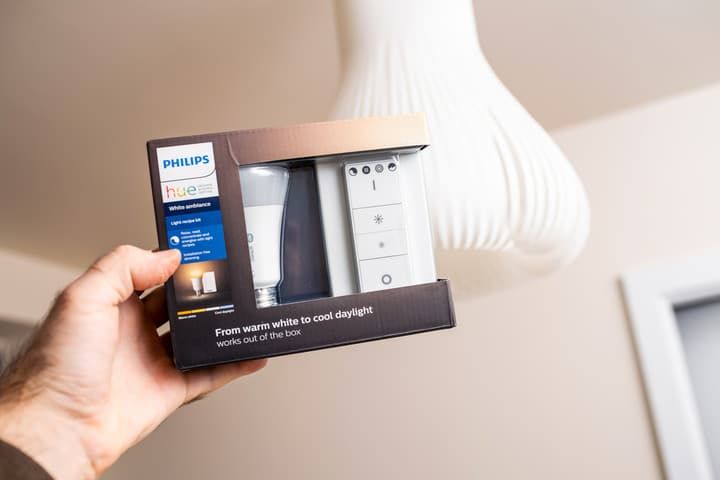
If a new bulb burns out right away, start with the fixture. Look for corrosion or pitted contact points and replace the fixture if you see them — corrosion rarely cleans up well and the problem will come right back.
Next, check the wiring behind the fixture for loose connections:
- Switch off the breaker for that circuit.
- Remove the fixture from the ceiling or wall.
- Visually inspect every wiring connection — wire nuts should be snug and bare copper should be tight under any terminal screws.
- Tighten or remake any loose connections.
- Use a multimeter to confirm the fixture is getting the right voltage.
- Reinstall the fixture and test with a different bulb.
If the sockets, wiring, and voltage all check out, the culprit is usually just a bad bulb — a single dud can slip through any quality process. Swap it and see whether the replacement holds up.
How To Tell If An LED Light Is Burned Out
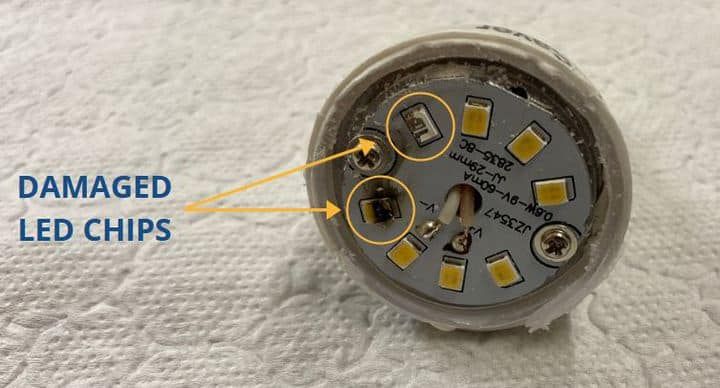
The clearest sign is that the bulb won’t light at all, or is noticeably dimmer than it was when new.
Most LED “bulbs” actually contain a small array of individual diodes on a board, wired in series and parallel. If only one or two diodes fail, the bulb usually still works — it’s just dimmer or has visibly dark spots on the array. If the whole bulb goes dark, the cause is usually a dead driver, a broken solder joint, or a single diode that failed open-circuit and starved the rest of current.
How To Fix A Burned-Out LED Light Bulb
Realistically, repairing a consumer LED bulb is only worth the effort if you already enjoy soldering — a replacement usually costs less than your time. If you want to try anyway, you have two options.
Option A: Replace the LED array (intermediate)
- Remove the bulb from the fixture.
- Pop off the diffuser — the plastic dome that covers the diodes — to expose the circuit board.
- Probe each diode with a multimeter in diode-test mode. A healthy diode shows a forward voltage drop (typically 2–3V for a white LED) one way and reads open in the other direction; a dead one shows open in both directions, or the same reading in both.
- Desolder the failed LED (or the whole array) and solder in a replacement of the same voltage and current spec.
A common shortcut is to bridge the pads of a single dead diode with a solder blob rather than replacing it. The bulb will light, but every surviving diode now carries a little more current, so the bulb’s remaining life drops.
Option B: Inspect the driver (advanced)
If every diode tests good, the fault is almost certainly on the driver board in the base of the bulb. Look for:
- Bulging or leaking electrolytic capacitors. Replace them with parts of the same capacitance, voltage rating, and temperature rating (look for 105 °C parts, not 85 °C).
- Shorted diodes or transistors. A shorted diode reads the same ~0.4V forward drop in both directions on diode-test mode, where a healthy one only reads in one.
- Resistors that have drifted out of spec. Compare the measured value with the color code — anything more than ~10% off is suspect.
- The driver’s DC output voltage. It should match the rating printed on the LED board.
Complete LED bulb repair kits (drivers, PCB assemblies, housings) are available online if you’d rather swap a whole driver than troubleshoot it component by component. And if this all sounds like more work than it’s worth — it probably is. An electrician won’t repair an LED bulb either; they’ll tell you to replace it.
Final Words
Quality LED bulbs should last more than a decade in normal use, so repeated early burnouts almost always point to one of six fixable causes: high mains voltage, an incompatible dimmer, overheating from the bulb or the fixture, a damaged or over-wattage fixture, loose wiring, or simply a bad batch. Nearly all of those are things you can diagnose and fix in under an hour.
And if your bulbs light up but just aren’t as bright as they should be, that’s a separate problem we cover elsewhere.
FAQ
How long should an LED bulb actually last?
Quality LED bulbs are rated for 15,000 to 25,000 hours. At three hours a day, that’s 13 to 22 years. A bulb that dies inside a year is genuinely premature and points to a fixable problem — high mains voltage, overheating, an incompatible dimmer, or a quality issue with the bulb itself.
Can a dimmable LED bulb be used on any dimmer switch?
No. A dimmable LED is designed for TRIAC (leading-edge) dimmers — the most common residential type — but even then it can flicker on an older incandescent-rated dimmer. For best results, use a dimmer labeled “LED/CFL compatible” and check the bulb manufacturer’s compatibility list. Trailing-edge (ELV) and smart dimmers need LEDs specifically rated for them.
Why do LED bulbs keep burning out in my recessed can lights?
Recessed cans and other enclosed fixtures trap heat around the bulb, which cooks the driver’s electrolytic capacitors. Use LEDs marked “enclosed fixture rated” — they’re built with better heat sinks and higher-temperature components designed for that environment.
Is it worth repairing a burned-out LED bulb?
Usually not. Unless you already enjoy soldering, a replacement bulb costs less than the time it takes to diagnose and repair the old one. Component-level repair makes sense as a learning project, not as a money-saver.