
When To Install Landscape Lighting?
Fall is quietly the smarter season for landscape lighting installs — plants are dormant, soil is workable, and you'll actually enjoy the results through the darkest months.
 Eugen
EugenEugen Nikolajev
Creator of LED Lighting Info
Hi, I am Eugen. I was always one of those kids who had all sorts of weird lighting gadgets for every occasion.
Now, I want to share my knowledge and experience about lighting with you on LED Lighting Info.
Read my editorial standards
Key Takeaways
It’s best to install landscape lighting when the weather is drier. However, bear in mind where you live and whether higher temperatures make labor more difficult. You need the soil to be easy to disturb, without being completely soaked.
Optimal install conditions:
- Ground with some moisture, but not completely soaked
- Long daylight hours to give you time to work
- A comfortable temperature to work in
The best time to install landscape lighting depends on where you live, but a few universal rules apply regardless of your climate.
You need workable soil that’s neither frozen nor waterlogged, a stretch of dry weather, and enough daylight to finish trenching safely.
Can I Install Landscape Lighting In Winter?
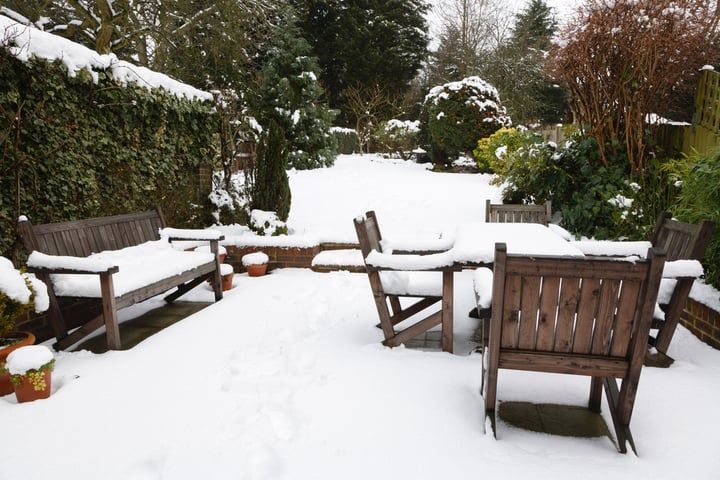
“Winter” means very different things depending on where you live.
In Orlando, Florida, winter daytime highs average around 71–75°F (22–24°C) with overnight lows around 50–53°F (10–12°C), and average monthly rainfall of about 2.3–2.8 inches (60–70 mm).
Washington State is split by the Cascades into two very different climates. Seattle averages 35–46°F (2–8°C) in winter with 5–6 inches of monthly rainfall — mostly liquid, not snow. Spokane, on the eastern side of the Cascades, drops to 22–36°F (-5 to 2°C) with about 2 inches of monthly precipitation, a good share of it falling as snow.
Those are just two contrasting US examples, but they show how loosely “winter” can be interpreted.
For a more practical answer, here’s what to consider before you install landscape lighting when there’s heavy rain, snow, or cold.
In theory, yes — but it depends on the ground and how wet it is. The bigger question is whether you really want to be out there in those conditions.
You’ll be working with waterproof cables, but you still have to connect them to your fixtures and power source. In wet weather, keep wires off damp surfaces and away from moisture on your hands.
Waterproof cables are sealed to keep moisture out — but that seal works both ways. If moisture gets inside a connection during installation, it becomes trapped and can cause corrosion or failure over time.
Most landscape lighting circuits also involve burying the cable. An exposed run looks bad and creates a trip hazard, plus added exposure to weather and wildlife.
Installing when the ground is frozen is a no-go. Without proper digging equipment, getting a consistent trench through frozen soil takes extreme effort. Sodden soil isn’t much better — you can dig it, but laying cable neatly through wet mud turns into a slow, messy job.
Related: How To Set Landscape Lighting Timer?
Low-Voltage vs. Line-Voltage Systems
Before you start, know what kind of system you’re installing — it changes the rules significantly.
Most residential landscape lighting is low-voltage (12V), powered through a step-down transformer. These systems carry minimal electrocution risk and are the standard for wet-zone applications like garden beds, walkways, and water features.
Line-voltage (120V) systems are a different story. They require GFCI-protected circuits, wet-location-rated fixtures, and watertight connections, and should generally be handled by a licensed electrician — especially in damp conditions.
Either way, all outdoor lighting circuits should be GFCI-protected — check local code requirements before you begin. For more on this, see Do Outdoor Lights Require GFCI?.
Burial depth also matters. The National Electrical Code (NEC) requires a minimum of 6 inches for low-voltage landscape wire, and 12–24 inches for conduit or direct-burial cable at line voltage, depending on the protection method. Trench accordingly.
Main Weather Watchouts
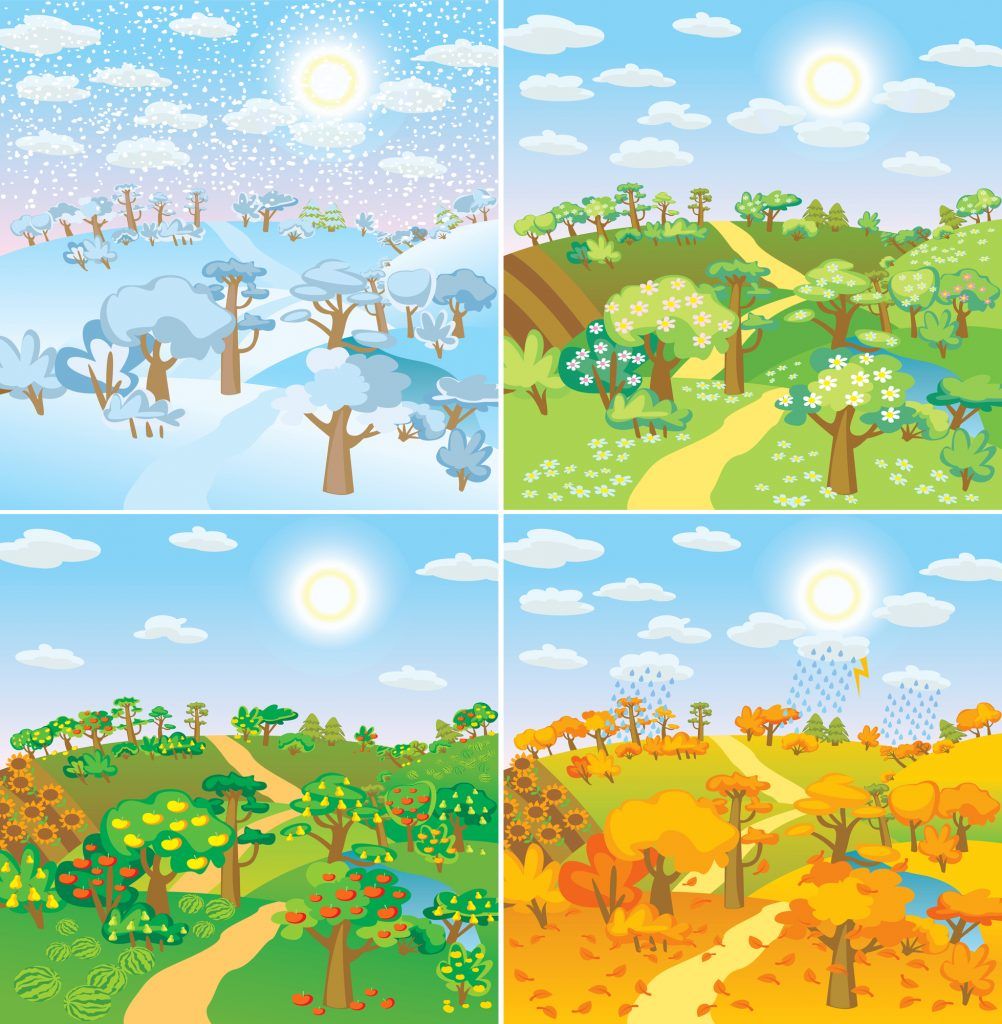
The single most important factor is rainfall. Conditions don’t need to be bone dry, but soaked ground makes the job miserable and the finished trench sloppy. Soil can stay wet for days after heavy rain — dig a small test patch first. If the ground crumbles to mud or pools water, hold off.
| Condition | What to do |
|---|---|
| Recent rain or wet soil | Wait several days after heavy rain. Dig a small test patch — if it pools water or smears into mud, hold off. |
| High-rainfall region | Part-dig the trench in stages so any sunny day can dry exposed soil before you lay cable. |
| Extreme heat or baked-dry ground | Avoid midday sun. Hard, dry soil is harder to break, and trenching for hours risks heat exhaustion. |
| Strong sun exposure | Wear sunscreen, take breaks, and bring help — a full perimeter install can take most of a day. |
| Ice or frozen ground | Don’t dig. Wait for a thaw — frozen soil is near-impossible to trench without machinery. |
| Short daylight | Schedule days with enough light to either finish or reach a safe stopping point with cable secured. |
| Fog | Skip foggy days — poor visibility makes outdoor electrical work less safe. |
Related: How To Find Buried Landscape Lighting Wire?
How Long Does Installation Take?
For a small front-yard project, a 6-fixture low-voltage kit usually takes about 3–4 hours, including trenching. A full hardwired perimeter system can run 1–2 days, mostly because of the digging.
Plan your weather window accordingly: aim for a dry stretch long enough to complete the work, plus a day on either side so the soil has time to firm up before you start and settle after you backfill.
Which Season Is The Best For Installing Landscape Lighting
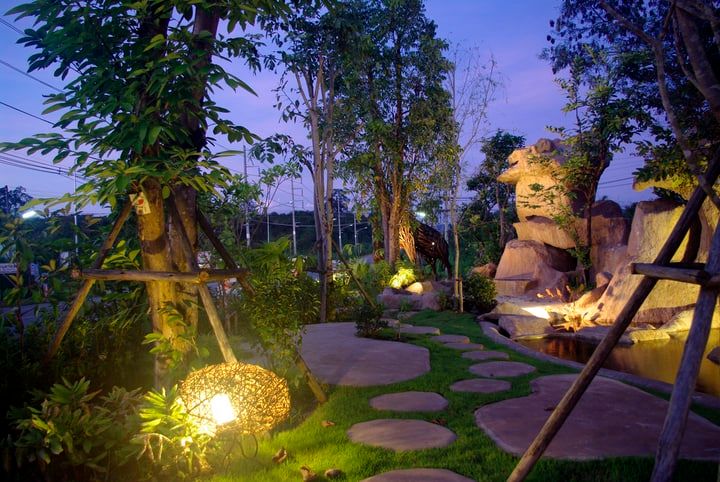
There’s no universal best season for installing your landscape lighting — climate varies too much by region. Instead of defaulting to “spring,” look at the weather where you live and pick the season that best matches the optimal conditions above.
Remember that outdoor lighting is meant to be enjoyed year-round — don’t rush the install just to be ready for summer if the conditions aren’t safe.
Installing landscape lights in the fall means a better-lit, safer outdoor space heading into winter, with everything in place before the dark months.
And if you’re digging up your garden to lay wire, consider avoiding spring if you have plants and flower beds you’d like to keep undisturbed. Spring is when they do most of their growing — fall, when they’re dormant, is usually easier on the landscape.
Plan Your Install
- Check your local seasonal rainfall and frost averages to identify the driest, most workable months.
- Test your soil — it should crumble cleanly, not pool water and not be frozen.
- Identify a 2-day dry window before you break ground, so you have time to finish without weather interrupting the trench.