
How To Add Landscape Lighting To Existing?
Keep your transformer below 80% of rated load — that single rule determines whether your expansion works flawlessly or leaves every new fixture dimming and flickering.
 Eugen
EugenEugen Nikolajev
Creator of LED Lighting Info
Hi, I am Eugen. I was always one of those kids who had all sorts of weird lighting gadgets for every occasion.
Now, I want to share my knowledge and experience about lighting with you on LED Lighting Info.
Read my editorial standards
Key Takeaways
You can add new lights to an existing landscape lighting setup. The key checks are whether your current transformer can handle the extra load, whether your existing wire gauge supports the new run, and how voltage drop will affect the new fixtures.
Maybe you've moved into a home with an existing landscape lighting setup, but you think you can do more with it.
Or it might be that you installed your landscape lights last year and now have the budget to extend it.
Either way, extending isn't always straightforward — it depends on what you want to add and the transformer you already have.
In this guide, I'll walk through:
- What to consider before extending
- How to identify the specs of your existing system
- How to connect new lights safely
- When you need to upgrade your transformer
- Compatibility with timers and smart controls
What Should You Consider Before Extending?
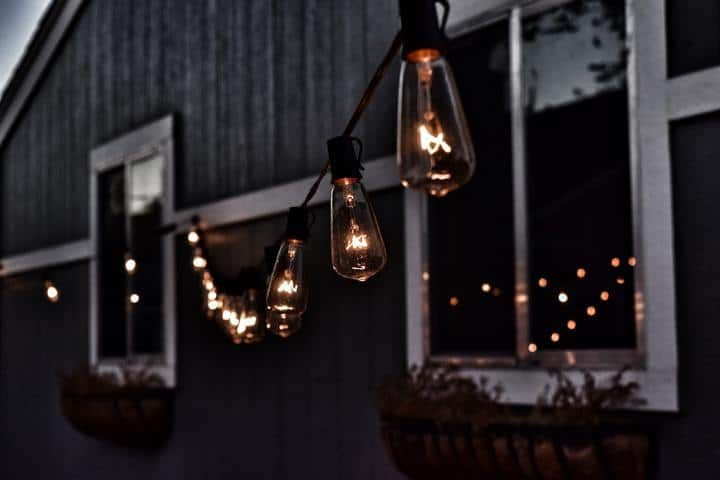
Before buying new fixtures, work through a few questions upfront. The most common — and most expensive — mistake is buying lights before confirming the transformer can handle them.
Do You Actually Need More Lights?
The first question is why you want more lights.
If the garden or patio just doesn't feel bright enough, check whether replacing existing fixtures is the better move first.
You might switch to a softer, wider beam for better coverage from the same location, or swap a fixture for one with more lumens to get the brightness you need.
Changing existing lights is usually easier than adding more — and sometimes it's enough on its own.
How Many Lights Do You Want To Add?
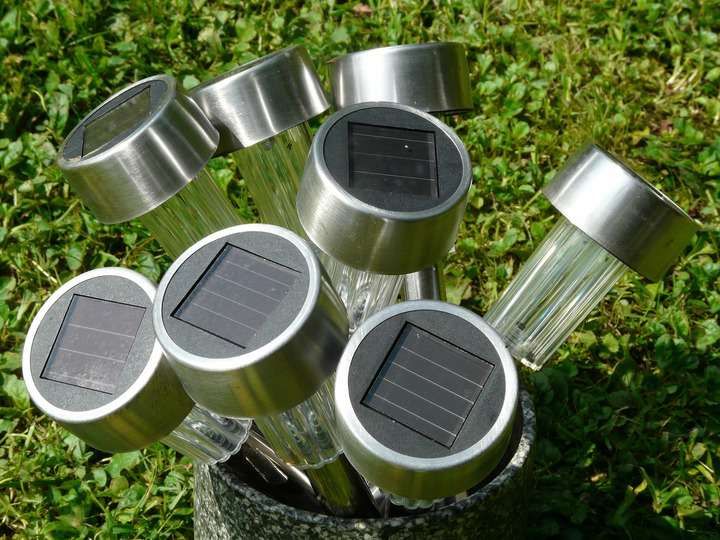
Once you're sure you need more, work out how many.
For a single area that isn't huge, a couple of extra fixtures is often all you need — and unless your transformer is already at capacity, that's usually a straightforward job.
Larger expansions need more planning, especially around transformer capacity (covered below) and wire gauge.
Where Will They Go?
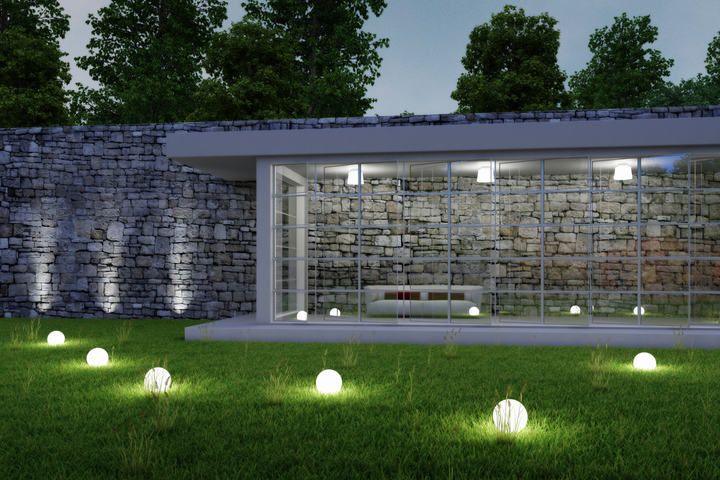
Your existing wiring only runs where it needs to. If you're adding fixtures close to that path, you can usually tap into the buried wire that's already there.
Adding lights to an unlit part of the garden means running new wiring — and the further from the transformer you go, the more voltage drop becomes an issue.
If your existing setup is minimal and close to the transformer, the existing wire gauge may not handle the longer distance without dimming or flickering. In that case, run a homerun cable — a single dedicated wire from the transformer straight to the new zone — rather than splicing onto the existing run.
In short: the fewer lights you're adding, and the closer they sit to the existing setup, the easier the job.
How Do You Identify Your Existing System?
If you inherited the setup, check three things before buying anything new:
- Transformer wattage and voltage output. Both are printed on the transformer label, usually inside the door or on the side. Most residential transformers output 12V AC, but some are 12V DC, and 24V is increasingly common for longer runs and higher loads. A 24V fixture needs a 24V transformer — they aren't interchangeable.
- Wire gauge. Look at the printing along the cable jacket. Most residential low-voltage landscape wire is 12 AWG or 16 AWG; the lower the number, the thicker the wire and the further it can run before voltage drop becomes a problem.
- Existing fixture wattage. The wattage is usually printed on the lamp or in the fixture's spec sheet. Add them all up — that's your current load on the transformer.
How Do You Connect New Lights To An Existing Setup?
If the transformer can handle the extra load and the main cable is close to the new fixtures, you can splice the new lights into the existing run. Choose your connector carefully — this is where most outdoor lighting setups eventually fail.
Choosing The Right Connector
| Connector type | Ease of install | Reliability outdoors | Best use case |
|---|---|---|---|
| Push-in (pierce-point) | Very easy — pin punctures cable | Poor — pros widely consider these a future failure point | Avoid for any buried or wet splice |
| Outdoor wire nut (twist-on) | Easy after stripping | Moderate — water-resistant, not waterproof | Above-ground, dry junction boxes only |
| Silicone- or gel-filled, direct-burial connector (e.g., DryConn) | Slightly more involved | Excellent — sealed against moisture | Buried splices and any wet location |
Push-in (pierce-point) connectors are quick to install, but lighting pros widely treat them as a guaranteed future failure point. The puncture lets in moisture and air, which corrodes the wire, raises resistance, and eventually causes flicker, dimming, or total failure. Avoid them for any buried or wet-location splice.
For a more secure connection, cut and strip the wire and use a silicone- or gel-filled, direct-burial-rated waterproof connector. Standard "outdoor" wire nuts aren't truly waterproof and shouldn't be buried.
Wire The Fixtures In Parallel
Wire fixtures in parallel — typically using a hub or daisy-chain (T) method — so each fixture sees full voltage. Wiring in series isn't standard practice for landscape lighting and would cause progressive voltage loss along the run.
Don't Mix Wire Gauges
Splicing a thinner section into a thicker run creates a current bottleneck. Higher resistance at that joint causes voltage drop and heat buildup at the splice — a real fire risk — and downstream fixtures will receive less voltage. Run the same gauge end-to-end, or run a fresh dedicated cable from the transformer.
Keep Voltage At The Farthest Fixture Above 10.8V
As a rule of thumb, the farthest fixture on a 12V system should still receive at least 10.8V — anything lower causes noticeable dimming and shortens lamp life. Many installers aim to keep total voltage drop under about 0.5V across a single run.
If the existing wire gauge can't support the new fixtures over the planned distance, run a fresh homerun cable from the transformer instead of splicing onto the existing run.
Do You Need To Update The Transformer?
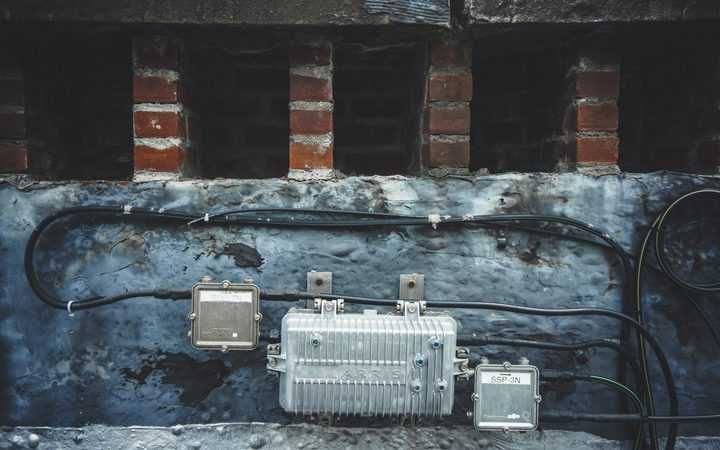
The transformer regulates power to your low-voltage lighting, converting mains power to the low-voltage output your fixtures require — most commonly 12V AC, though some systems use 12V DC or 24V for longer runs and higher loads.
Different transformers have different capacities, so total up the wattage of every fixture on the run before adding more.
If you overload the transformer, it can suffer mechanical failure or simply under-power the fixtures — they'll dim and flicker.
Don't run a transformer at maximum capacity. Power can fluctuate, and the safest target is 80% of rated load — that mirrors NEC continuous-load rules and leaves headroom for surges and slight overdraw.
Worked example: Two 30W fixtures = 60W total. 80% of a 150W transformer = 120W safe maximum. Adding two more 30W spotlights brings the load to 120W — right at the safe ceiling. Anything else on the run, and you'll need to upgrade the transformer.
The most common transformer capacities are 150W, 200W, 300W, and 600W, with 900W and 1200W units available for larger professional installations. Smaller 60W or 100W transformers exist for very small accent jobs.
Higher capacity costs more, but it's worth the investment if you might add more lights later.
Related: Do Landscape Lights Increase Home Value?
Will New Lights Work With Your Existing Timer Or Smart Hub?
In most cases, yes. Timers and smart controllers — photocells, WiFi-enabled transformers, app-controlled hubs — operate on the transformer side. They switch the entire low-voltage circuit on or off, so any fixture connected to that circuit follows the same schedule automatically.
The thing to verify is total wattage. Smart transformers and timers have a maximum wattage rating just like standard ones, and the 80% rule still applies. If your new fixtures push the load past that limit, you'll need a larger smart transformer (or add a second one for the new zone).
A Note On Safety And Code
Working on the low-voltage side of the system (everything after the transformer) is generally DIY-friendly. The 120V mains connection feeding the transformer is not. Switch off power at the breaker before unplugging or rewiring a transformer, and never work on a hardwired unit while it's live.
Some jurisdictions require a licensed electrician or a permit when replacing a hardwired transformer or running new mains-side wiring. If you're unsure, check with your local building department before starting.
Final Thoughts
Adding a couple of new lights to an existing landscape lighting setup is straightforward. Even swapping the transformer is usually a quick job.
Adding lights to a new part of the garden is a bigger project — digging, new cable, and possibly a homerun back to the transformer all add time and cost.
My rule of thumb: when planning a landscape lighting setup, do everything at once rather than in phases. It's far easier than coming back later to extend.