
How To Position Spotlights In A Ceiling?
Ceiling height ÷ 2 is the spacing formula that stops a recessed lighting grid from scalloping into bright pools and shadows — and it shifts your wall offset too.
 Eugen
EugenEugen Nikolajev
Creator of LED Lighting Info
Hi, I am Eugen. I was always one of those kids who had all sorts of weird lighting gadgets for every occasion.
Now, I want to share my knowledge and experience about lighting with you on LED Lighting Info.
Read my editorial standards
Key Takeaways
The optimal layout comes down to three things: room size, ceiling height, and how the room is used. Two simple formulas — one for how many spotlights you need, and one for how far apart to space them — will get you most of the way.
Getting spotlight positions wrong can leave a room full of dark patches, hotspots, and glare. Plan the layout carefully and the same set of fixtures can wash a room evenly, light specific tasks, and draw the eye to focal points.
This guide focuses on recessed ceiling spotlights (downlights). The same principles apply to surface-mounted and track fixtures, but those let you aim the heads after installation, so they're more forgiving of imperfect positioning.
How Many Spotlights Do You Need?
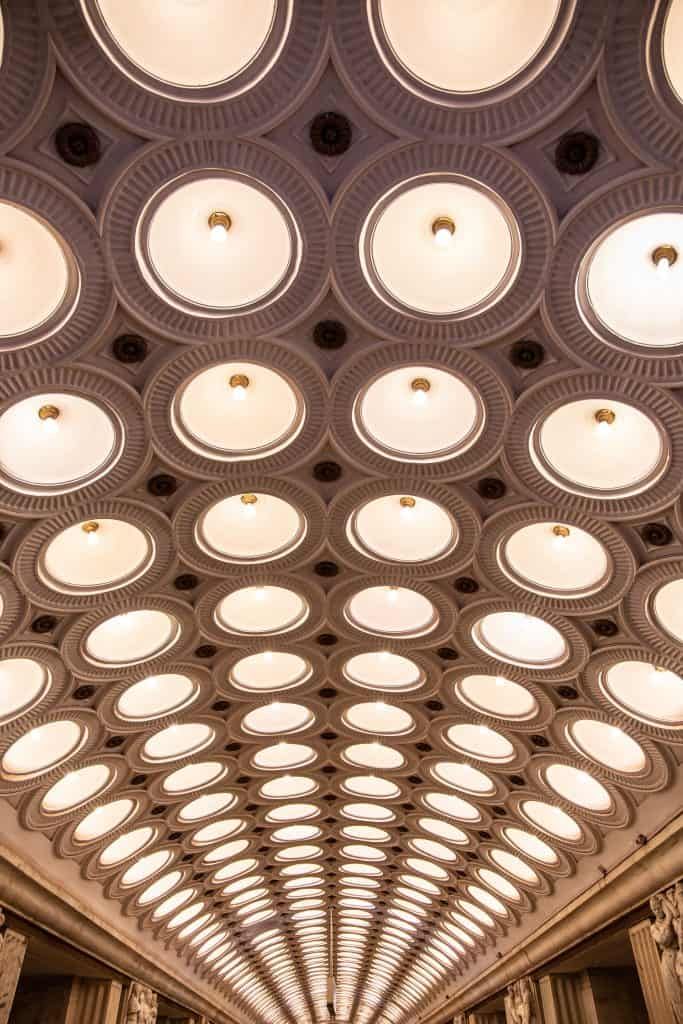
Before you start sketching a layout, work out how many spotlights the room actually needs. Older guides used wattage — multiplying square footage by 1.5 W gave a rough total. That rule was calibrated to incandescent bulbs (roughly 60 W per 40 sq ft of room), so with energy-efficient LEDs you'd only need about one-seventh of that wattage for the same brightness.
Because of that, wattage is no longer a reliable measure of brightness. Instead, the brightness of a bulb is measured in lumens (lm), so the calculation focuses on the total lumens required to illuminate the room.
Here's the four-step version, but if you want to save yourself a bit of time, use my recessed lighting spacing calculator.
Step One: Calculate the square footage of the room.
Multiply length by width. A room that's 20 feet long and 15 feet wide gives 20 × 15 = 300 sq ft.
Step Two: Look up the foot-candle recommendation for the room.
Foot-candles measure illuminance — how much light actually lands on a surface. One foot-candle equals one lumen of light per square foot of surface area. The number you need depends on the room's purpose: a kitchen needs more foot-candles than a bedroom because it's task-oriented. For room-by-room recommendations, see this reference from Larson Electronics.
Step Three: Multiply square footage by foot-candle requirement.
That gives the total lumens the room needs. A 300 sq ft space at 30 foot-candles needs 300 × 30 = 9,000 lumens. (This works because one foot-candle is defined as one lumen per square foot, so multiplying area by foot-candles cancels the units to give total lumens.)
Step Four: Divide total lumens by the lumen output of a single spotlight.
If your chosen bulb produces 650 lm, then 9,000 ÷ 650 = 13.8. Round up — you'll need 14 spotlights.
How To Space Out Spotlights
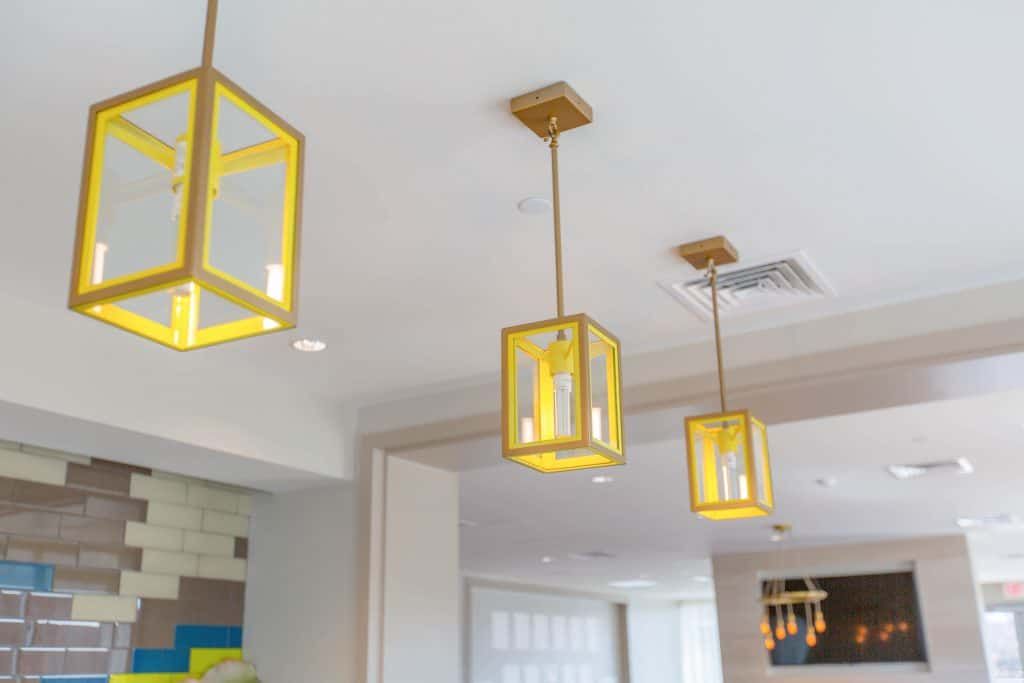
Beam angle
The first variable is the beam angle of your chosen bulb — the width of the cone of light it emits. GU10 spotlight beam angles span a wide range, from about 10° (narrow spot) to 120° (wide flood). Most domestic GU10 bulbs sit between roughly 25° and 60°. Narrower beams produce a small, intense cone for accent or task lighting; wider beams suit general room illumination.
| Beam angle | Type | Best use |
|---|---|---|
| 10°–25° | Narrow spot | Accent lighting, artwork, single-object highlights |
| 25°–40° | Spot / medium | Task lighting over countertops and desks |
| 40°–60° | Flood | General ambient lighting in living spaces |
| 60°–120° | Wide flood | Large open areas and low ceilings |
Beam overlap
Adjacent beam footprints should overlap by roughly 50% on the working plane (counter height for kitchens, floor for general rooms) to avoid dark patches between fixtures. Spread them further apart and the floor will scallop into bright pools and shadows.
Distance from walls
Position spotlights about 60–90 cm (2–3 ft) from the walls — roughly half the spacing distance between fixtures. The fixed “1 metre” figure quoted in some UK guides tends to be too far for standard 2.4 m ceilings; on an 8 ft (244 cm) ceiling with 122 cm spacing, the wall offset should be closer to 60 cm. For wall-washing specifically, place the fixtures about a third of the ceiling height out from the wall.
Spacing formula
For a quick spacing figure, divide ceiling height by 2 in matching units:
Spotlight spacing ≈ ceiling height ÷ 2
A 2.6 m (260 cm) ceiling gives a spacing of about 1.3 m (130 cm) between spotlights. Treat this as a starting point — the manufacturer's “spacing criterion” rating and the bulb's beam angle may shift the ideal spacing in either direction.
Spotlight Layouts For Living Rooms
Living rooms are the trickiest space for a uniform grid because the furniture rarely lines up with the ceiling. A few practical adjustments help:
- Avoid placing a spotlight directly above the main seating positions on a sofa — looking up puts the bulb in your peripheral vision and creates glare.
- Pull spotlights at least 60 cm away from the TV wall to reduce reflections on the screen.
- Layer the lighting. Use spotlights as the base layer, then add lamps or wall sconces for evening ambiance — a ceiling-only setup tends to feel clinical.
- If the room has a sloped or vaulted ceiling, the simple ÷2 formula breaks down — measure perpendicular distance from the work plane to the ceiling at each fixture position, and consider angled trims so the beam aims roughly downward.
Spotlight Grid For Kitchens
The kitchen is a multi-functional space, used for cooking, prep, and entertainment. Kitchen lights divide into three layers: task lights over work surfaces, accent lights for visual interest, and ceiling spotlights for general illumination.
Of the three, the ceiling layout matters most. If the spotlights don't follow a clear, uniform pattern, the kitchen will feel uneven and unsettling no matter how good the rest of the lighting is.
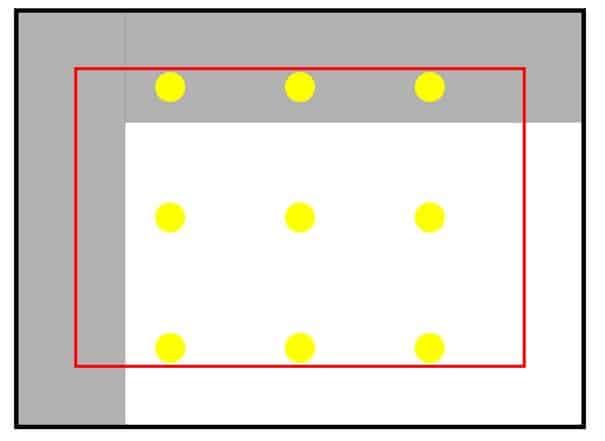
Pick a starting point first. If there's a particular surface you want light directly overhead — an island, the hob, the main run of countertops — anchor the grid there. Otherwise, start from the centre of the room.
From that anchor, lay out the grid using the spacing formula (ceiling height ÷ 2) and keep the perimeter fixtures 60–90 cm from the walls. The final plan should look something like this:
Spotlights In Bathrooms
Bathroom positioning works the same way as a kitchen — pick a focal point (often above the mirror or basin), then build a grid outwards. The added constraint is moisture: any fixture near water needs the right ingress protection (IP) rating.
In the UK, BS 7671 (the IET Wiring Regulations) splits a bathroom into three zones, each with a minimum IP rating:
- Zone 0 — inside the bath or shower itself: minimum IPX7, low voltage only (max 12 V).
- Zone 1 — directly above the bath or shower up to 2.25 m from the floor: minimum IPX4.
- Zone 2 — within 60 cm of Zone 1, up to 2.25 m: minimum IPX4.
Outside these zones, standard fittings are usually fine, but RCD protection is still required for most bathroom circuits. These rules are UK-specific — in the US, bathroom lighting falls under the National Electrical Code (NEC), which uses different terminology and clearances.
Water and mains electricity are an unforgiving combination. If there's any uncertainty about which zone a fixture sits in, consult a registered electrician before installing.
Common Mistakes To Avoid
- Glare in sightlines. A spotlight directly above a sofa, dining chair, or bed sits in the user's peripheral vision and creates discomfort. Offset fixtures so they light the surroundings, not the seated head.
- Dimmer compatibility. LED spotlights need an LED-rated dimmer, and not every bulb is dimmable in the first place. Pairing a non-dimmable bulb with a dimmer (or an old incandescent dimmer with LEDs) causes flicker, buzzing, and a shortened bulb lifespan. Check both labels before buying.
- Ignoring colour temperature. A 2700 K warm white feels relaxing in a living room but washed-out in a kitchen; 4000 K cool white sharpens task areas but looks clinical over a sofa. Match temperature to the room before finalising the layout.
- Sloped or vaulted ceilings. The standard ÷2 spacing formula assumes a flat ceiling. On a slope, measure the perpendicular distance to the working plane at each fixture point, and use trims rated for the slope angle so beams aim downward rather than across the room.
Final Words
Two formulas do most of the work: total lumens needed = square footage × foot-candles, and spacing = ceiling height ÷ 2. Apply those, keep perimeter fixtures 60–90 cm from the walls, and aim for roughly 50% beam overlap on the working plane — the result will be even illumination without dark patches or hotspots.
In bathrooms, IP zones and electrical safety override aesthetics every time. My rule of thumb: if you're not 100% sure which zone a fixture falls in, hire a registered electrician — the cost of a callout is trivial compared to a faulty fitting near water.
Also read: How Much Recessed Lighting Do I Need?