
Do LED Strip Lights Need A Heat Sink?
That 3M adhesive backing on your LED strip is optimized for grip, not heat transfer — it's actually a thermal insulator working against you.
 Eugen
EugenEugen Nikolajev
Creator of LED Lighting Info
Hi, I am Eugen. I was always one of those kids who had all sorts of weird lighting gadgets for every occasion.
Now, I want to share my knowledge and experience about lighting with you on LED Lighting Info.
Read my editorial standards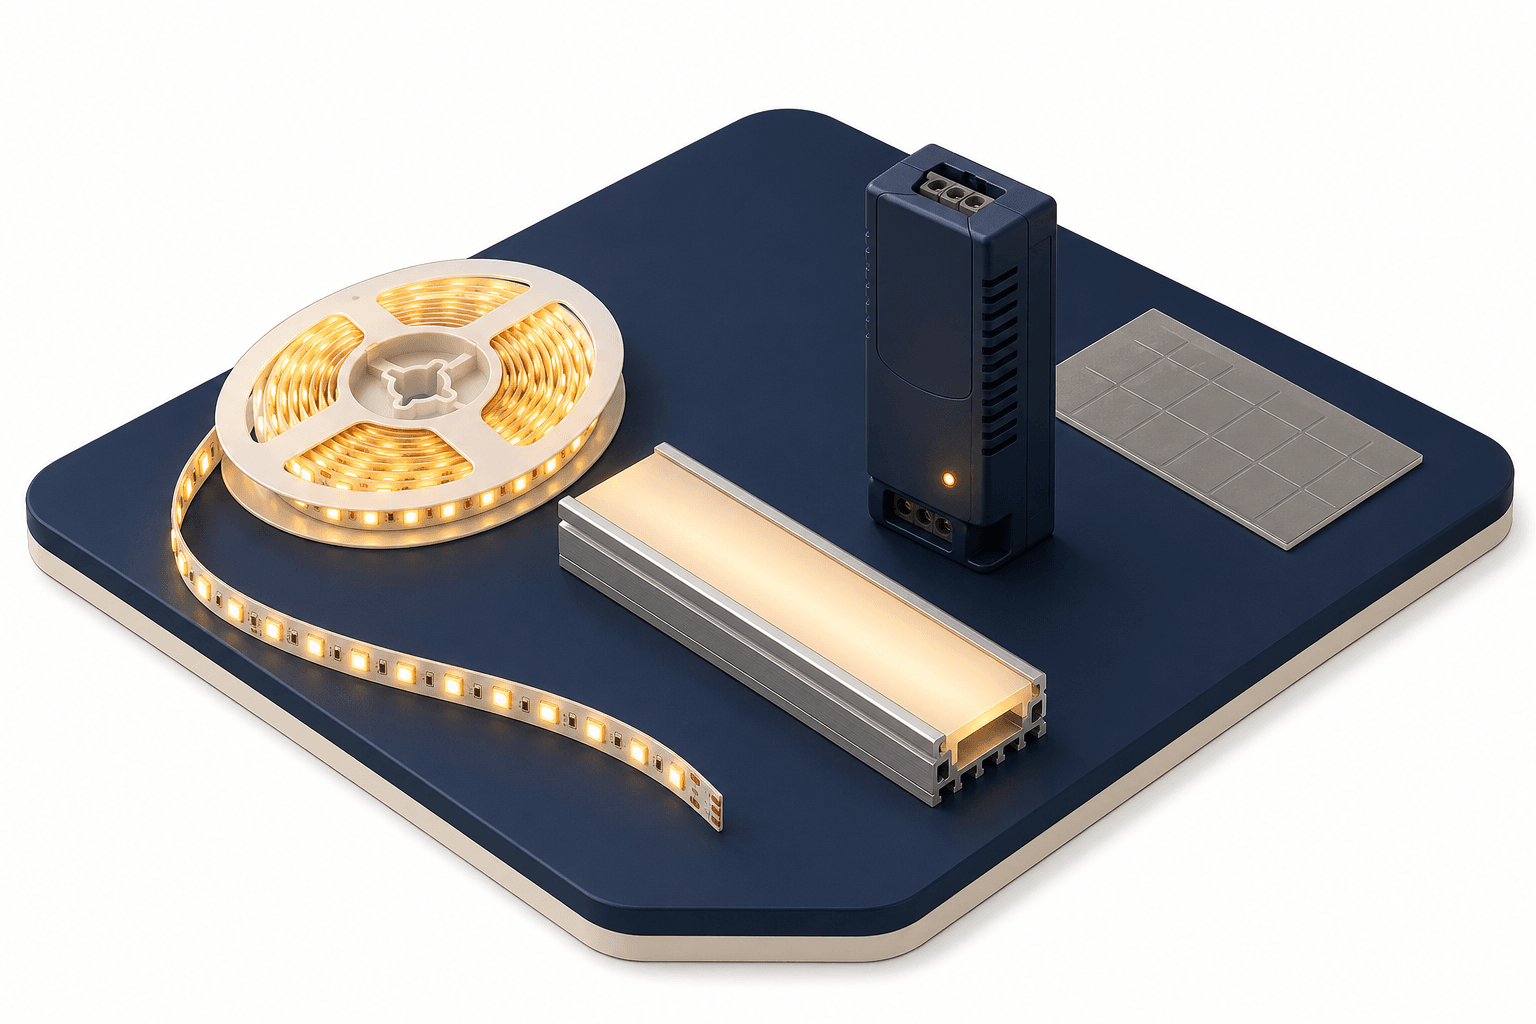
Key Takeaways
LED light strips need heat sinks, or aluminum channels, to draw heat away from them and dissipate it into the surrounding air. Without this, strips lose brightness, shift color, and fail far short of their rated lifespan. The best heat sinks are extruded aluminum profiles sized a few millimeters wider than the strip itself.
LED strip lights run cooler than incandescent bulbs, but they still produce significant heat — especially in the cramped, unventilated spaces where they're typically installed.
In this guide to LED strip light heat sinks, I'll cover:
- How hot LED strip lights actually get
- How heat dissipation works in an LED strip
- How to reduce the operating temperature of your strips
- How to size a heat sink and which materials work best
How Hot Do LED Strip Lights Get?
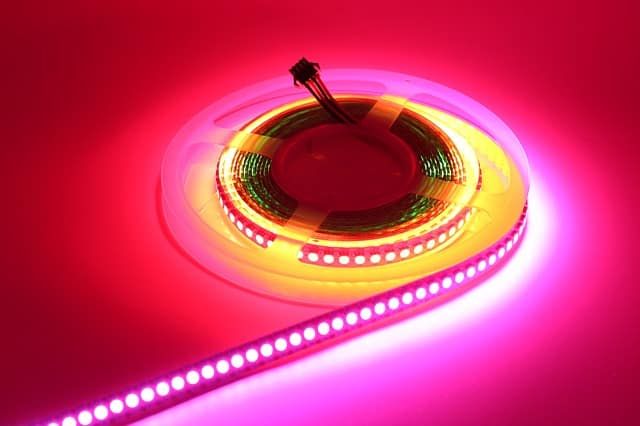
Without proper heat dissipation, high-power LED strips often run 20–40 °C above ambient — and densely-packed or enclosed strips can run hotter still. In a 24 °C (75 °F) room, that puts the strip surface at roughly 44–64 °C (110–145 °F). Junction temperature at the LED chip itself is higher than the surface reading.
Where does that heat come from? LEDs are far more efficient than incandescent bulbs, but they're not heatless. Modern white LEDs typically convert about 30–50% of electrical energy into visible light, with the remaining 50–70% dissipated as heat in the LED package and driver. (For comparison, incandescent bulbs waste roughly 90% of their input energy as heat.)
Lower-quality strips perform worse, often dissipating 70–80% or more of input power as heat — leaving even less for useful light output. Output varies with LED quality, the wiring, and the internal components used.
Whether measured as surface temperature or as wasted energy, that's a lot of excess heat — and it's a problem. Too much heat reduces light output, causes color shifts, and shortens lifespan dramatically.
Quality LED strips are commonly rated for 25,000–50,000 hours — the industry-standard L70 figure, which is the point at which output drops to 70% of its original level. Run them hot, and that rated lifespan can collapse to 10,000 hours or fewer. In the worst cases, prolonged overheating becomes a fire hazard on top of premature failure.
How Does LED Strip Heat Dissipation Work?
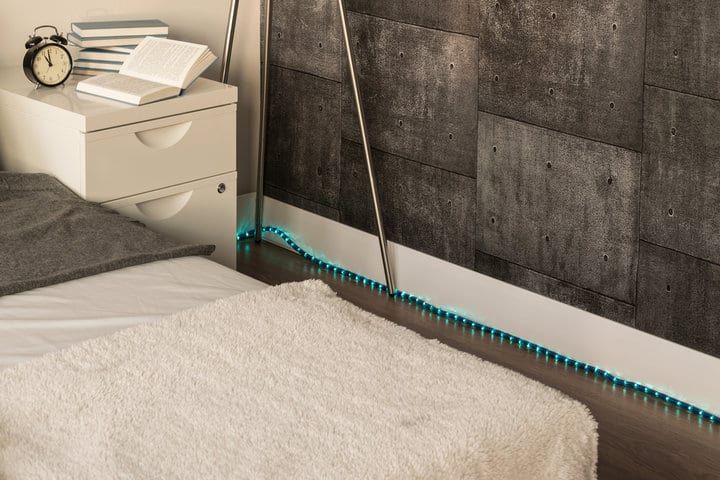
A heat sink works by giving heat somewhere to go. A conductive material — usually aluminum — is bonded to the strip, drawing heat out of the LEDs and spreading it across a much larger surface area where it can transfer to the surrounding air. Heat moves from the strip to the air through three mechanisms working in sequence:
- Conduction. Heat transfers from the LED strip into the aluminum heat sink through direct contact. This is the largest share of the heat transfer in a well-installed strip.
- Convection. The heat sink surface warms the air immediately around it; that warm air rises and is replaced by cooler air, carrying heat away. Finned profiles increase the surface area available for convection.
- Radiation. The heat sink emits a smaller amount of heat as infrared radiation directly to the surrounding environment. Anodized (matte black or dark) finishes radiate slightly more efficiently than bare polished aluminum.
A working heat sink will feel warm to the touch — that's a good sign, not a bad one. It means heat is reaching the aluminum and being dissipated, rather than building up at the LED chip.
How To Reduce Heat From LED Strip Lights
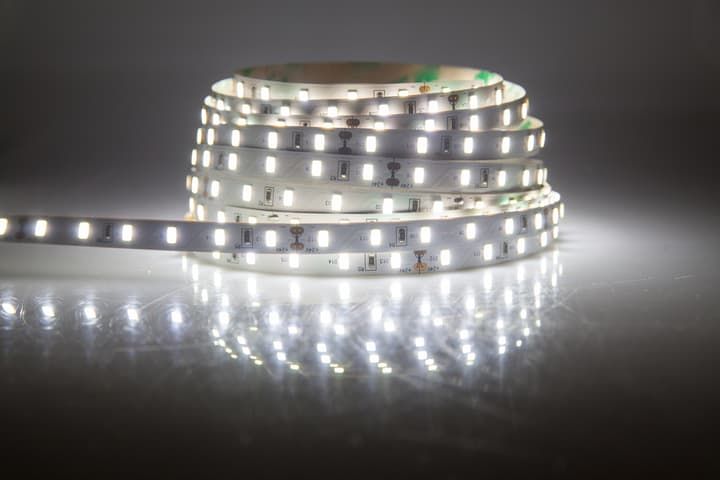
Work through these in order — adding a heat sink is the most effective single change, but the others matter too:
- Mount the strip into an aluminum channel. This is the single biggest improvement. Bond the strip to the channel using thermal adhesive tape (see the sizing section below for details on tape and channel selection).
- Choose a location with airflow. Avoid sealed cabinets and tightly-enclosed coves. If the channel is recessed, leave gaps at each end so warm air can escape.
- Keep ambient temperatures down. Don't install strips above radiators, near heat-producing appliances, or in attics that bake in summer. Use ventilation or air conditioning if the room routinely exceeds 25 °C (77 °F).
- Use a properly-sized power supply. Aim for a driver rated 20–30% above the strip's wattage. An undersized or aging supply outputs unstable voltage, which makes the strip work harder and run hotter.
- Mount the driver outside the channel. The power supply itself generates significant heat. Don't enclose it in the same tight space as the strip — give it its own ventilated location.
Choosing The Right Heat Sink For Your Light Strips
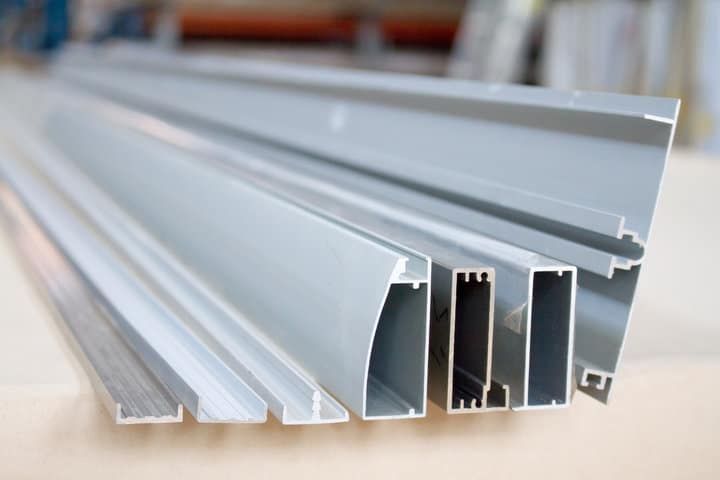
Three things matter when picking a heat sink: the size of the channel, the material, and the profile.
How To Size LED Strip Heat Sink
Match the channel to the strip width — and to the type of LED on the strip. There are three main LED strip widths on the market. Channels should be a few millimeters wider than the strip to allow for the adhesive layer and any flex when installing.
| Strip width | Common LED types | Recommended channel width |
|---|---|---|
| 8 mm | 2835 single-color | 10–11 mm |
| 10 mm (standard) | 5050, 2835 RGB | 12–13 mm |
| 12–15 mm (double row) | COB, high-density | 16–18 mm |
| 27 mm (ultra wide) | High-power 5630, dual-row pro | 30 mm |
When Is A Heat Sink Required?
The traditional rule of thumb is that individual LEDs driven at 350 mA or more — typically about 1 watt per chip — need a heat sink to stay within safe operating temperature. That figure originates from discrete high-power LEDs (like Cree XP-E packages) and applies less directly to surface-mount strip LEDs (2835, 5050, COB). For SMD strips, follow the manufacturer's per-chip current and thermal guidance.
A more practical rule based on the spec most product listings actually publish — watts per meter:
- Under 5 W/m: a channel is optional in well-ventilated installs, but still improves longevity.
- 5–10 W/m: use a channel for any enclosed or recessed location.
- Above 10 W/m: always mount in an aluminum channel, regardless of location.
Don't Skip The Thermal Tape
Heat transfer is only as good as the contact between the strip and the channel. Most LED strips ship with a 3M adhesive backing optimized for adhesion — not for heat transfer. That layer is a thermal insulator, so heat has to fight its way through it before reaching the aluminum.
For higher-wattage strips (above ~7 W/m), peel off the stock backing and apply a thermal adhesive tape rated at 1 W/m·K or higher. The improvement in steady-state strip temperature is often 5–10 °C — meaningful over years of operation.
Watch Out For Waterproof Strips
Waterproof strips (IP65, IP67, IP68) come coated or potted in silicone, which seals out moisture but also insulates the LEDs from the channel. Thermal performance is meaningfully worse than with bare strips.
Where waterproofing isn't strictly required, prefer an IP20 strip mounted in a sealed channel. If a waterproof strip is unavoidable, step up to a wider, deeper channel with more surface area, and avoid running it at the strip's maximum rated wattage.
Some heat sinks come with application guides for the LED strips — printed lines that show exactly where to seat the strip for a clean, centered fit.
Is An Aluminum Heat Sink Best For LED Strips?
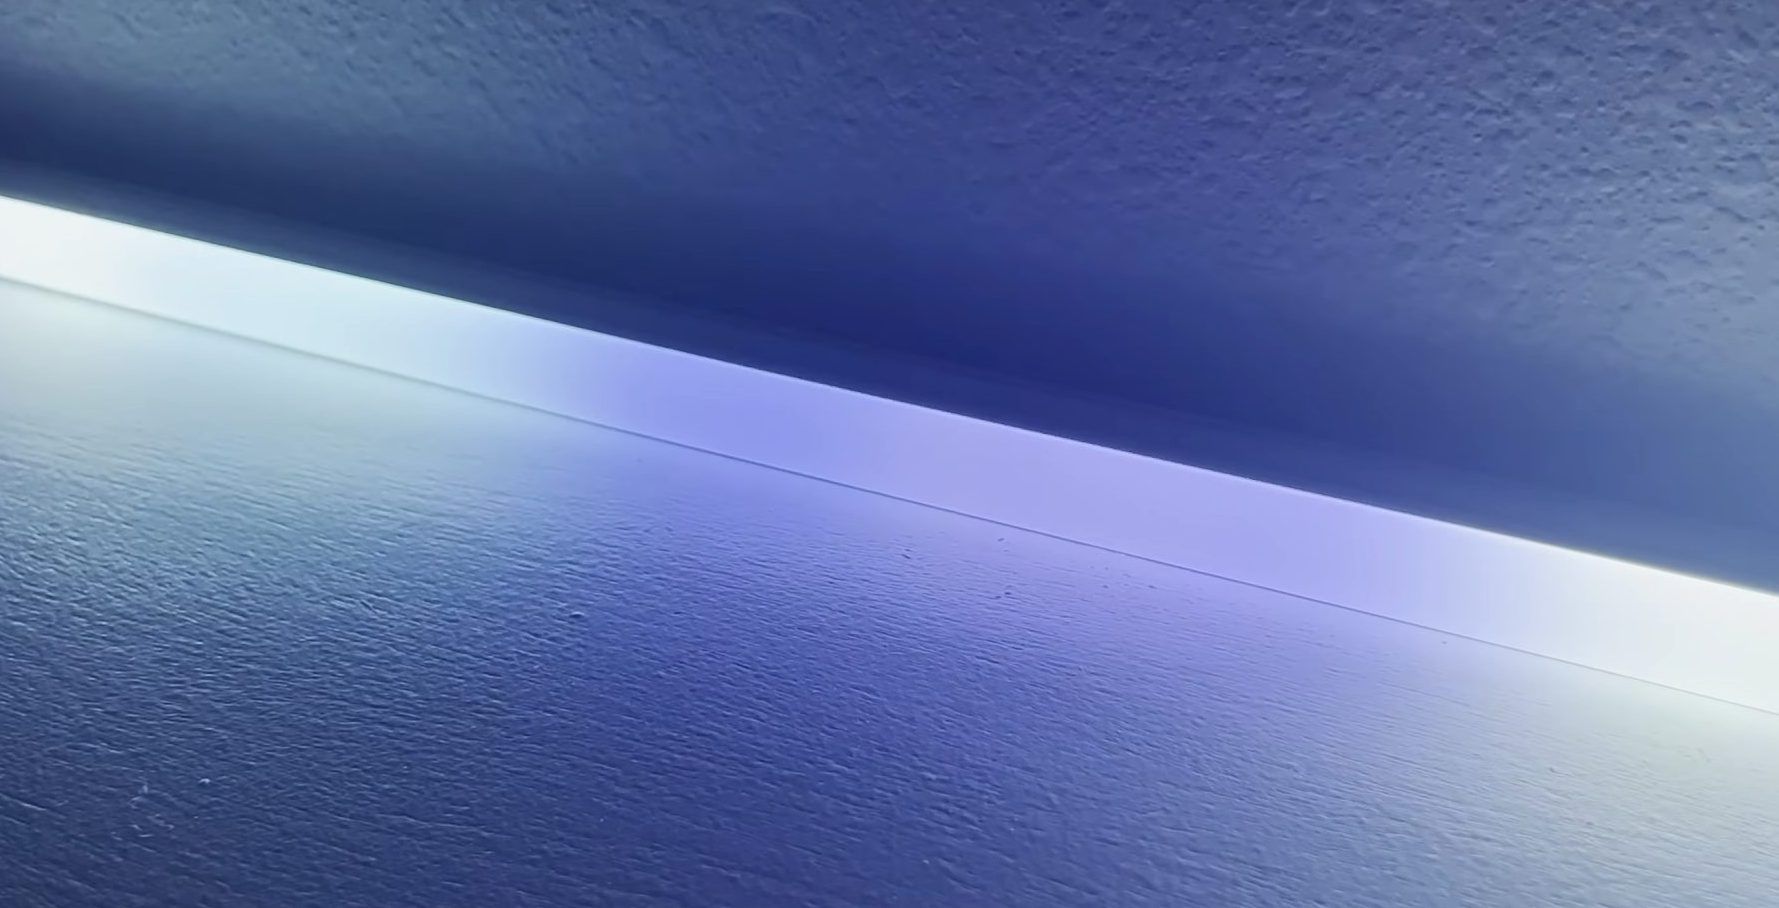
Aluminum is the best choice for home strip light setups — most commonly the 6063 alloy (thermal conductivity around 200 W/m·K), which extrudes easily into the fine-finned profiles used in LED channels. The closely related 6060 and 6061 alloys are also widely used; 6061 trades a small amount of thermal conductivity for higher mechanical strength, which is useful for longer unsupported spans.
Why aluminum over the alternatives:
- It's soft enough to extrude into intricate finned shapes at low cost.
- It's lightweight, so a long channel can be surface-mounted with simple clips or screws.
- It's cost-effective — about a third of the price of copper for similar thermal performance in this application.
Copper has higher thermal conductivity (~400 W/m·K, roughly 2× aluminum), but it's heavier, harder to extrude into thin fins, and significantly more expensive — so it's rarely worth the trade-off in a home install. The aluminum channel cools the strip through the same conduction → convection → radiation chain described earlier.
For the curious: at the industrial end of the spectrum, engineers cool high-power laser diodes with synthetic CVD-grown diamond heat spreaders — thermal conductivity around 2,000 W/m·K, roughly 5× that of copper. That's vastly overkill for any home LED setup.
Heat Sink Profiles
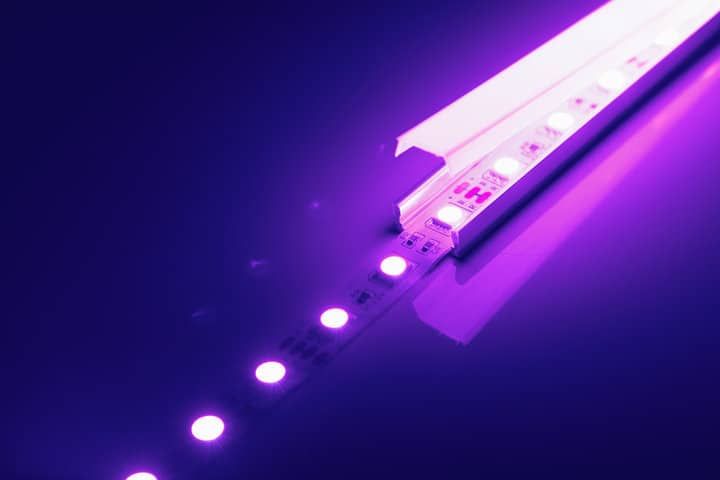
The profile or shape of a heat sink mostly comes down to where the strip will be installed. Pick the one that matches the geometry of the surface.
The most common profile is a flat surface-mount channel — a U-shaped extrusion with a snap-on diffuser cover that softens the dotted appearance of individual LEDs into a continuous line of light.
For inside corners between a wall and ceiling, V-shaped channels angle the light at 45° and tuck cleanly into the corner. Recessed and side-emitting profiles round out the lineup for under-cabinet, in-floor, and stair-edge installs.
Final Words
The decision tree, in order:
- Check the wattage. Anything above 10 W/m, or anything in an enclosed space, gets an aluminum channel.
- Size the channel a few millimeters wider than the strip itself. 6063 aluminum is the default — 6060 and 6061 also work.
- Replace the stock 3M backing with thermal adhesive tape for higher-wattage strips. Stock backing is glue, not a thermal interface.
- Mount the driver outside the channel and confirm the location has airflow.
A strip that's installed cool runs at full brightness, holds its color over time, and stays well clear of the temperatures that pose a fire risk. Heat is also one of the reasons light strips can develop different colors — that guide is worth a read if you're seeing color drift on existing strips.