
Can You Use LED Strip Lights Outside?
Composite decking regularly hits 140°F under direct sun — the exact upper limit most LED strips are rated to handle. Stick one flat on your deck and the surface, not the weather, is what kills it.
 Eugen
EugenEugen Nikolajev
Creator of LED Lighting Info
Hi, I am Eugen. I was always one of those kids who had all sorts of weird lighting gadgets for every occasion.
Now, I want to share my knowledge and experience about lighting with you on LED Lighting Info.
Read my editorial standards
Key Takeaways
Some LED strip lights are suitable for outdoor use. You'll need to check the IP rating (IP65 or higher), match brightness and color temperature to the space, use a weatherproof power supply on a GFCI-protected outlet, and pick outdoor-rated mounting hardware that holds up to the weather.
LED strip lights aren't all built for outdoor use – and a strip that's perfect indoors can fail within weeks once it's exposed to rain, sun, and temperature swings. With the right IP rating, a weatherproof power supply, and the right mounting choice, though, you can run strip lighting around a porch, deck, or garden safely.
Here's what I'll cover:
- Whether LED strip lights are waterproof and weather resistant
- How to choose the right brightness, density, and color temperature
- Power, voltage, and electrical safety for outdoor installs
- How to mount LED strip lights outside (temporary and permanent)
Are LED Strip Lights Waterproof and Weather Resistant?
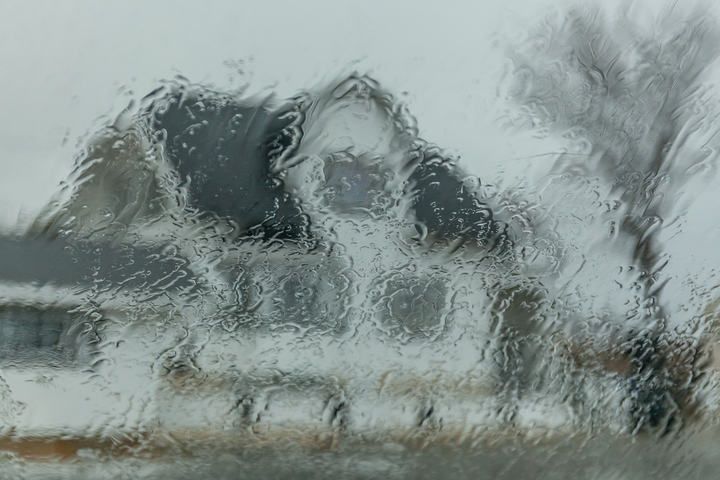
If you want to place an LED strip outside your home, the first thing to get right is water protection. Water is conductive, which means as soon as it gets into an electrical system it creates connections that weren't there before – circuits get altered, surges happen, and the strip becomes dangerous to handle.
Not every strip is built to handle that. Indoor strips are bare PCBs with no sealing, while outdoor strips have either a silicone coating or a fully sealed sleeve to keep moisture out. The way to tell them apart on a product page is the IP rating.
Ingress Protection Ratings Explained
Anything electrical should have an IP certification that explains how protected it is against intrusion.
The IP rating is made up of two digits. The first relates to solid matter and runs from 0 (no protection) to 6 (dust-tight). The second relates to liquids and runs from 0 (no protection) to 8 (continuous immersion). A separate, supplementary rating – IPX9 (sometimes written IP69K) – covers high-pressure, high-temperature water jets and isn't part of the main 0–8 scale.
Indoor strip lights are typically rated IP20, which means they're protected against solid objects larger than 12.5 mm (about finger-sized) but offer no protection against dust or any moisture at all.
Spill water on an IP20 strip and you're in trouble. It's why you should never install one indoors anywhere damp, let alone outside.
Outdoor strip lights are normally rated IP65, which means they're dust-tight and can withstand low-pressure water jets from any direction – enough to handle rain. They aren't, however, rated for high-pressure spray, immersion, or pressure-washer use. For those situations you'd need IP66, IP67, or IP68.
Brand isn't the deciding factor here – most well-known brands such as Philips Hue (Amazon) sell both indoor and outdoor strips. What matters is reading the spec and looking for IP65 or higher on the packaging or product page.
If a listing doesn't state an IP rating, don't buy it for outdoor use. Suspiciously cheap products often skip it because they don't have one.
Don't assume a sheltered spot will protect a non-waterproof strip, either. Unless the location is fully sealed, water will still splash or run down the surface – an awning or eave isn't enough.
Heat: Why Surface Temperature Matters More Than Air
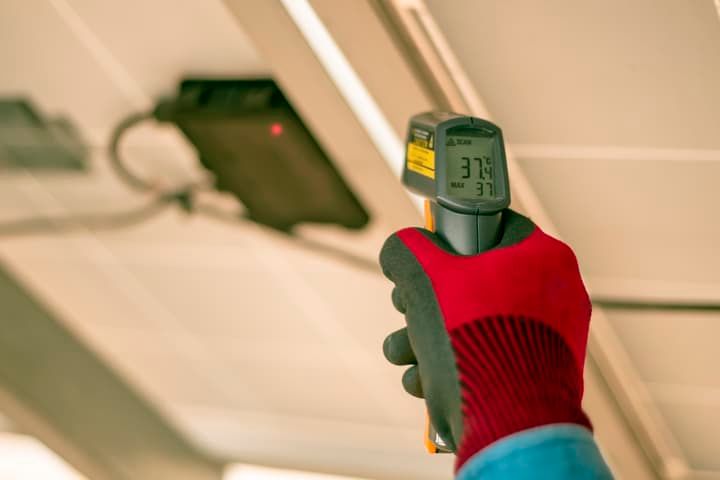
Once water is handled, the next thing to think about is heat. If you live in a cool climate, you generally don't have a problem – LED lights excel in cold temperatures, and cool weather actually extends their lifespan because heat dissipates more easily.
Most LED strips are rated to operate somewhere in the range of -22°F to 140°F (-30°C to 60°C), though specifics vary by product – always check the manufacturer's spec sheet, especially for cold-rated outdoor use.
Hot climates are where things get tricky. The rated range refers to the LED's junction temperature – the temperature at the diode itself – not the air around it. The junction temperature depends on the climate, the material the strip is mounted on, and how directly it's exposed to sunlight.
Decking, brick, stone, and synthetic turf all absorb solar heat and can run far hotter than the surrounding air. To illustrate how much surface temperature can exceed air temperature, consider this:
A review tracked by Safe Healthy Playing Fields found synthetic turf reaching a maximum of 157°F when ambient air was around 82°F. Composite decking regularly clears 140°F under direct sun. A strip glued to either of those surfaces is sitting in heat well beyond its rated range.
Phoenix, Arizona is the obvious cautionary case – average summer lows hover around 83°F, and afternoon surface temperatures on dark materials can be brutal. In a hot climate, route the strip under eaves or in shade, avoid mounting on dark heat-absorbing surfaces, and consider an aluminum profile or channel: it doubles as a heatsink and pulls heat away from the diodes.
In short: pick an IP65-or-better strip, keep it out of direct sun, and mind what surface it's stuck to. Get those right and weather is no longer the limiting factor.
How Bright Should Outdoor Strip Lights Be?
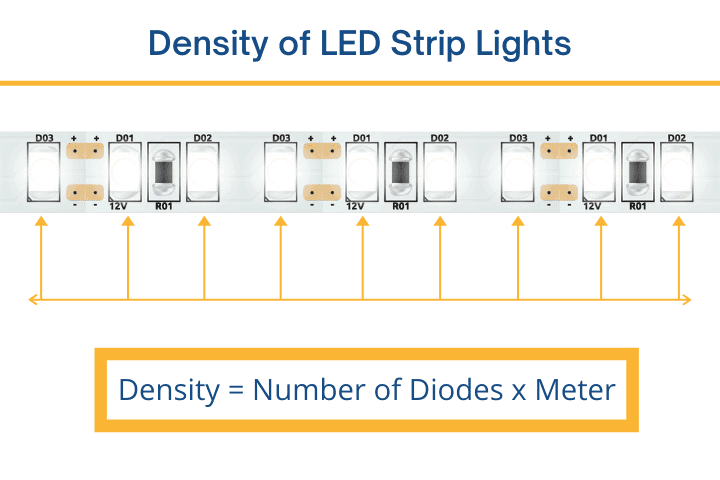
LED strips vary on two axes that determine brightness: how many diodes there are per meter (density) and how big each diode is (chip size). Color temperature also has more impact on outdoor mood than most people expect, so it's worth treating as a third dimension.
LED Density (Diodes per Meter)
Common densities are 30, 60, 120, and 240 LEDs per meter, with 60/m being the typical residential standard. 30/m is now considered low – the gaps between diodes are visible up close, especially on diffused or curved installs. 120/m and 240/m give a far more uniform line of light, which matters when the strip will be seen from below or behind a translucent cover.
Higher density obviously means more brightness and more power draw. For ambient porch or garden lighting, 60/m is usually plenty. For indirect coves where you don't want hotspots, step up to 120/m or higher.
Chip Size: 3528, 2835, and 5050
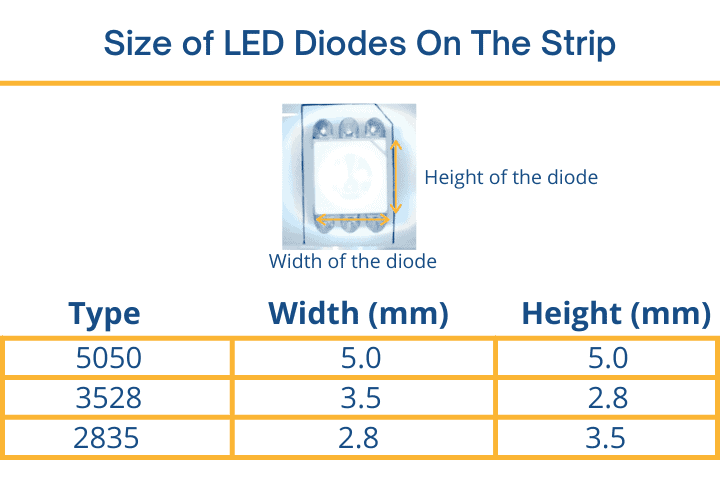
Strips are usually labeled with their chip code – 2835, 3528, or 5050. The numbers describe the chip's footprint in tenths of a millimeter: the first two digits are the length, the second two are the width. A 5050 measures 5.0 × 5.0 mm, and a 3528 measures 3.5 × 2.8 mm.
3528 was the original standard but has been largely superseded. Modern strips usually use 2835 chips, which share the same 3.5 × 2.8 mm footprint as the 3528 but are a newer, slimmer package with a bottom-side heat sink. That redesign lets the 2835 run at higher power and produce roughly 3–4× the lumen output of a 3528, with significantly better lumens-per-watt efficiency. 3528s today turn up mainly on budget strips and some RGB tape.
5050 is bigger (5.0 × 5.0 mm) and packages three diodes into one chip. RGB strips are almost always built around the 5050 – or a similar tri-chip design – because the larger size fits separate red, green, and blue dies in a single housing.
| Chip | Footprint | Diodes per chip | Typical output | Best for |
|---|---|---|---|---|
| 3528 | 3.5 × 2.8 mm | 1 | ~6–7 lm | Budget strips, low-output accent runs, some RGB tape |
| 2835 | 3.5 × 2.8 mm | 1 | ~20–26 lm (3–4× a 3528) | Most modern white strips – best lumens-per-watt |
| 5050 | 5.0 × 5.0 mm | 3 (R/G/B in one package) | High | RGB strips and high-brightness white builds |
Brighter isn't automatically better. A high-density 5050 strip costs more to buy and pulls more power, and outdoors it can quickly turn an ambient feature into floodlighting. For a calming patio or porch glow, a 60/m 2835 white strip is usually right; reach for 5050 or higher density only when you actually need the punch.
Color Temperature for Outdoor Spaces
Color temperature, measured in kelvin (K), changes the feel of an outdoor space more than brightness does. A few rules of thumb:
- 2700–3000K (warm white) – the most flattering option for porches, decks, and dining areas. Reads as cozy and won't compete with interior light spilling out the windows.
- 3500–4000K (neutral white) – a good middle ground for paths, steps, and stairs where you want clarity without harshness.
- 5000K+ (cool white / daylight) – best reserved for security and task lighting. It looks clinical in ambient settings and can attract more insects.
- RGB or RGBW – handy for seasonal accents, but for everyday lighting most people end up using the white channel only.
Light Pollution and Your Neighbors
Several states and many countries have laws against light trespass (light shining where it isn't wanted) and glare (excessive brightness that causes discomfort). Many ordinances require exterior lights to be shielded and aimed downward to keep light from spilling into nearby homes.
Before you buy the brightest strip you can find, think about where it will point. Tucked under the lip of a porch or beneath a deck rail, a strip throws light downward and stays out of trouble. Pointed across a property line at a neighbor's bedroom window, even a modest strip can prompt a complaint – and there's no Christmas exemption in most jurisdictions.
Power, Voltage, and Electrical Safety
An IP65 strip is only weatherproof at the strip itself. The driver, the connections, and the outlet still need to handle outdoor conditions – and this is where most DIY outdoor LED installs go wrong.
12V vs 24V Strips
Strips come in 12V and 24V flavors. 12V is the more common consumer option and works fine for short runs. 24V is better for outdoor use because higher voltage means lower current for the same wattage, which translates into less voltage drop over the length of the strip – important when runs are long. If you're choosing between two otherwise-identical strips for an outdoor install, pick 24V.
Maximum Run Length
A single 12V strip is usually limited to about 5 m (16.4 ft) before voltage drop causes the far end to look noticeably dimmer than the start. 24V strips push that to roughly 10 m (32.8 ft). For longer runs, don't simply daisy-chain – instead, run separate power lines from the driver to each segment (called "power injection"), or split the install into multiple shorter strips each fed from their own driver.
Weatherproof Power Supply (Driver)
An IP-rated strip plugged into an indoor driver sitting on a porch is still an outdoor electrical hazard. The driver itself needs to be IP65 or higher if it's going to live outside, or it needs to be housed inside a weatherproof enclosure or junction box. Stock indoor drivers – the brick-on-a-cord type – are not built to handle rain or condensation.
GFCI Outlets
In the US, the National Electrical Code requires that any outdoor outlet be GFCI-protected (Ground Fault Circuit Interrupter). A GFCI cuts power within milliseconds of detecting a leak to ground – which is exactly what happens when water reaches a live conductor. If your existing outdoor outlet isn't GFCI, swap it (or have an electrician swap it) before plugging anything in. This isn't optional for a wet location.
How To Mount LED Strip Lights Outside Safely
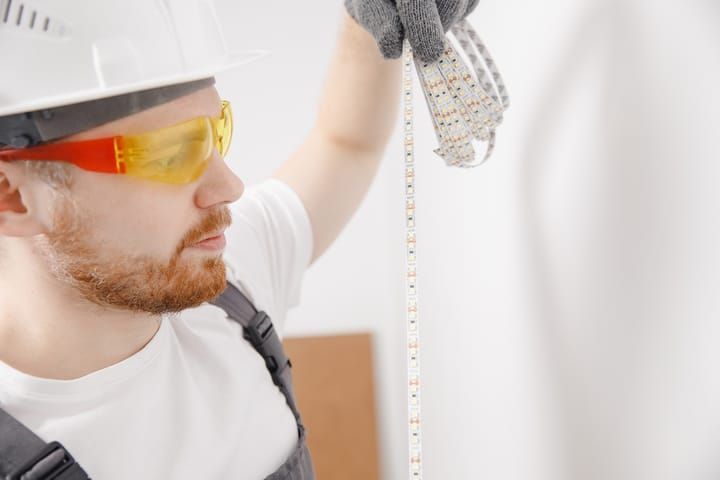
Once you have the right strip and power setup, mounting is the last hurdle. Outdoor mounting comes in two flavors – temporary (you want to take the strip down again) and permanent (it stays up year-round) – and each calls for different fixings.
Temporary Mounting
Use temporary mounting for a garden party, a holiday display, or any install where you'll want a clean removal later.
Built-in adhesive tape
Most LED strips ship with double-sided adhesive tape (Amazon) on the back.
Best for: short runs on smooth, clean indoor-grade surfaces.
Pros: free with the strip, no extra tools.
Cons: the factory adhesive isn't built for weather. Heat softens the glue, water creeps under the edge, and freezing water expands and breaks the bond. Don't rely on it outdoors.
Foam mounting tape
Best for: longer-lasting temporary jobs that still need to come off cleanly.
Pros: waterproof, thicker, and uses a more aggressive adhesive than the factory strip.
Cons: removal usually requires a heat gun to soften the glue.
Mounting clips
Best for: installs where you might need to reposition the strip.
Pros: only the small clip footprint is glued or screwed down, not the whole length of the strip.
Cons: still relies on adhesive (or fasteners) for the clips themselves, so you're trading one problem for a smaller version of it.
Hot glue
Best for: irregular surfaces where tape can't conform.
Pros: weatherproof and removable with a heat gun.
Cons: messy, and you'll burn through a lot of glue on a long run.
If a temporary fixing keeps failing in your climate – humidity and heat are common culprits – that's a sign the install really wants a permanent solution. Strip lights are slim enough that a permanent mount stays largely invisible when the lights are off.
Permanent Mounting
Permanent mounting is generally more reliable than any temporary method. Pick one of three approaches based on the surface.
Outdoor-rated mounting tape
Best for: most exterior surfaces, including uneven brickwork.
Pros: dedicated outdoor double-sided tape (available on Amazon and at hardware stores) is exceptionally strong and weather-stable.
Cons: removing it without damage to the surface or the strip is essentially impossible.
Drilled clips on masonry
Best for: brick, block, or stone walls.
Pros: extremely secure with no adhesive failure risk. Drill into the masonry, add a wall plug, insert the fixing, then clip the strip in.
Cons: leaves holes in the wall and needs power tools.
Roofing staples on wood or UPVC
Best for: wooden porches, soffits, and some UPVC trim.
Pros: fast and very secure.
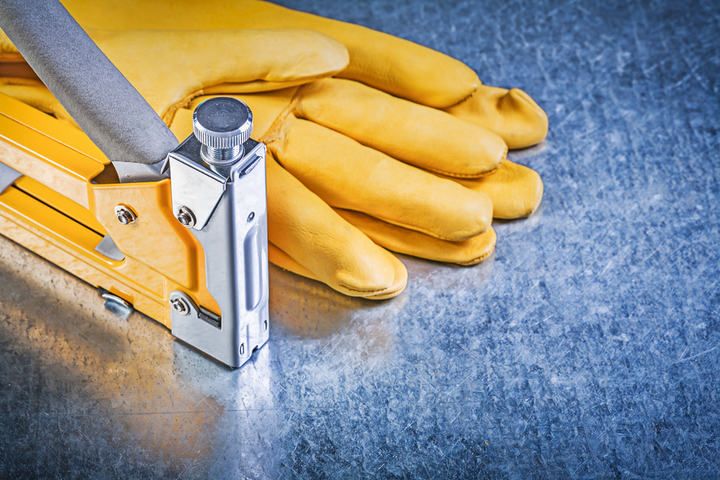
Cons: the wrong size will puncture the strip's silicone housing and ruin its waterproofing. Most strips are about half an inch wide – wider than standard staples – so use roofing staples (and a matching staple gun) that bridge the strip cleanly.
Final Words
Running LED strip lights outside is well within reach for a DIY install, but it comes down to three decisions made in order: pick a strip with at least IP65 protection, choose the right brightness, density, and color temperature for the space, then mount it with hardware that fits the surface and the conditions.
Get the electrical side right too – a weatherproof driver on a GFCI-protected outlet, with run lengths that respect voltage drop – and a strip you put up this season can comfortably stay there for years.
My rule of thumb: when in doubt, go one step higher than you think you need on the IP rating, one step lower on brightness, and one step better on the power supply. Outdoor electrical jobs are far easier to do right the first time than to fix after the first storm.